10 tips for an urban oil painting
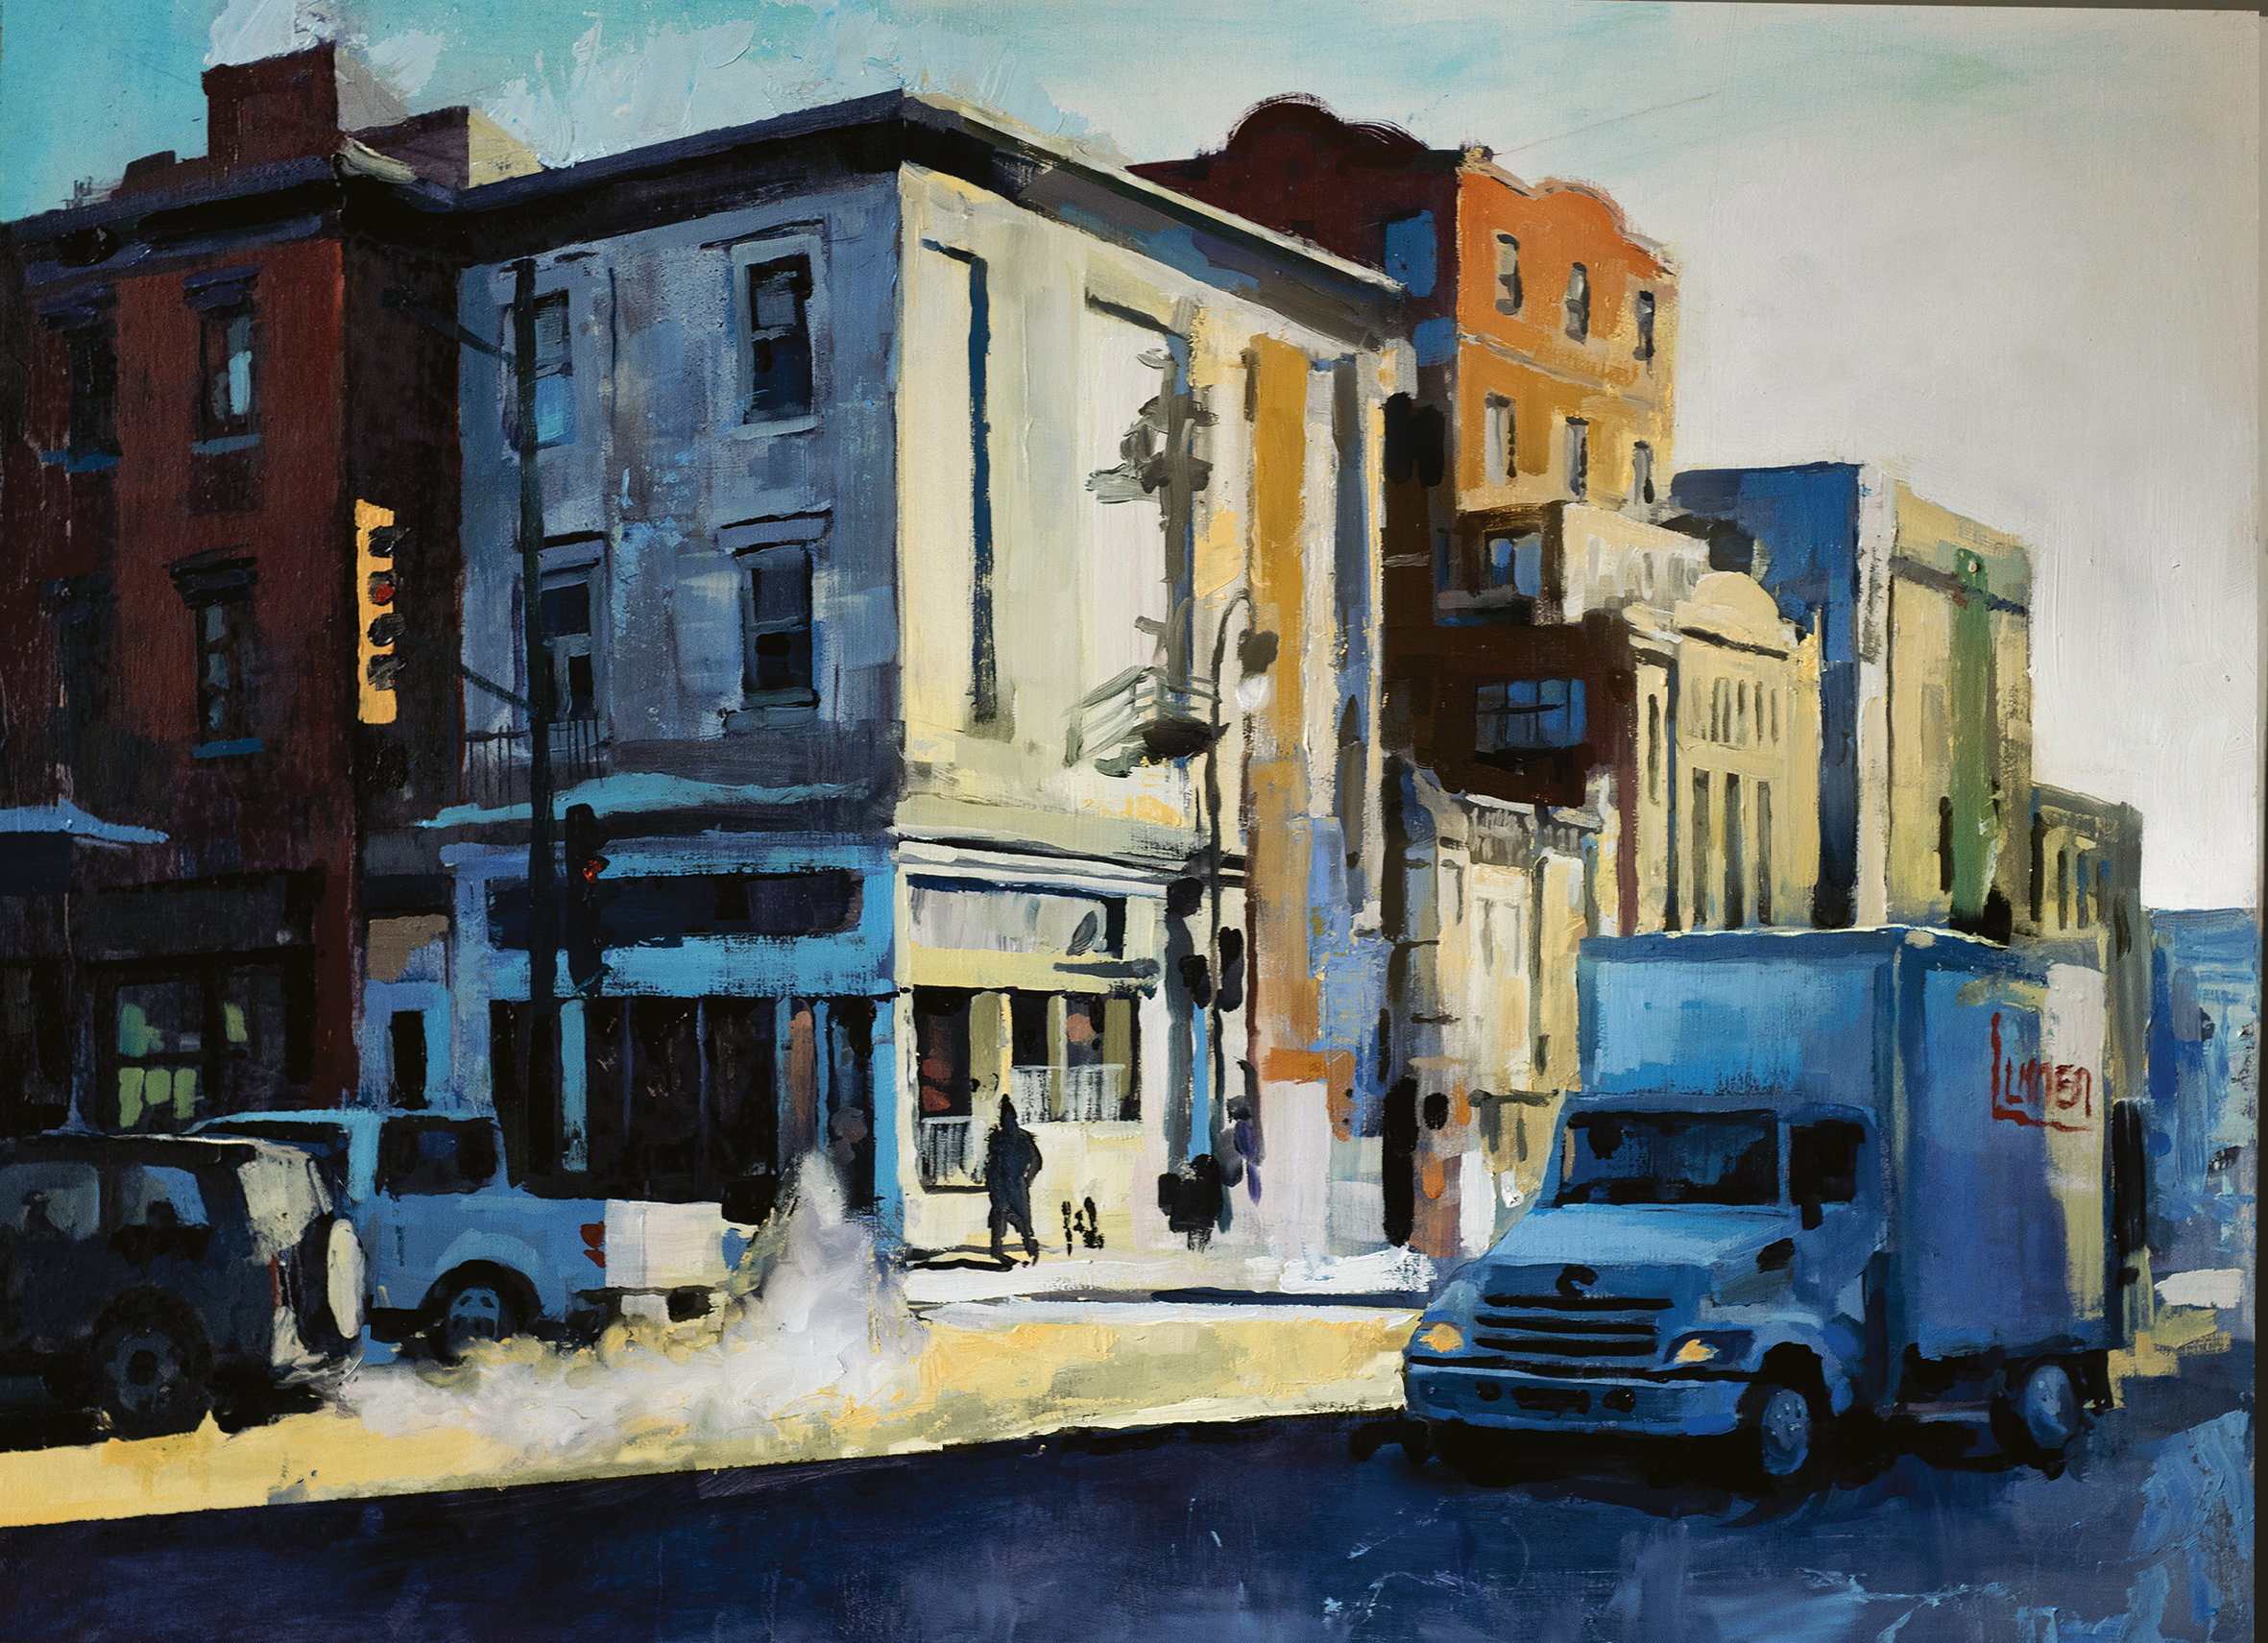
Discover how to create a snapshot of urban life painted in oils in a loose, rough style.
Before I began painting in a traditional way, I worked for years as a digital artist in the videogame industry. With that background, I felt the need to come back to something raw, something I could feel, smell and manipulate with my hands. Oil painting was a revelation, and I have been practising in this medium for almost two years now.
My favourite subject so far has been the city (Montreal by default). I’ve always been a city guy. I love how cities move, their dynamism, how everything evolves over time, the decrepitude and renewal tangling with each other, how it creates tons of shapes, colours and materials, depending on time of day or year. That’s what I really enjoy painting!
Sometimes my subject is a wide landscape, or sometimes I focus on a street corner, as in this project. I’ll show you how to paint in a spontaneous and loose way, working with layers of colours and never adding too much detail. The idea is to capture as much atmosphere and dynamism as possible. Need some equipment to help to that? Explore the best art supplies around.
01. Choose the right picture
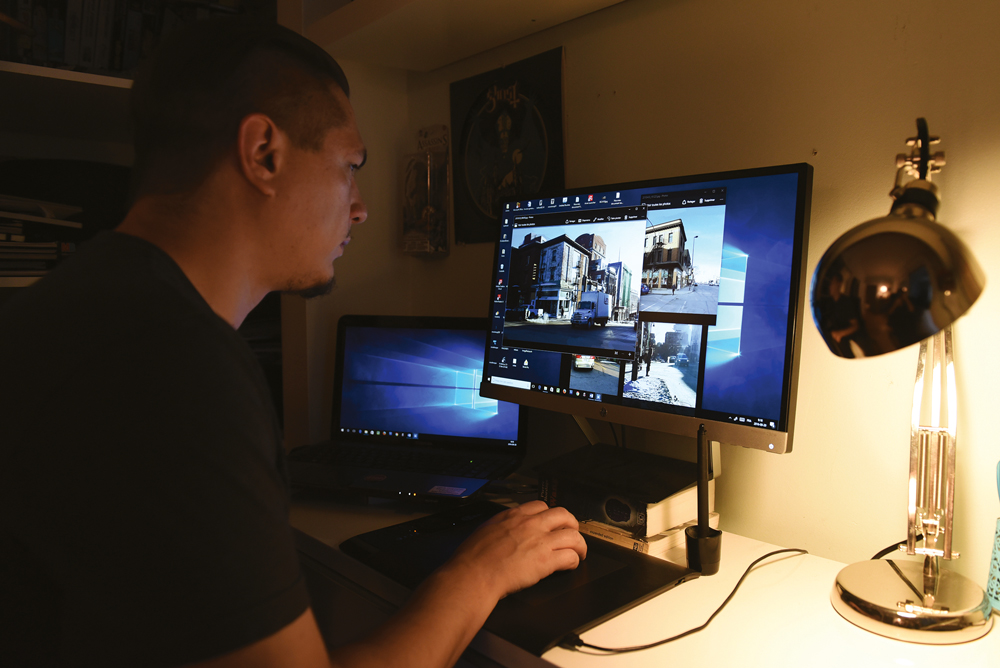
My first step is as important as all the other ones – make sure you find the right reference! I take a lot of photos of Montreal, so I always have some good reference pictures in reserve if I need them. I like to choose something with a nice contrast.
For this project, I chose a particular street corner I used to pass every morning on my way to work. I took the reference photo on a freezing winter morning and the light was absolutely fabulous.
02. Preparing the surface
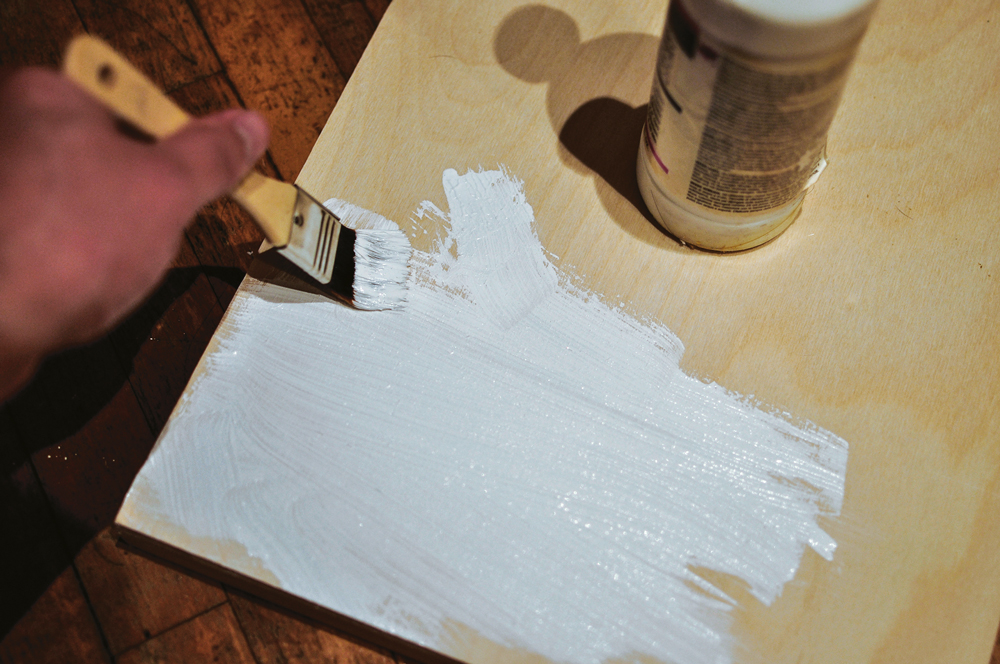
I don’t like to paint on traditional canvas (but see these brilliant best oil paint canvas picks if it is your thing), I prefer wood panels for their hard and smooth surface. You can buy wood panels at most art supply stores – they’re not very expensive and are very solid. Before I lay down any brushstrokes, I prepare the surface to prevent the wood drinking up the paint. I apply two layers of a gesso (usually a white acrylic primer) and then roughly sand it when it’s dry. That gives me a nice smooth surface to paint on.
03. Sketching the scene
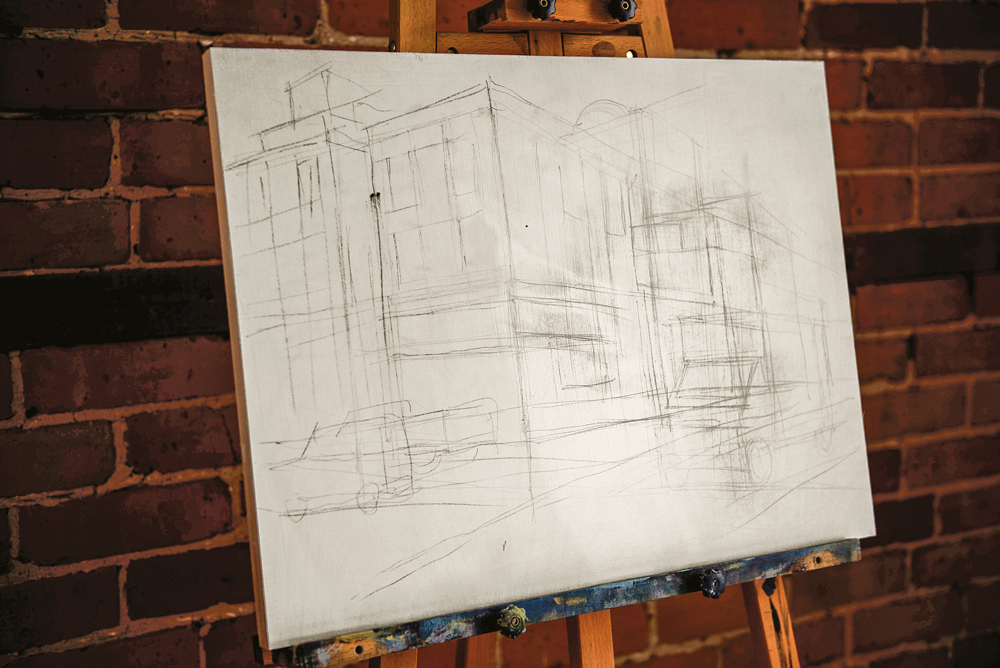
For me, the sketching is the most important part. Now’s the time to be sure my perspective and composition will work, to get everything in the right place. I don’t add details at this point, just rough shapes and lines. Even if I’m working with a photo reference, I won’t stick to it if something doesn’t work – I feel free to move elements if I want to.
Daily design news, reviews, how-tos and more, as picked by the editors.
04. Finding good tones
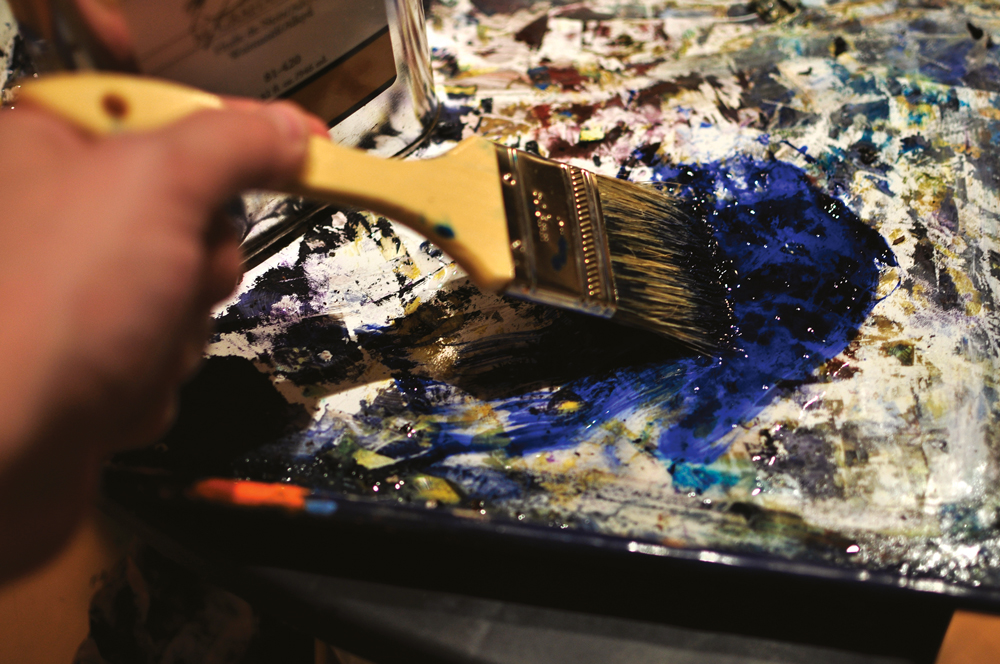
The dominant colours in this scene are deep blue for the shadows and a yellowish white for the highlighted parts – a nice winter-morning palette! To set the mood, I start with a very diluted glaze of Aquamarine Blue, turquoise and olive (olive is a nice choice to darken colours and keep them vibrant), which I mix with nut oil. The highlighted parts will be a mix of white, Naples Yellow and nut oil. The sky will be turquoise and white. Head over to the best oil paints guide for a range of awesome options.
05. Creating the mood
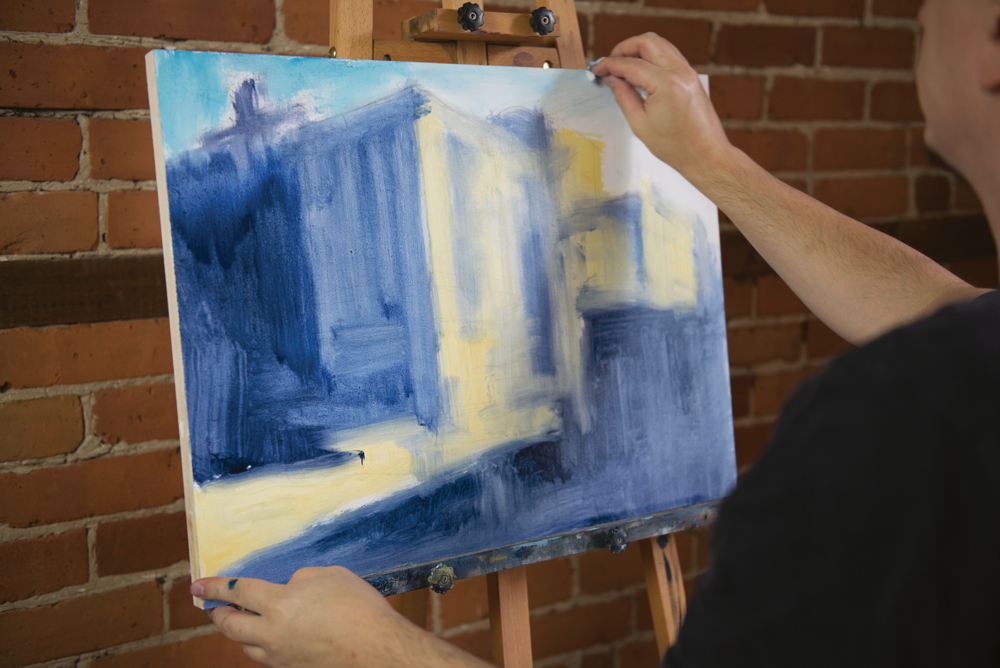
Time to have some fun! At this point, I’m using a very cheap large brush and paper towel. I apply my first lot of colour very roughly, spreading it a bit with the paper towel. I want to give a clear idea of the mood as soon as possible, and it’s already taking shape. My approach doesn’t need too much preparation and is really open to change and fluctuation. Want more equipment? See the best oil paint supplies guide.
06. Shaping the scene
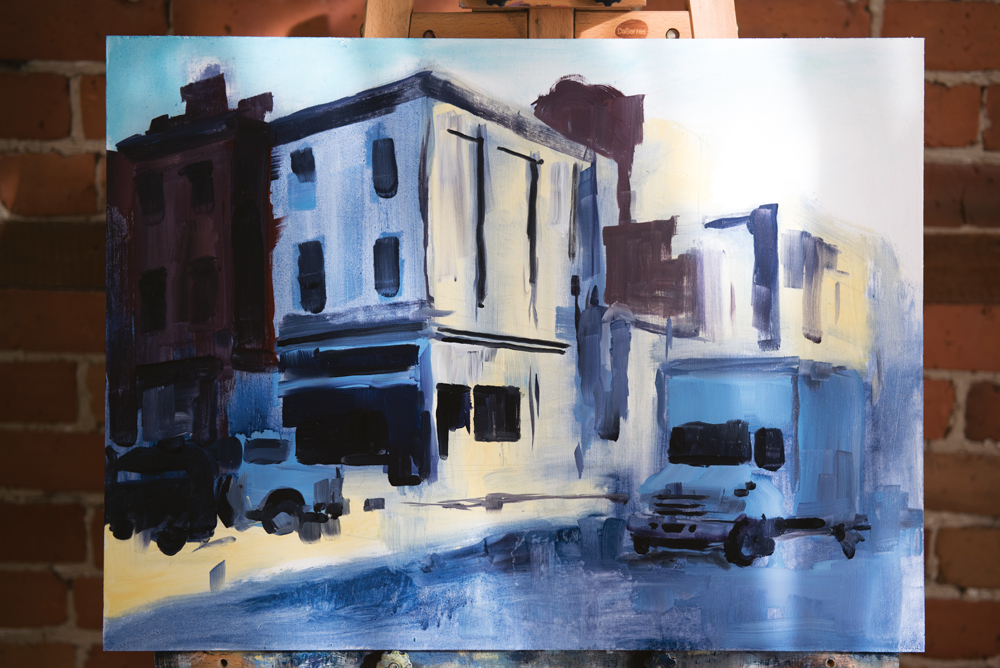
After having this rough coloured composition, it’s time to be a bit more precise and define what’s what, shaping the vehicles, architecture and so on. I know that each brushstroke could be replaced by another one sooner or later, but I continue to make everything more clear for the next steps. My paint here is less diluted than the previous steps, as I want it to be more opaque.
07. Adding texture and depth of colour
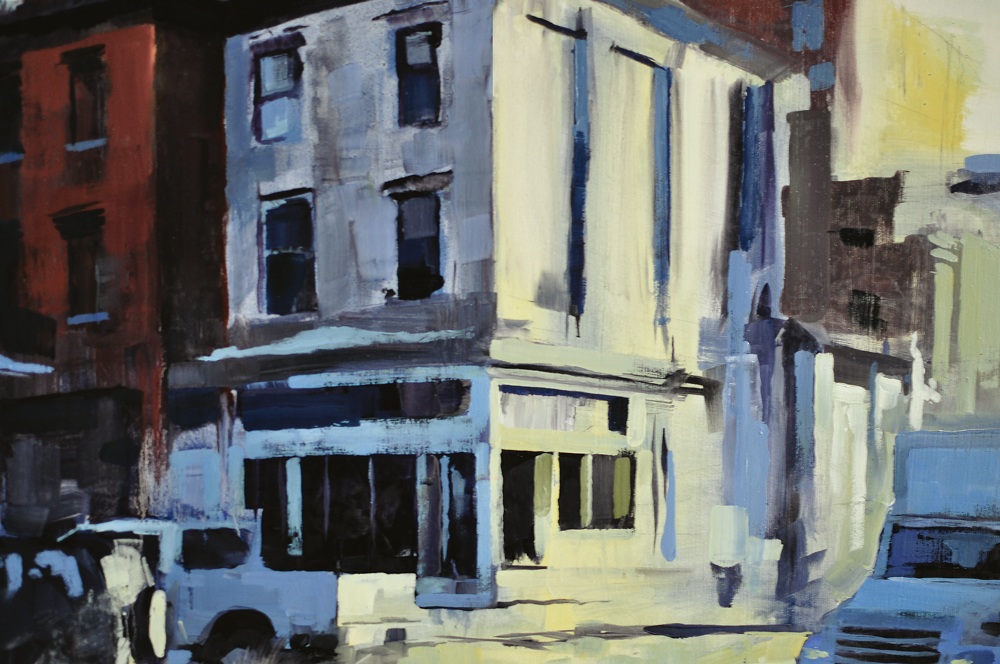
I’m now making everything more precise, while still keeping it a bit sketchy. To get texture, I’m using very little paint on a small, flat, flexible brush, so I can see the strokes. This is really helpful for walls, for example. I pick my colours here and there off the palette, using some “mixing accidents” so I can add depth to my colours. This gives a nice range of shades.
08. Add in rough texture
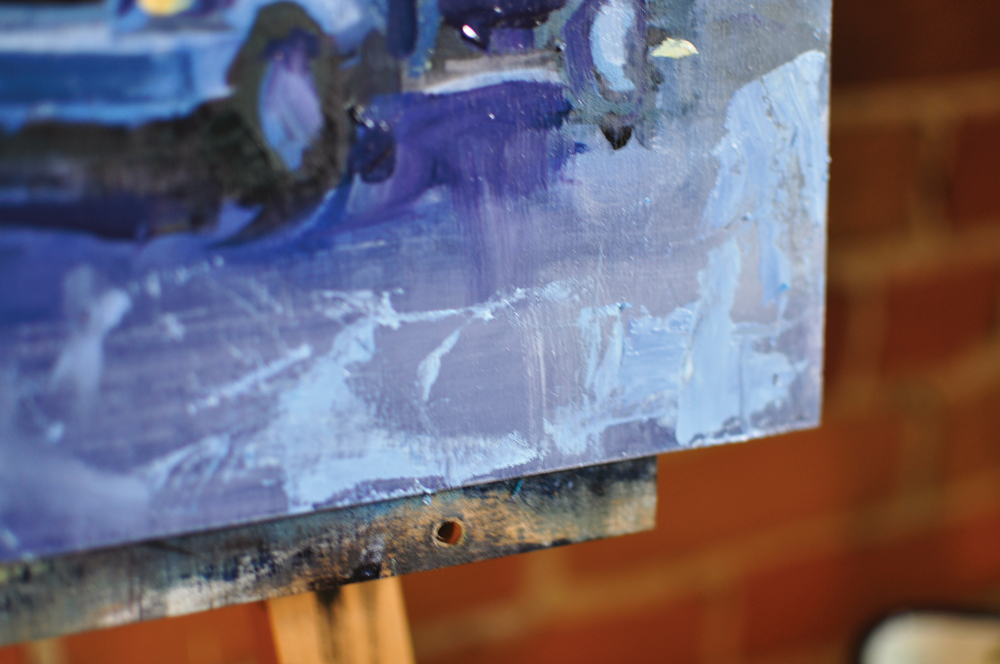
To add some depth, I use my painting knife to paint in rough texture with undiluted paint, which I quickly apply here and there (mainly to the road and walls). The effect is built up quickly – it’s very satisfying!
09. Get smoking
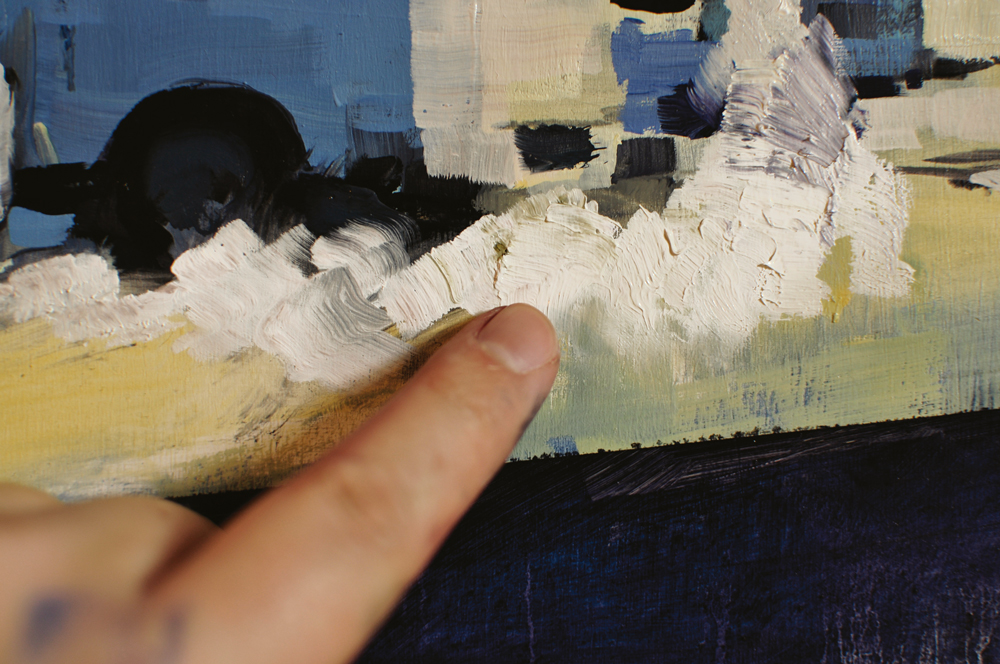
The exhaust smoke from the car in the foreground needs some more attention. Here I’m adding white paint on the right, and, with my finger, I’ve blended the edges to get that nice contrast of raw paint that blends to smooth edges. This is almost one of the only spots of the painting that deserves a more delicate treatment.
10. Add life with detail
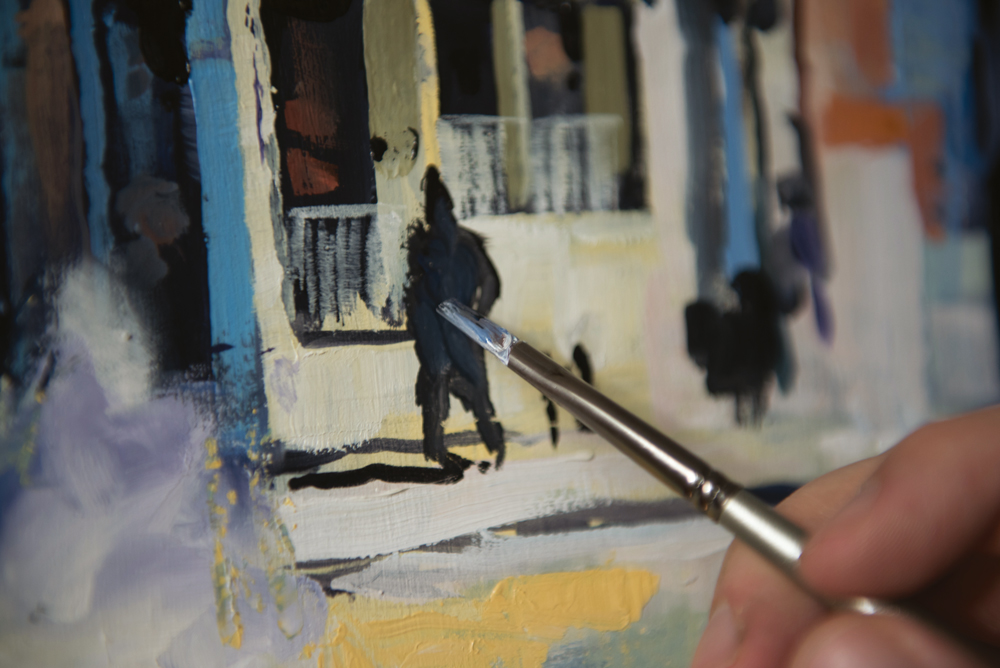
It’s only the key details that are missing now – and this will make a big difference and bring the last bits of life to the picture. The yellow traffic light, the car exhaust smoke, the walking man, the reflections in the windows. Here I’m using my smallest flat brush for the small details, and a bigger one for the finishing touches to the exhaust smoke.
This article was originally published in Paint & Draw magazine issue 2. Buy it here.
Related articles:
