Add digital signage to your studio for under £60
Don’t bin those old displays. Here's how you can transform them into digital signage for your studio.
Introducing digital signage into your studio environment is a great way to present information, but up until recently it has been a relatively expensive and time-intensive undertaking. However, thanks to the increasing number of micro-computers hitting the market in recent years, the price of implementing digital signage has dropped considerably, and you can get started with a few hundred pounds. But did you know there was an even cheaper way to do it?
Thanks to its compatibility with Amazon’s Fire TV Stick, a new platform called ScreenCloud has presented the most affordable entry point into digital signage, and we’re going to show you how to set it up (for yourself, or for a client).
As the name suggests, this is a cloud-based software system for managing any type of display, which can then be controlled and updated via the web (with a monthly fee of $20 per screen). And the key difference between ScreenCloud and its competitors is that it provides customers with the opportunity to take any HDMI-enabled screen that’s going spare, and then control it from a web-based CMS.
ScreenCloud is built using Chromium, the open-source code upon which Google Chrome is based, which allows the company to deploy the app to all kinds of media player, irrespective of whether it is running Android, iOS, Linux or Windows. For this tutorial, though, we’re using a Fire TV Stick running Fire OS (built on the Android-based operating system).
01. Set up your Fire TV Stick
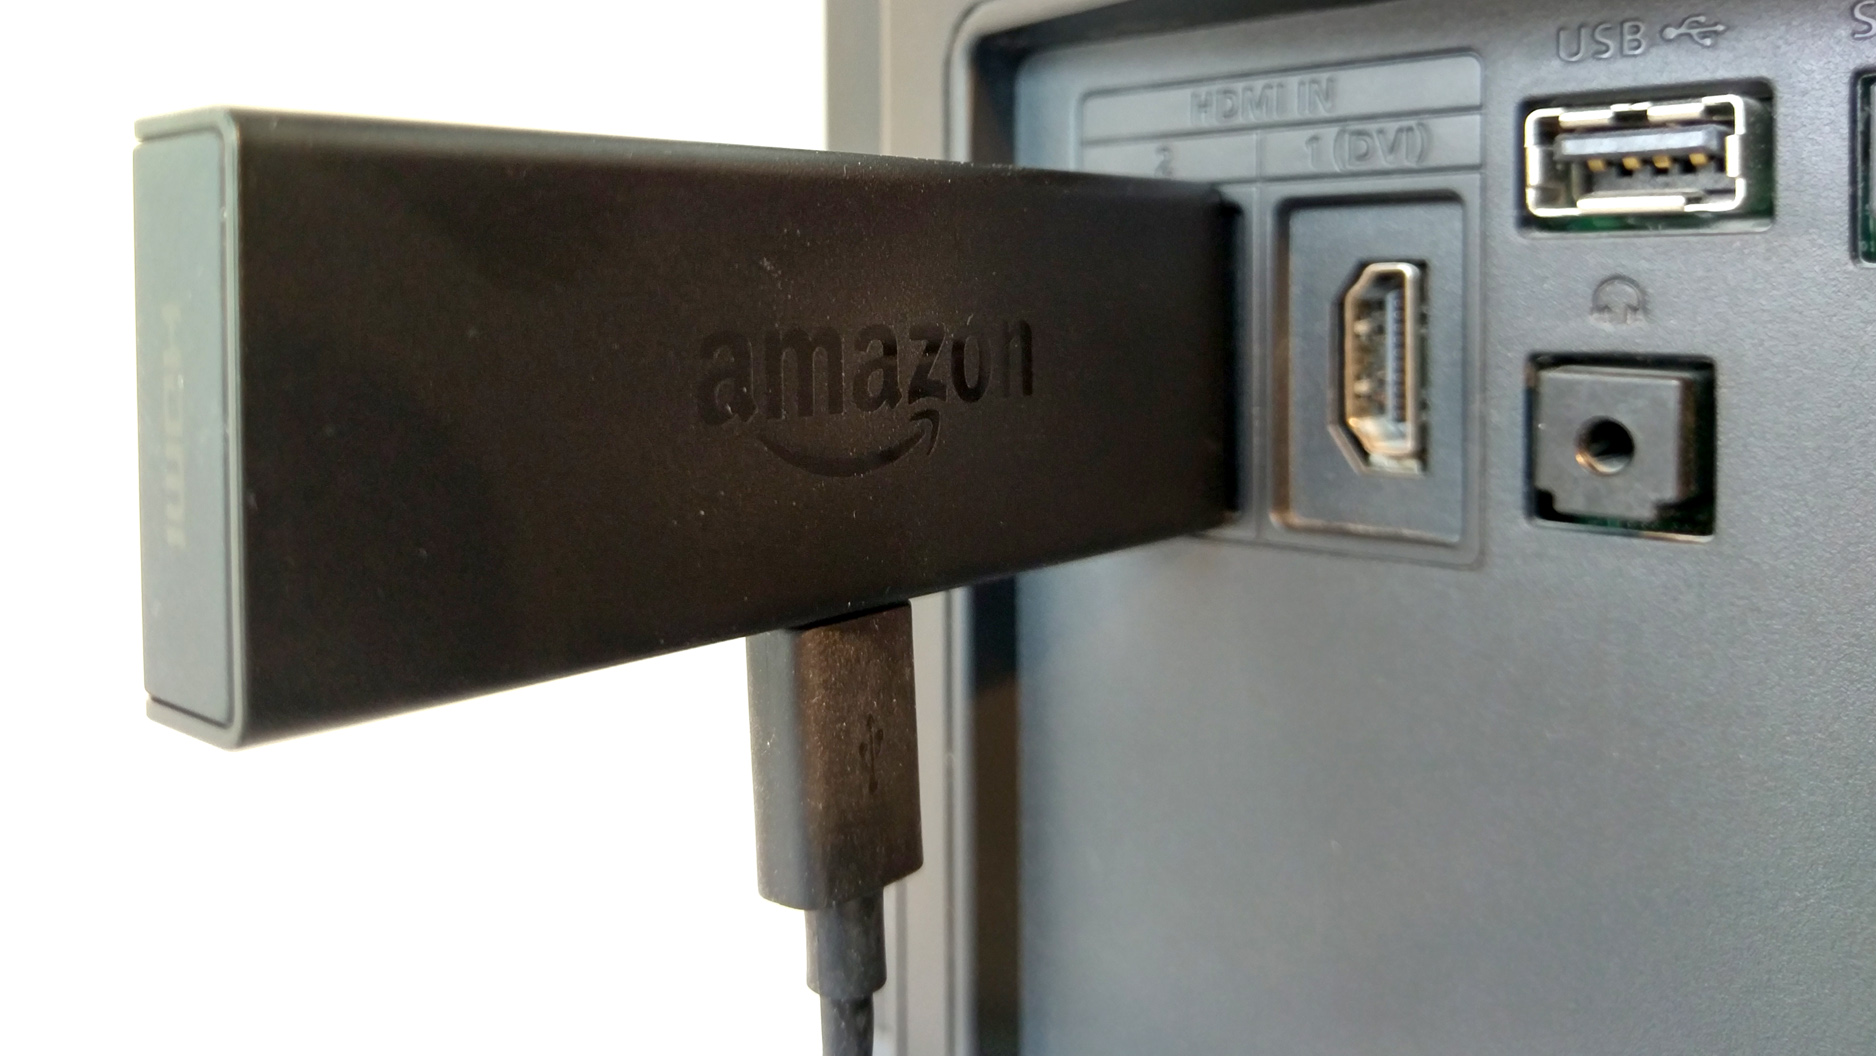
Getting started with your Fire TV Stick is very simple. Plug the stick into an available HDMI port, and then connect the USB cable to the supplied plug, and then connect that to your power supply (if you need more guidance, check out the videos here).
02. Install ScreenCloud
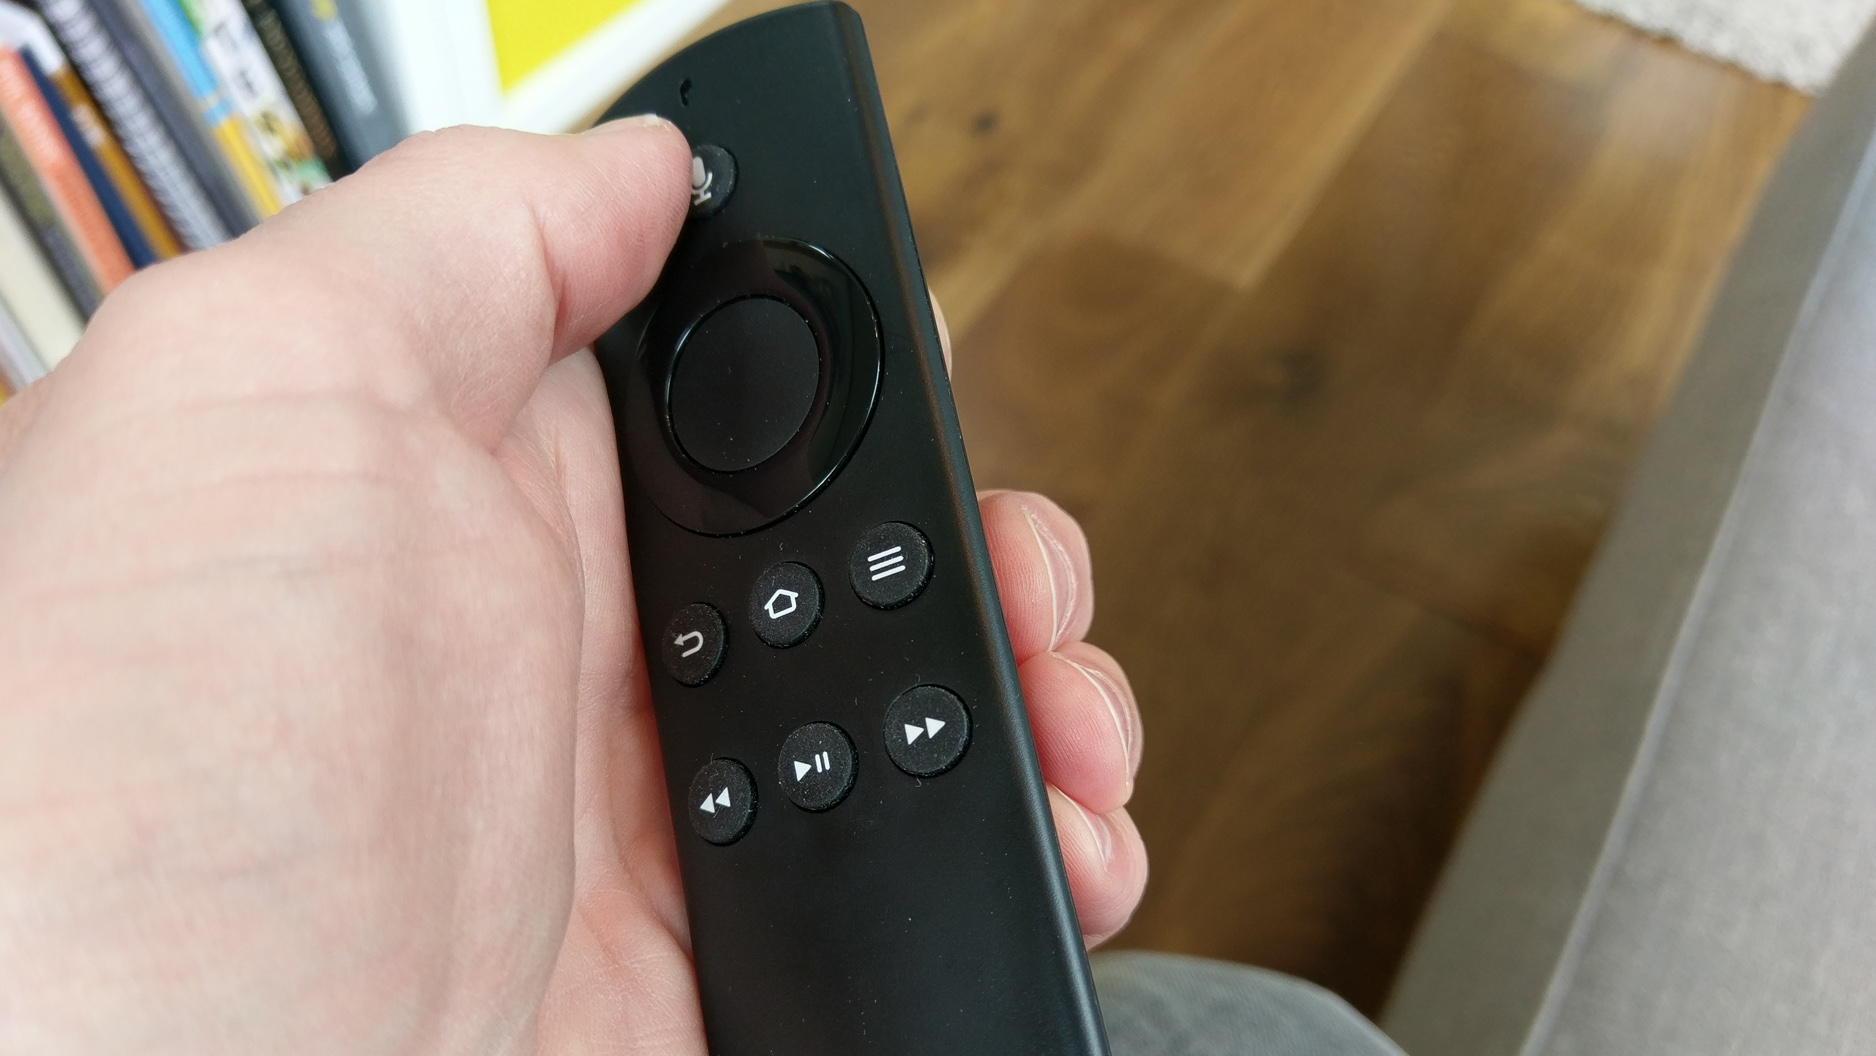
The next thing you need to do is sign up online and get ScreenCloud onto your Fire Stick TV. Doing this is simple: Either search within ‘Apps’, or if you have an Alexa-enabled Stick just hold down the audio button and say ‘ScreenCloud’. Then install. (And you don’t need to commit to a ScreenCloud subscription at the outset, as there is a 14-day free trial, which should give you more than enough time to decide if it’s right for you.)
03. Sync your display with ScreenCloud
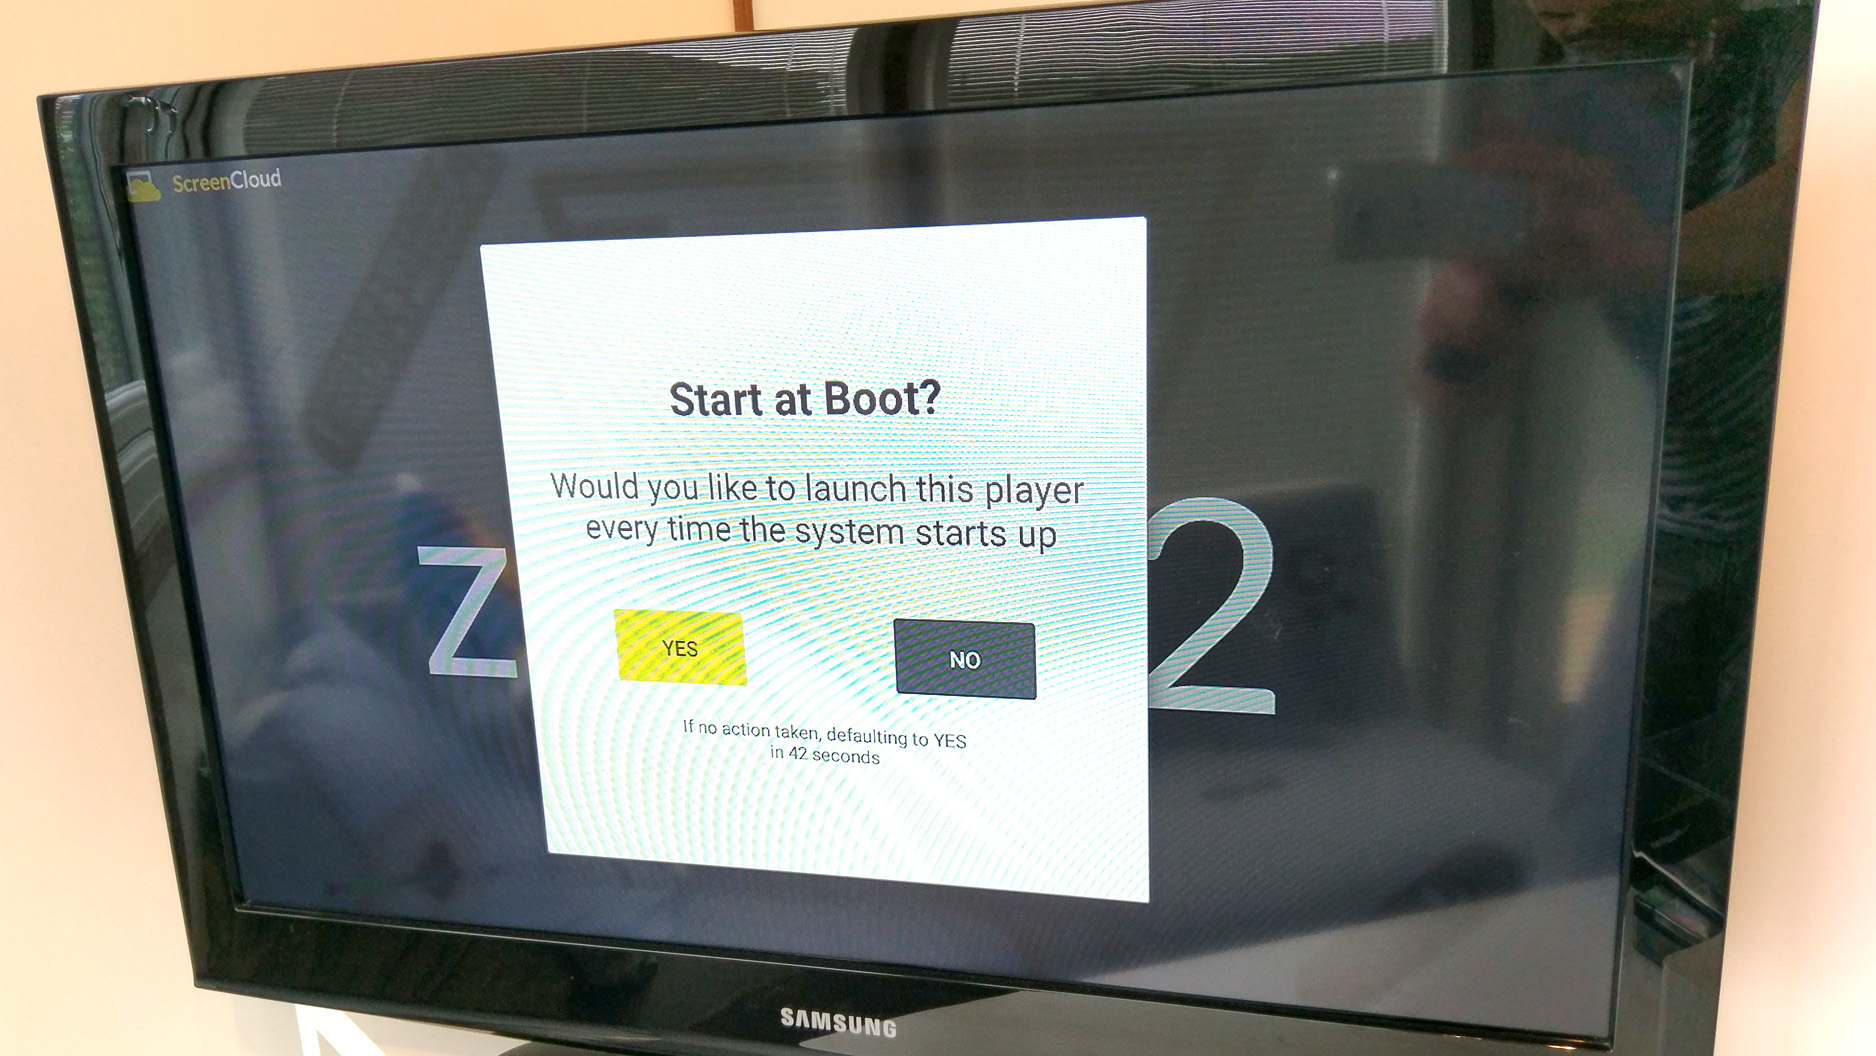
Open ScreenCloud on your Fire TV Stick and you’ll be greeted with a syncing code, as well as the option of whether you want ScreenCloud to start when the Fire TV Stick boots up. Next, you need to log in to ScreenCloud’s web CMS, and select ‘Add screen’. Enter your code, and then give your screen a name. This will then register your screen, and we can start adding content.
Daily design news, reviews, how-tos and more, as picked by the editors.
04. Add some apps
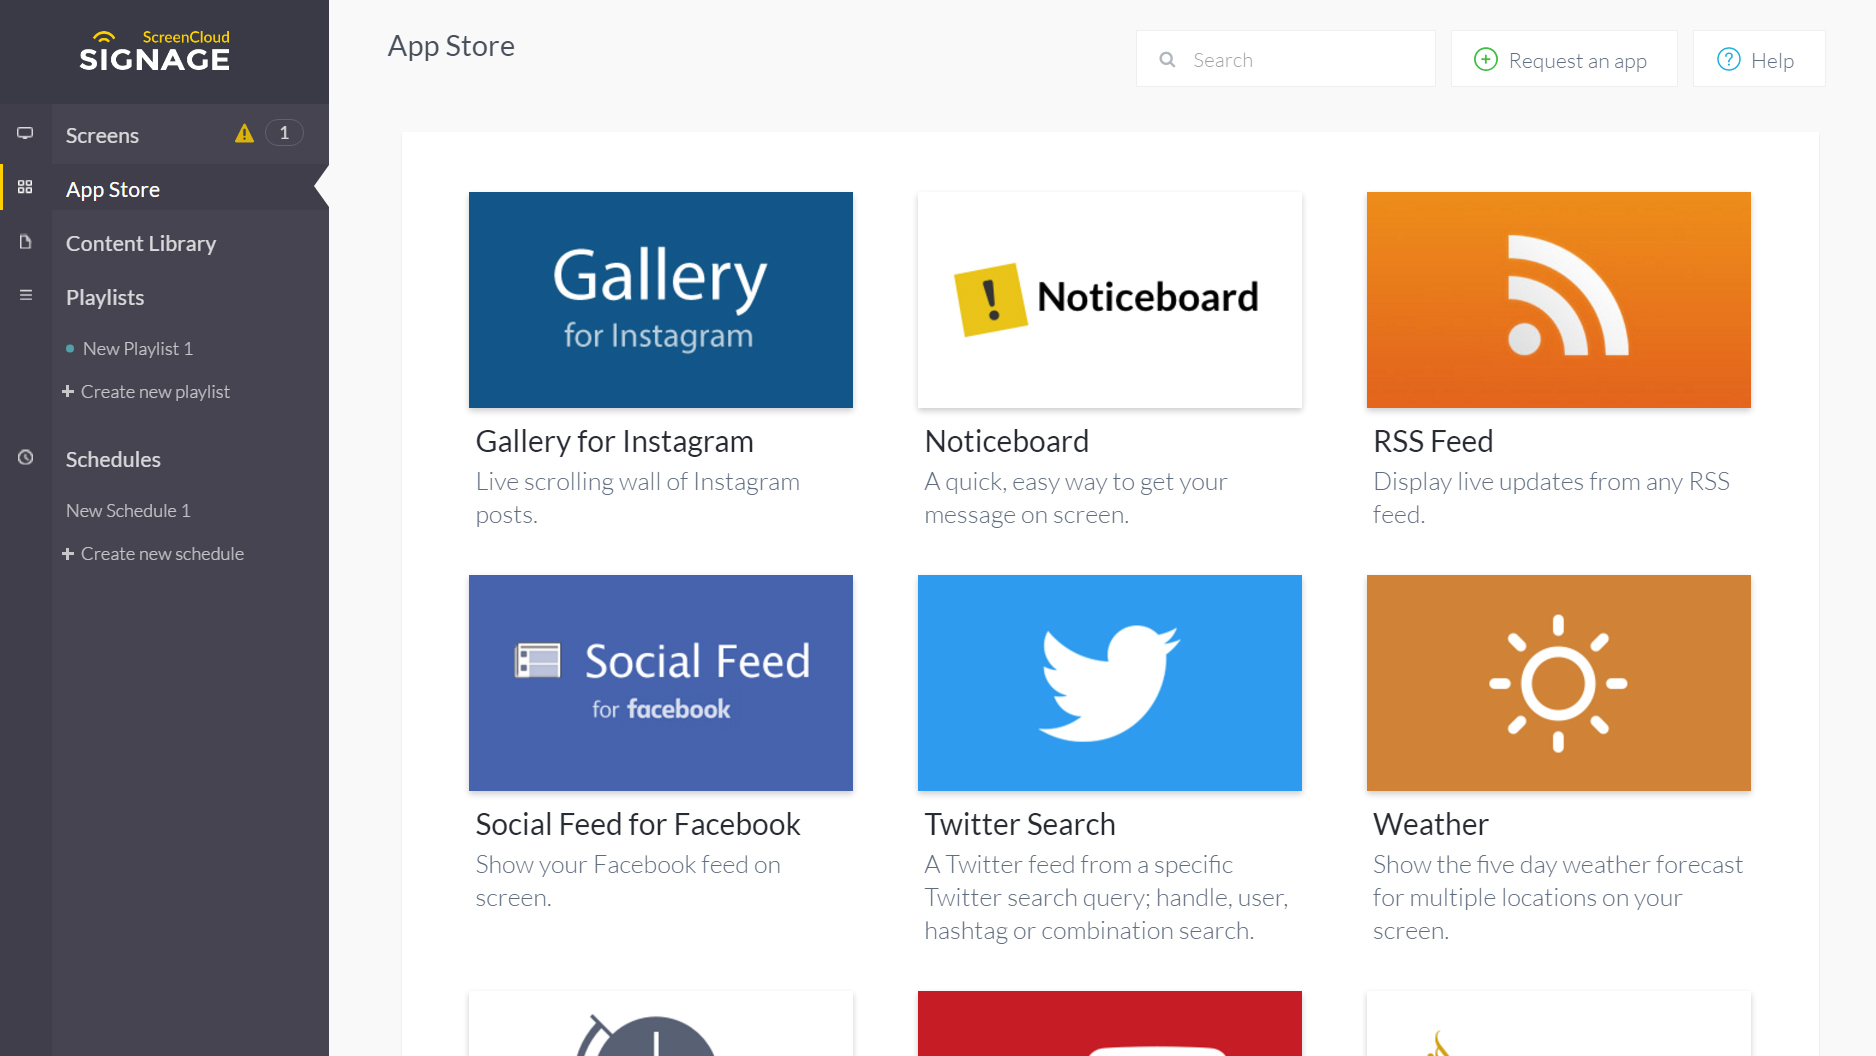
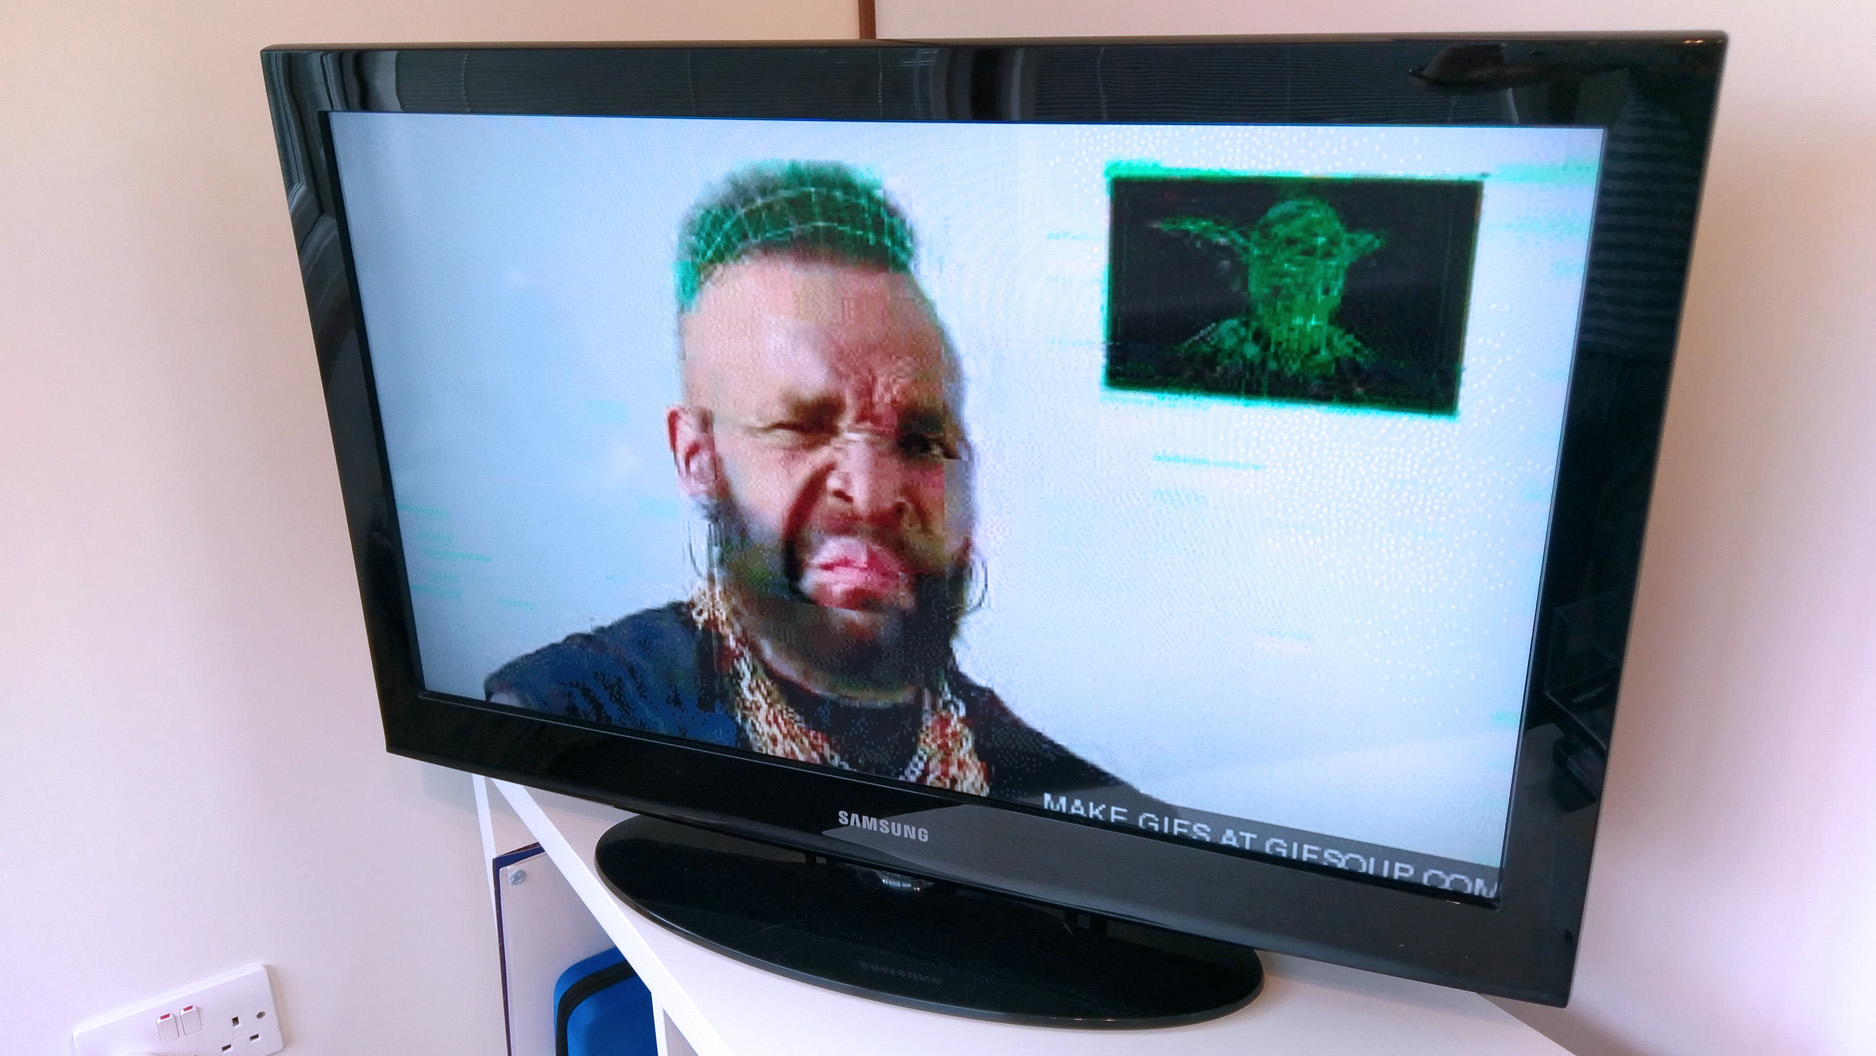
ScreenCloud boasts its own app store, which can be accessed via the menu on the left side of the web interface. Once you’re in the Store, you are greeted by a number of pre-built tools for presenting content on your display. These include Twitter Search, YouTube, Slack, Weather, Google Trends, and there’s even a Giphy app for displaying animated Mr.T gifs (other gifs are available).
Select the app(s) you want to include from the App Store, and click ‘Add this app’ (alternatively select the green ‘+’ icon as you hover over an app).
05. Create a Playlist
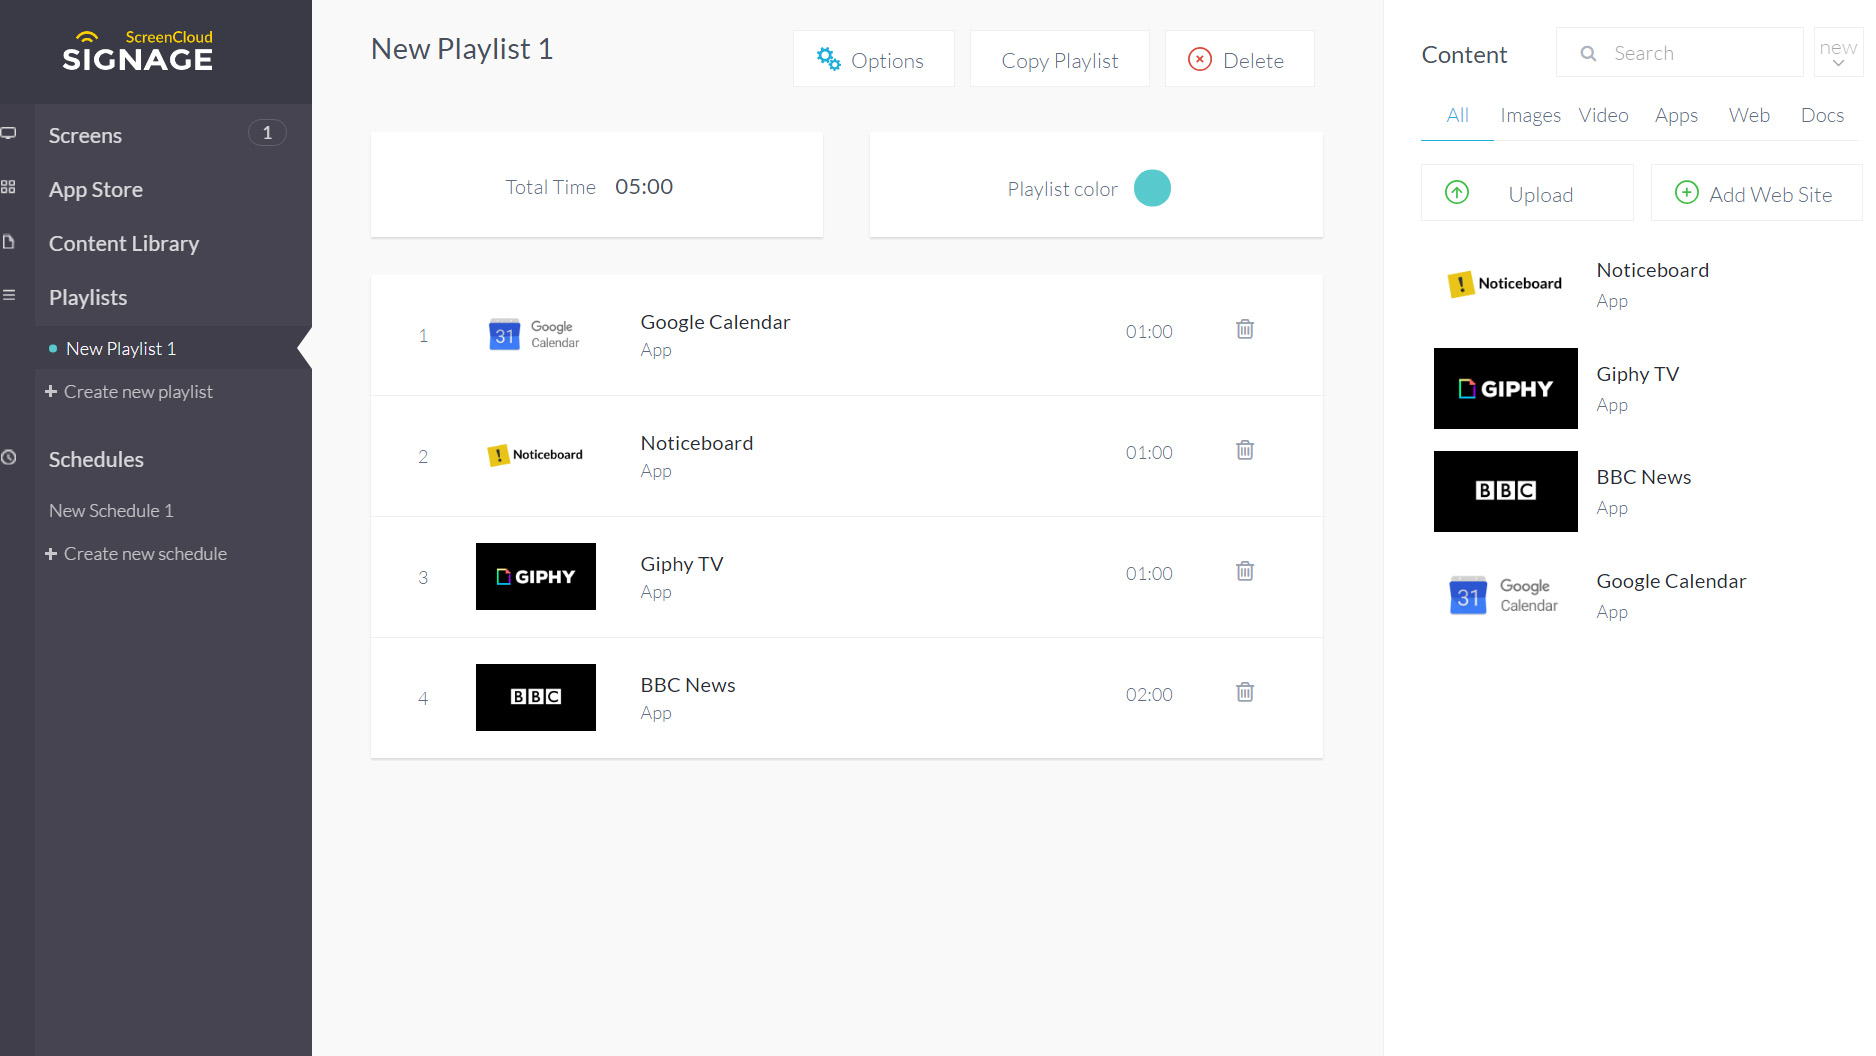
ScreenCloud isn’t just about displaying a single element, and you have the ability to mix and match what you want to display. You do this by creating ‘Playlists’, which, once compiled, are then placed into a ‘Schedule’. To get started you need to select ‘Create a playlist’ from the menu on the left. Now you will see the apps you added earlier appear on the right-hand side, and you can drag and drop them into your playlist.
06. Finish up
The last thing you need to do is add your playlist to your schedule. As you can see, you can create multiple playlists if you choose, placing them on rotation, or you can have them appear on specific days, providing greater control. To add a playlist to your schedule just click and drag over part of the calendar, and then select the ‘+’ icon that appears. Finally, select your screen in the menu (it may have an exclamation mark next to it, as nothing is yet running), click the grey screen, and then choose the schedule you created.
That’s it! Your screen will now display your apps for the duration that you specified, and you can monitor and change everything remotely.
Related articles:
Over the last 20 years, Dan has edited a number of print magazines and websites, including Computer Arts, 3D World and ImagineFX, and has written for publications including the Sunday Times, the Guardian, the Manchester Evening News, Manchester United Magazine, T3, and many more. He has also worked as the digital editor of Creative Bloq's sister magazine, Wallpaper*.
