10 CodePen tricks you never knew you needed
Daily design news, reviews, how-tos and more, as picked by the editors.
You are now subscribed
Your newsletter sign-up was successful
Want to add more newsletters?

Five times a week
CreativeBloq
Your daily dose of creative inspiration: unmissable art, design and tech news, reviews, expert commentary and buying advice.

Once a week
By Design
The design newsletter from Creative Bloq, bringing you the latest news and inspiration from the worlds of graphic design, branding, typography and more.

Once a week
State of the Art
Our digital art newsletter is your go-to source for the latest news, trends, and inspiration from the worlds of art, illustration, 3D modelling, game design, animation, and beyond.

Seasonal (around events)
Brand Impact Awards
Make an impression. Sign up to learn more about this prestigious award scheme, which celebrates the best of branding.
CodePen is a killer toolkit for rapid prototyping, with an inspiring and supportive community of contributors. It has become one of the industry's favourite web design tools by offering hassle-free iteration of creative code, eliminating the headaches of generating fresh development environments, and enabling users to easily tackle myriad frontend concepts ranging from the whimsical and ridiculous to the practical and deploy-ready.
In this article, we've pulled together 10 top tips for getting more from the web industry's favourite coding playground – these will change how you use CodePen forever. If this inspires you to get creative, you might also want to check out our roundup of CSS animation examples, or the most exciting open source projects on the web.
Want to make things even more hassle-free? Build your site with an easy-peasy website builder, and get a super-helpful web hosting service.
01. Explore something new using Topics
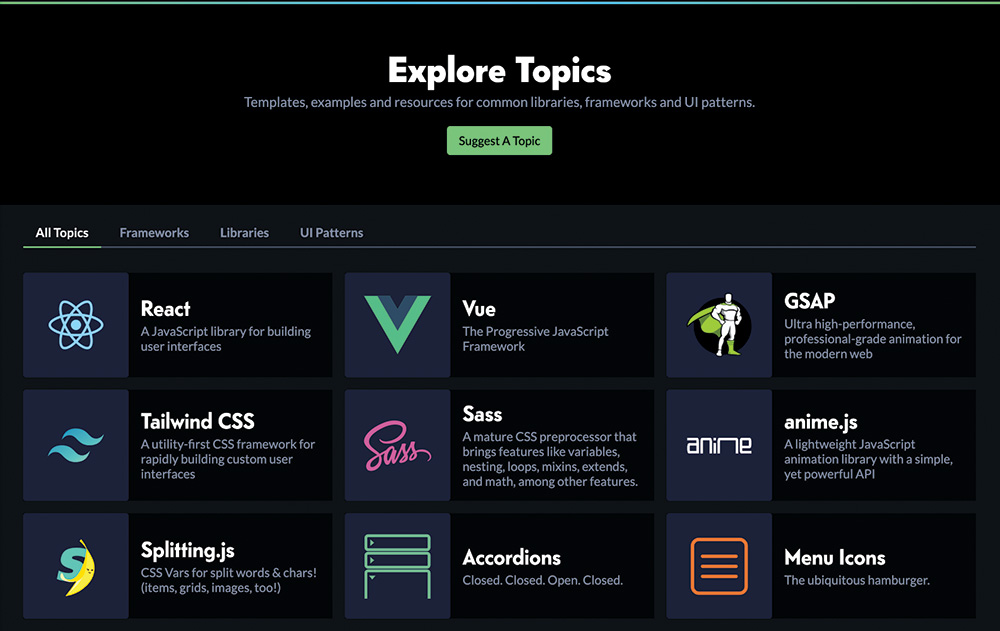
CodePen Topics are a relatively new community-driven feature offered to users of all levels, and they’re a great way to set about exploring new frameworks, UI Patterns or JS libraries. Upon opening the Topics page, you’ll be met with a host of options, filtered by category and even further by subcategories. Once viewing a topical category, for instance Vue.js, we’re met with an overview screen with multiple options.
Need a starter template to help build out that Vue component? Here’s a list of popular components, and a nifty 'New Pen from Template' button to help us get started. Want to see some expertly curated examples of the framework in action? Filter on over to 'Featured Vue Pens' and you’re met with inspirational works by framework masters and novices alike. While browsing these Topic overviews, we’re offered persistent links to official sites, framework or library documentation and guides, and the project’s core GitHub presence.
02. Prototype quicker with templates
Every developer at some point has likely felt real pain when setting up a local development environment, no matter the stack; even a boilerplate setup can require far more time than one is looking to invest in to create and test something like a few submit button prototypes. With CodePen, you’re already there – an IDE standing ready for you to easily dump the contents of your creative mind.
But by using CodePen’s template feature, it’s now even easier to spin up the exact environment you need to get the job done. A template can contain any number of predefined external scripts (you can include another pen as an external asset), will allow you to preset your preferred HTML/CSS/JS preprocessor (which will neatly auto compile on the fly), and will even preserve any existing code that you care to preserve.
Daily design news, reviews, how-tos and more, as picked by the editors.
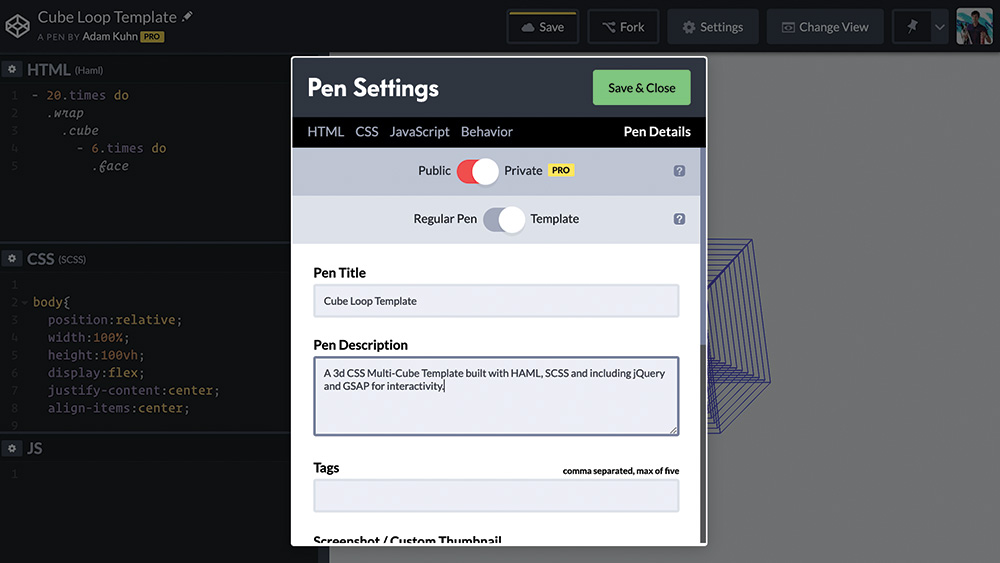
It’s quite simple to specify a Pen as a template – with your Pen opened, mash that Settings button, click on through to Pen Details, and from there you’ll see a neat little toggle offering the option to save as a Regular Pen or a Template.
So how does this differ from forking an existing Pen? Setting a Pen as a template will allow you to choose this setup immediately upon opting to create a new Pen, with no need to search through your previous pens to fork and modify them, no need to re-import all your scripts of choice from the ground up, and no need to reselect all of the syntax options and settings you might prefer for the given concept. Additionally, starting a new Pen from a template treats your Pen as a wholly new creation, whereas forking will create a pen that links back to the original, with a distinct history rather than a blank slate. Upgrading to a CodePen Pro account offers you an incredibly valuable set of expanded features, but even the free user accounts will allow for unlimited template generation.
03. Start a collection
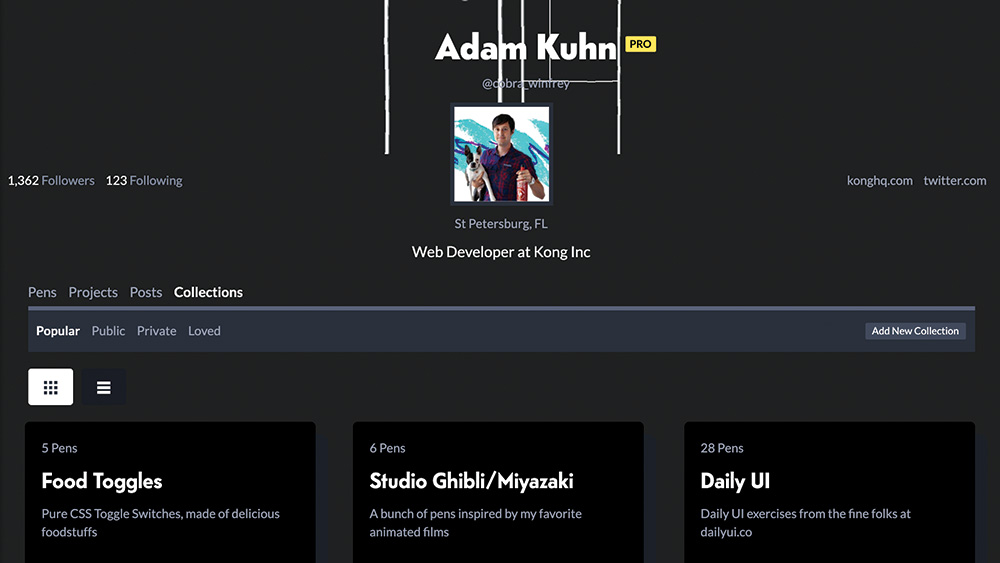
If you enjoy having the ability to seek out resources using CodePen Topics but wish you could curate your own, Collections are the answer you’re seeking. Adding a Pen to a collection is as simple as selecting the 'Collections' drop-down from any Pen’s edit view, where you can specify a Collection or create a new one. Again, it can be anyone’s Pen (and if you’re a Pro user, you can set your Collection to private). The beauty of Collections is the ability to view all of your Collections in one place with robust filter, sort and search options — a great way to define resources by stack or framework, keep a running list of inspiration, or cluster Pens by UI concepts. Interested in another user’s public Collection? You can even subscribe to the Collection via RSS to stay on top of updates.
04. Improve efficiency with preprocessors
Let’s face it, most of us spend more than enough time behind screens than we likely should. Many of us are so overwhelmed with practical career-related endeavours it’s hard to find the time to build a library of useless toggle switches or WebGL page transitions, and while CodePen strips away typical setup time and allows us to get straight to work, efficiency can always be improved. This is where CodePen’s native preprocessors come in handy.
For instance: want to build a grid of a few hundred HTML cells, each one’s style attributes randomly updated via JavaScript? You could go about copying and pasting div after div, sure. And by the end of this all the editor window is nearly impossible to navigate.
Here’s where HAML, Pug or Jade shine: from the Pen’s settings window, select an HTML preprocessor with ease, write a simple loop, and generate these elements in roughly two lines. Not sure where to get started? There’s Pen for that: a search of 'HAML Loop' at CodePen yields a good number of boilerplate Pens that will give you a cursory understanding of how to efficiently generate your page elements.
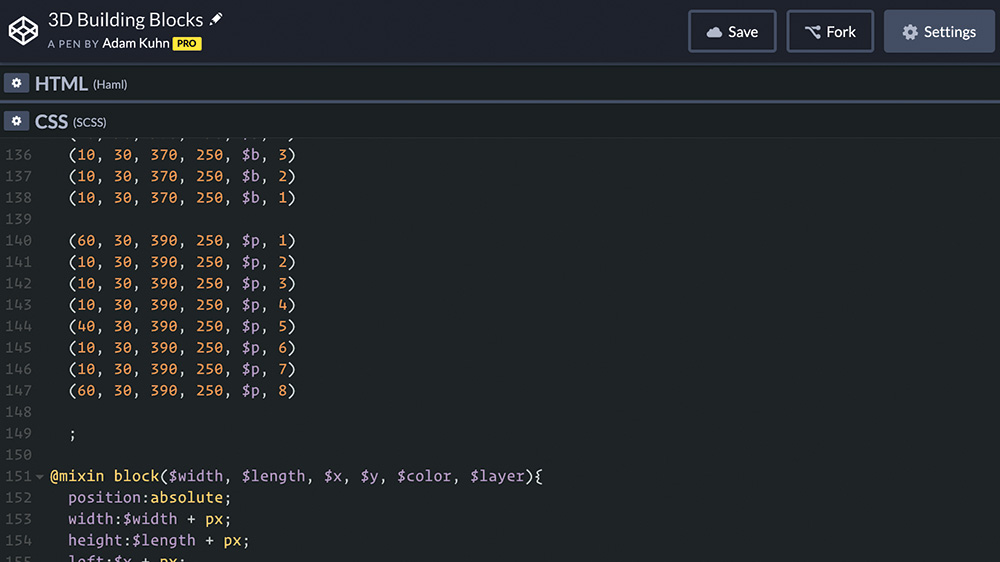
With CSS preprocessors like LESS and Sass, we can build mixins and predefined functions that accept a multitude of arguments, making them a perfect addition to your CodePen templates and allowing you to write otherwise complex styles with relative ease. Perhaps you’re building out UI elements for a greater project – you can now define all your colour, typeface and spacing variables with clear and concise naming conventions; and again including these in a CodePen template allows you to iterate with virtually zero setup.
Enjoy the efficiency of CoffeeScript, TypeScript or Babel? CodePen can natively compile your JS preprocessor of choice too. If at any time if you’d like to peek under the hood and see what your compiled code looks like, you can simply select 'View Compiled' from your code editing pane of choice to get a feel for what your final output will look like – and you should; working with loops and advanced functions can make setup and iteration incredibly fast, but can also wind up spitting out a good amount of unused syntax. If at any time you intend to use these creations in production, be sure to view all of your code fully compiled, and make any reductions or adjustments necessary for performance.
05. Explore CodePen's coolest new feature: Projects
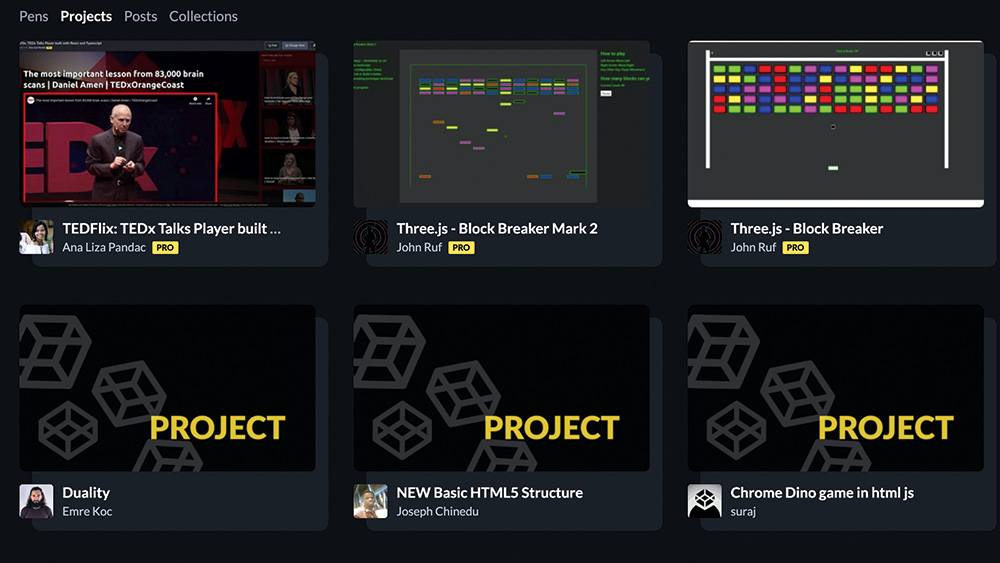
Still a somewhat fresh feature, CodePen Projects are sort of an unsung hero – CodePen’s original three-pane HTML / CSS / JS setup already allows for custom external includes and real-time preprocessor compilation. So what makes Projects stand out? In addition to the standard editing pages, you are able to add your own local files – meaning you can flesh out your own file structures as you would on a local environment, creating multi-page sites or applications in a singular, self-contained environment without the need to set up complicated Gulp or Webpack configurations, for instance.
CodePen projects make it easy to drag and drop your existing files (make sure you stash them safely in cloud storage), and will neatly maintain your structure or allow you to make changes from within the editor. And if you’re a Pro level user, it gets a bit sweeter: when you’re ready to deploy your work, you can deploy the environment of your choice with a single click.
06. Turn on the telly

Hidden amongst all of the powerful, practical tools offered by CodePen is a whimsical distraction known as CodePen TV. CodePen TV is simply a randomised sampling of Picked Pens that gradually rotates in a screen saver-like fashion. Perhaps you don’t care to look at a random selection of Pens and want to curate your own 'channel' of Pens featuring cats — you can also launch a CodePen TV channel based on any CodePen Collection (including Collections created by other users). And if you’re a Mac user, you can even use CodePen TV as a standalone OSX native screensaver!
07. Embrace the community spirit
Coding communities are notorious for exclusivity, creating veritable breeding grounds for impostor syndrome that can feel impenetrable and unwelcoming to even the most seasoned designers and developers.
This is where CodePen stands out – and why becoming an active member of the community offers such benefits. See a Pen that sparks joy? Mash that heart button, and show another user a little love. You can go ahead and click it up to three times if you really, really love the work they’ve done.
Feeling inspired, or maybe thinking of an alternate take on another user’s Pen? With a single click, you can fork a Pen, and then impart your own creative flourishes, or even refactor it as you see fit.
Alternately, if you see a better approach, or you find a flaw in a user’s code, consider commenting on the Pen with any constructive suggestions that you have. While most of the comment sections on sites like these are typically an uncontrollable dumpster fire of negativity, the community typically does an excellent job of self-policing, encouraging positivity, and bolstering others.

Perhaps the best way to dive into the community is by joining CodePen’s Spectrum chat – an open forum for sharing work, soliciting advice, and creative collaboration. One example is Pass the Pen, a concept from CodePen user Kristopher van Sant, wherein a Pen is created, and then iterated over by users who would like to contribute.
CodePen also offers weekly challenge prompts to keep you creatively engaged. You may not feel your work is worthy of sharing, but you’re probably wrong. Take to CodePen’s Spectrum chat and show off what you’re working on no matter how big or small. You’ll be pleasantly surprised how supportive and helpful the average CodePen user is, and probably learn a few different things along the way.
08. Attend a meetup IRL
At the core of what makes CodePen an essential tool for frontend developers is the community. But sometimes it’s helpful to take your skills offscreen – and there’s no better way than to host or attend a CodePen meetup. CodePen will graciously supply you with swag for attendees, and with the help of their sponsors, they can even help you secure reimbursement for food and drink – the location and date are up to you. Meetups provide an excellent opportunity to pair program, publicly solicit strategies or concepts, complete a team challenge or just better get to know what motivates your fellow coders. Or maybe you’re just there for the free pizza. We forgive you.
09. Upgrade to Pro
The depth of functionality CodePen offers free of charge is really quite remarkable, particularly considering the burden of thousands of users simultaneously cobbling together some incredibly server-intensive creations. Out of the box, it’s a pretty well rounded experience – that is until you’ve taken a bite from CodePen Pro. So why make the jump? While it carries many useful expanded features, one feature alone makes it worthwhile: the ability to save Pens privately.
For non-Pro users, every Pen created is publicly indexed, which is often just fine. But what if I want to flesh out some UI flourishes for a yet-to-launch client project? This is where the ability to save privately comes in super handy – 'private' doesn’t mean hidden, you can still share direct links to your pen with your internal team, for instance. But your pen is otherwise indiscoverable. Perhaps you just need an environment to test out new concepts, or you have limited time to work on a creation and intend to return later – this is where privacy options make the difference.
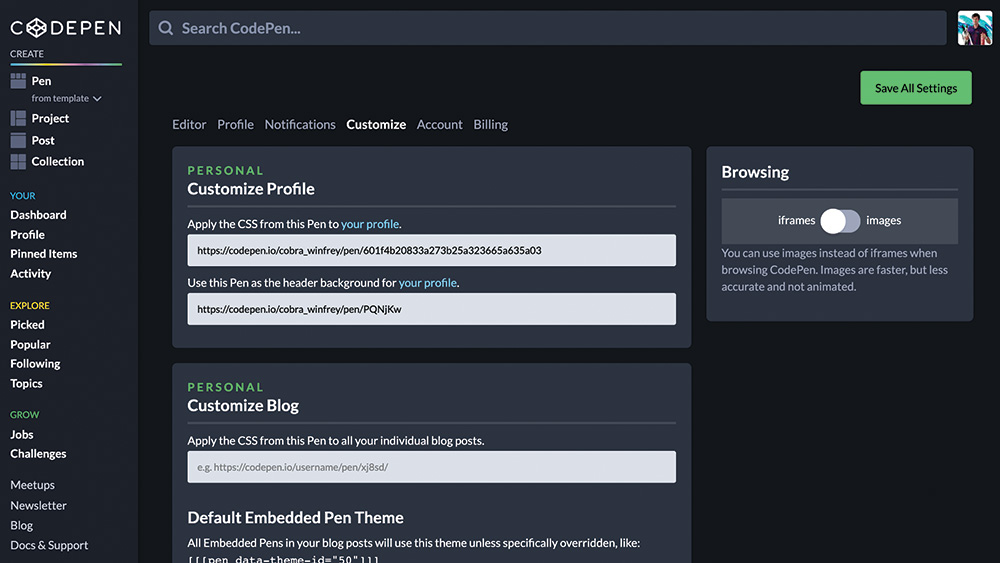
So what else does a Pro account include? Asset hosting! Within a 2Mb per file limit, CodePen will host your Pen’s assets, meaning no need to upload images or scripts to an external host, and allowing more flexibility when working with frameworks with strict cross-origin specifications.
Pro accounts offer access to Live View – allowing users to see their edits reloaded on-the-fly across multiple windows – Collab Mode – which allows for live pair programming and includes a handy chat option – and Professor Mode, which will broadcast your code updates alongside the Pen’s live preview in real time, ideal for code instructors or conference-circuit masochists alike. CodePen Pro also offers the ability to edit your very own profile page, including custom CSS and JS, and an optional Pen embed as page header – because knowing their audience means knowing frontend developers are clamoring to customise, customise, customise.
10. Dip into the well of inspiration
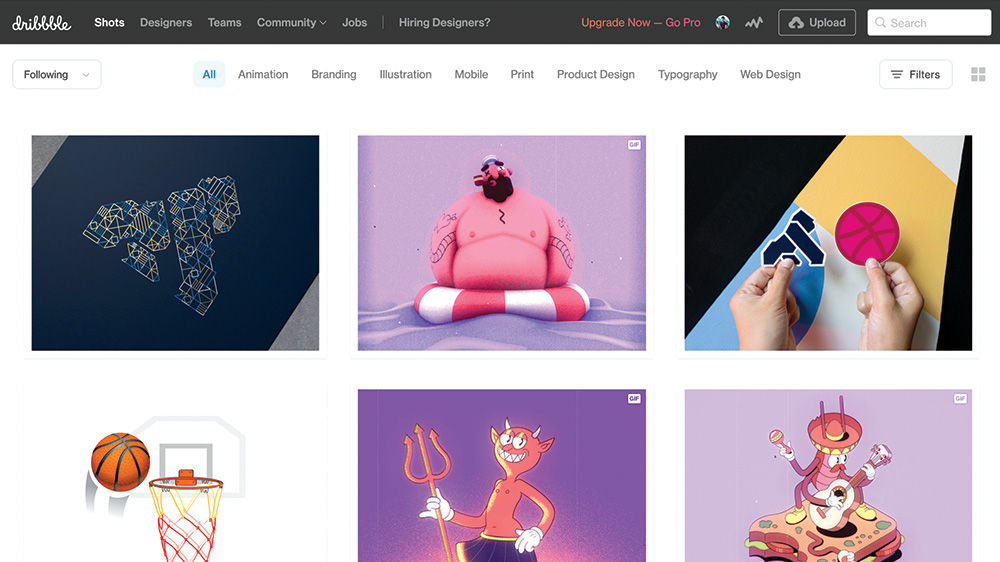
A fresh Pen is like a blank canvas, but sometimes creative block will hit, and that canvas will take a long Nietzschean gaze into you. Feeling uninspired? Look into the latest CodePen Challenge or join in a coding challenge group like Codevember or DailyUI. Maybe head on over to Dribbble and recreate (or perhaps animate) an illustration in CSS – just be sure to give credit where due (adding backlinks to your Pen’s public details is the preferred method.)
These might seem like exercises in futility, and we’ve all been privy to arguments against coding in one’s free time, but there’s another little-recognised upside to (publicly) creative coding at CodePen: potential employers and recruiters actually spend time scouring the site for folks who display creative ambition. Built some things you’re particularly proud of? Be sure to include them in your portfolio.
CodePen makes embedding easy, with multiple display options, and using their new prefill embed feature, you can add a CodePen editor window with rendered code directly from your portfolio site’s codebase.
This article was originally published in creative web design magazine Web Designer. Buy issue 290.
Read more:
Adam is a frontend web developer at Kong Inc by day, and creative code enthusiast by night. He is also a CodePen Pro.
