
Popularised by the great New York-based art director and illustrator Justin Maller, the low poly facet-style render is easier that you think in Cinema 4D and Photoshop. If you're new to the softwares, there are plenty of Cinema 4D tutorials and Photoshop tutorials to get you started. But for those of you who are ready to go, here's a simple 12-step guide to creating your very own low-poly facet wallpaper.
Step 01.
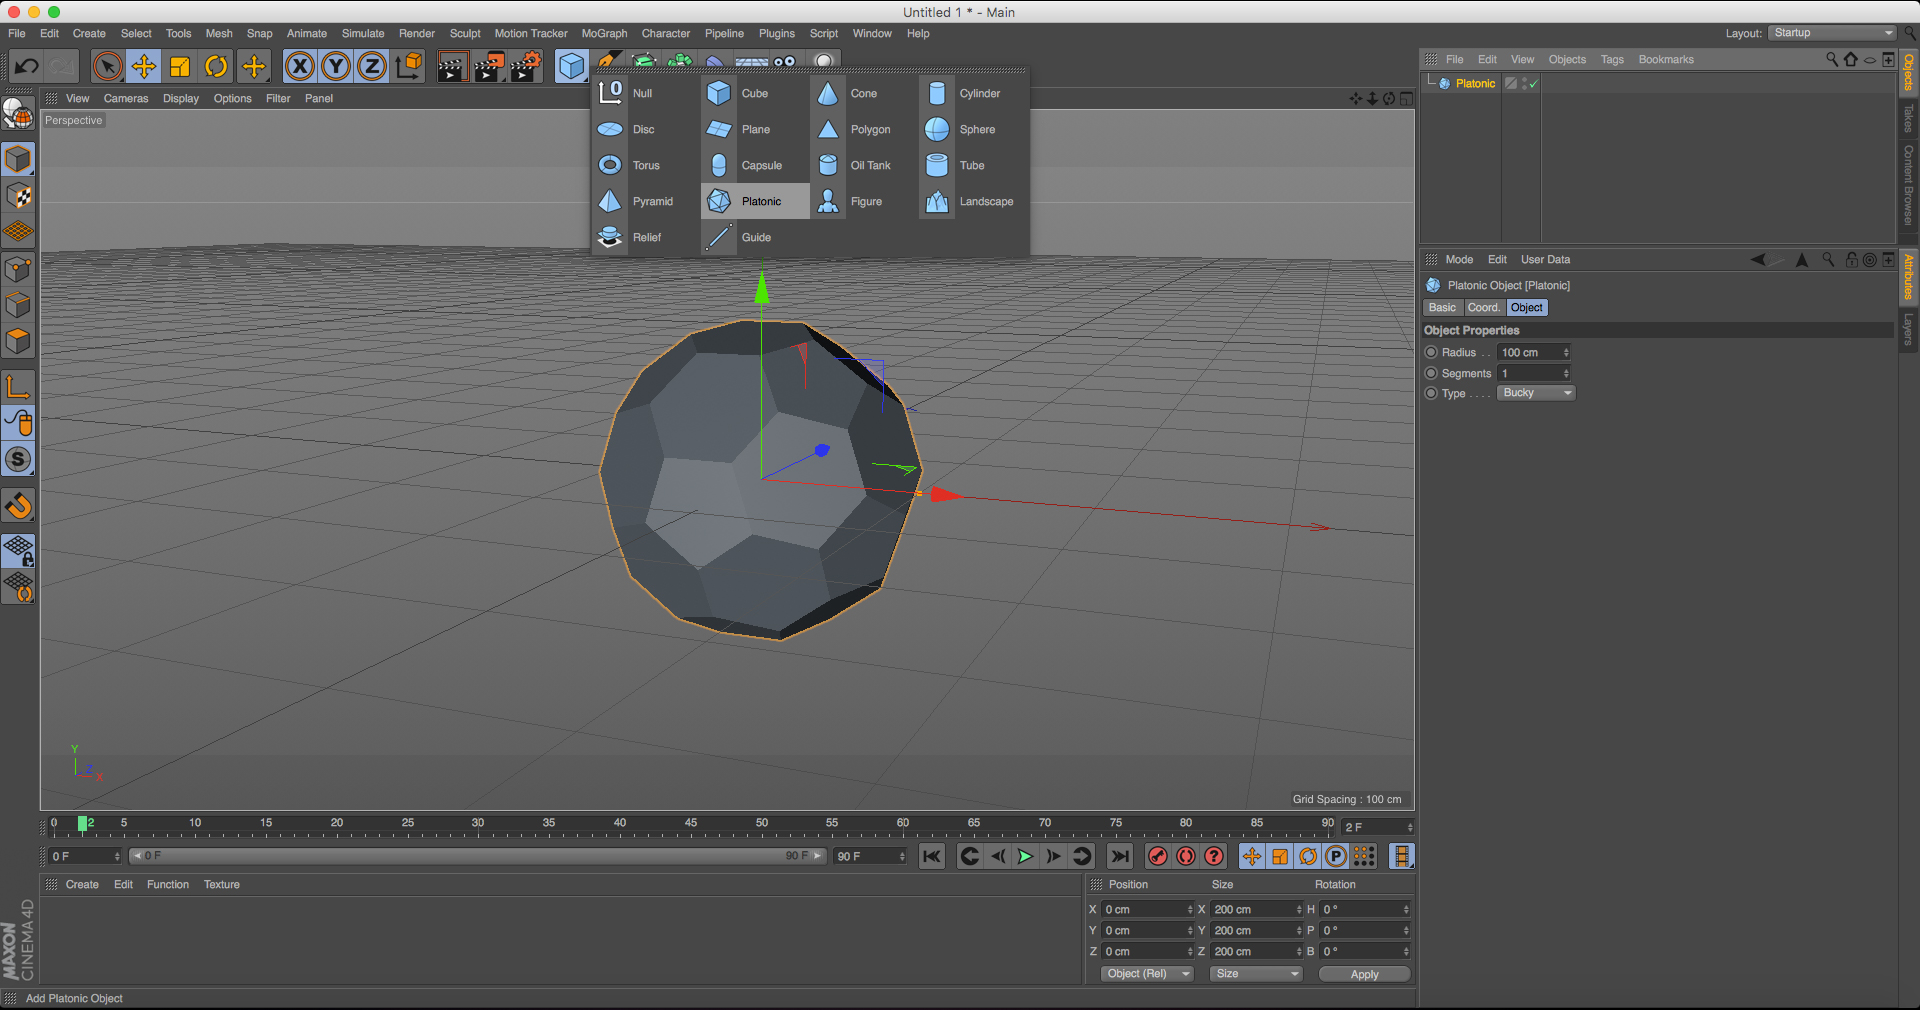
First off, fire up Cinema 4D and add a platonic shape from the shape menu to your scene. Select the shape in the objects menu and select the object tab in the Attribute panel below. Change the type to Bucky.
Step 02.
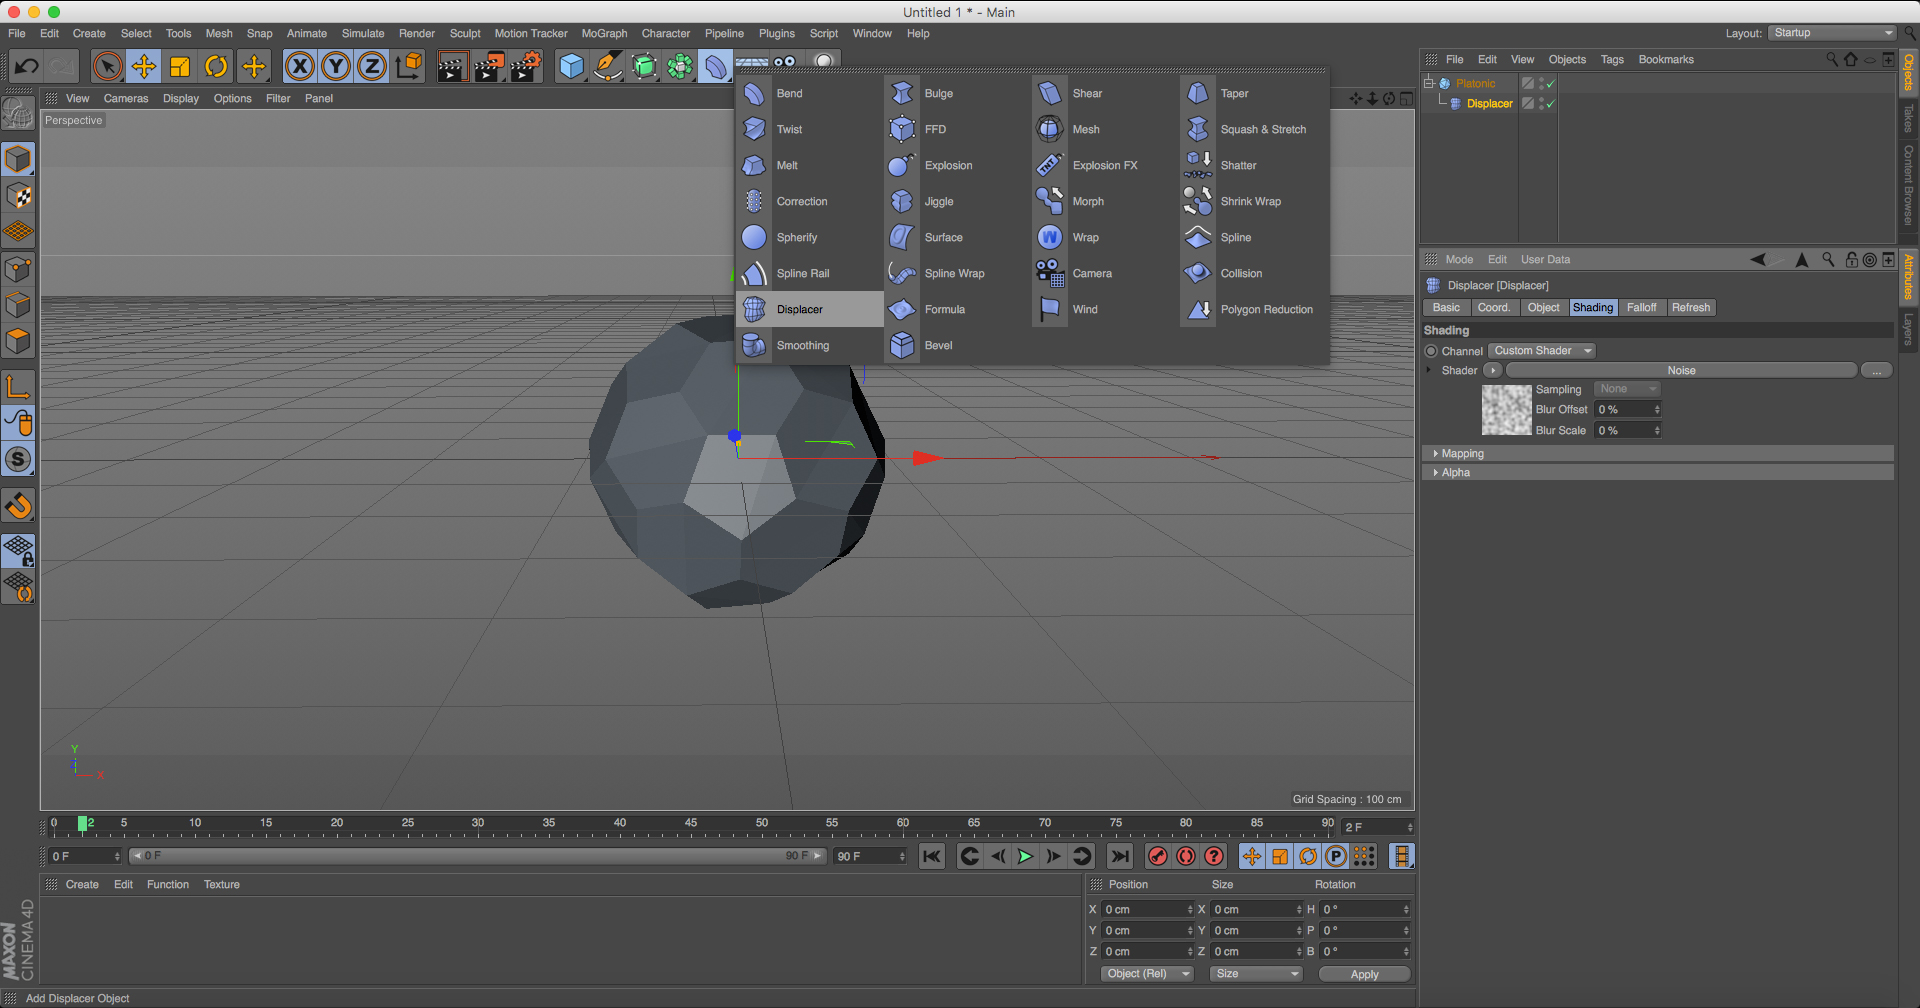
Next, select a Displacer object. This lives in the same menu as the Bend object. Move the Displacer inside your Platonic shape in the Objects panel to make it a child of the shape.
Once there, select the Shading tab from the Attributes panel below. Next to the shader, click the little white arrow button to be able to select noise. Once selected, click the object tab and alter the height. This will start to create the kind of shapes we're looking for.
Step 03.
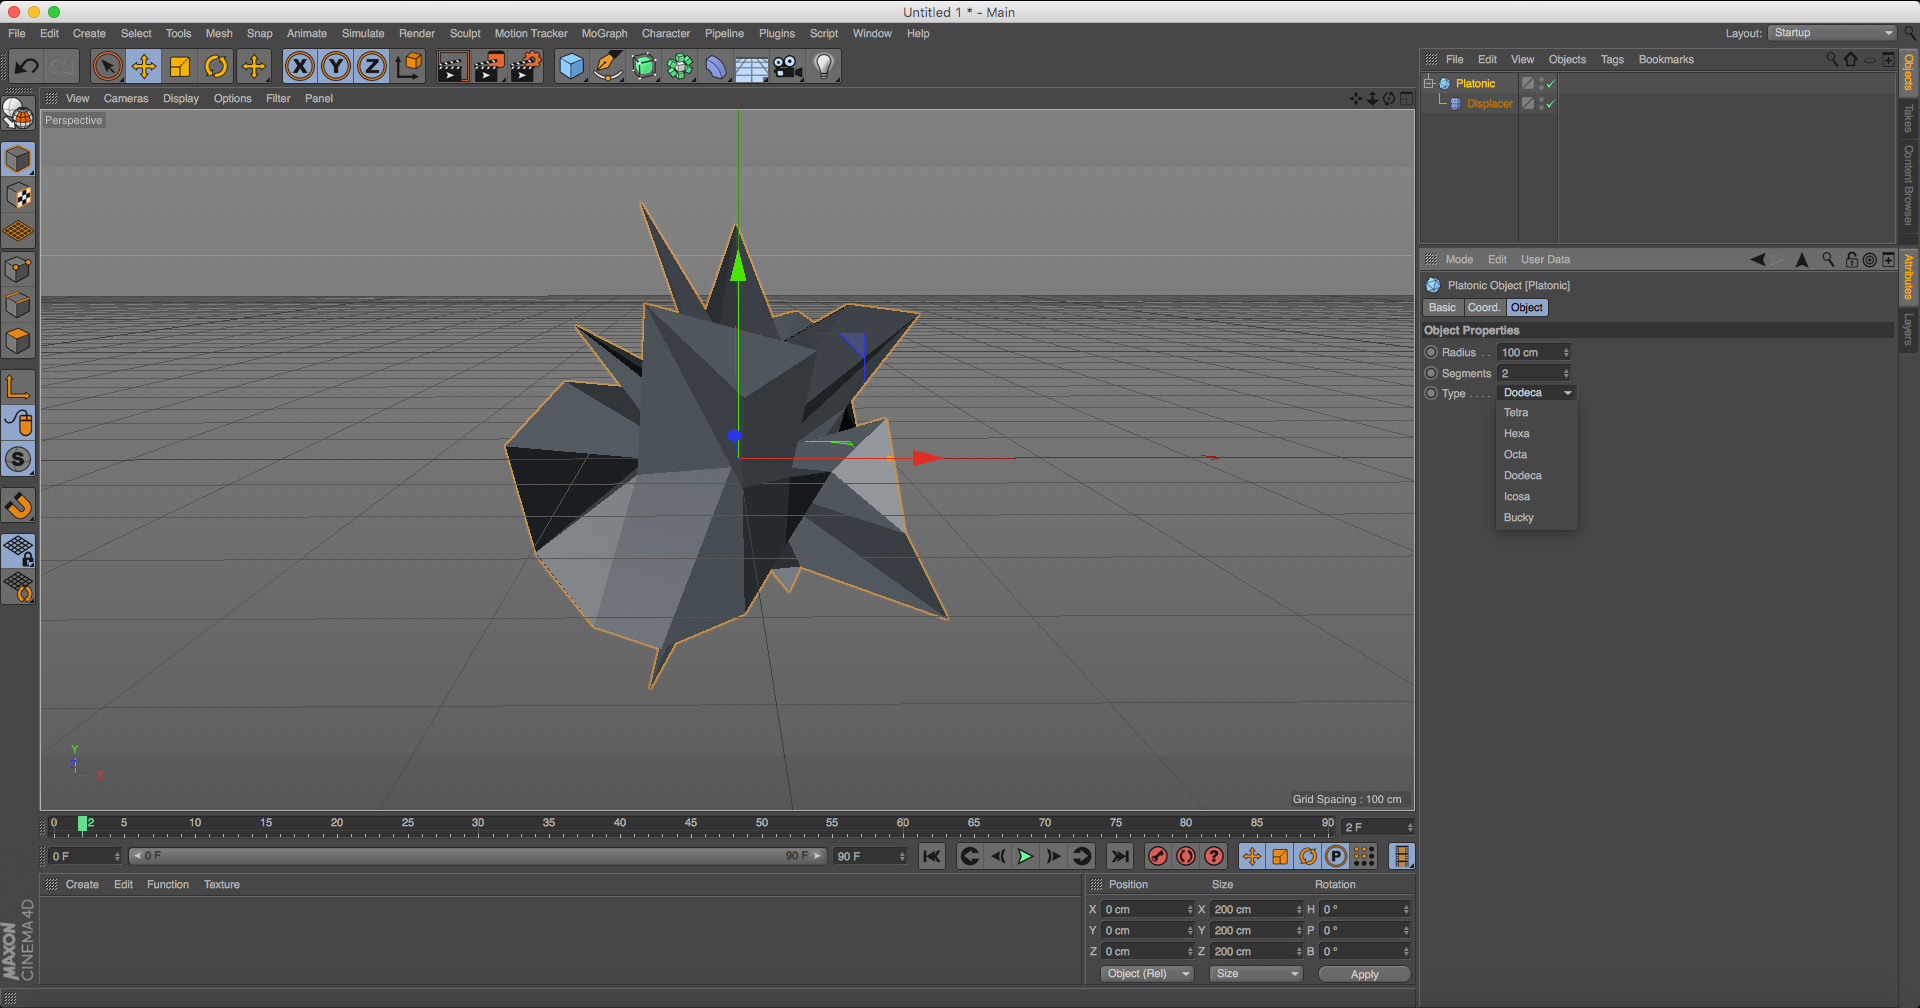
As well as playing around with the height and noise attributes, you can also tweak the attributes of the Platonic shape, like its type and segments. This will give you a more detailed shape. It's worth playing around until you get one you like.
Step 04.
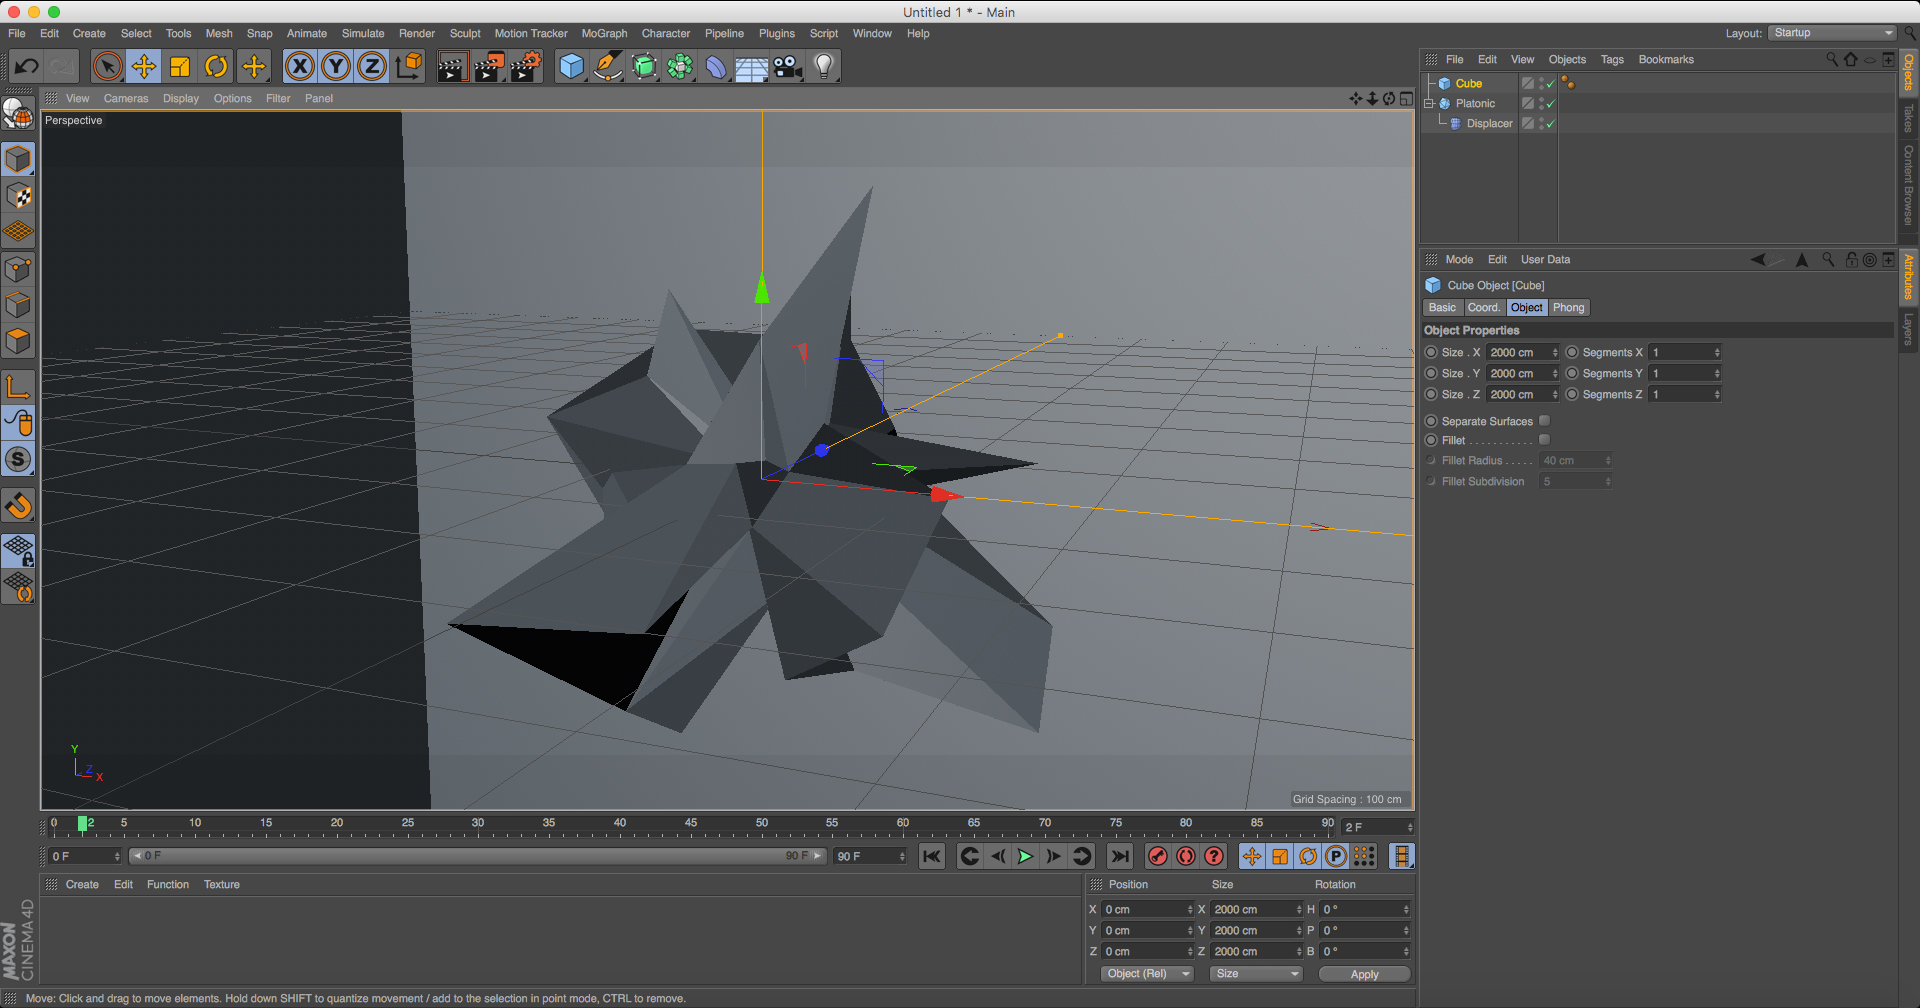
Next, we'll need to add another shape to our scene. We'll use this later to project colour into our Platonic shape. So select a cube and in its Attributes/Object panel change its X/Y/Z size to 2000cm. This should surround your Platonic shape and still allow you to see it.
Step 05.
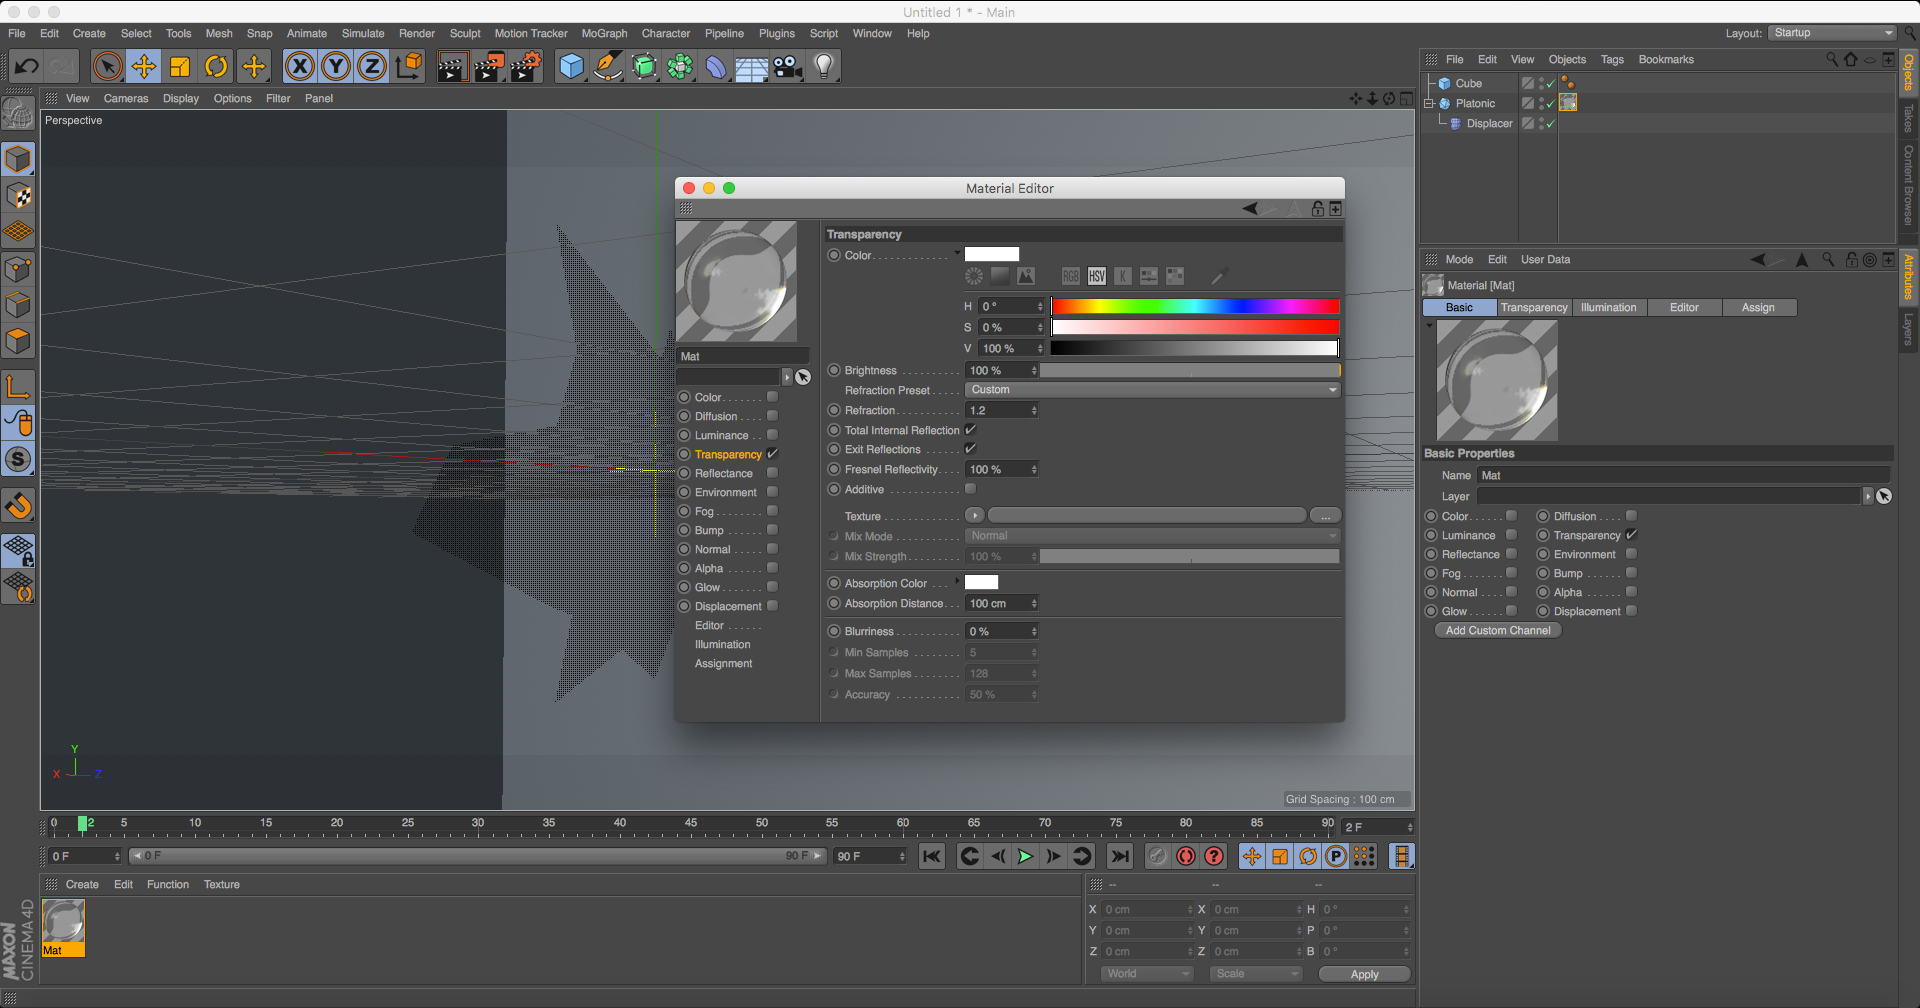
Let's create some materials to apply to our shapes. First, some glass. To do this select Create > New material from the materials panel, bottom left of your screen.
Once it appears, double-click the material to bring up your Materials window. On the left-side of the window turn all attribute types off, other than Transparency. Once selected in the right-hand panel, change the Refraction setting to 1.2. With the glass created, drag the material and drop it onto your Platonic shape.
Step 06.
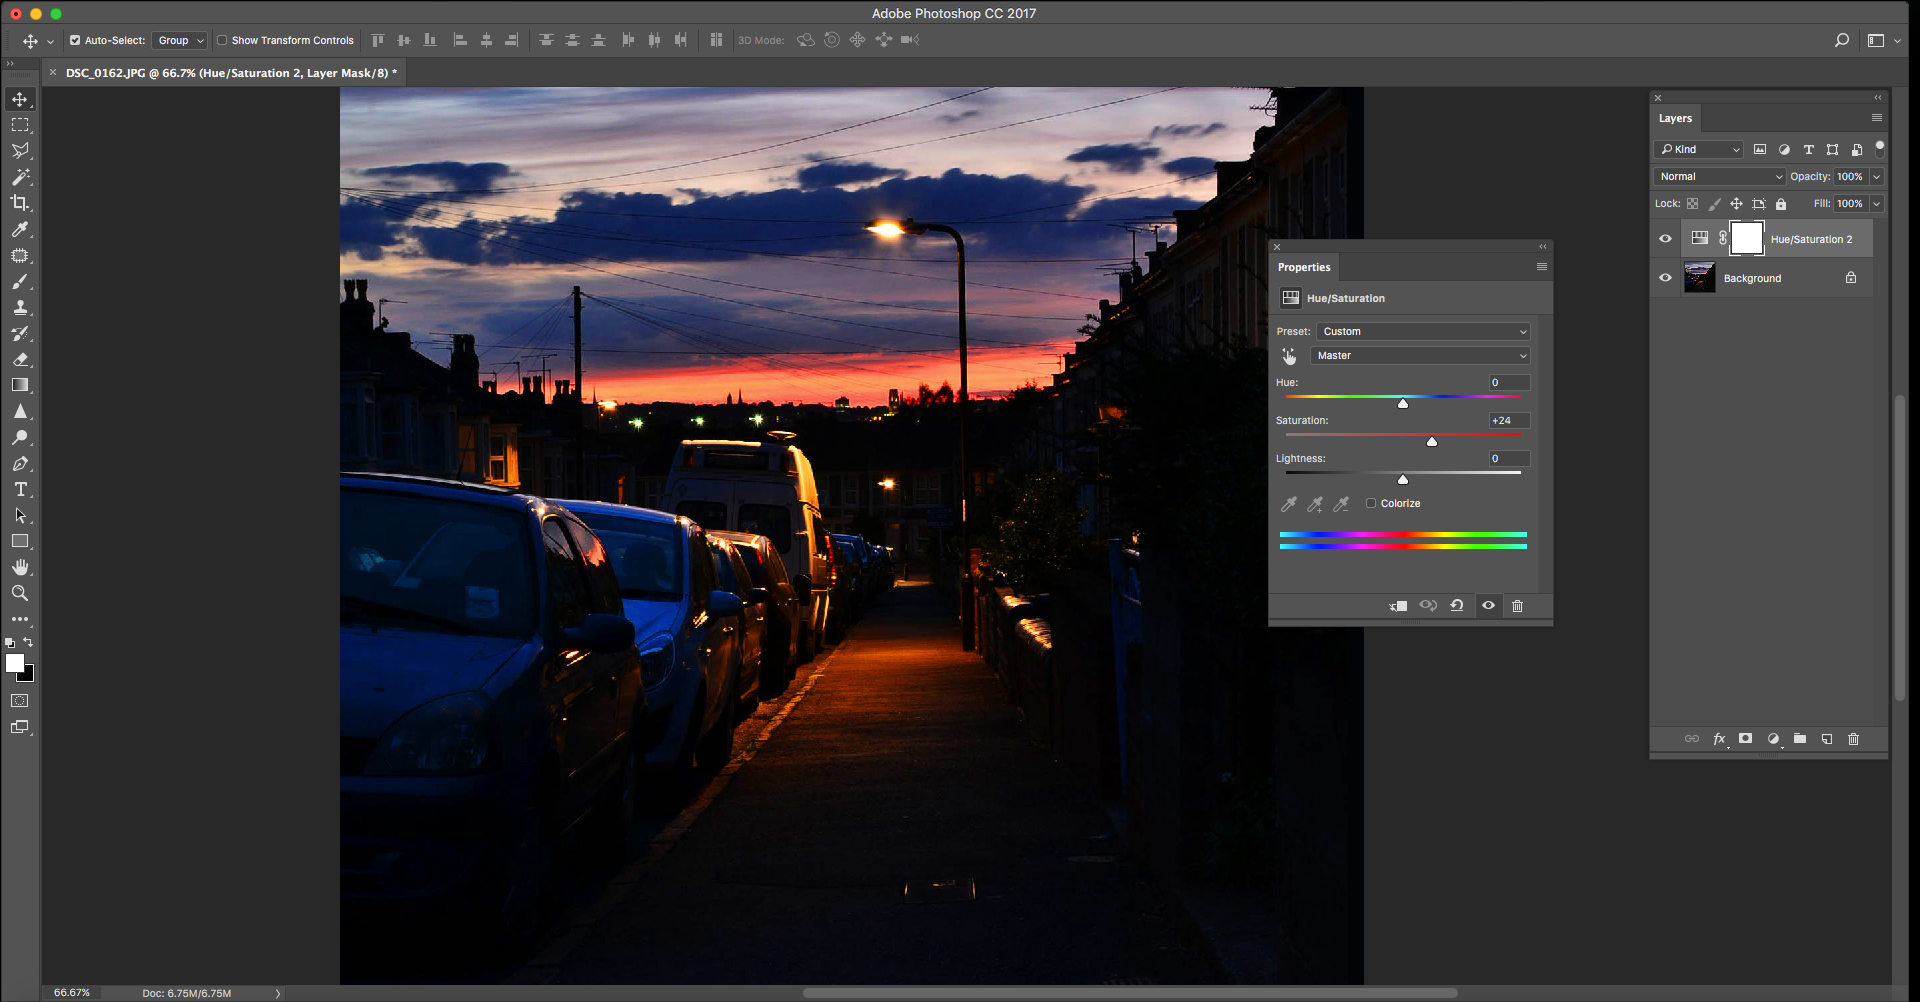
Next, we'll need to find a photo or image that we'll use to project onto our shape. I found that darker, high-contrast images seem to work well, as well as dropping them into Photoshop first and boosting up the Saturation.
Next page: the final six steps to creating your own low poly facet wallpaper...
