
Digital painting techniques make it possible to depict reflections in glass in a relatively straightforward manner. Certainly, it’s much less laborious than taking the traditional media approach to painting reflections. And it’s all down to the use of layers in painting apps.
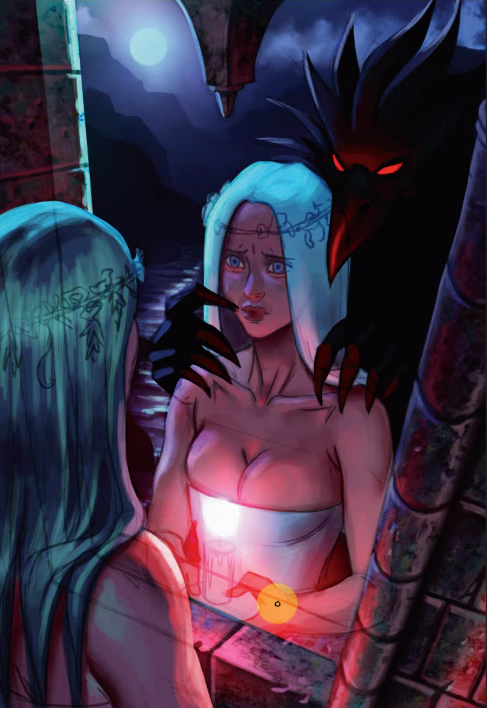
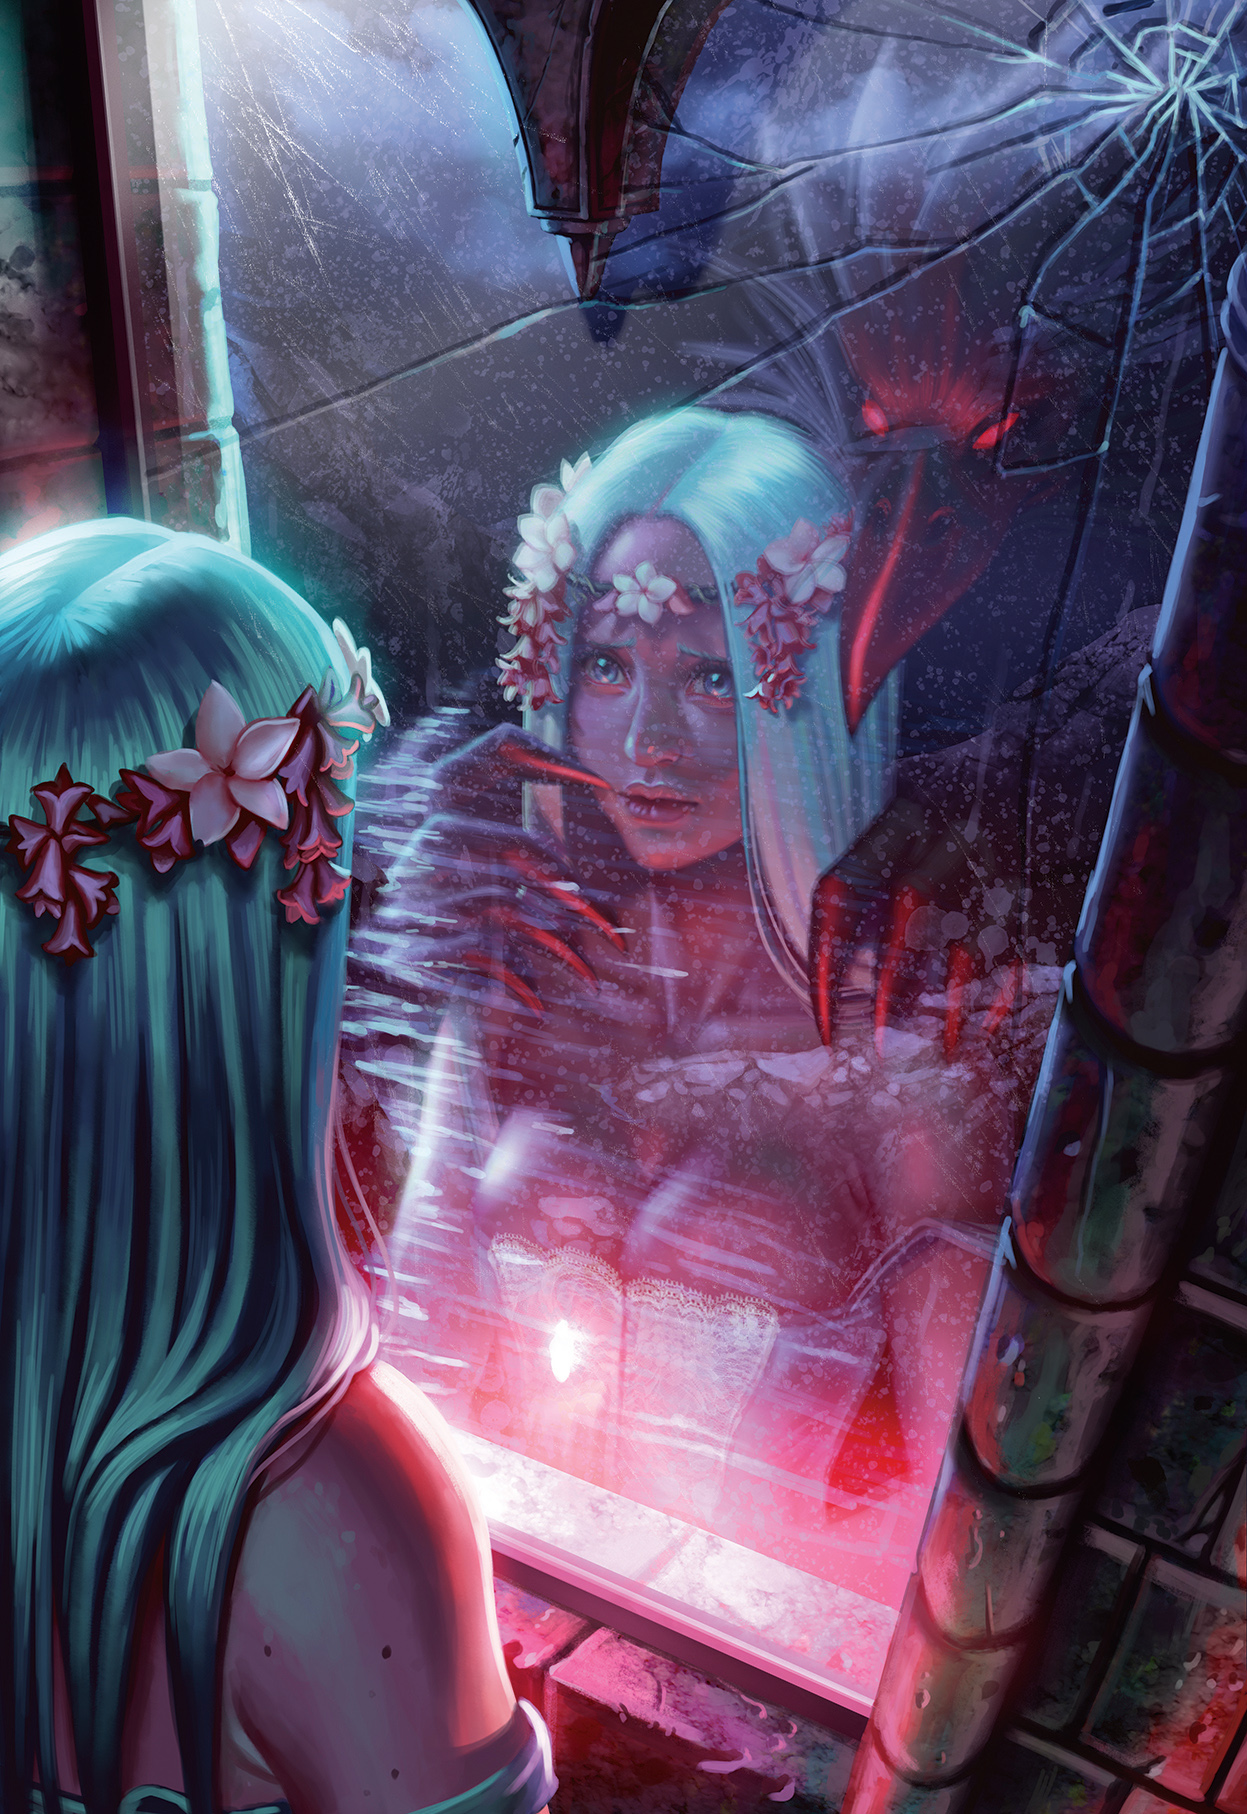
When painting the reflection of a person in a window, remember that window glass is different to a mirror, which produces a sharp, well-defined image. A window works differently because of the transparent nature of glass. As such, a dark background on the other side of the window is what makes the reflection possible in the first place.
Some aspects of the background will emerge in the reflection as part of the image, so it’s important not to overdo the transparency effect. Keep in mind that glass is a glossy surface, but also fragile. Elements such as dirt, erosion and cracks in the glass will give it an even more realistic look.
Watch the video tutorial below to see this technique in action, then read the step-by-step instructions.
Now onto the steps. Begin by laying down the sketch, starting with the environment that you'll see reflected in the glass window...
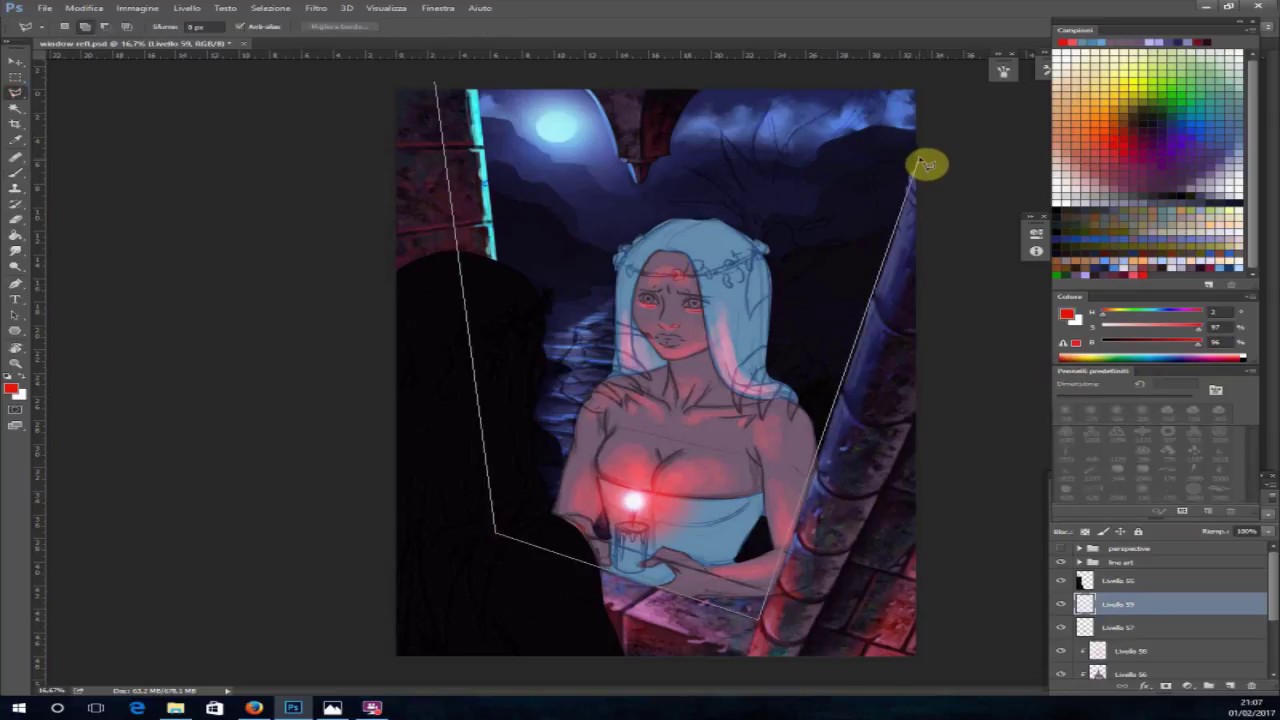
01. Consider the perspective

In this example the focal point will be a reflection of the figure, so it is placed in the middle. On a separate layer, draw the perspective lines. Getting the reflection and the perspective correct can be the difference between a successful image and a failed one.
02. Paint the reflections as solids
Start on the background. The girl’s reflection is added on a new layer, without factoring in the transparency effect yet. Then, select the Layer dialog and set the blending mode to Screen, so everything that’s dark in the layer become transparent.
03. Weather the glass

Now, adjust the Opacity and Fill settings in the Layer dialog, which affect the level of reflection. Then add weathering effects to the glass: create a new layer and paint dirt with a light grey and a scattered brush. Depict cracks on another layer.
This tutorial originally appeared in ImagineFX issue 147. Buy it here.
We think you'll like these related articles:

