15 top tips for creating realistic sculptures
3D artist Glen Southern provides a run down of some top tips for using ZBrush to sculpt life-like creations.
08. Break symmetry
As mentioned, the Transpose tool helps you to pose your model. Nothing in nature is perfectly symmetrical, so breaking the symmetry helps to make a creation look much more natural and believable. Try slightly turning the character's head or simply twist one foot out a little bit and shift the weight of the model onto one foot. To so easily and non-destructively, use the Transpose and Mask tools.
09. Brushes
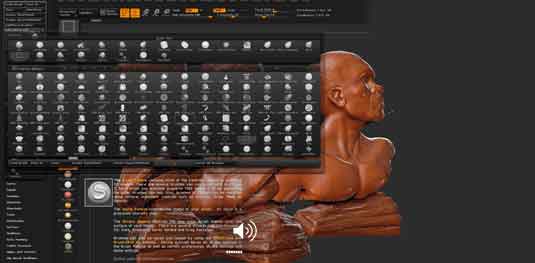
At the heart of ZBrush is the Brush palette, which contains the tools you need to create your organic masterpieces. To become a great digital sculptor you need to spend time learning what each brush does and where best to use it.
Every artist has a small set of core tools that they use for the majority of their work: my toolbox includes Clay Buildup, Move, Move Topological, Insert Mesh, Polish, Trim Adaptive, Rake and the all-important Smooth (which you can access by holding down [Shift] while any brush is selected).
10. Configure your tools
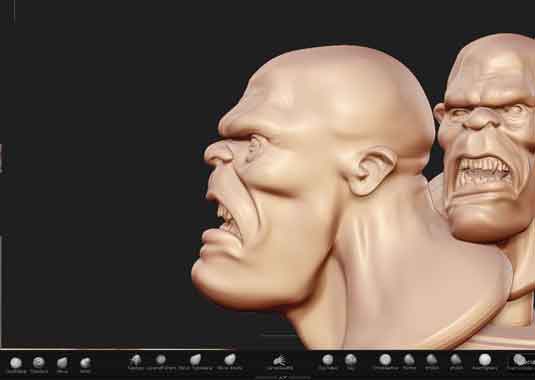
As you develop as a modeller and sculptor, you will quickly get to know which tools and brushes work best for certain tasks. Customising your interface is a great way to always have your important tools to hand: you can move all parts of the interface around to suit your needs. (Go to Preferences > Config > Enable Customise.) Select all the brushes you want to have to hand, and arrange them at the bottom of your interface.
You can also set up your most-used interface options as keyboard shortcuts: hold [Ctrl] + [Alt] and click on the interface item you want to assign a hotkey to, then press the hotkey. To manage your hotkeys, go to Preferences > Hotkeys > Store.
11. DynaMesh
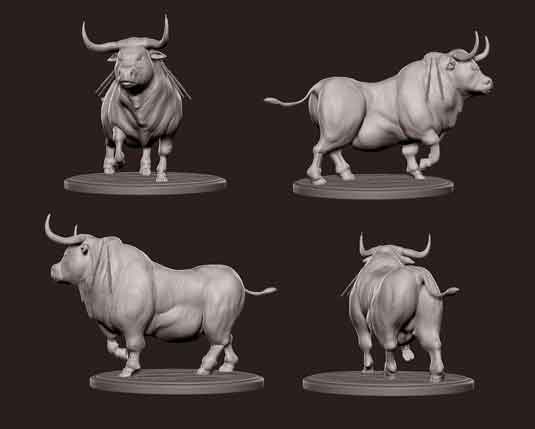
Models can become so stretched out that the underlying polygons become a problem. This is fine up to a point, but the stretching can make your work look odd when it comes to finer details. With DynaMesh switched on, you can simply redistribute the polygons evenly across the model's surface. This may not help from a polygon flow point of view, but it does allow you to sculpt detail accurately.
12. Clay Buildup
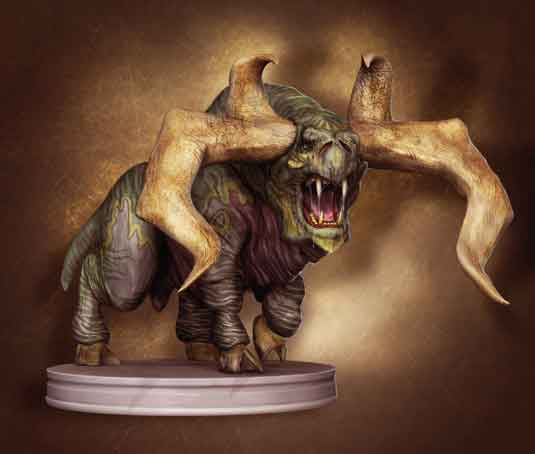
The Clay brushes are my favourite tools, and the Clay Buildup brush is my most used option. This brush allows you to slowly and steadily build up muscle groups and volume by simply stroking along the model. Keep the Z Intensity low, and hold down [Shift] while brushing to smooth things out.
Sign up to Creative Bloq's daily newsletter, which brings you the latest news and inspiration from the worlds of art, design and technology.
13. Insert Mesh
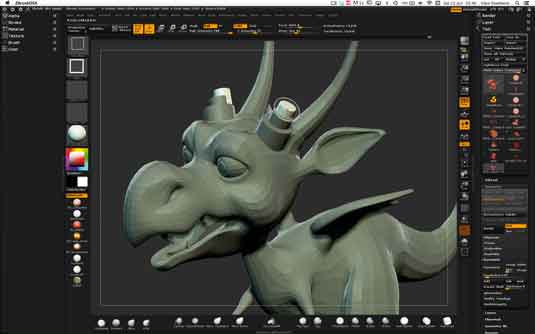
Sorting out stretched polygons is just one aspect of DynaMeshing. With the Insert brush you can add any ZTool (model) to any other ZTool and DynaMesh them together. Want to add geometry for a head? Simply use the Insert Sphere brush, add a sphere onto a body and DynaMesh it in. As you can use your own pre-existing model parts, this can be quick and simple way to develop a creature.
14. Advanced Insert Mesh
Once you are familiar with the Inset Mesh brush – and have explored all the available Insert brushes – you will want to make up your own library of parts to be reused on future models. You can make any model you have into an Insert brush, so you can build up libraries of parts like arms, heads, ears, horns, claws, fingers and tails etc. Simply use the Create Insert Mesh option in the Brush palette to make your own.
15. Move Topological
Once you have made your organic model, you will want to tweak and rework it. Using the Move brush allows you to do just this – however if you wanted to move a lower lip over an upper lip, for example, you would need to mask out the upper lip. When using Move Topological, the moving only takes place based on the polygon flow, making this a must-have tool for detailed anatomy tweaking.
Words: Glen Southern
Glen runs SouthernGFX, a studio specialising in characters for videogames, TV, and film. This article was first published in 3D World.
Like this? Read these!
- How to land your dream job in animation
- Download free textures: high resolution and ready to use now
- Discover what's next for Augmented Reality

The Creative Bloq team is made up of a group of art and design enthusiasts, and has changed and evolved since Creative Bloq began back in 2012. The current website team consists of eight full-time members of staff: Editor Georgia Coggan, Deputy Editor Rosie Hilder, Ecommerce Editor Beren Neale, Senior News Editor Daniel Piper, Editor, Digital Art and 3D Ian Dean, Tech Reviews Editor Erlingur Einarsson, Ecommerce Writer Beth Nicholls and Staff Writer Natalie Fear, as well as a roster of freelancers from around the world. The ImagineFX magazine team also pitch in, ensuring that content from leading digital art publication ImagineFX is represented on Creative Bloq.
