How to texture a videogame character
Learn how to use real-time texture tool Substance Painter with video game artist Nicolos Garilhe.
Sign up to Creative Bloq's daily newsletter, which brings you the latest news and inspiration from the worlds of art, design and technology.
You are now subscribed
Your newsletter sign-up was successful
Want to add more newsletters?
With each new generation of console, game artists have to deal with new workflow and physically based rendering techniques. Thankfully, the Substance Suite provides artists with all the tools they need to work efficiently with these new methods and workflows.
While Substance Designer enables you to make procedural and customisable textures, and demands a bit of technical knowledge, Substance Painter creates textures in a more spontaneous and intuitive way – by painting directly on to your model.
Substance Painter is a formidable tool for quickly texturing assets or characters, by using a layer-based workflow – like you'd find in Photoshop, for example. But Substance Painter is especially powerful when you’re using Substance materials to paint directly on to your mesh, on all your channels (diffuse, specular, height and so on) at the same time, or to create fully customisable effects like edge wear or dirt.
By default, Substance Painter comes with enough materials for most of your needs, and it's also possible to create custom materials to add to your library, so it will get bigger and richer with each new project. You will even be able to create more complex material in Substance Designer, and import them into Substance Painter.
While Substance Designer and Substance Painter work very well together, in this tutorial I'll show you that it is possible – and really easy – to get great results just by using Substance Painter.
01. ZBrush concept
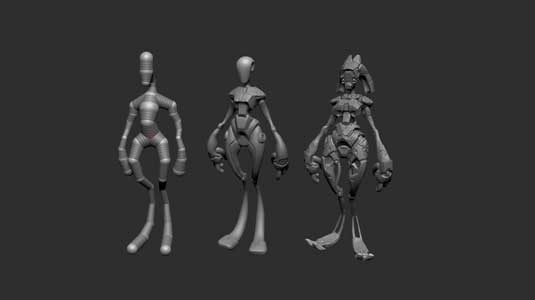
If I don't have a concept to work from when designing a character, I really enjoy starting directly in ZBrush, using ZSpheres and DynaMesh. The main pros of it (compared with making a concept in Photoshop), is that I can work on all my concept's views at the same time, and make sure everything is working together.
02. Clean the mesh
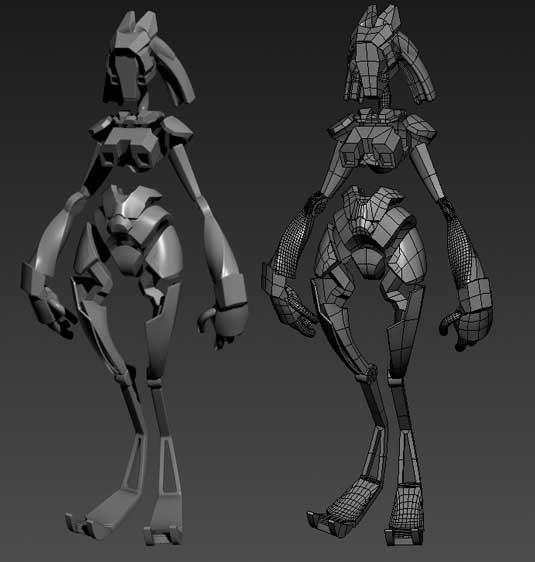
When I'm happy with my design, and have a pretty good idea of what my character will look like, I import the concept mesh into 3ds Max, and start to build a clean mesh, with clean topology, using the Turbosmooth modifier. I'm looking for nice shape, but at this point it's best not to do all the detailing, as it'll be easier to add it in ZBrush later.
Sign up to Creative Bloq's daily newsletter, which brings you the latest news and inspiration from the worlds of art, design and technology.
03. Detail mesh in ZBrush
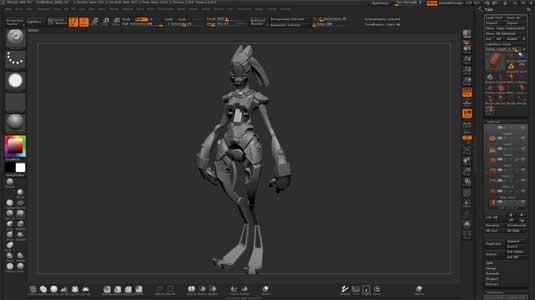
Now I can import my clean mesh back into ZBrush and start to add more details, following my concept mesh. I like to use DynaMesh when I want to do a boolean operation, and insert a curve mesh to add small elements such as bolts or mechanical parts.
04. ZRemesher and UVs
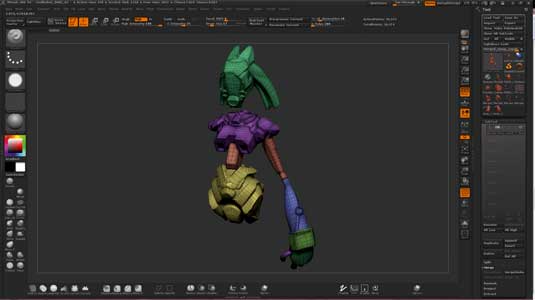
Since the character created for this tutorial is not meant to be a playable one, I didn't want to spend too much time on the low poly and retopology. So instead I use ZRemesher. I fuse all the meshes that move together with DynaMesh so I can have one big chunk, and then I run ZRemesher. The UVs are also done in ZBrush using UV Master.
05. Painter setup
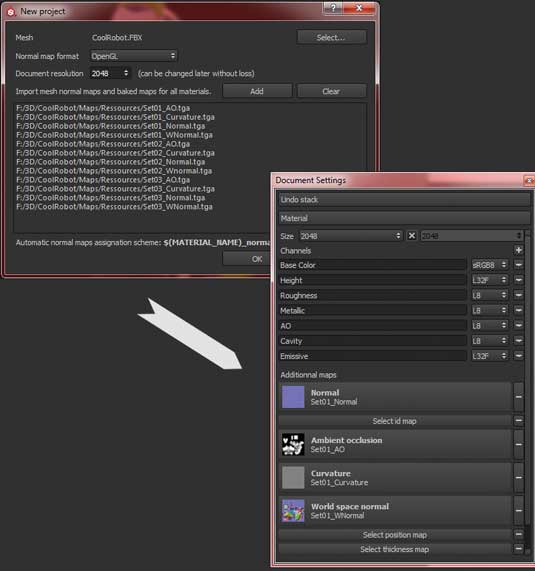
In Substance Painter, create a new project, select the mesh and add the maps that we baked. When it's done, you can set up the channel you'll be working on. I'll be using Marmoset as a renderer, so I know it'll be interesting if I could also work up a map for the AO and Cavity. Plug the map you baked in the right slot so Substance can use them automatically when using Substance Material or Effect.
06. Material setup
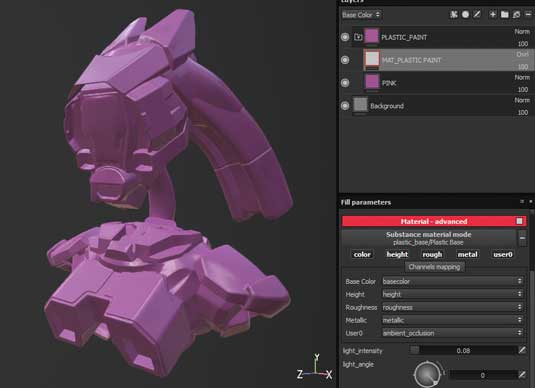
For each material I work with (and when I know I want to paint the colour instead of just using a uniform hue from the material parameter), I like to use this process: create a fill layer, and fill it with the material you're looking for. Then set the colour to a neutral grey, and set the layer mode in Overlay for the Base Color channel and finally create a regular layer beneath this to paint on.
07. Fill brush
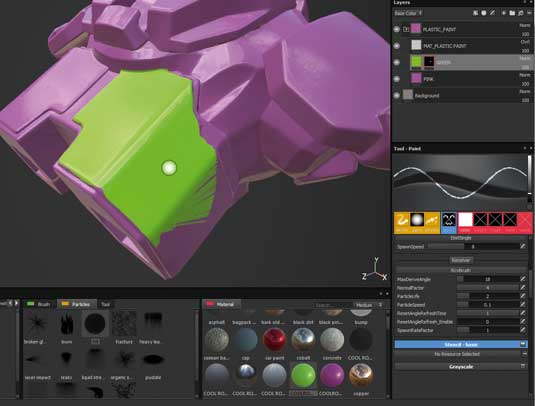
The Fill brush (under the Particle shelf) is great to quickly fill an area with a colour, based on your mesh's topology. When using it, the particles will keep running until they hit a strong angle, which can be set in the brush's parameters.
08. Substance effects
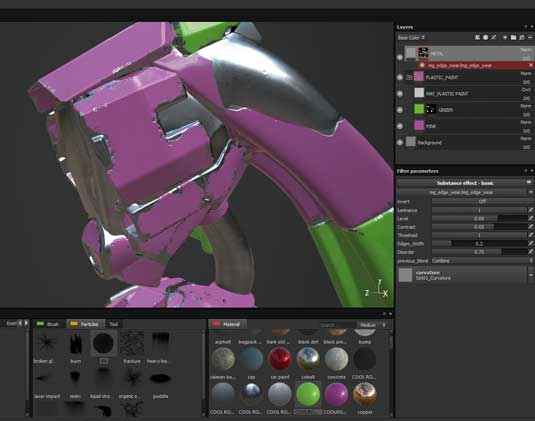
You can use Substance Effect to blend two materials together. Create a black mask on your top layer or folder. Then click Add Effect in the Layer window. Next, choose the one you’d like in the Effect parameters. The best part is, even after you added your effect, you can still paint your mask to tweak it.
09. Duplicate materials
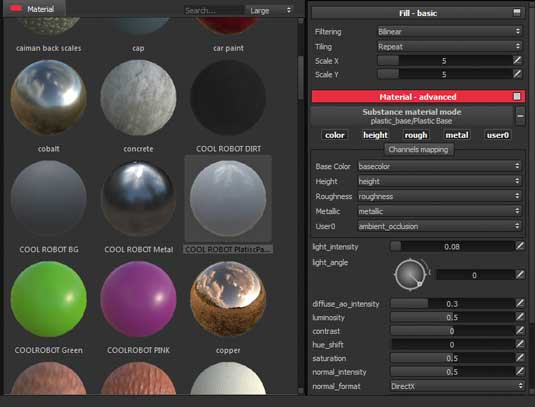
If you're using several UV sets, you'll probably need to duplicate materials from one set to another. To do this, select the material from the shelf (or from a Fill layer), and in the Parameters menu, right-click>Save Material. It'll add a new material to your shelf, with all your parameters set.
10. Using stencils
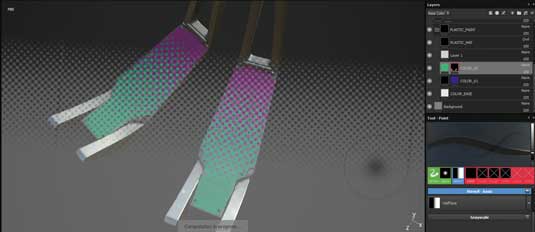
You can add details such as patterns, or screw bolts using stencils. To use a stencil, select a brush, then in Parameters>Stencil Section, choose the one you'd like to use. You can also modify the stencil opacity (and whether the stencil is hidden when painting) in the Viewer Settings panel, which is at the left of your screen by default.
11. Particle brushes
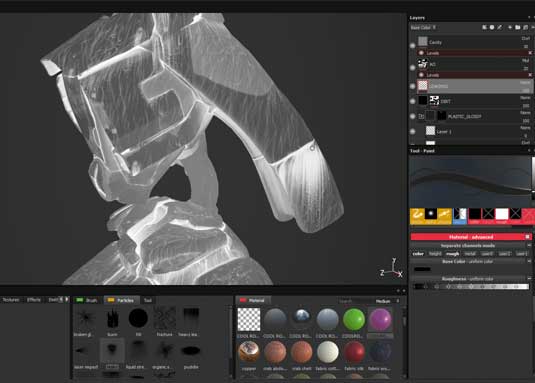
Using particle brushes such as rain, sandstorm and leaks, you can add details in the roughness and colour map. If you're painting on a separated layer, you can change the opacity and blending mode of this layer for each channel independently – there’s no need to create one layer for your colour map and one for roughness.
12. Workflow and changes
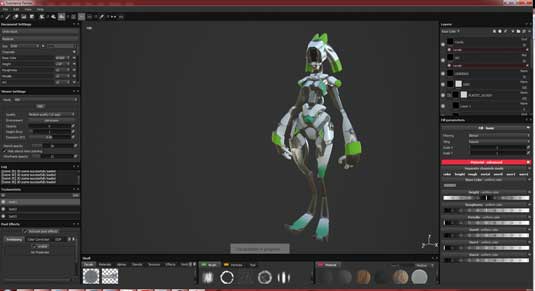
Whenever you create a character, try to have a workflow that is the least destructive as possible. By using a non-destructive workflow – even if you're almost finished – it means you can still make some drastic changes, which can be a time-saver when in production, for example. You can simply make some changes and the project is complete!
Words: Nicolas Garilhe
Nicolas Garilhe is a freelance videogame character artist and a user of the Substance suite tools. Recently he won the Substance Contest organised by Allegorithmic. This article first appeared in 3D World magazine.
Like this? Read these...
- The VFX secrets of Avengers: Age of Ultron revealed
- Illustrator tutorials: amazing ideas to try today!
- Great examples of doodle art

The Creative Bloq team is made up of a group of art and design enthusiasts, and has changed and evolved since Creative Bloq began back in 2012. The current website team consists of eight full-time members of staff: Editor Georgia Coggan, Deputy Editor Rosie Hilder, Ecommerce Editor Beren Neale, Senior News Editor Daniel Piper, Editor, Digital Art and 3D Ian Dean, Tech Reviews Editor Erlingur Einarsson, Ecommerce Writer Beth Nicholls and Staff Writer Natalie Fear, as well as a roster of freelancers from around the world. The ImagineFX magazine team also pitch in, ensuring that content from leading digital art publication ImagineFX is represented on Creative Bloq.
