Create distorted typography in Photoshop
Chris Golden explains a simple way of experimenting with typography in your work
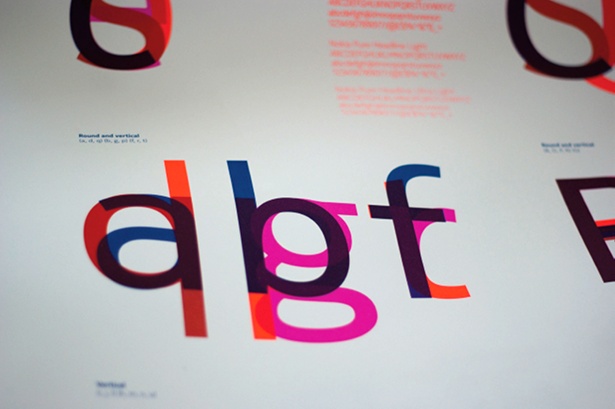
In this tutorial, we’re going to look at a method of distorting typography and working with mixed media to bring a unique look to a design. The distortion effect we’ll walk-through here in Photoshop can open you up to different ways of approaching visual problems, and involves the Shear tool, which can be found under Distort in the Filter menu.
- Check out this Photoshop CS6 review over at Creative Bloq
We’ll also be taking type from Illustrator and working with it as Smart Objects in Photoshop. Next, we’ll look at a photo collage and hand-drawn patterns to build a simple composition with different kinds of media, making them cohesive with colour overlays and blending modes. Finally, you’ll learn how to properly set up files for convenience, and use various effects and tools for simpler editing down the line. Setting up files for easy use is essential if you’re collaborating with others.
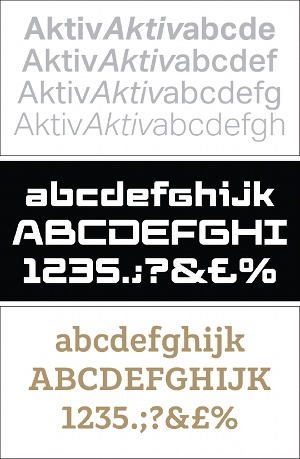
01 First of all, you will need to create a basic composition sketch – I’m creating an album cover. Identify and break up bold shapes inside the composition so that you can get an idea about where you would like to create the focus for the piece.
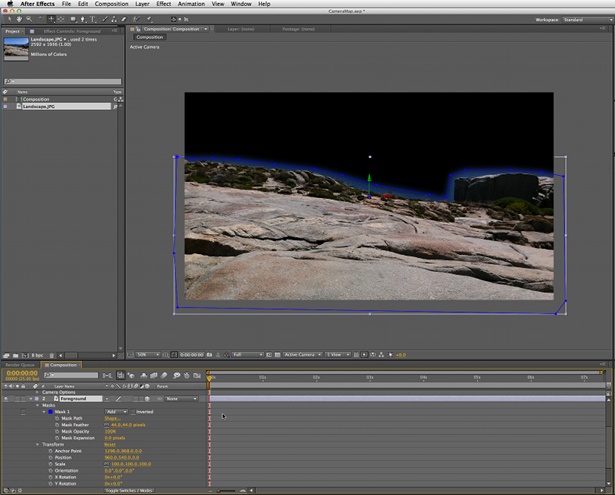
02 Next, sketch out some patterns for the piece. You can tighten it up using a sumi-ink brush or black brush marker. These will enable you to make bolder marks while retaining flexibility between line variations. Next scan your images in, setting Image Capture at 300dpi in Grayscale, and save them to a Scan folder.
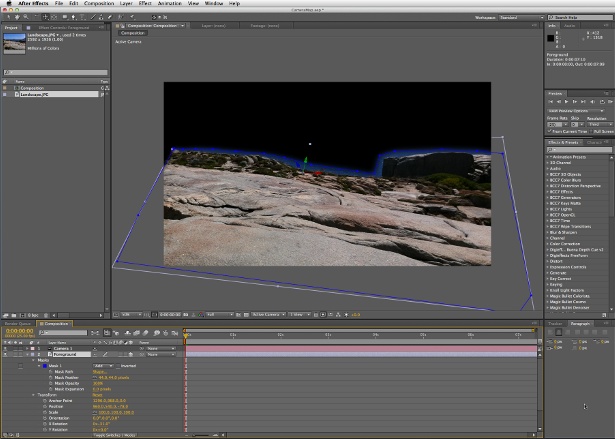
03 We’ll also need a photograph for this project, so scan in a photo at this stage. (If the image you have chosen is too small, change the percentage at which you are scanning.)
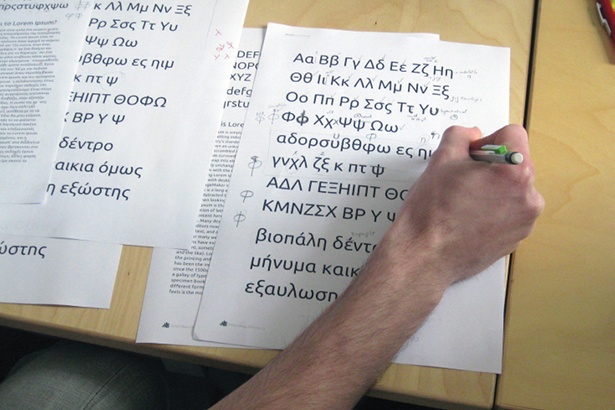
04 Now open up a new page in Photoshop. I’m working with a composition set at 222x300mm at 300 dpi in RGB.
05 Next, open up your scanned patterns in Photoshop in Grayscale. Create a Brightness/Contrast adjustment layer (Image>Adjustments>Brightness>Contrast) and play with the values until you’re happy.
Sign up to Creative Bloq's daily newsletter, which brings you the latest news and inspiration from the worlds of art, design and technology.
06 Once you’ve cleaned them up, select the black by going to the Channels panel and holding down Cmd/Ctrl. Then go to Select> Inverse. Copy and paste it into a new layer.
07 Create a top layer in a colour that corresponds to your chosen scheme – mine’s pink. Change the blending mode to Multiply, bring the opacity down to 48% and drag your black pattern lines into your working file. From here, arrange them on the layer to create the pattern you’re after.

The Creative Bloq team is made up of a group of art and design enthusiasts, and has changed and evolved since Creative Bloq began back in 2012. The current website team consists of eight full-time members of staff: Editor Georgia Coggan, Deputy Editor Rosie Hilder, Ecommerce Editor Beren Neale, Senior News Editor Daniel Piper, Editor, Digital Art and 3D Ian Dean, Tech Reviews Editor Erlingur Einarsson, Ecommerce Writer Beth Nicholls and Staff Writer Natalie Fear, as well as a roster of freelancers from around the world. The ImagineFX magazine team also pitch in, ensuring that content from leading digital art publication ImagineFX is represented on Creative Bloq.
