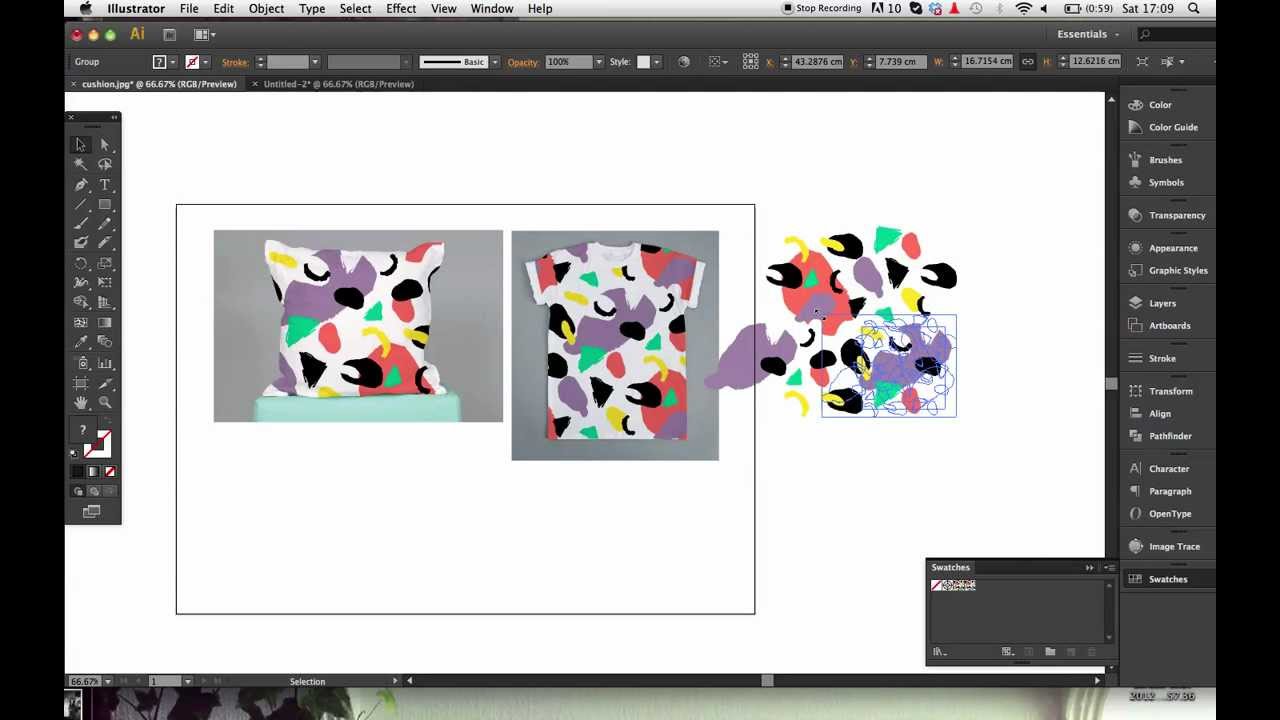
Video tutorial: Breathe life into your pattern swatches
Becca Allen shows you how a few tools in Illustrator can turn a flat vector pattern swatch into a 3D object
I’ve been asked many times how I apply pattern swatches to objects to make them look real and 3D. This tutorial will help you quickly apply your swatch or graphic to a garment so that you can judge whether it will work, and at what scale.
This can be really useful when presenting your pattern swatches to printers or manufacturers, so that they can see how it should look. It’s also a great way to showcase your pattern swatches on your website, even if you have no intention of printing them.
01 White objects are best for mocking up your swatches, as you can overlay any colour and still get depth from the shading. Always photograph the object on a contrasting background so you can clearly see its outline. Use good lighting when doing so, and choose coloured paper and a grey background to ensure your pattern swatch stands out.
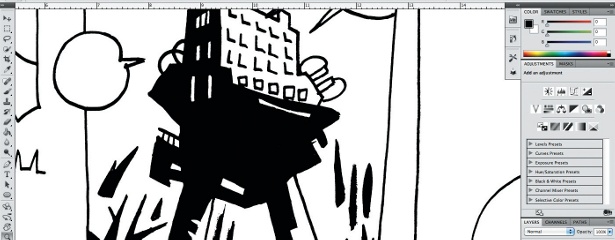
02 When you have your photos ready, open them in Photoshop and adjust the contrast and levels until you’re happy. If the white isn’t bright enough after being shot, go to Image>Adjustments>Selective Colour. Select the whites, and lower the percentage of black. When you’re happy with the lighting, save your images as JPEGs and reopen them in Illustrator.
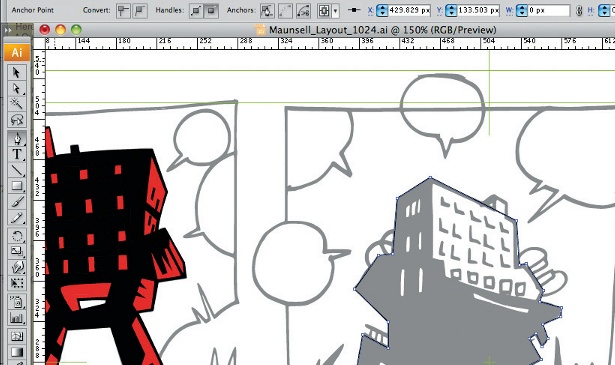
03 I’m using two photos here: a T-shirt and a cushion. Both items are great for applying pattern swatches. Lock both items in place and select the Pen too. Zoom into your first photo so you can clearly see the detailed outline of the object. Using the Pen tool on Outline and a 0.25pt stroke weight, carefully draw around the outside of your object. I find the Pen tool in Illustrator is much easier to use than Photoshop’s.
04 When you’ve finished the outline of the object, switch the outline into a fill. You now have two options: you can either apply your pattern swatch to the fill; or duplicate your filled shape, select both the original shape and photo, and use Cmd/Ctrl+7 to create a clipping mask and eliminate the background. You can then add your pattern swatch to the duplicated shape and overlay this on the clipping mask. This option leaves you with just the object – no background.
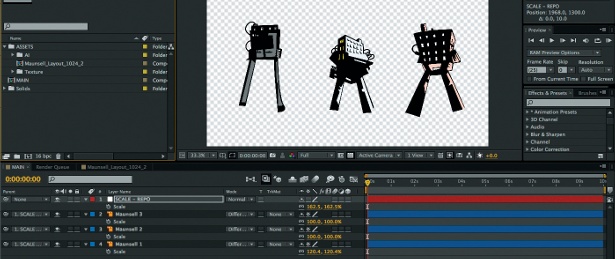
05 To make the object look 3D, now apply a transparency effect to the pattern-filled object. Select the Transparency option from the toolbar, and apply Multiply from the drop-down menu. When you’re happy with the way your pattern swatch looks on the object, save the file. I then paste mine into Photoshop and adjust the sizing and pixels for web, but what you do next depends on what your final outcome is.
Find out what it takes to be a creative director over at Creative Bloq.
Sign up to Creative Bloq's daily newsletter, which brings you the latest news and inspiration from the worlds of art, design and technology.

The Creative Bloq team is made up of a group of art and design enthusiasts, and has changed and evolved since Creative Bloq began back in 2012. The current website team consists of eight full-time members of staff: Editor Georgia Coggan, Deputy Editor Rosie Hilder, Ecommerce Editor Beren Neale, Senior News Editor Daniel Piper, Editor, Digital Art and 3D Ian Dean, Tech Reviews Editor Erlingur Einarsson, Ecommerce Writer Beth Nicholls and Staff Writer Natalie Fear, as well as a roster of freelancers from around the world. The ImagineFX magazine team also pitch in, ensuring that content from leading digital art publication ImagineFX is represented on Creative Bloq.
