How to nail your next character art commission
Communication is key, reveals artist Bruno Wagner.
Sign up to Creative Bloq's daily newsletter, which brings you the latest news and inspiration from the worlds of art, design and technology.
You are now subscribed
Your newsletter sign-up was successful
Want to add more newsletters?
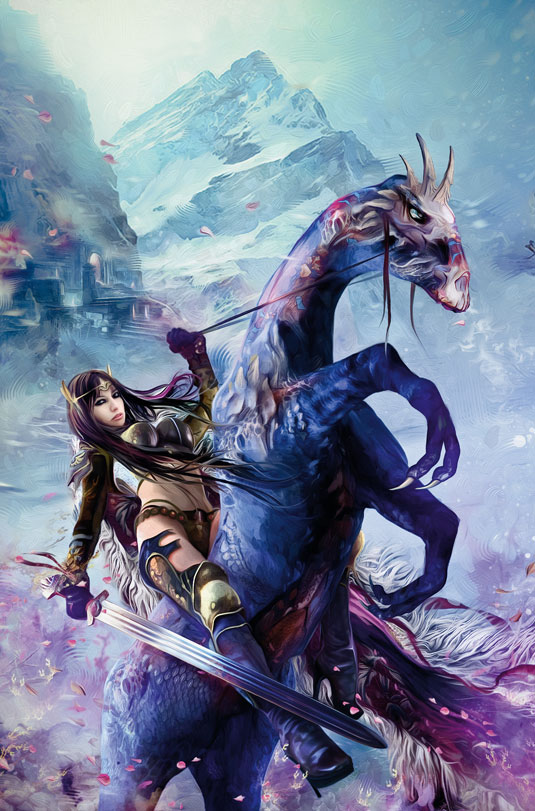
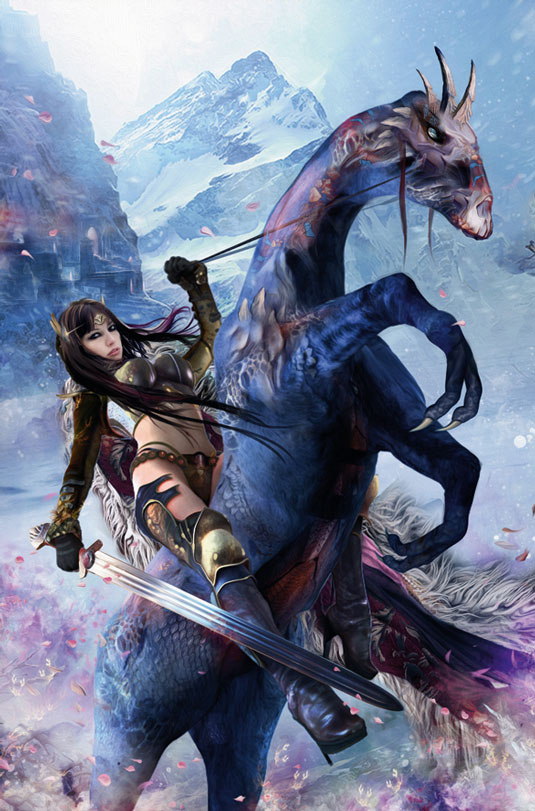
Whether you've got your drawing techniques down to a fine art, being commissioned for a new piece can often be a daunting experience. This character illustration was commissioned for a book cover. The brief was specific, and went into a lot of detail about the character of the girl. To create it, I worked directly with the author of the book, and it was interesting to compare our thoughts on what we imagined the character would look like.
The girl is a rebel and heroic princess escaping on a powerful and muscular horse. The author was keen for the reader to feel the strength of character and freedom of the heroine, as well as the impressive and somewhat frightening-looking mount.
I found that the difficulty with this commission was achieving the right visual tone. Because the book's readership is a young, female audience, the author wanted the cover to be engaging for that age group without it becoming too kitsch and a caricature of the heroine.
Article continues belowShe was also keen to avoid an overly masculine illustration, one that's often seen in the fantasy genre with the likes of Conan the Barbarian, for example. So I had to find the right atmosphere and combine soft and feminine tones with a dynamic, elegant composition, while keeping some of my personal darker style, because the author also loved that. Thankfully, everything came together in the end and the author let me know she was very happy with the artwork. Job done! Here's how it was done...
01. Develop the basic composition
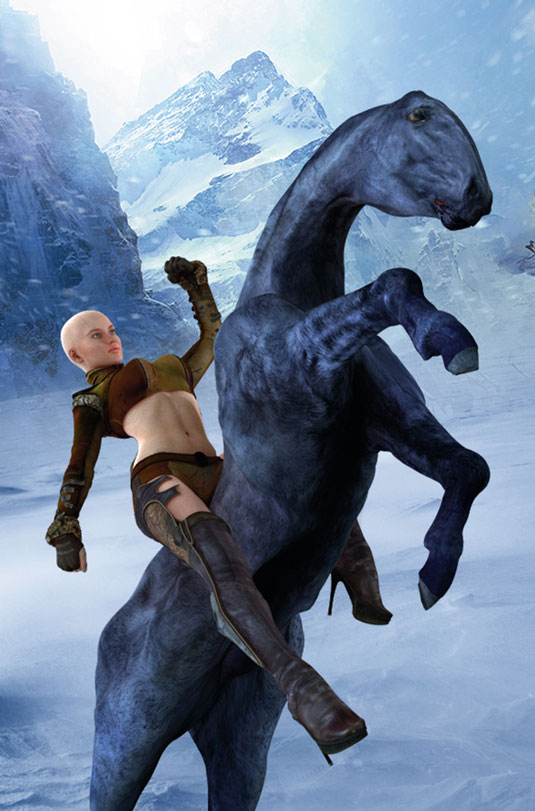
I use a simple 3D render for the basis of this illustration, created in Daz 3D. But it could very well be a photograph that inspires you or a quick sketch. The key here is to find the starting composition to serve as a foundation. The image quality of the reference doesn't matter, because I'll be working on top of it.
02. Building up the character
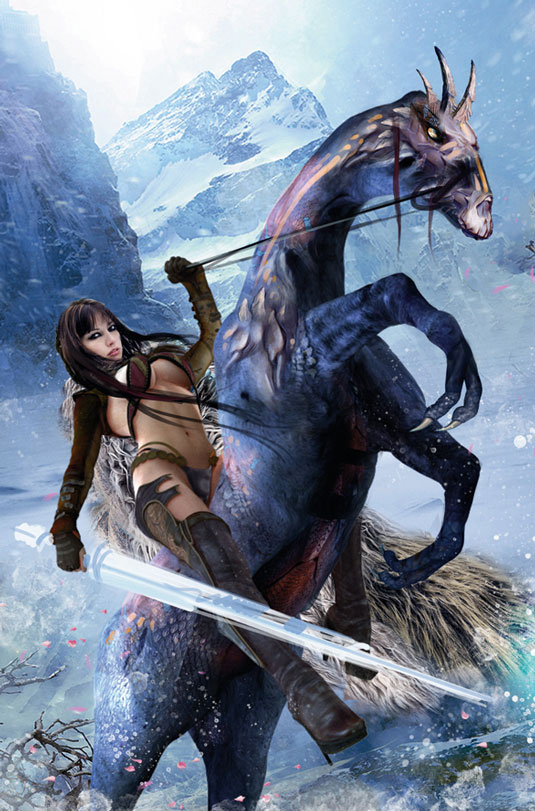
I change the face of the character, add clothing, hair, more realistic textures and particle effects to the scene. I also introduce smoke and fog in front of and behind my character, to increase depth. While working on multiple layers, I gradually increase my colour range from pink to blue.
03. Apply snake and reptile textures
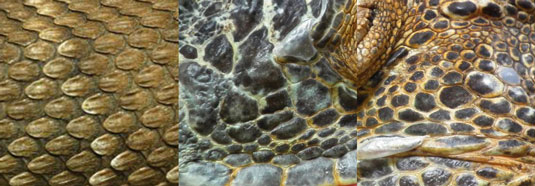
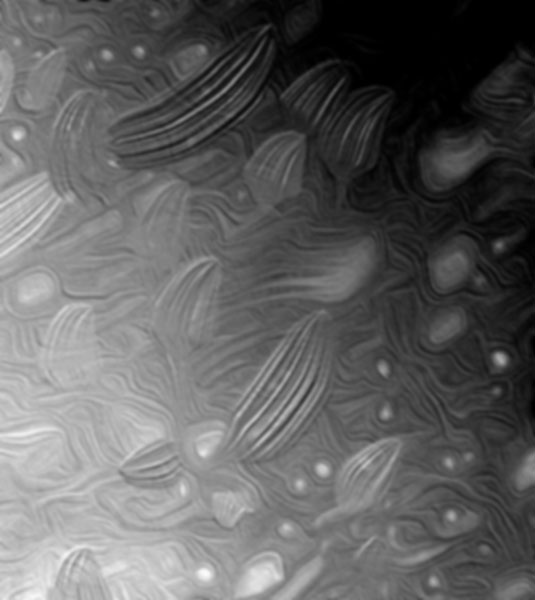
I use several real-life textures from various reptiles and snakes for the horse's body. The Transform tool enables me to follow the curves of the horse's muscles and body volume. I use the textures with different Overlay mode layers to retain lights and shadows. This means I'm able to quickly add realism and fine details.
Sign up to Creative Bloq's daily newsletter, which brings you the latest news and inspiration from the worlds of art, design and technology.
04. Cleaning up and paintover
I take the time to sort and then flatten my layers. Then I use my brushes with the Smudge tool. I choose an appropriate Opacity and Hardness, and for the hair I use a brush with a strong and fine point. To smoothen the horse's body I use a brush with a larger tip on a low Opacity.
05. Background paintover with the Smudge tool
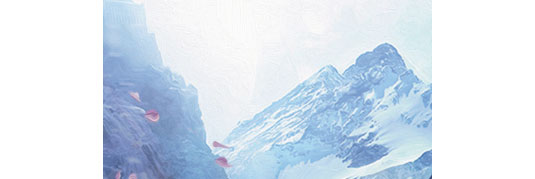
When it comes to painting the background I use the Smudge tool with my custom Faux Finish brush. I lay down some large, random brushstrokes that result in movement and texture, like a traditional painting. It also contrasts well with the more accurate portrayal of the character and horse.
06. Final colour correction
Once my image is finished, I create two versions: one that strengthens the reds, another that emphasises the blues and greens. Then I combine them. The bottom half features tones of reds and gold, while the top becomes colder with blue-green tones. This helps to reinforce the depth of field and enriches my chromatic scale.
07. Paintover effect with ArtRage
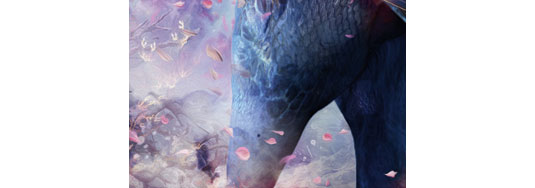
As a last step I open my image in software known for its traditional paint engine, such as ArtRage or Painter, and lay down large brushstrokes that are thick and dense. Then I put this above over my old image at 30-40 per cent Opacity, which gives a slight patina effect as well as a warm, traditional painting style.
Photoshop Custom brushes
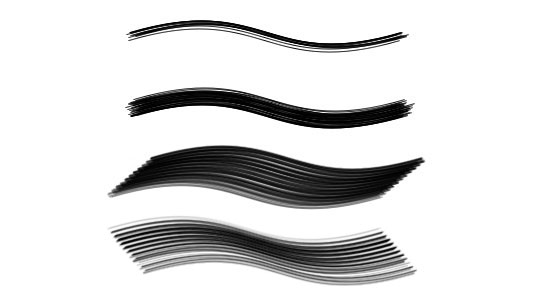
Natural and Faux finish brushes
Used with the Smudge tool, these brushes are ideal for the paintover stage, helping to create a painterly finish.
Words: Bruno Wagner
Bruno was born in Strasbourg in 1979 and he graduated in applied arts. Now he’s the art director in his own agency and an illustrator for the entertainment industry. This article originally appeared in ImagineFX issue 129.
Liked this? Read these!
- How to improve your character drawing
- Star Wars artist on how to land that dream job
- How to draw and paint – 95 pro tips and tutorials

The Creative Bloq team is made up of a group of art and design enthusiasts, and has changed and evolved since Creative Bloq began back in 2012. The current website team consists of eight full-time members of staff: Editor Georgia Coggan, Deputy Editor Rosie Hilder, Ecommerce Editor Beren Neale, Senior News Editor Daniel Piper, Editor, Digital Art and 3D Ian Dean, Tech Reviews Editor Erlingur Einarsson, Ecommerce Writer Beth Nicholls and Staff Writer Natalie Fear, as well as a roster of freelancers from around the world. The ImagineFX magazine team also pitch in, ensuring that content from leading digital art publication ImagineFX is represented on Creative Bloq.
