How to paint an awesome alien scene on an iPad
Nikolai Lockertsen pushes the possibilities of iPad art using Procreate’s beefed-up colour options and high-def detail.
Painting on the commute to work is something I enjoy. A few years ago, I painted with watercolour on the one-hour morning bus ride. I managed to balance a small booklamp, a cup of water, paint and a book in one hand, and painted with the other. The urge to have some digital device that could match what I did in Photoshop was strong.
Then I bought an iPad. Previously, I had tried painting on my iPhone with the Brushes app, and although it wasn't a hopeless cause, it was just too small. In contrast, the iPad was a perfect size and I could paint for 10 hours per charge. I got hooked! In the first couple of years I painted with the Brushes app. I liked it a lot and you could extract high-resolution images and video of the painting process. But the app had its limitations.
Then Procreate was mentioned in an online art thread, and when I tried it I was surprised at how good the brush engine was. It felt like Photoshop and I fell for it right away.
Initially, Procreate also had some limitations: it lacked high-resolution canvases, Selection and Transform tools and a lot of the adjustments options available today, but it was still the best painting app for iPad on the market. I've been a 100 per cent Procreate man ever since. And now the tool is, in many respects, better than even Photoshop.
I have a 24-inch Wacom Cintique screen at the studio where I work, but I only use it for reference. I actually paint on the iPad in Procreate. This combination is so good now that I would say the only limiting factor lies with the artist's skill level, rather than these superb digital tools.
Watch the full workshop
01. Starting the image
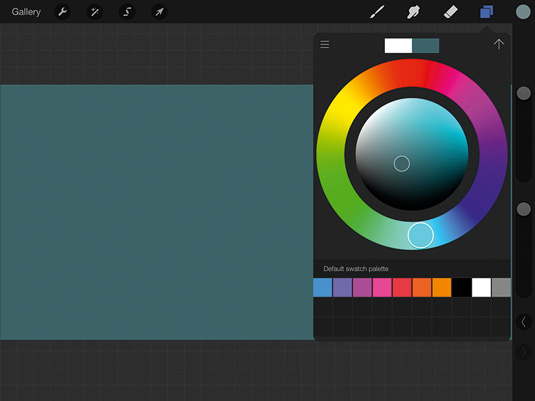
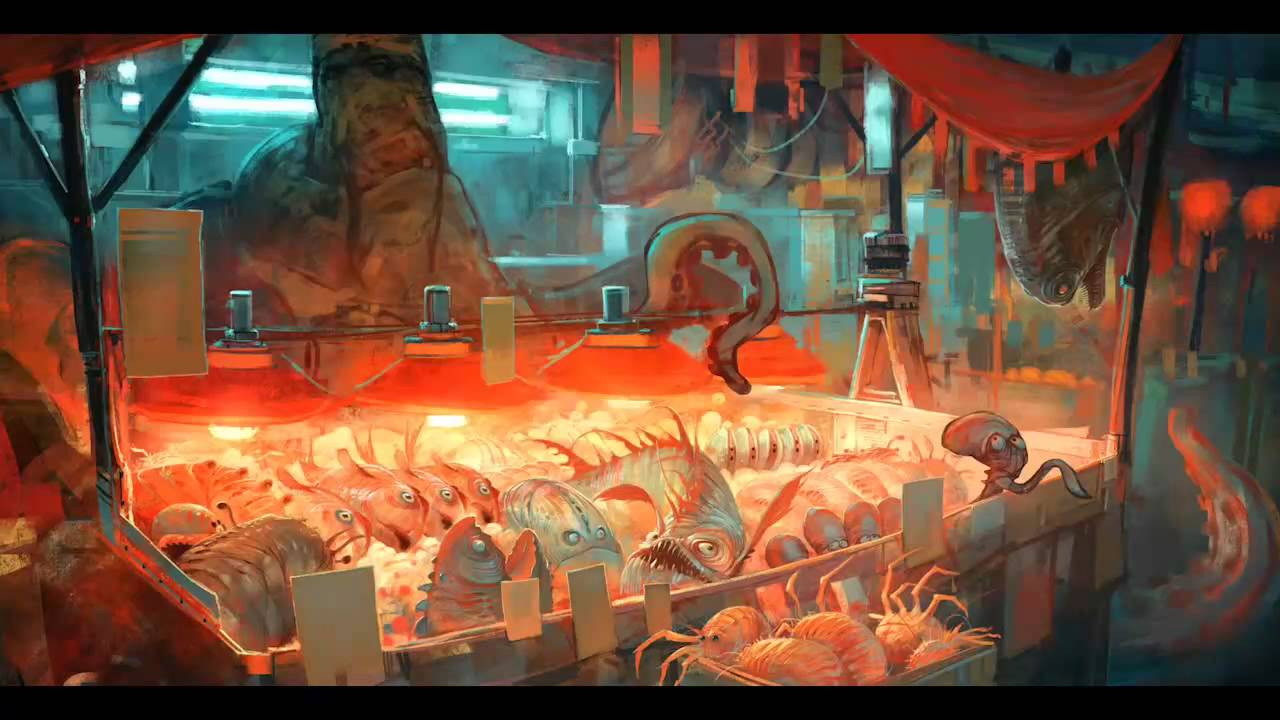
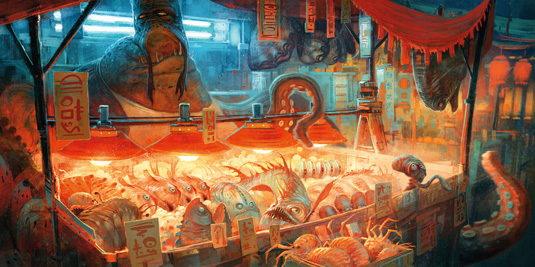
I want to paint an alien market stall, inspired by the fishmarkets in Asia. I open Procreate on my iPad and tap the + in the top-right corner to create a new canvas. I select Custom and choose 4,096x2,304px, which is over four times HD resolution, but the same aspect. In the Layer menu I tap Background and pick a semi-dark blue/green in the brand new Color Wheel tool.
02. Favourite brush
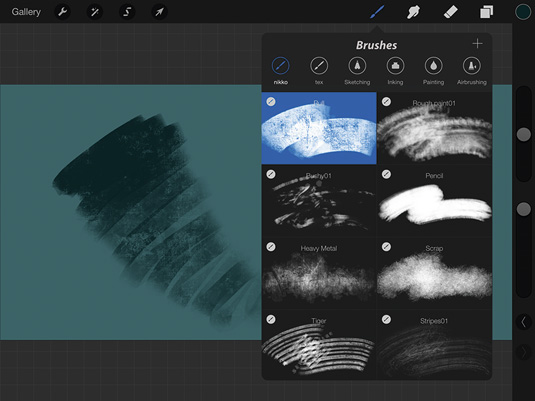
I almost always start on a medium dark background. This gives me the freedom to use both darker and brighter values. My favourite custom brush is called Rull, inspired by the roller brushes used to paint living room walls. I use it to work on the majority of painting elements. I'm using the Wacom Intuos Creative Stylus – the best pressure-sensitive pen I've tried.
Sign up to Creative Bloq's daily newsletter, which brings you the latest news and inspiration from the worlds of art, design and technology.
03. Sketch stage
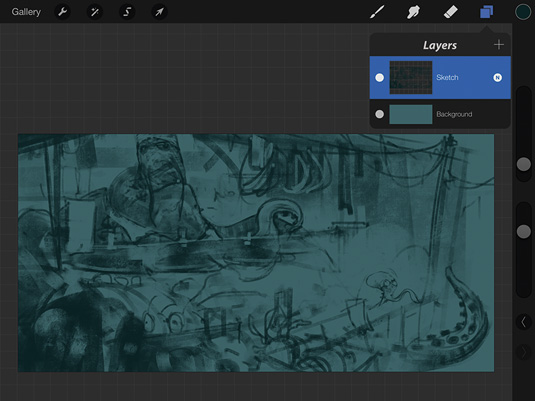
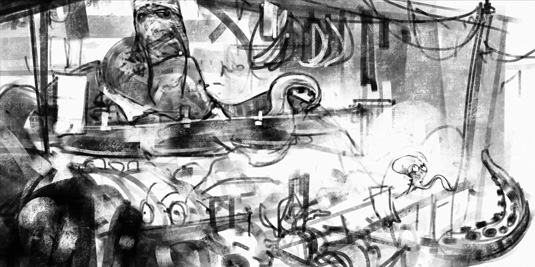
I try to sketch quickly and playfully. I remain zoomed out for as long as possible so I can see the whole canvas, which helps me get the composition and balance right early on. I often flip the canvas horizontally to get a fresh view on my image, using the option under Canvas in the settings menu. I define the main character shapes: the salesman and the creature trying to escape.
04. Base colour
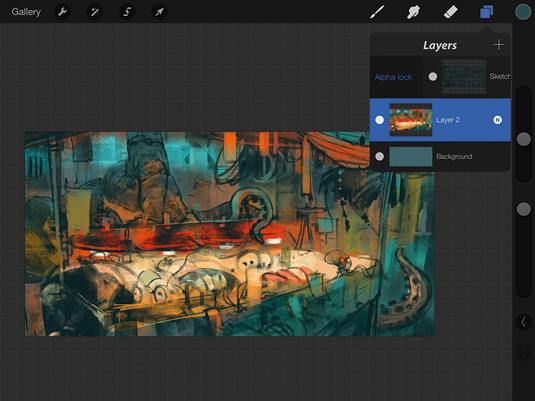
I stop sketching as soon as I've got enough to start adding colour. It's still very rough, but this is more a painting than an illustration, so I want to introduce colour as early as possible. I create a new layer using the + in the Layer menu. Holding my finger on the layer lifts it up, enabling me to move it underneath my sketch layer. Then I rough in colour with a big brush.
05. Finishing the rough paint
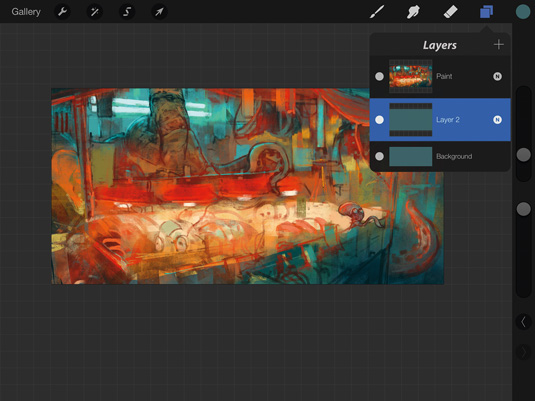
When I'm happy with the rough colour layer, I alpha-lock the sketch-layer by sliding the layer to the right. This locks the sketch, so I can only paint inside the existing paint in this layer.
With my big Rull brush, I rough in colour in the sketch until I'm happy with the palette and feel of the image. The foundation for the rest of the painting is done, and it's only taken me around 20 minutes.
Next page: the final 10 tips

The Creative Bloq team is made up of a group of art and design enthusiasts, and has changed and evolved since Creative Bloq began back in 2012. The current website team consists of eight full-time members of staff: Editor Georgia Coggan, Deputy Editor Rosie Hilder, Ecommerce Editor Beren Neale, Senior News Editor Daniel Piper, Editor, Digital Art and 3D Ian Dean, Tech Reviews Editor Erlingur Einarsson, Ecommerce Writer Beth Nicholls and Staff Writer Natalie Fear, as well as a roster of freelancers from around the world. The ImagineFX magazine team also pitch in, ensuring that content from leading digital art publication ImagineFX is represented on Creative Bloq.
