How to draw a ghost
Learn how to play around with supernatural light sources to paint a convincing ghost.
Daily design news, reviews, how-tos and more, as picked by the editors.
You are now subscribed
Your newsletter sign-up was successful
Want to add more newsletters?

Five times a week
CreativeBloq
Your daily dose of creative inspiration: unmissable art, design and tech news, reviews, expert commentary and buying advice.

Once a week
By Design
The design newsletter from Creative Bloq, bringing you the latest news and inspiration from the worlds of graphic design, branding, typography and more.

Once a week
State of the Art
Our digital art newsletter is your go-to source for the latest news, trends, and inspiration from the worlds of art, illustration, 3D modelling, game design, animation, and beyond.

Seasonal (around events)
Brand Impact Awards
Make an impression. Sign up to learn more about this prestigious award scheme, which celebrates the best of branding.
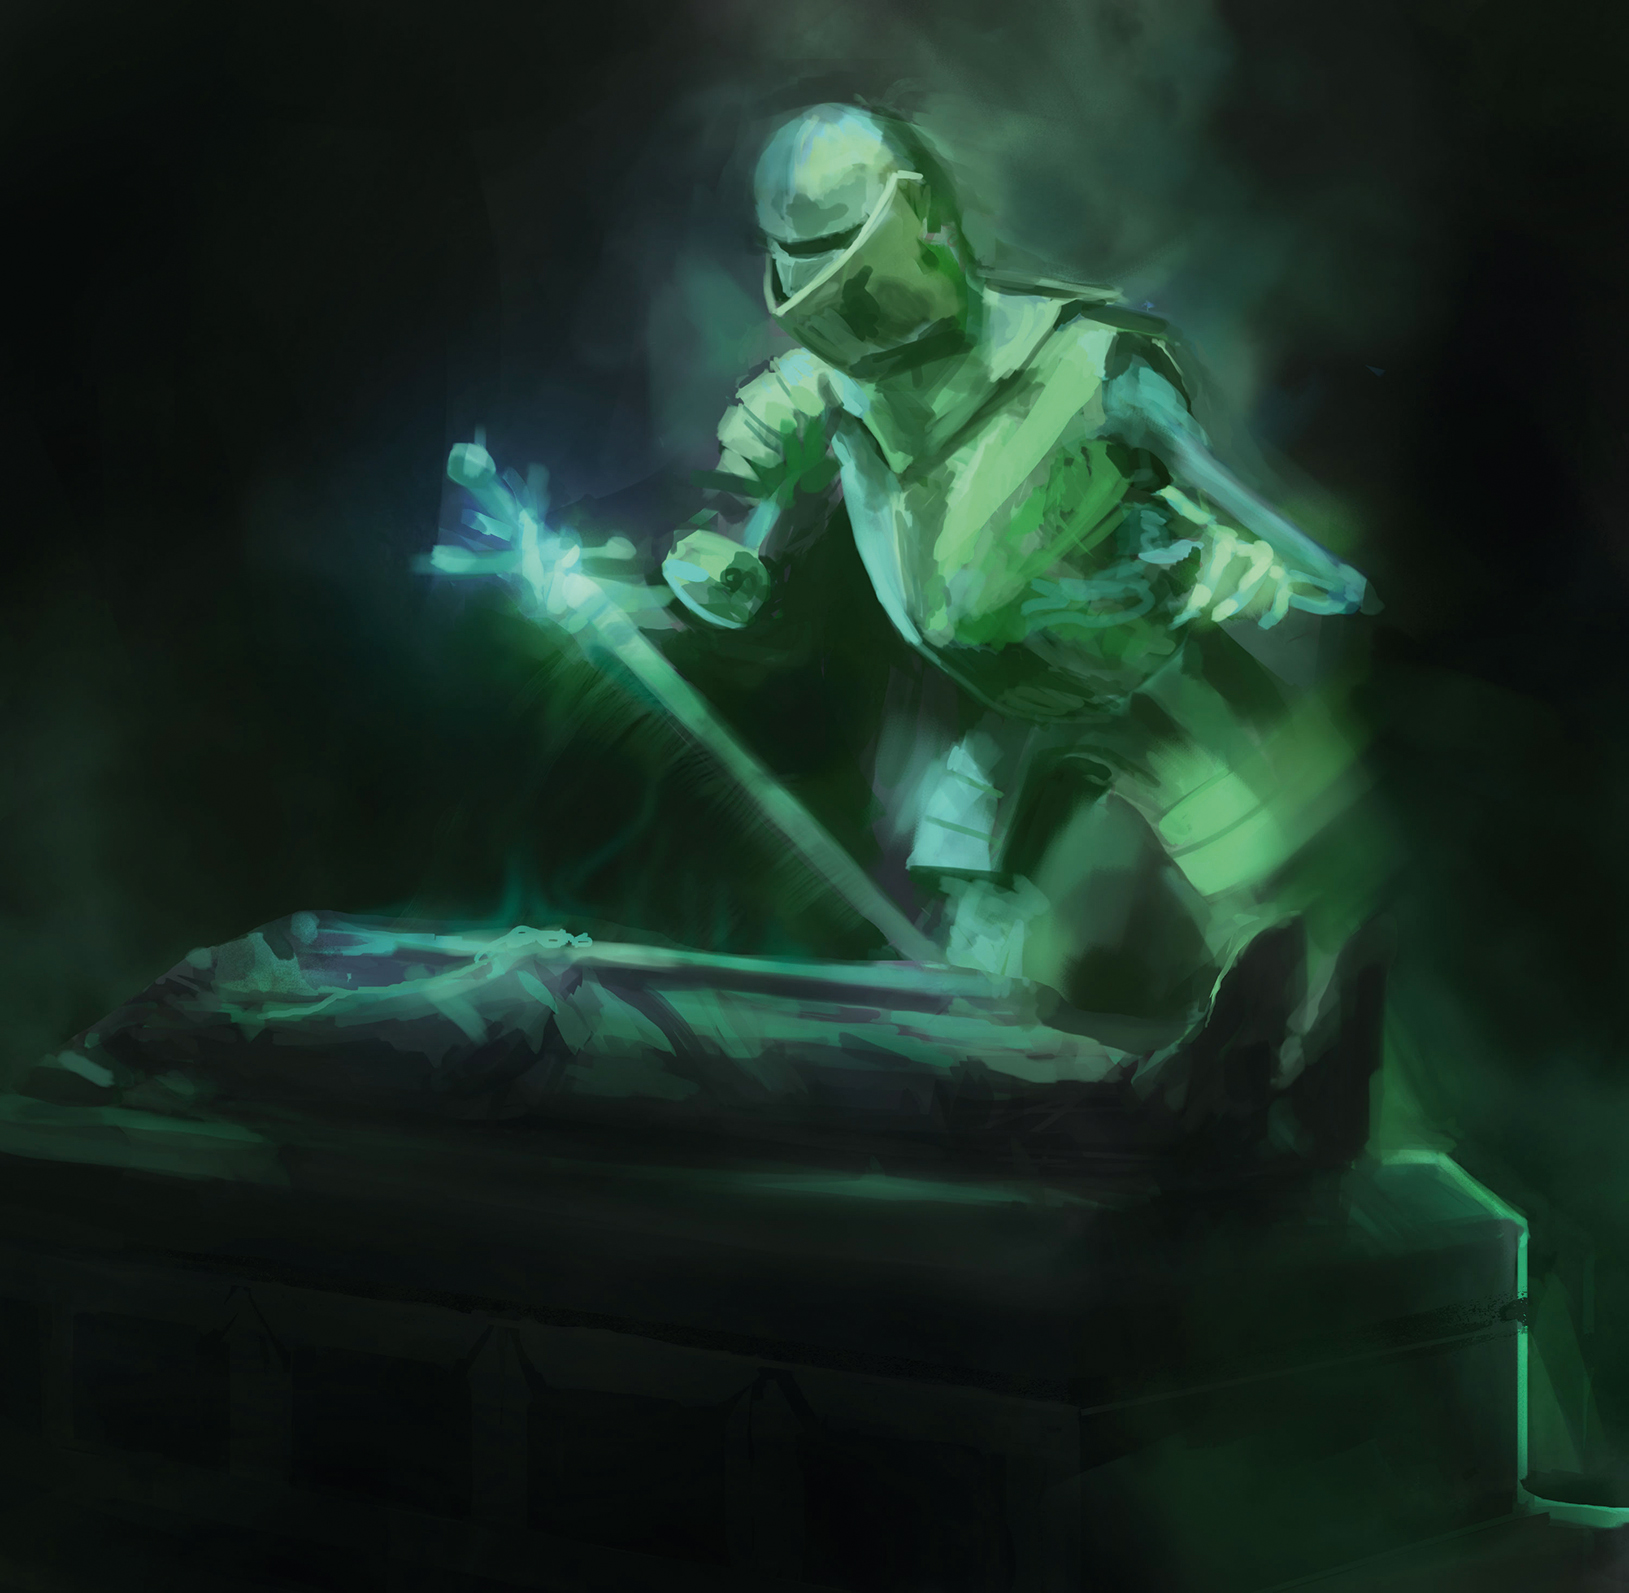
The fun thing about drawing ghosts is – unlike when you draw people – you get to play with supernatural light sources and ambiance in your scene. This is particularly true of any painting set in a tomb, cave or other dark environment.
When considering how to draw a ghost rising from a tomb, you want to try to light the tomb or effigy as if it's the ghost itself that's illuminating the stone.
In this tutorial, we'll be starting on paper and moving into Photoshop. Follow these simple steps to draw a convincing ghost.
01. Sketch your ghost composition
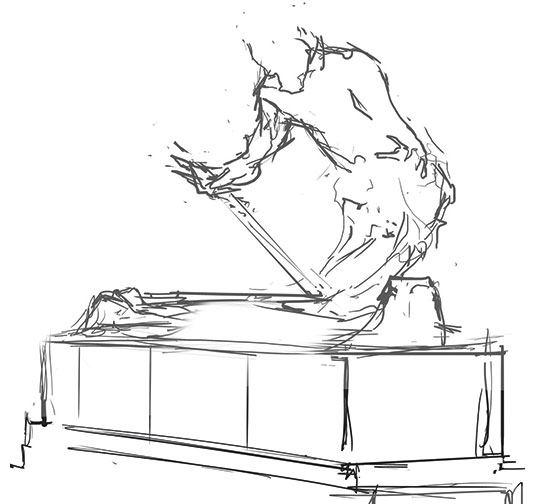
First I sketch out my composition. The posture of your figure helps to express their personality or intentions. One trick to creating undead characters is to make them lumbering or hunched, but here I decided to show my ghost pulling a ghostly sword from its effigy. Storytelling can be key to selling a character.
02. Use a limited palette
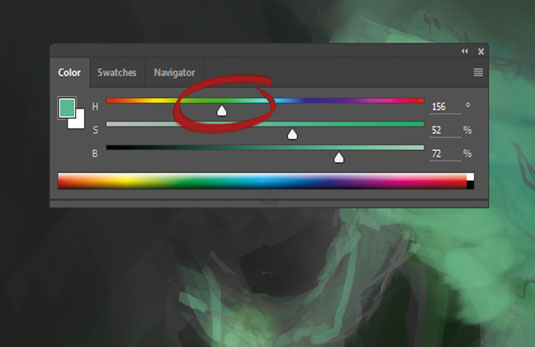
In Photoshop, try to light the tomb or effigy as if it's the ghost itself that's illuminating the stone. With this in mind, choose a cool colour such as green or aqua for your source light. The dark tomb will accentuate the spectral glow of your ghost.
When blocking in your painting, use a limited palette, focusing on saturation and value to define your shapes. This will help tie your picture together and make it look like your character is the solitary glowing light source in the scene.
03. Use brushes to create atmosphere
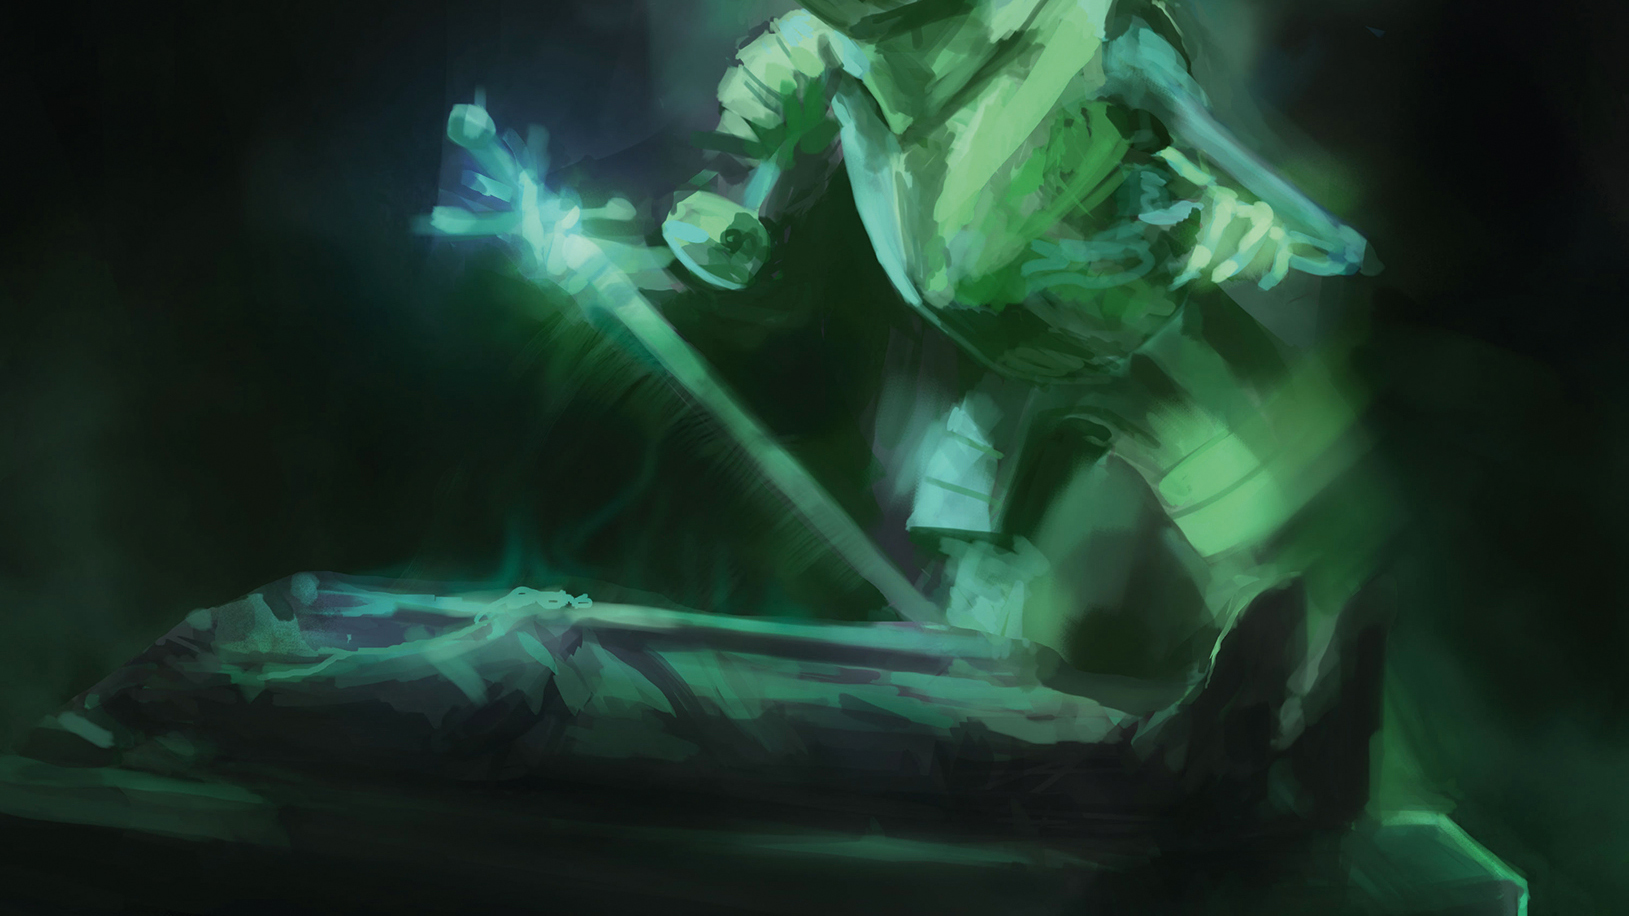
The next stage is to add tendrils of colour trailing from your ghostly figure to the stone effigy on top of the tomb, paying careful attention to the way that you place your brushstrokes. Try to always use your brush in the same direction that your ghost or object is moving, because this will make the motion in your image much more convincing.
Daily design news, reviews, how-tos and more, as picked by the editors.
I'd advise selecting a Soft brush or the Smudge tool to gently soften the edges of your ghostly figure to make them appear incorporeal. Careful use of the Motion Blur filter can also enhance this supernatural effect.
04. Direct your viewer's eye
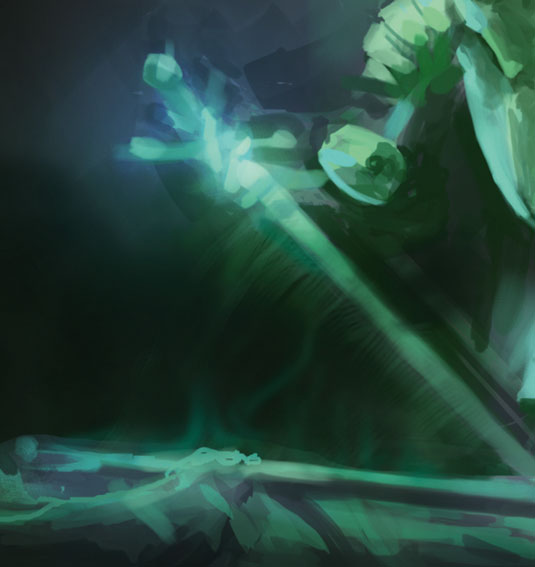
As well as controlling the direction of your brushstrokes to direct the viewer's eye, use contrast too. This will aid storytelling and create a focal point.
I push the hues of the image further towards blue to identify the sword as the key point in the story.
As a final touch you can use a large cloud brush to add an ambient fog to your scene. If you set your layer mode to Color Dodge it'll immediately become more ethereal. I recommend playing with the Layer Opacity to find the best blend.
Like this? Read these:
- How to draw animals, people, landscapes
- Get started with ink drawing
- Want print perfection? Get these InDesign tutorials
