How to create liquid effects with WebGL
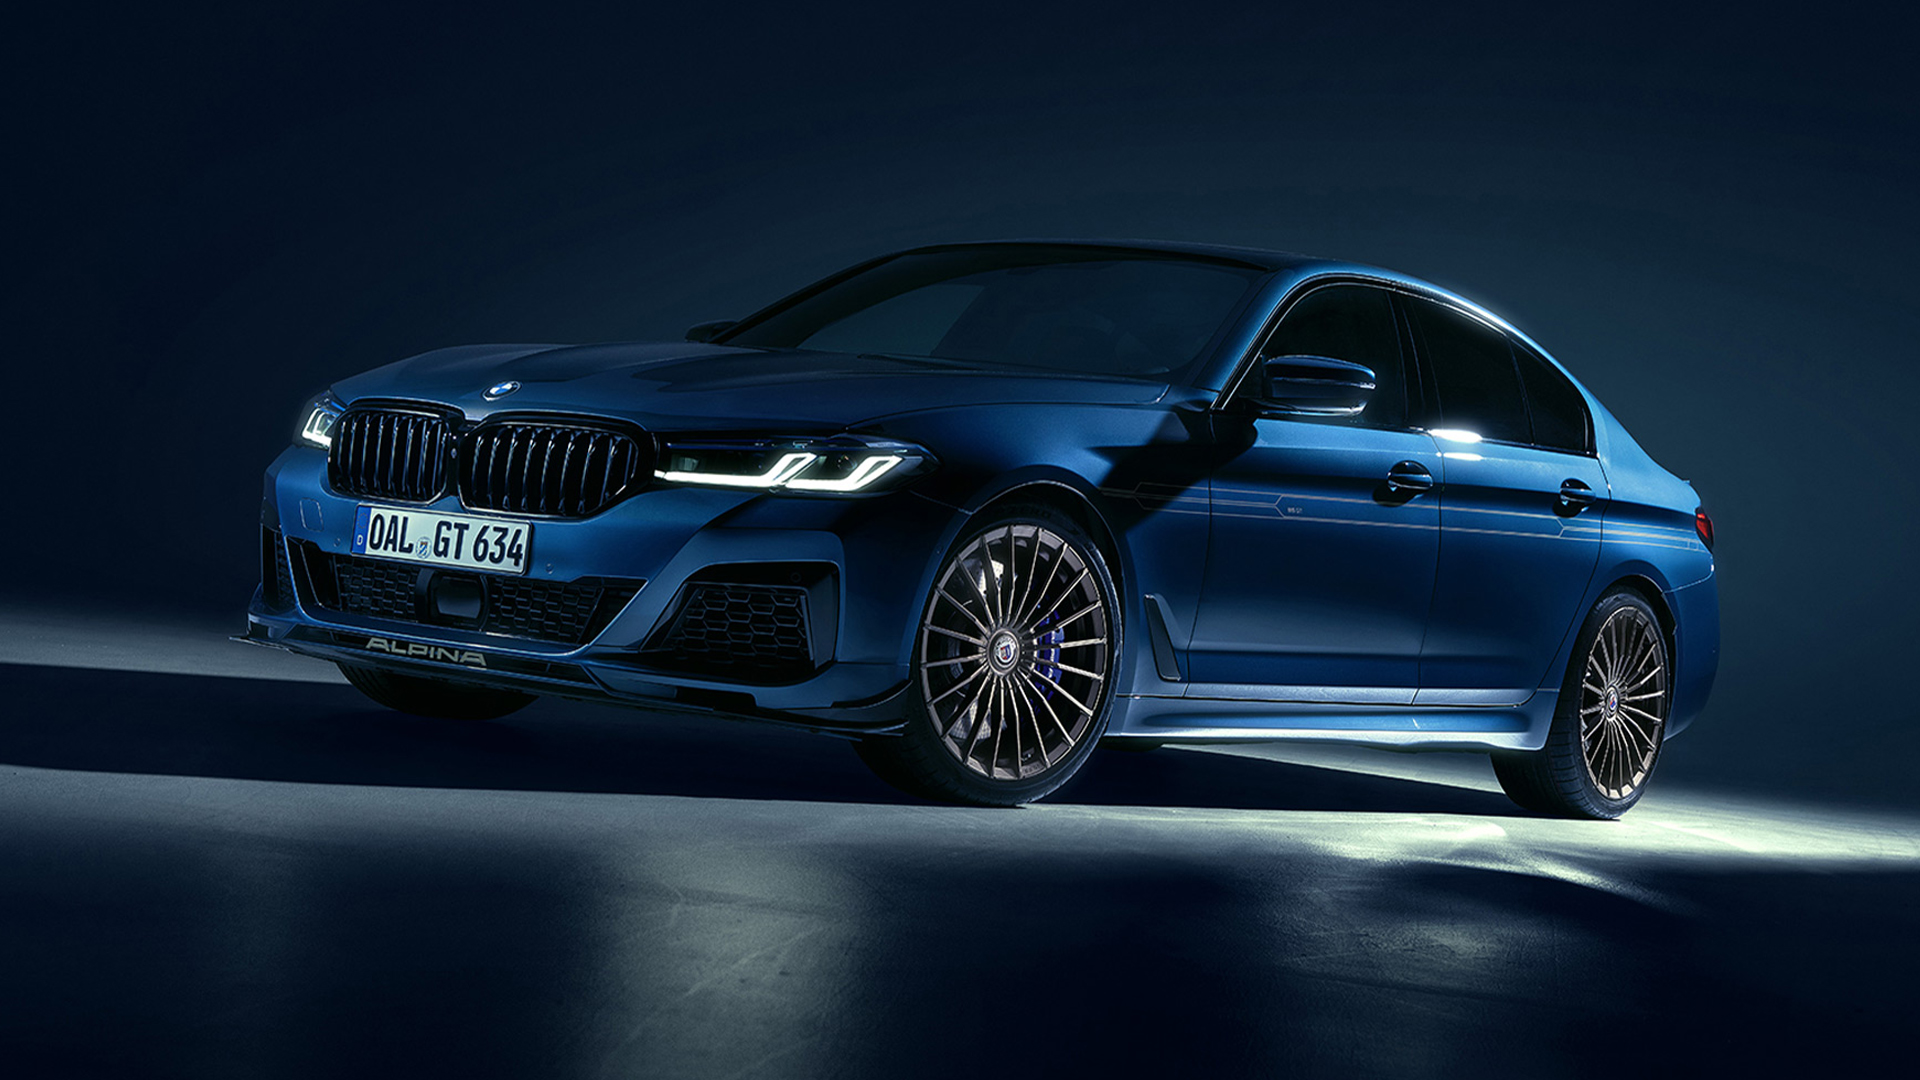
Use three.js to make a low polygon, animated liquid wave effect for a background header.
Sign up to Creative Bloq's daily newsletter, which brings you the latest news and inspiration from the worlds of art, design and technology.
You are now subscribed
Your newsletter sign-up was successful
Want to add more newsletters?

Five times a week
CreativeBloq
Sign up to Creative Bloq's daily newsletter, which brings you the latest news and inspiration from the worlds of art, design and technology.

Once a week
By Design
Sign up to Creative Bloq's daily newsletter, which brings you the latest news and inspiration from the worlds of art, design and technology.

Once a week
State of the Art
Sign up to Creative Bloq's daily newsletter, which brings you the latest news and inspiration from the worlds of art, design and technology.

Seasonal (around events)
Brand Impact Awards
Sign up to Creative Bloq's daily newsletter, which brings you the latest news and inspiration from the worlds of art, design and technology.
Many web designers look for ways to add a big impact to their site designs, so that they'll grab the attention of their users. Methods have evolved over the years, from using a header graphic, to placing a slideshow under the landing page menu, to becoming full browser width – and now the vast majority of sites follow this same format (create your own easily with a website builder).
Today, the designs that win 'site of the day' on different web awards sites generally try and do something that's a little more unique, and WebGL is great for this. Adding an interactive element can really grab users' attention and show that this isn't the same as the other sites they've just visited. It makes a site much more interesting than just having a giant slideshow and some parallax scrolling. If you've got a site with complex needs, make sure your web hosting service is on point.
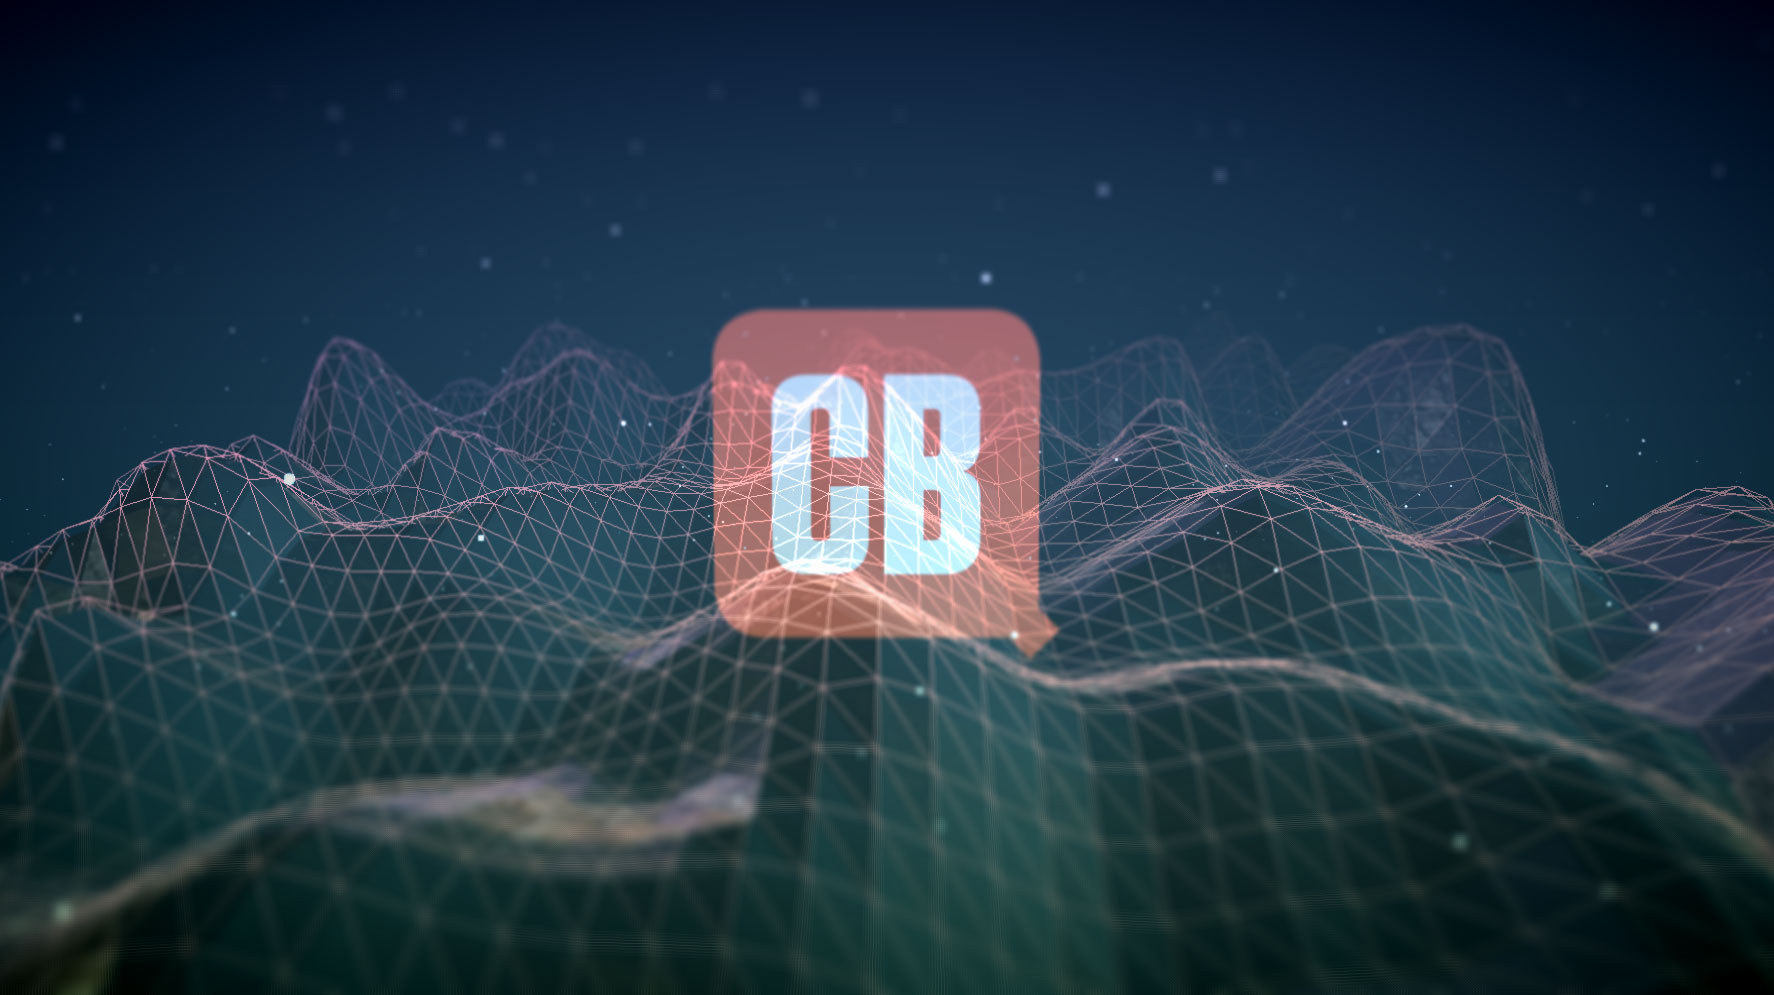
To make a splash effect in this tutorial, a liquid, reflective surface will be added, and this will be animated towards the camera with rolling waves moving forward. There will also be particles that move forward to complete the look and feel. In the centre will be the site's logo, and the whole scene will react to the user's mouse movement so that the content shifts and makes the 3D really stand out.
The logo design is rendered as a transparent PNG (keep it safe in cloud storage), so this can easily be customised to your own design. The lights will also animate so that the colours will orbit around and highlight different waves within the scene.
Download the files for this tutorial.
01. Add initial variables
Open the start folder from the project files and drag this into your code editor. Open 'index.html' and you will see that the JavaScript libraries have already been linked up for you. Inside the empty script tags is where the code will go. Here WebGL is detected to make sure the project can be run, then a whole range of variables are added that will be used in the scene.
if (!Detector.webgl) Detector.addGetWebGLMessage();
var SCREEN_WIDTH = window.innerWidth;
var SCREEN_HEIGHT = window.innerHeight;
var renderer, camera, scene, moverGroup, floorGeometry, floorMaterial, pointLight, pointLight2, pGeometry;
var FLOOR_RES = 60;
var FLOOR_HT = 650;
var stepCount = 0;
var noiseScale = 9.5;
var noiseSeed = Math.random() * 100;
02. Create more variables
The next block of variables handle how large the water floor should be and the speed that it will move along with initial mouse positions. The centre of the screen is worked out and the improved noise library is being used to create the surface of the water.
Sign up to Creative Bloq's daily newsletter, which brings you the latest news and inspiration from the worlds of art, design and technology.
var FLOOR_WIDTH = 3600;
var FLOOR_DEPTH = 4800;
var MOVE_SPD = 1.9;
var mouseX = 0;
var mouseY = 0;
var windowHalfX = window.innerWidth / 2;
var windowHalfY = window.innerHeight / 2;
var snoise = new ImprovedNoise();
var textureLoader = new THREE.TextureLoader();
03. Calculate the mouse
Some final variables are added for the post processing effects of the scene. An event listener is added that checks the mouse movement. The scene is going to move in the display port to react to mouse movement. The function that is added here works out the amount of movement being allowed.
04. Change post processing settings
The 'params' function is where all the settings for the post processing effects will be stored. If you need to change anything, this is the place to do it. The tilt shift blur is covered in the first four lines, then the film pass in the remaining lines. This is mainly for the screen intensity and noise intensity.
05. Set final parameters
The last of the parameters is for the dark vignette around the edge of the screen. The 'init' and 'animate' functions are called to run. The 'animate' function will be created much later in the tutorial, but the 'init' function is created here. The camera and scene are set up to allow viewing of the 3D content.
  effectVignette.uniforms["offset"].value = 1.0;
  effectVignette.uniforms["darkness"].value = 1.3;
}
init();
animate();
function init() {
  camera = new THREE.PerspectiveCamera(70, window.innerWidth / window.innerHeight, 1, 4000);
  camera.position.z = 2750;
  scene = new THREE.Scene();
  scene.fog = new THREE.FogExp2(0x1c3c4a, 0.00045);
06. Let the light in
In order to see the content of the scene, four lights will be placed. The first is a hemisphere light, which is used just to get the basic ambience of the scene. Next up is the centre light that is adding a light blue light in the middle of the scene. This is set off to one side in order to give some light to the whole scene.
var hemisphereLight = new THREE.HemisphereLight(0xe3feff, 0xe6ddc8, 0.7);
scene.add(hemisphereLight);
hemisphereLight.position.y = 300;
var centerLight = new THREE.SpotLight(0xb7f9ff, 1);
scene.add(centerLight);
centerLight.position.set(2500, 300, 2000);
centerLight.penumbra = 1;
centerLight.decay = 5;
07. Animate lights
The next two lights to be added. 'PointLight' and 'PointLight2' are coloured lights that will circle in opposite directions around the scene so that the light changes constantly in the view. The first is a pink light and the second is an orange light. The path and format for the reflection images are set in the last two lines.
pointLight = new THREE.PointLight(0xe07bff, 1.5);
pointLight.position.z = 200;
scene.add(pointLight);
pointLight2 = new THREE.PointLight(0xff4e00, 1.2);
pointLight2.position.z = 200;
scene.add(pointLight2);
var path = "img/";
var format = '.jpg';
08. Shiny surfaces
The liquid surface will have a reflective, shiny surface and this is done by creating a reflection cube. This is a cube with a 360-degree skybox placed inside it, which will be reflected onto the surface of the liquid. The 'urls' array contains the images to be loaded, then the material is set up.
09. Set up some groups
The mover group will contain some particles that will be added later, while the floor group will contain the surface of the liquid. A new 3D object is created that will hold that surface. There will be two liquid surfaces; one will have the reflective material and the second will have the wireframe 'floorMaterial', as defined here.
moverGroup = new THREE.Object3D();
scene.add(moverGroup);
var floorGroup = new THREE.Object3D();
var floorMaterial = new THREE.MeshPhongMaterial({
color: 0xeeeeee, side: THREE.DoubleSide, blending: THREE.AdditiveBlending, wireframe: true
});
floorGeometry = new THREE.PlaneGeometry(FLOOR_WIDTH + 1200, FLOOR_DEPTH, FLOOR_RES, FLOOR_RES);
10. Make the surfaces
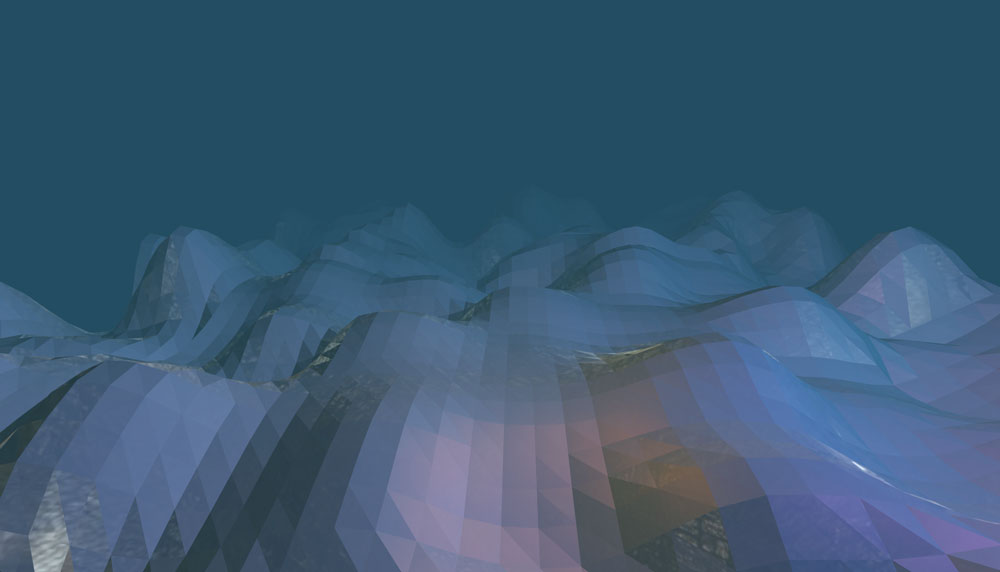
The two liquid surfaces are created here as 'floorMesh' and 'floorMesh2'. They are positioned and placed inside the 'floorGroup' then rotated to a good viewing angle in front of the camera. This isn't directly flat, but slightly angled as it looks better like that.
var floorMesh = new THREE.Mesh(floorGeometry, cubeMaterial);
var floorMesh2 = new THREE.Mesh(floorGeometry, floorMaterial);
floorMesh2.position.y = 20;
floorMesh2.position.z = 5;
floorGroup.add(floorMesh);
floorGroup.add(floorMesh2);
scene.add(floorGroup);
floorMesh.rotation.x = Math.PI / 1.65;
floorMesh2.rotation.x = Math.PI / 1.65;
floorGroup.position.y = 180;
11. Add floating particles
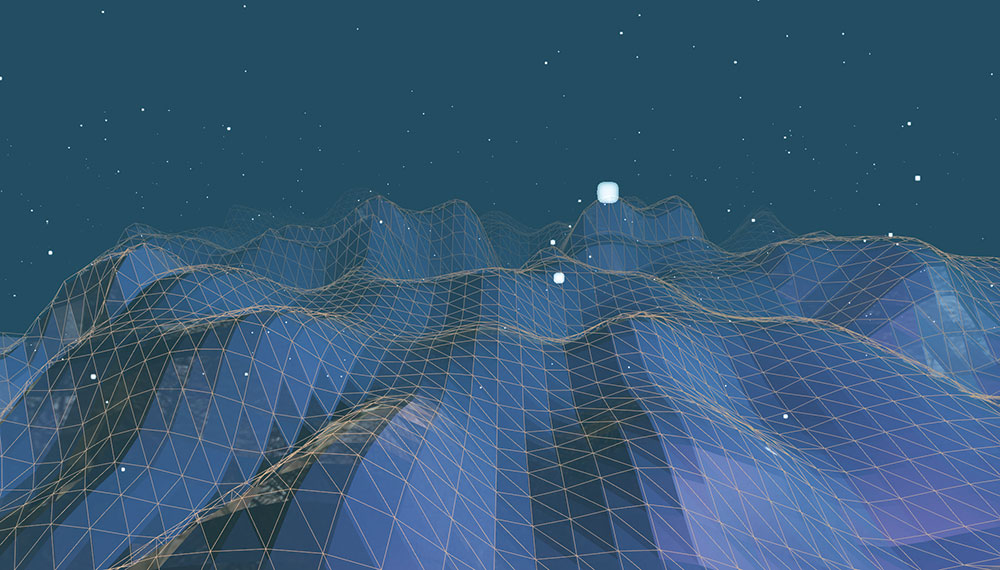
The section of code here creates an empty geometry object and then places into it 2,000 vertices that act as the particles. These are distributed at random positions on the X, Y and Z axis. These will float just above the surface of the liquid floor.
pGeometry = new THREE.Geometry();
sprite = textureLoader.load("img/sprite.png");
for (i = 0; i < 2000; i++) {
  var vertex = new THREE.Vector3();
  vertex.x = 4000 * Math.random() - 2000;
  vertex.y = -200 + Math.random() * 700;
  vertex.z = 5000 * Math.random() - 2000;
  pGeometry.vertices.push(vertex);
}
12. Create the look
The material defined here will set how the particles look. An image was loaded in the previous step and that is used as the image on each particle, once the material is created. This is then applied to each point of the geometry for all of the particles. These are then added into the scene.
13. Add the logo
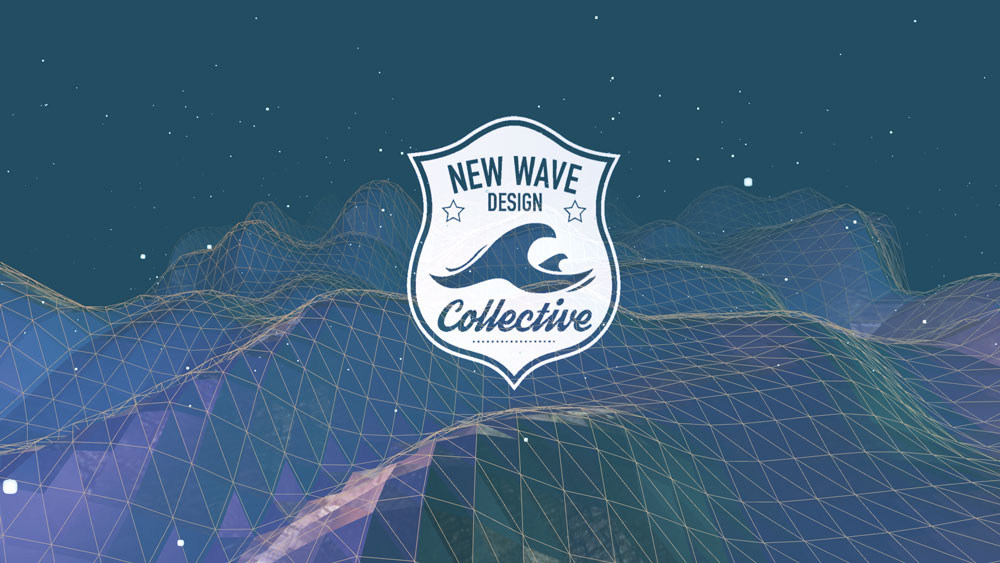
A logo will be placed into the centre of the screen and this will be added onto a flat plane that will face the camera. The logo is made slightly transparent and given an additive blend so that it is more visible when lighter objects pass behind it. This is positioned and placed into the scene.
sprite = textureLoader.load("img/logo.png");
geometry = new THREE.PlaneBufferGeometry(500, 640, 1);
material = new THREE.MeshLambertMaterial({
  transparent: true, opacity: 0.8, blending: THREE.AdditiveBlending, map: sprite, side: THREE.DoubleSide
});
var plane = new THREE.Mesh(geometry, material);
plane.position.set(0, 70, 1800);
scene.add(plane);
14. Add the render settings
The renderer is set up to have smooth, anti-aliased edges and now the background colour is set. This is added into the body of the document so that the scene is on the HTML page. The post processing effects are set up by having various render and shader passes initialised.
15. Make the pass
Once the film and glitch pass are added, an effect composer is created that composes all of the passes together. These are added one by one to the composer and it will eventually be rendered out to the screen for audience display.
16. Close the 'init' function
The last few settings are added for the initialisation of the scene. The parameters for post processing are set, the setting of the waves is called and an event listener is added for whenever the browser is resized. This enables the display to be updated to fit the new dimensions.
17. Set up the waves
The waves are created now for the surface of the liquid. This is done by moving through each vertex of the floor geometry on the x and z axis and moving it upward on the y axis. At this stage the 'for' loops are created for the x and z axis.
function setWaves() {
  stepCount++;
  moverGroup.position.z = -MOVE_SPD;
  var i, ipos;
  var offset = stepCount * MOVE_SPD / FLOOR_DEPTH * FLOOR_RES;
  for (i = 0; i < FLOOR_RES + 1; i++) {
  for (var j = 0; j < FLOOR_RES + 1; j++) {
  ipos = i + offset;
18. Make waves
Not all the vertices will be scaled upwards in the same way. Those furthest away from the camera will be large, then the sides will be slightly less, and those nearest the camera will be scaled the least. This makes the back and sides slightly more interesting to look at.
  if ((i > 30) || (j < 12) || (j > 48)) {
  floorGeometry.vertices[i * (FLOOR_RES + 1) + j].z = snoise.noise(ipos / FLOOR_RES * noiseScale, j / FLOOR_RES * noiseScale, noiseSeed) * FLOOR_HT;
  } else if (i > 25 && i < 30) {
  floorGeometry.vertices[i * (FLOOR_RES + 1) + j].z = snoise.noise(ipos / FLOOR_RES * noiseScale, j / FLOOR_RES * noiseScale, noiseSeed) * (FLOOR_HT / 1.2);
  } else {
  floorGeometry.vertices[i * (FLOOR_RES + 1) + j].z = snoise.noise(ipos / FLOOR_RES * noiseScale, j / FLOOR_RES * noiseScale, noiseSeed) * (FLOOR_HT / 2);
  }
  }
  }
  floorGeometry.verticesNeedUpdate = true;
}
19. Resize and animate
When the window is resized, the function here is called from the listener that was set up in step 16. The camera, renderer and composer are all reset in here to match the new dimensions of the window of the browser. The animate function just sets itself at 60fps, calling the render function to update the display.
function onWindowResize() {
  camera.aspect = window.innerWidth / window.innerHeight;
  camera.updateProjectionMatrix();
  renderer.setSize(window.innerWidth, window.innerHeight);
  composer.setSize(window.innerWidth, window.innerHeight);
}
function animate() {
  requestAnimationFrame(animate);
  render();
}
20. Set every frame of action
The render function is called every frame. The point lights are set to orbit around in the scene and the camera is positioned according to the mouse movement, with a little easing so that it moves gradually into place. The camera is set to always look at the centre of the scene.
function render() {
  var timer = -0.0002 * Date.now();
  pointLight.position.x = 2400 * Math.cos(timer);
  pointLight.position.z = 2400 * Math.sin(timer);
  pointLight2.position.x = 1800 * Math.cos(-timer * 1.5);
  pointLight2.position.z = 1800 * Math.sin(-timer * 1.5);
  camera.position.x += (mouseX - camera.position.x) * .05;
  camera.position.y += (-mouseY - camera.position.y) * .05;
camera.lookAt(scene.position);
21. Render the scene
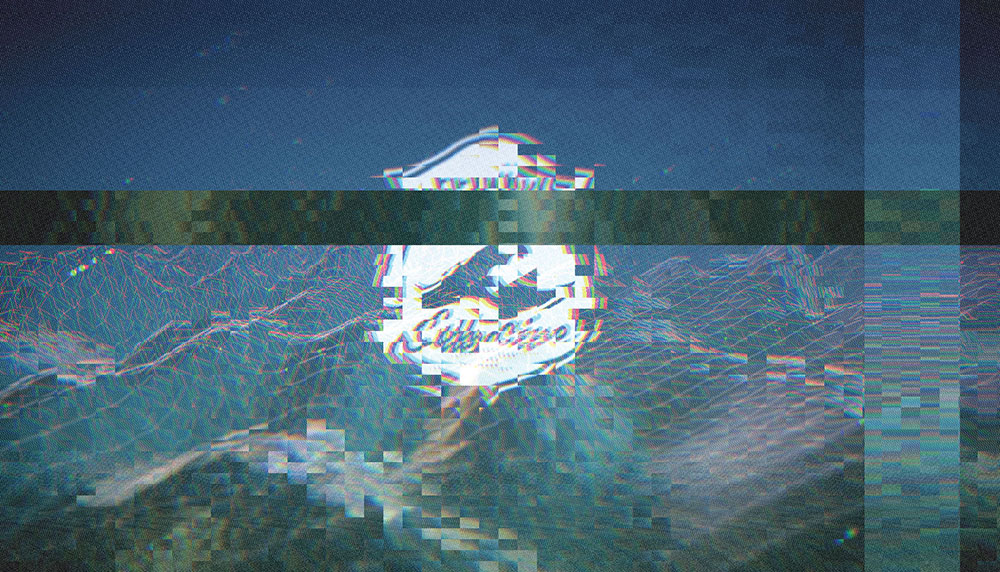
In the final step the particles are moved forward on their individual vertex, and if they get to the camera, they are placed back into the distance. This is updated and the 'setWaves' function is called to make the waves roll forward. The scene is rendered by the effects composer.
This article was originally published in creative web design magazine Web Designer. Subscribe to Web Designer here.
Related articles:

Mark is a Professor of Interaction Design at Sheridan College of Advanced Learning near Toronto, Canada. Highlights from Mark's extensive industry practice include a top four (worldwide) downloaded game for the UK launch of the iPhone in December 2007. Mark created the title sequence for the BBC’s coverage of the African Cup of Nations. He has also exhibited an interactive art installation 'Tracier' at the Kube Gallery and has created numerous websites, apps, games and motion graphics work.
