Groom an irresistibly furry creature
How to make a cute furry 3D character that looks at home in his environment.
Sign up to Creative Bloq's daily newsletter, which brings you the latest news and inspiration from the worlds of art, design and technology.
You are now subscribed
Your newsletter sign-up was successful
Want to add more newsletters?
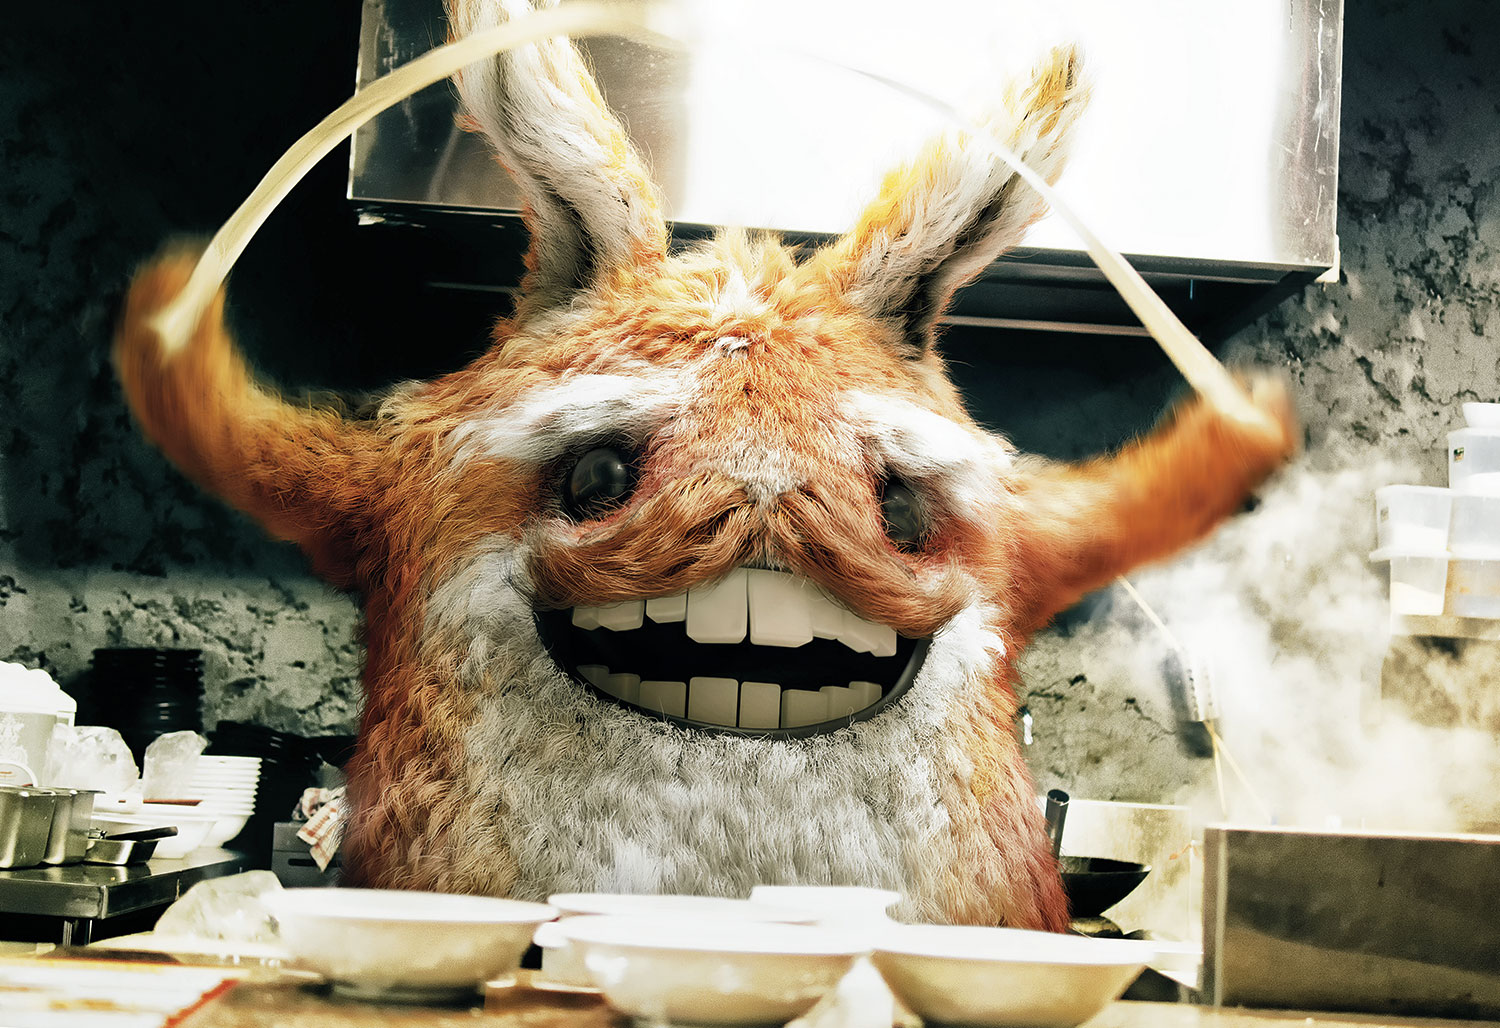
This tutorial will take you through how to design and model a new furry 3D creature. To create this strokable creature we will follow my workflow, working on the base character, blocking the hair and fur in, and adjusting the scene.
In addition, you will see the design process I use to create a new piece, including blending my reference images with renders and how I rework the main subject to step up the overall quality of the design. There's a video of my process below, followed by a step-by-step breakdown of my process.
- Download the supporting files here
01. Find a concept
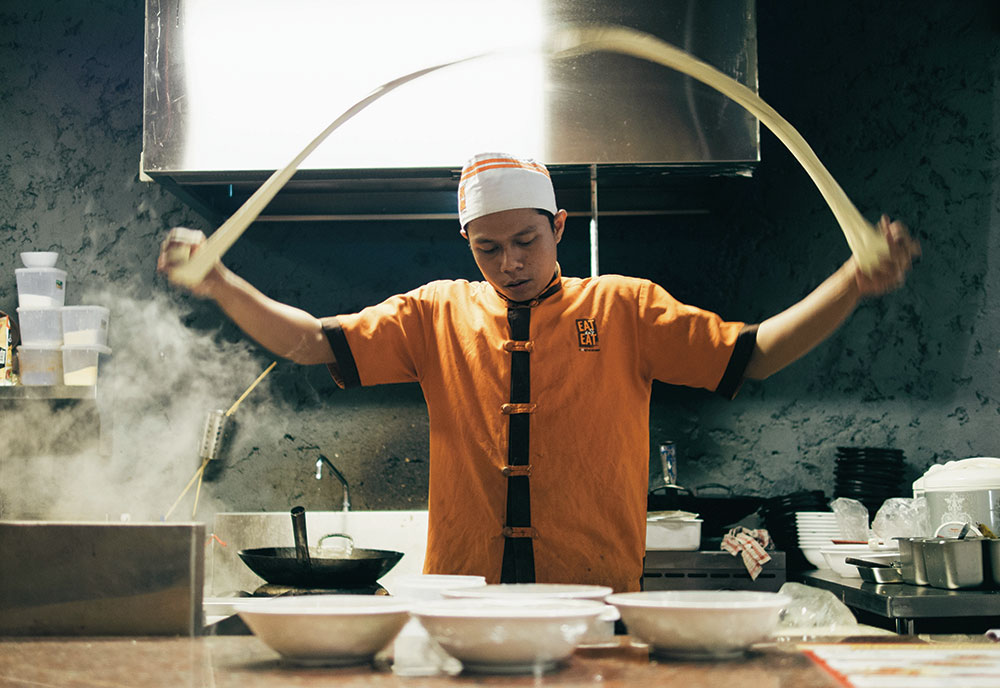
First, I look for a reference image that's natural but strong. I go to unsplash.com, where people put amazing photos up for free commercial use. I want a scene with good lighting that I can use for a backplate. I decide to test a kitchen scene.
Article continues below02. Set the scene
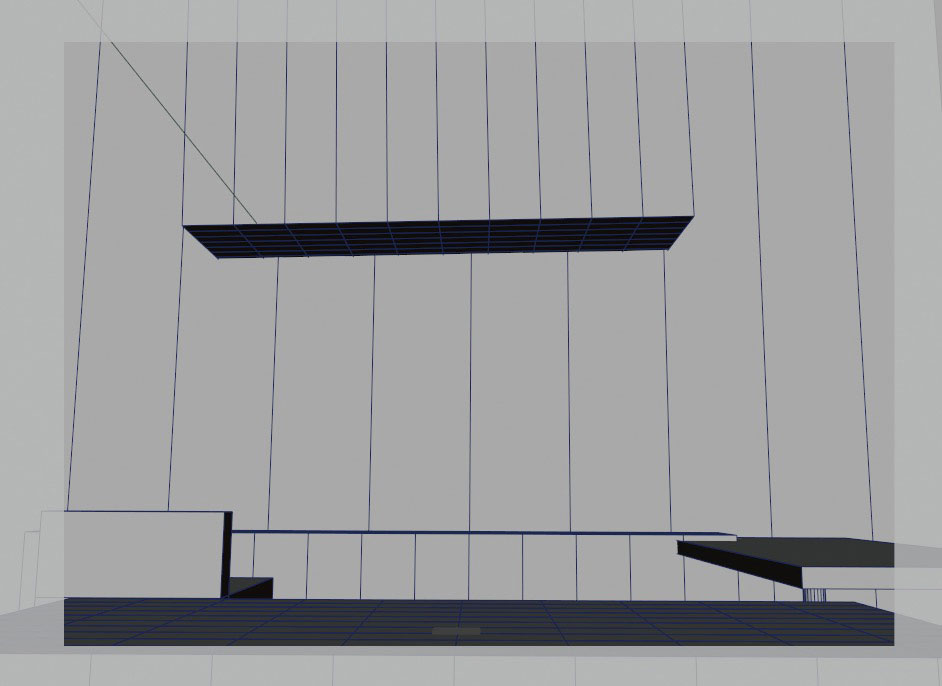
Now I have my image, it's time to set the camera and perspective. With Maya it's not that easy to get the angle right – I have to tweak and eyeball a little bit. My workflow here is to get the basic shapes of the scene and box model them.
Once I have the basic shapes, I set the camera and the view angle. It's really important to take your time here and make sure you have the perspective right because this will define the success of the scene.
03. Establish the basic light setup
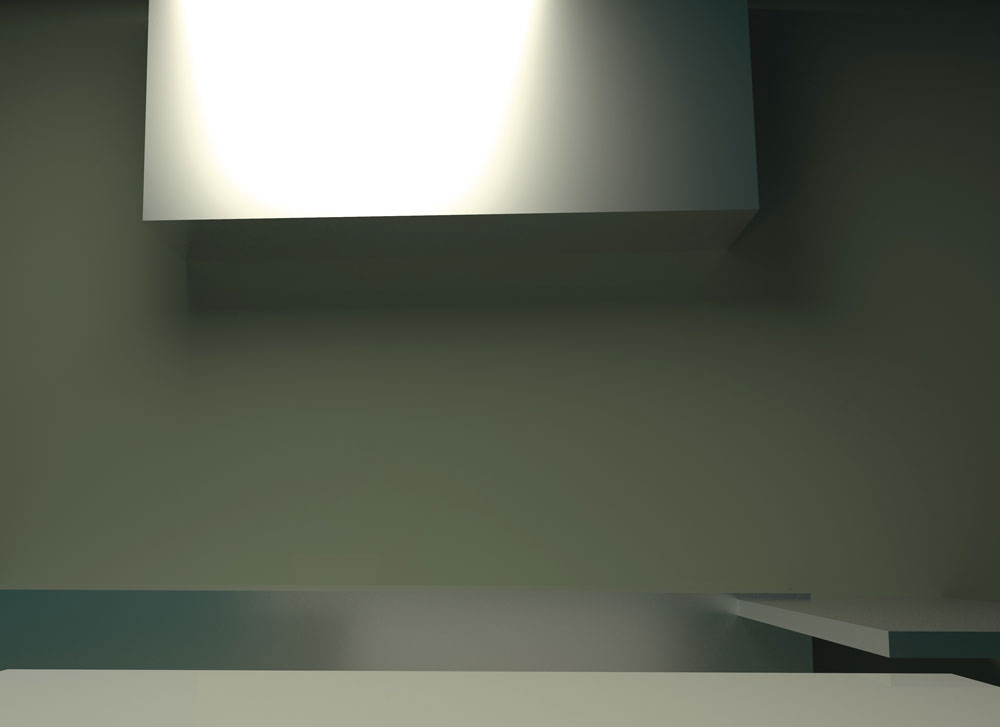
Now it's time to set up the light. In my reference photo I can see an area of light at the top of my scene, so I put a light there. I add one more physical light behind my camera as a secondary light. For realism and to blend the scene and the backplate, I normally add a dome light with the backplate images, which generates GI and a little ambient light, providing a dim illumination of the scene.
04. Work on character conceptualisation
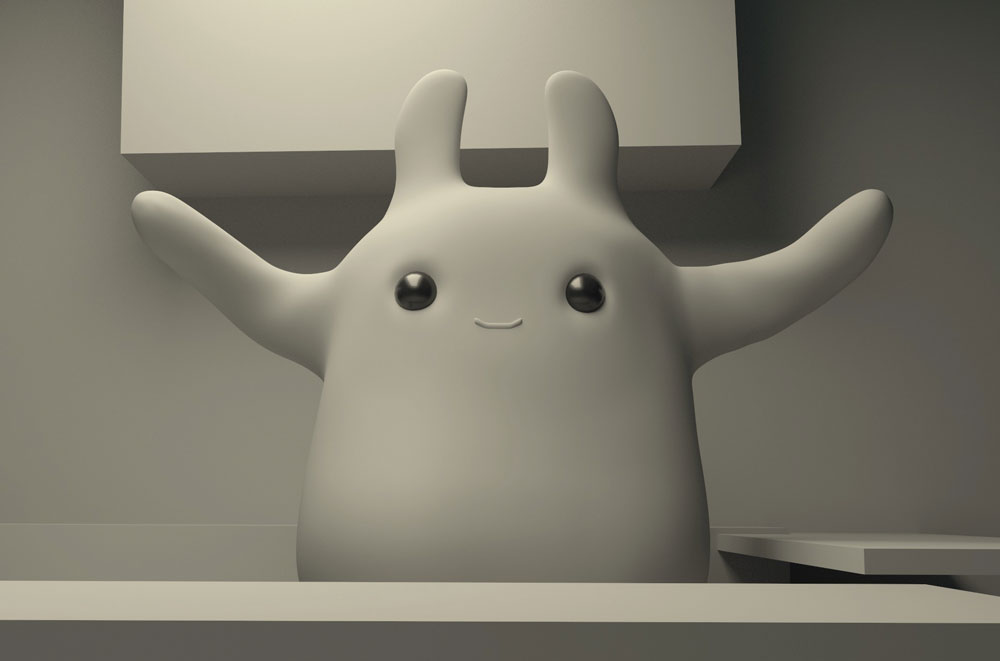
I want my character to do something similar to the man in the reference image, and to blend in with the pasta in the photograph. I design a really basic character to play with – just a blob with arms and two eyes. It doesn't even have legs, because this guy will always be behind the counter.
Sign up to Creative Bloq's daily newsletter, which brings you the latest news and inspiration from the worlds of art, design and technology.
05. Test the scene
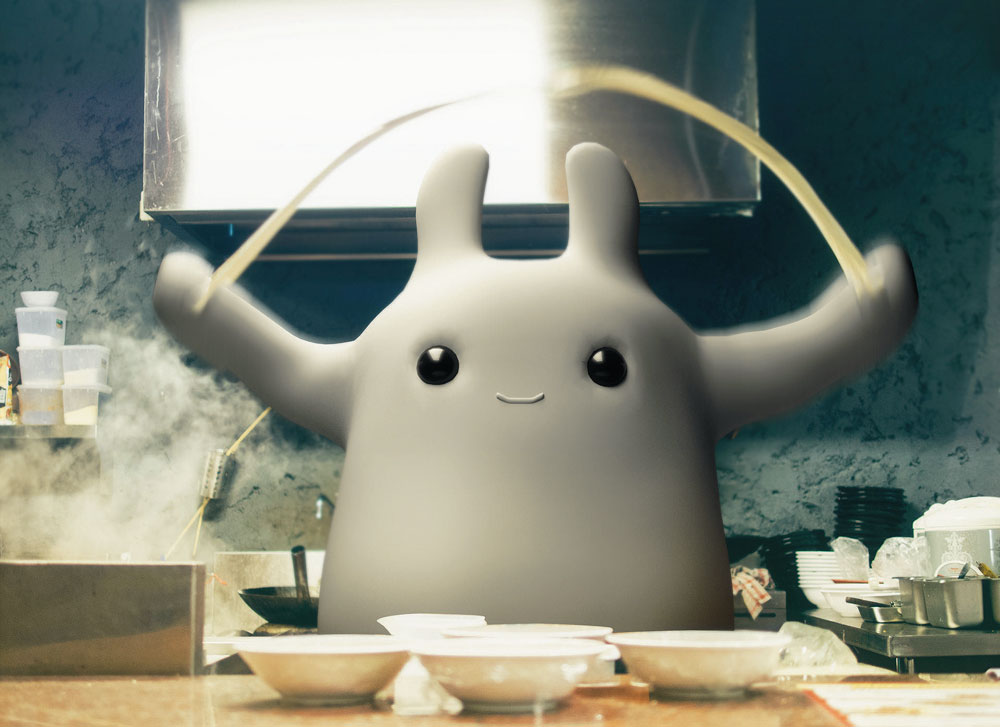
With everything blocked in and the main character in position, it's time to test the scene. I put all the models in the scene with no visibility to cast shadows and render the first test. I blend the render and the photograph to test the scale, the model, the light and the angle of the camera. I find my backplate has a green and blue tint over the shadows that I'll have to remove later.
06. Do some basic grooming

It's time to start grooming. I use Core XGen, though this technique will work with any other hair system. When working with hair, the important thing is to achieve a good flow and an interesting silhouette.
For this kind of character, with no animation, I like to use groomable splines. I think about how the character moves and behaves, as this will affect his fur. This specific character has to work a lot with his hands and gets covered in steam often, so his hair will look heavy and not that fluffy.
07. Adjust length and silhouette
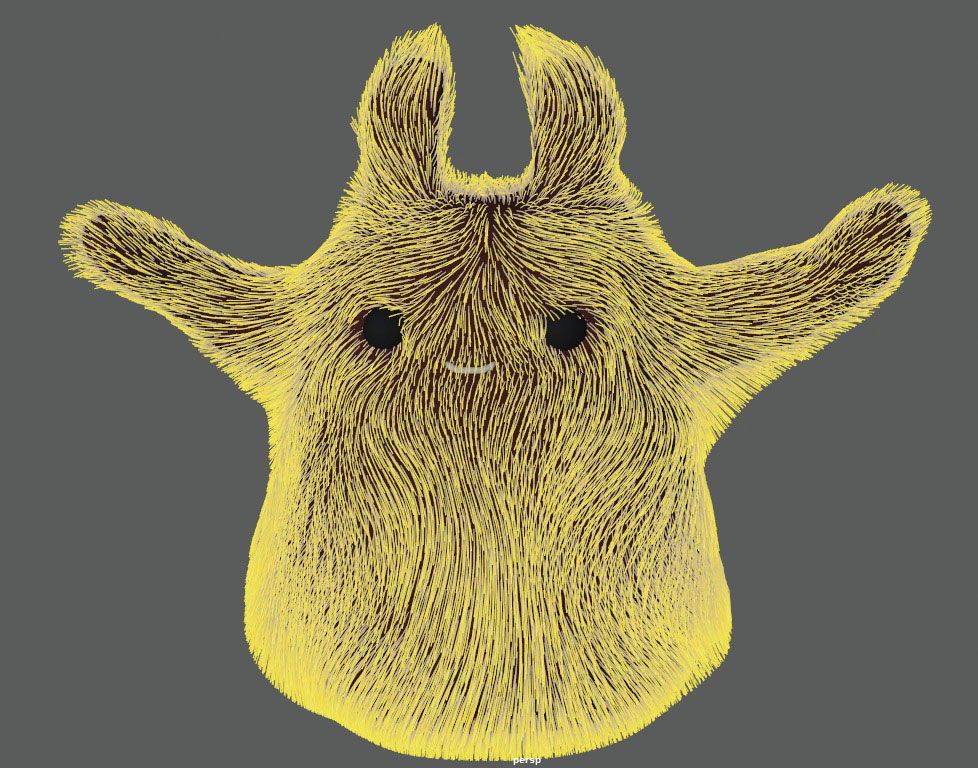
Once I have the flow of the hair, I start blocking out the silhouette and the length. I give my creature shorter hair on his hands but furrier, pointy ears and longer hair on his armpits. I block out the eyes and the mouth.
08. Set up the hair
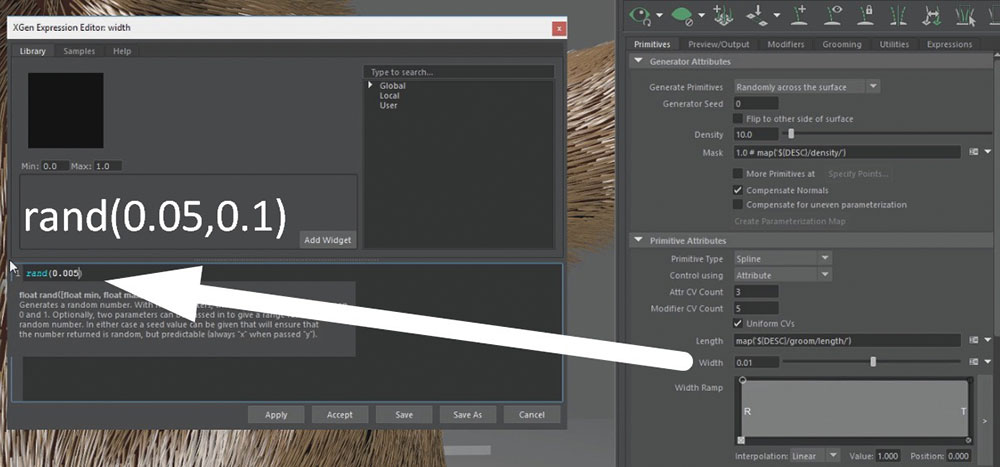
Now I generate the hair for the first time to check its fidelity and how it looks. When you first generate the hair it often comes out in chunks or planes. I test first with a really low density hair, and don't overscale the model.
For the hair, I break the connection on the Width and set up a random expression to define with float rand (float min, float max) to help me control the hair and add some variation to the width, making it look more natural. One the hair is visible, you can adjust the flow and length.
09. Employ the clump modifier
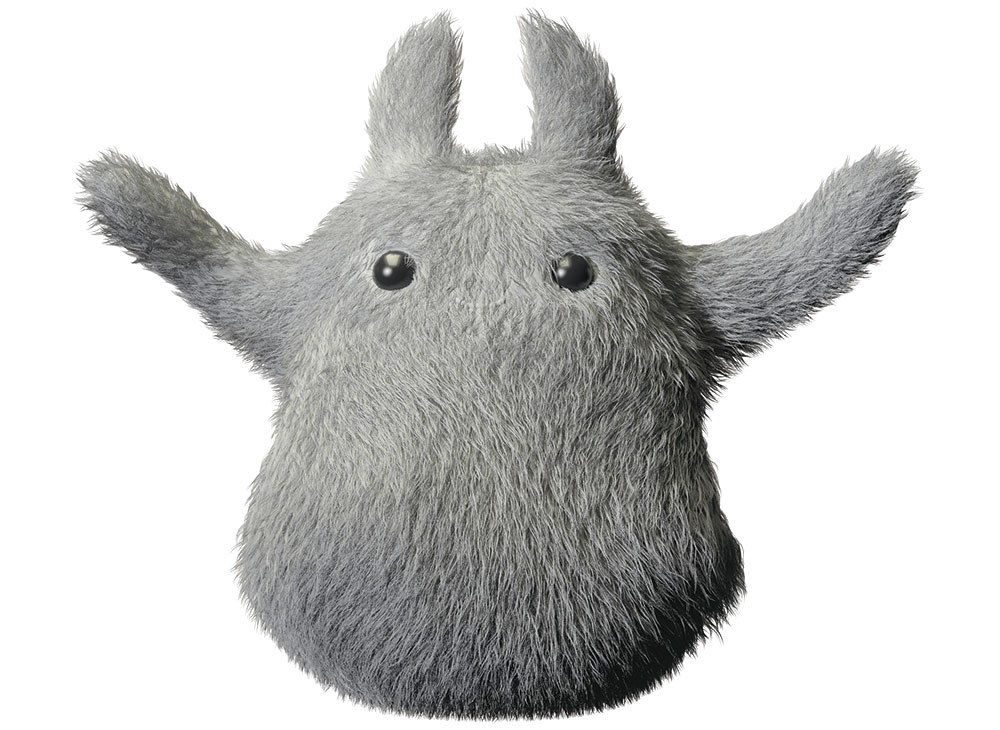
For this groom, I use a short hair with a mid-density on the base clumps and closed tip to enhance the effect of humidity, and a higher density on the second level of clumps with an open tip. I make the clumps thicker than the regular hair, so they appear sticky. I want small groups of hairs with a wavy configuration on the noise, to look thick on the roots and thinner on the tips with a wavy end.
10. Use the coil and noise modifiers
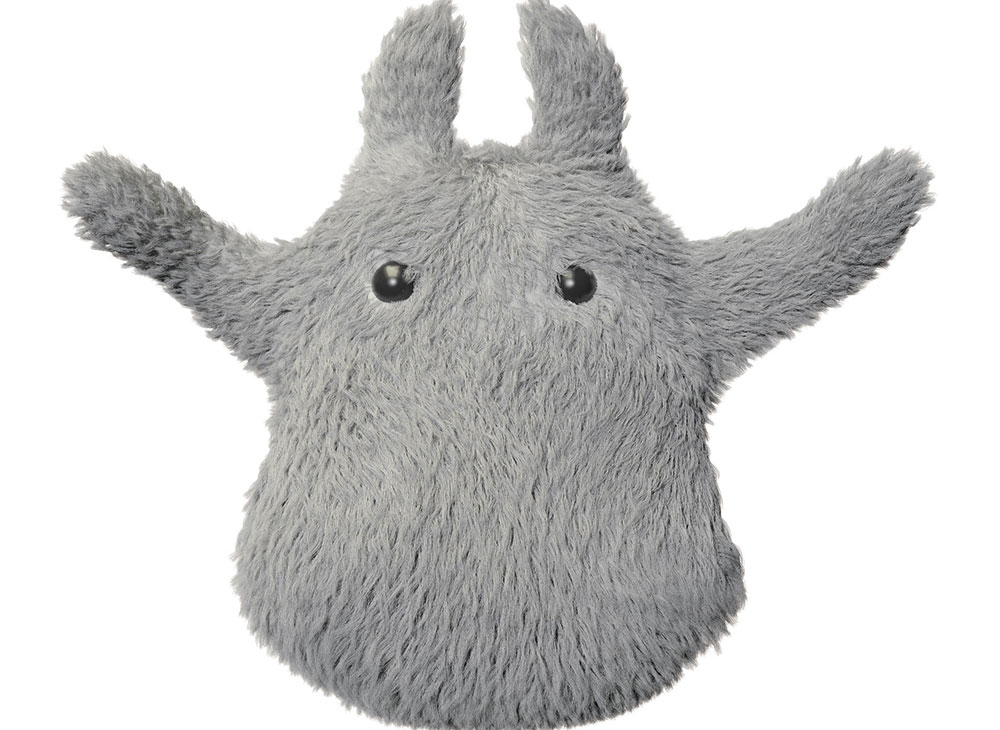
Once I have the basic shape of the clumps, I need to add a little bit of randomness, as the clumps start to reveal more detail. To add new variations I use the Noise Modifier, and for this case I also add a Coil Modifier with a low influence to simulate the wetness and oil on the hair.
For the noise, I use a base modifier to add the first layer of variation, affecting the tips more than the bases, with a frequency of 4 and a magnitude of 1. This means each strand will move four times from base to tip with a max magnitude of 1 over the tips.
Next page: Give your creature character and add some props
