Create balloon typography in Cinema 4D
3D artist Francesca Forzoni reveals the best approach to creating 3D balloon typography.
Sign up to Creative Bloq's daily newsletter, which brings you the latest news and inspiration from the worlds of art, design and technology.
You are now subscribed
Your newsletter sign-up was successful
Want to add more newsletters?
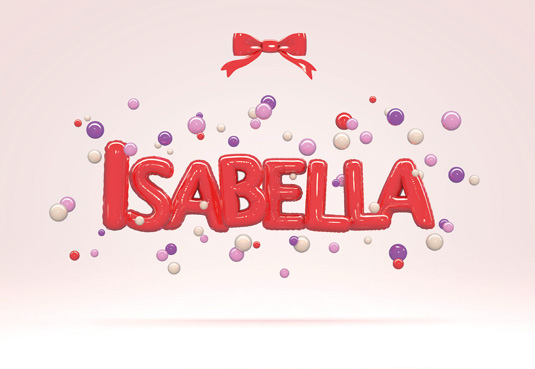
Creating any 3D art is a tricky and time-consuming process, and that includes 3D typography. For me, the best way to develop balloon-style type is to create a base mesh with Cinema 4D, sculpt in ZBrush and finish off back in C4D. To create a base mesh in C4D, you can either build text using MoText or import vector art from Illustrator. You want to create a rounded base shape to your letters here, so extrude and fillet both caps.
Once happy with a base to sculpt onto, bring your text into ZBrush. I tend to import and sculpt one letter at a time as the meshes can get quite heavy and it's easier to sculpt around the entire letter this way. When bringing my mesh into ZBrush I always use the ZRemesher as this creates a smooth, clean mesh that allows your sculpting to be clean.
I also use the Layers function in ZBrush. This works similar to Photoshop layers: each layer of sculpting you record, you can turn on and off of your model, you can also control the depth/height of each layer too. This allows for much more control, and if dealing with client feedback, I find having layers helps make amends later down the line.
Article continues belowMy go-to brushes for balloon making are Standard, Slash and Inflate, within ZBrush. It might take you a couple of tries to get this right but you'll get there! I find Lazy Mouse really helps to create smooth slashes across the material, and I normally activate Active Symmetry to work on both sides of the balloon at the same time.
Once you're happy with your sculpting in ZBrush, bring all your models into C4D. Rotate all of your balloons slightly so they look a bit more realistic. Texture and light your scene, then finally you can render. You can add strings and balloon ties on in Photoshop afterwards.
01. Create basic shapes
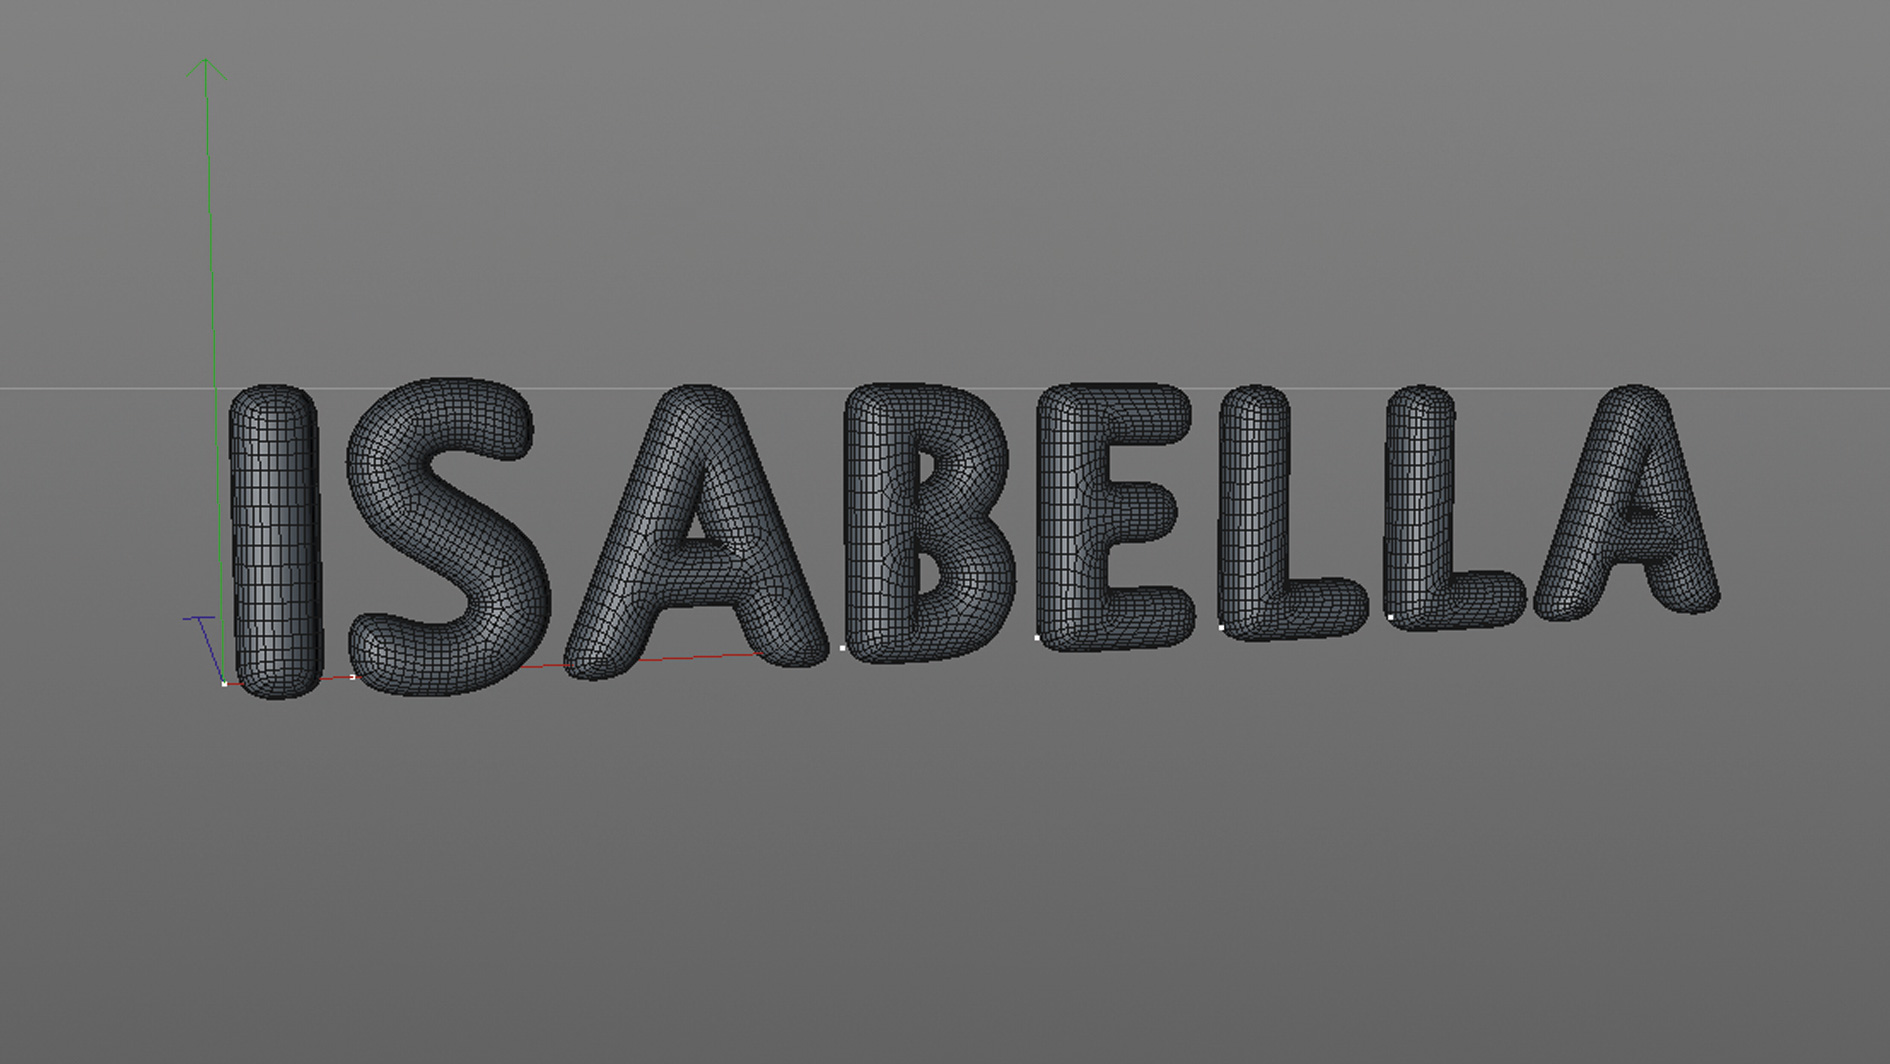
Create base text within Cinema 4D either using MoText, or if using vectors imported by Illustrator, extrude and add a fillet cap to the front and back of each letter. Try to get the 3D text as rounded as you can in this initial stage, keeping your poly count low because we are going to subdivide in ZBrush. You're just aiming for basic letter shapes with soft bevelled edges as a starting point for sculpting.
02. Clean up your topology
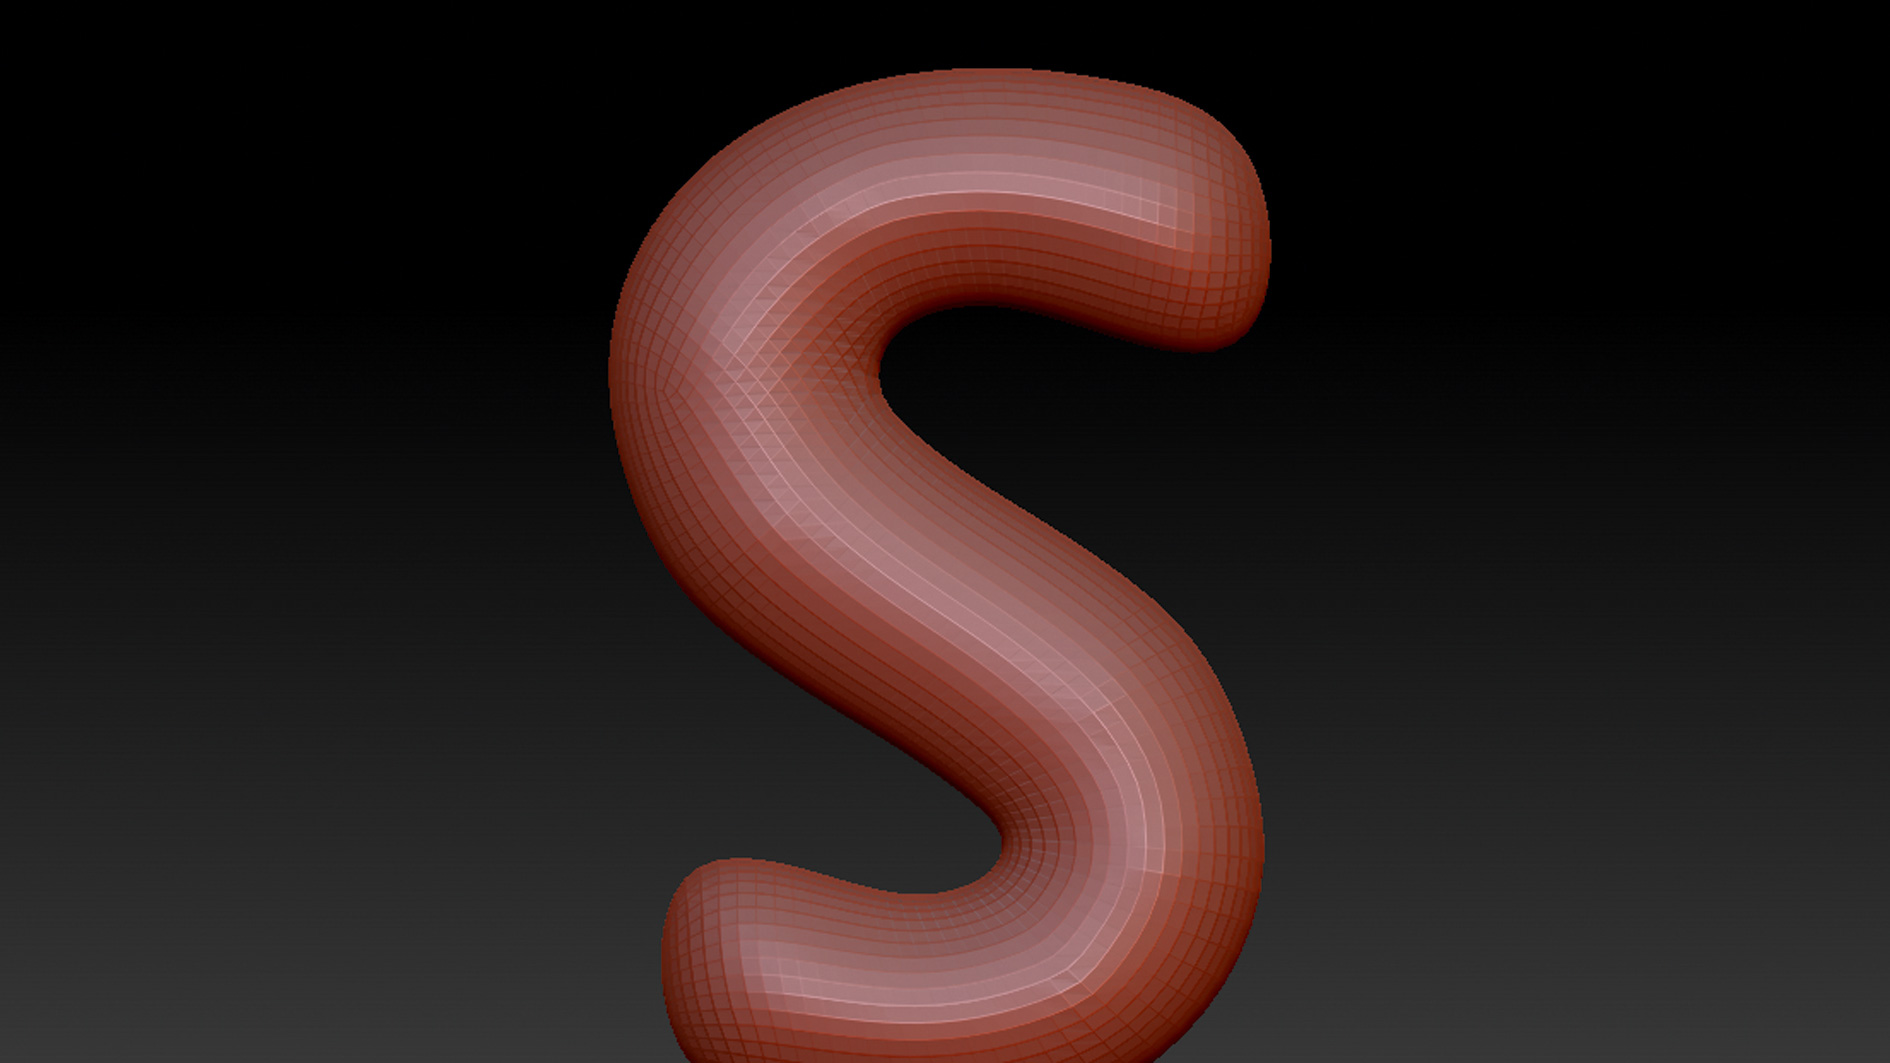
Export your letter as an .obj from C4D. Open ZBrush and under Tool you want to 'Import' your mesh. Once imported, go down to Geometry and click ZRemesher, which I find cleans up my topology nicely. Click Edit Tool to make your object editable. I then always go over to my Layers, click New and Record. I do this for every different part of the sculpting I'm working on.
Sign up to Creative Bloq's daily newsletter, which brings you the latest news and inspiration from the worlds of art, design and technology.
03. Begin sculpting
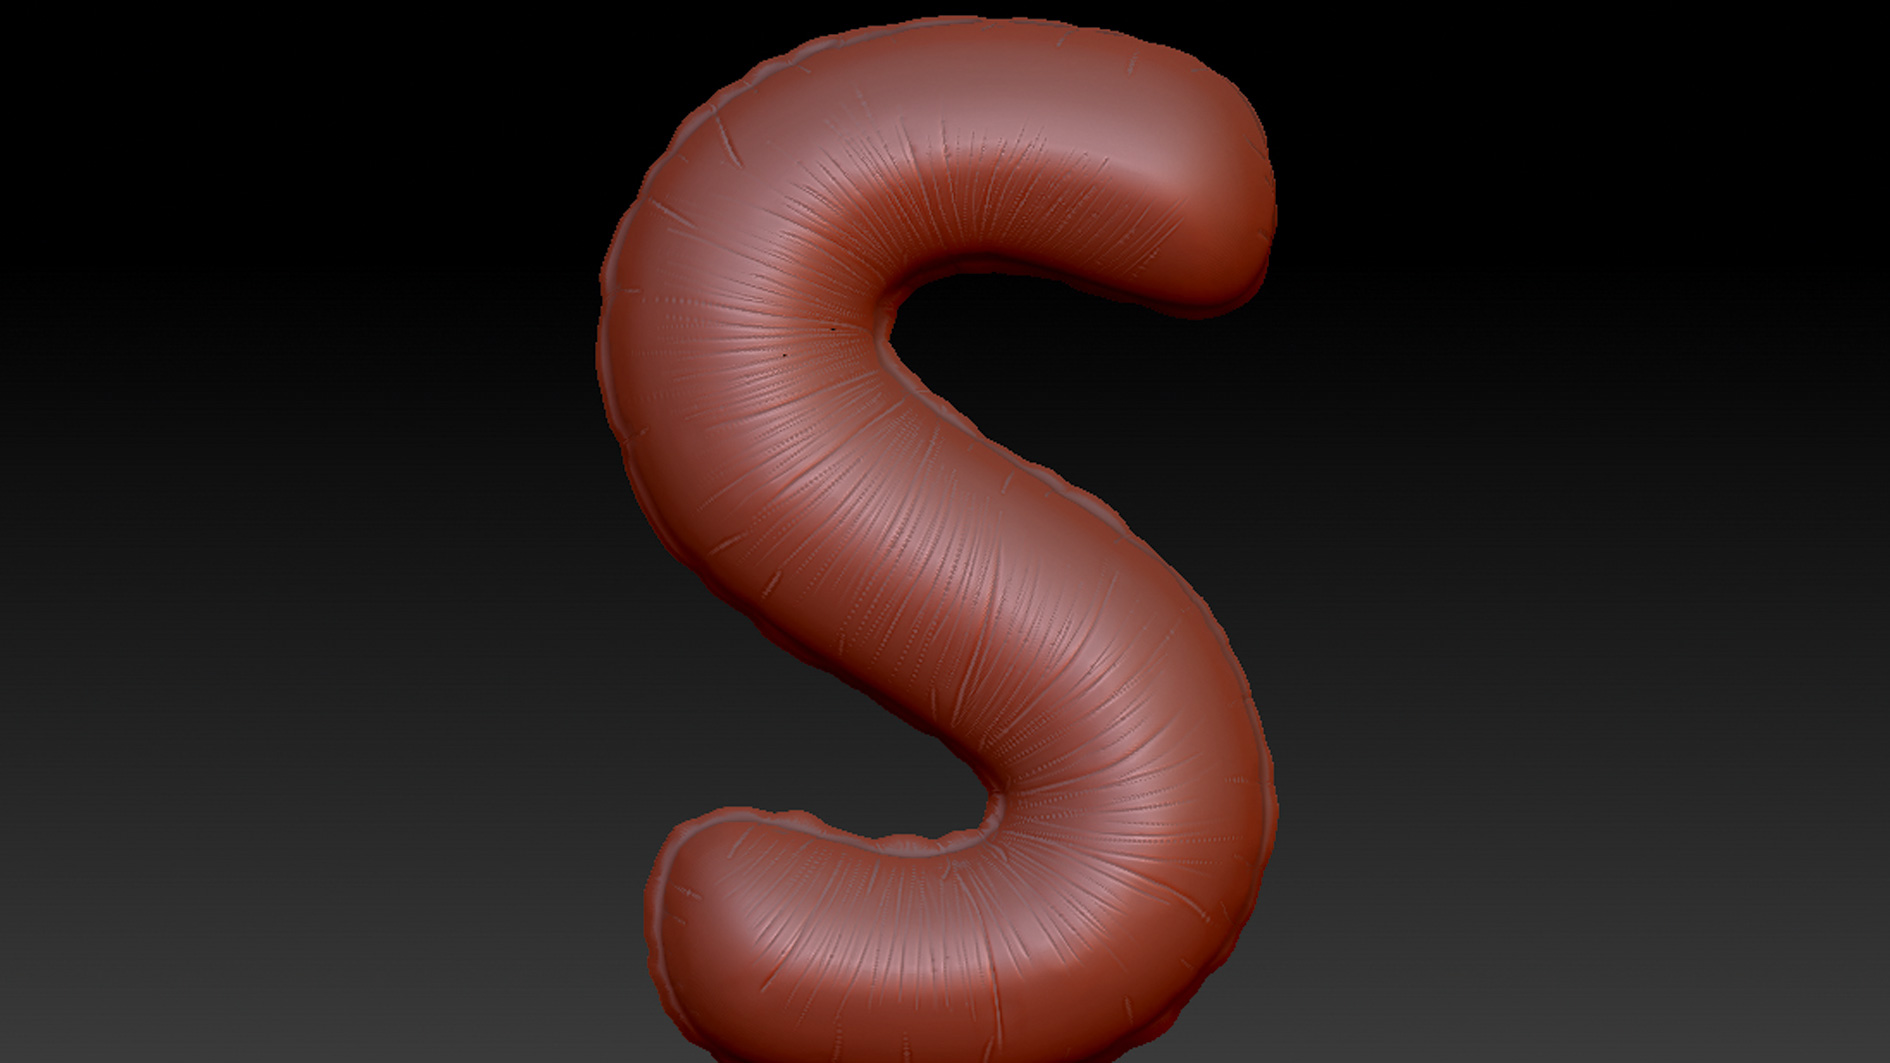
Time to start sculpting. I normally use the Standard brush to sculpt the seam around each of the letters. Then my go-to brush for balloon sculpting is Slash, to create the stretch marks and creases on the balloons themselves. Active Symmetry is great here to let you sculpt into the front and back of the letters at the same time. Don't forget to up your subdivisions for finer detailing.
04. Finishing touches

Once I am happy with your balloon letter, I will normally try out a Chrome texture within ZBrush, in order to get an idea of what the highlights will look like and if there's any part that is missing detail or needs smoothing out. You can export your letter as an .obj and import it back into C4D. I would then composite all of my letters together, and texture, light and render in C4D.
Words: Francesca Forzoni
A 3D artist/visualiser in London, Frankie recently moved from post- production to branding and packaging and currently works at Design Bridge. This article originally appeared in 3D World issue 204.
Liked this? Read these!
- We reveal where to find the best free vector art
- The 20 best illustrator brushes
- See the best Adobe Illustrator plugins
- Improve your 3D skills with these Cinema 4D tutorials
- All about font design

The Creative Bloq team is made up of a group of art and design enthusiasts, and has changed and evolved since Creative Bloq began back in 2012. The current website team consists of eight full-time members of staff: Editor Georgia Coggan, Deputy Editor Rosie Hilder, Ecommerce Editor Beren Neale, Senior News Editor Daniel Piper, Editor, Digital Art and 3D Ian Dean, Tech Reviews Editor Erlingur Einarsson, Ecommerce Writer Beth Nicholls and Staff Writer Natalie Fear, as well as a roster of freelancers from around the world. The ImagineFX magazine team also pitch in, ensuring that content from leading digital art publication ImagineFX is represented on Creative Bloq.
