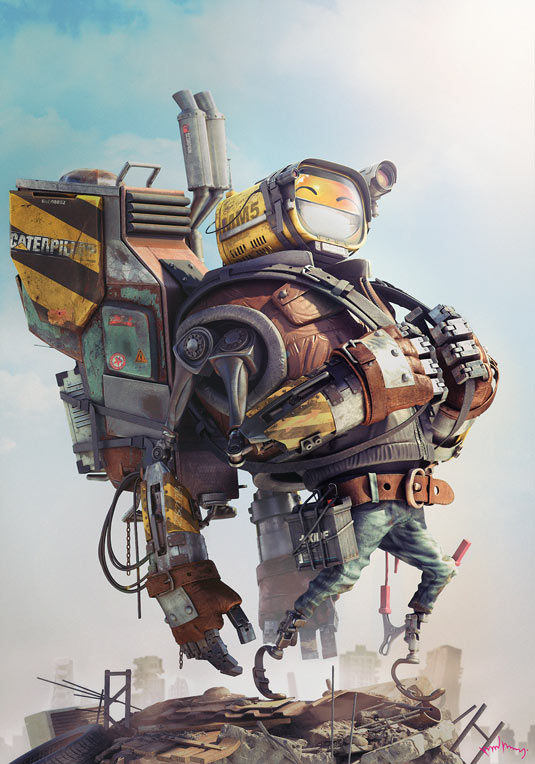
Epic 3D robot illustration by David Domingo Jiménez
Get inside the mind of Spain-based CG artist as he reveals the creative process behind Rob the Robot.
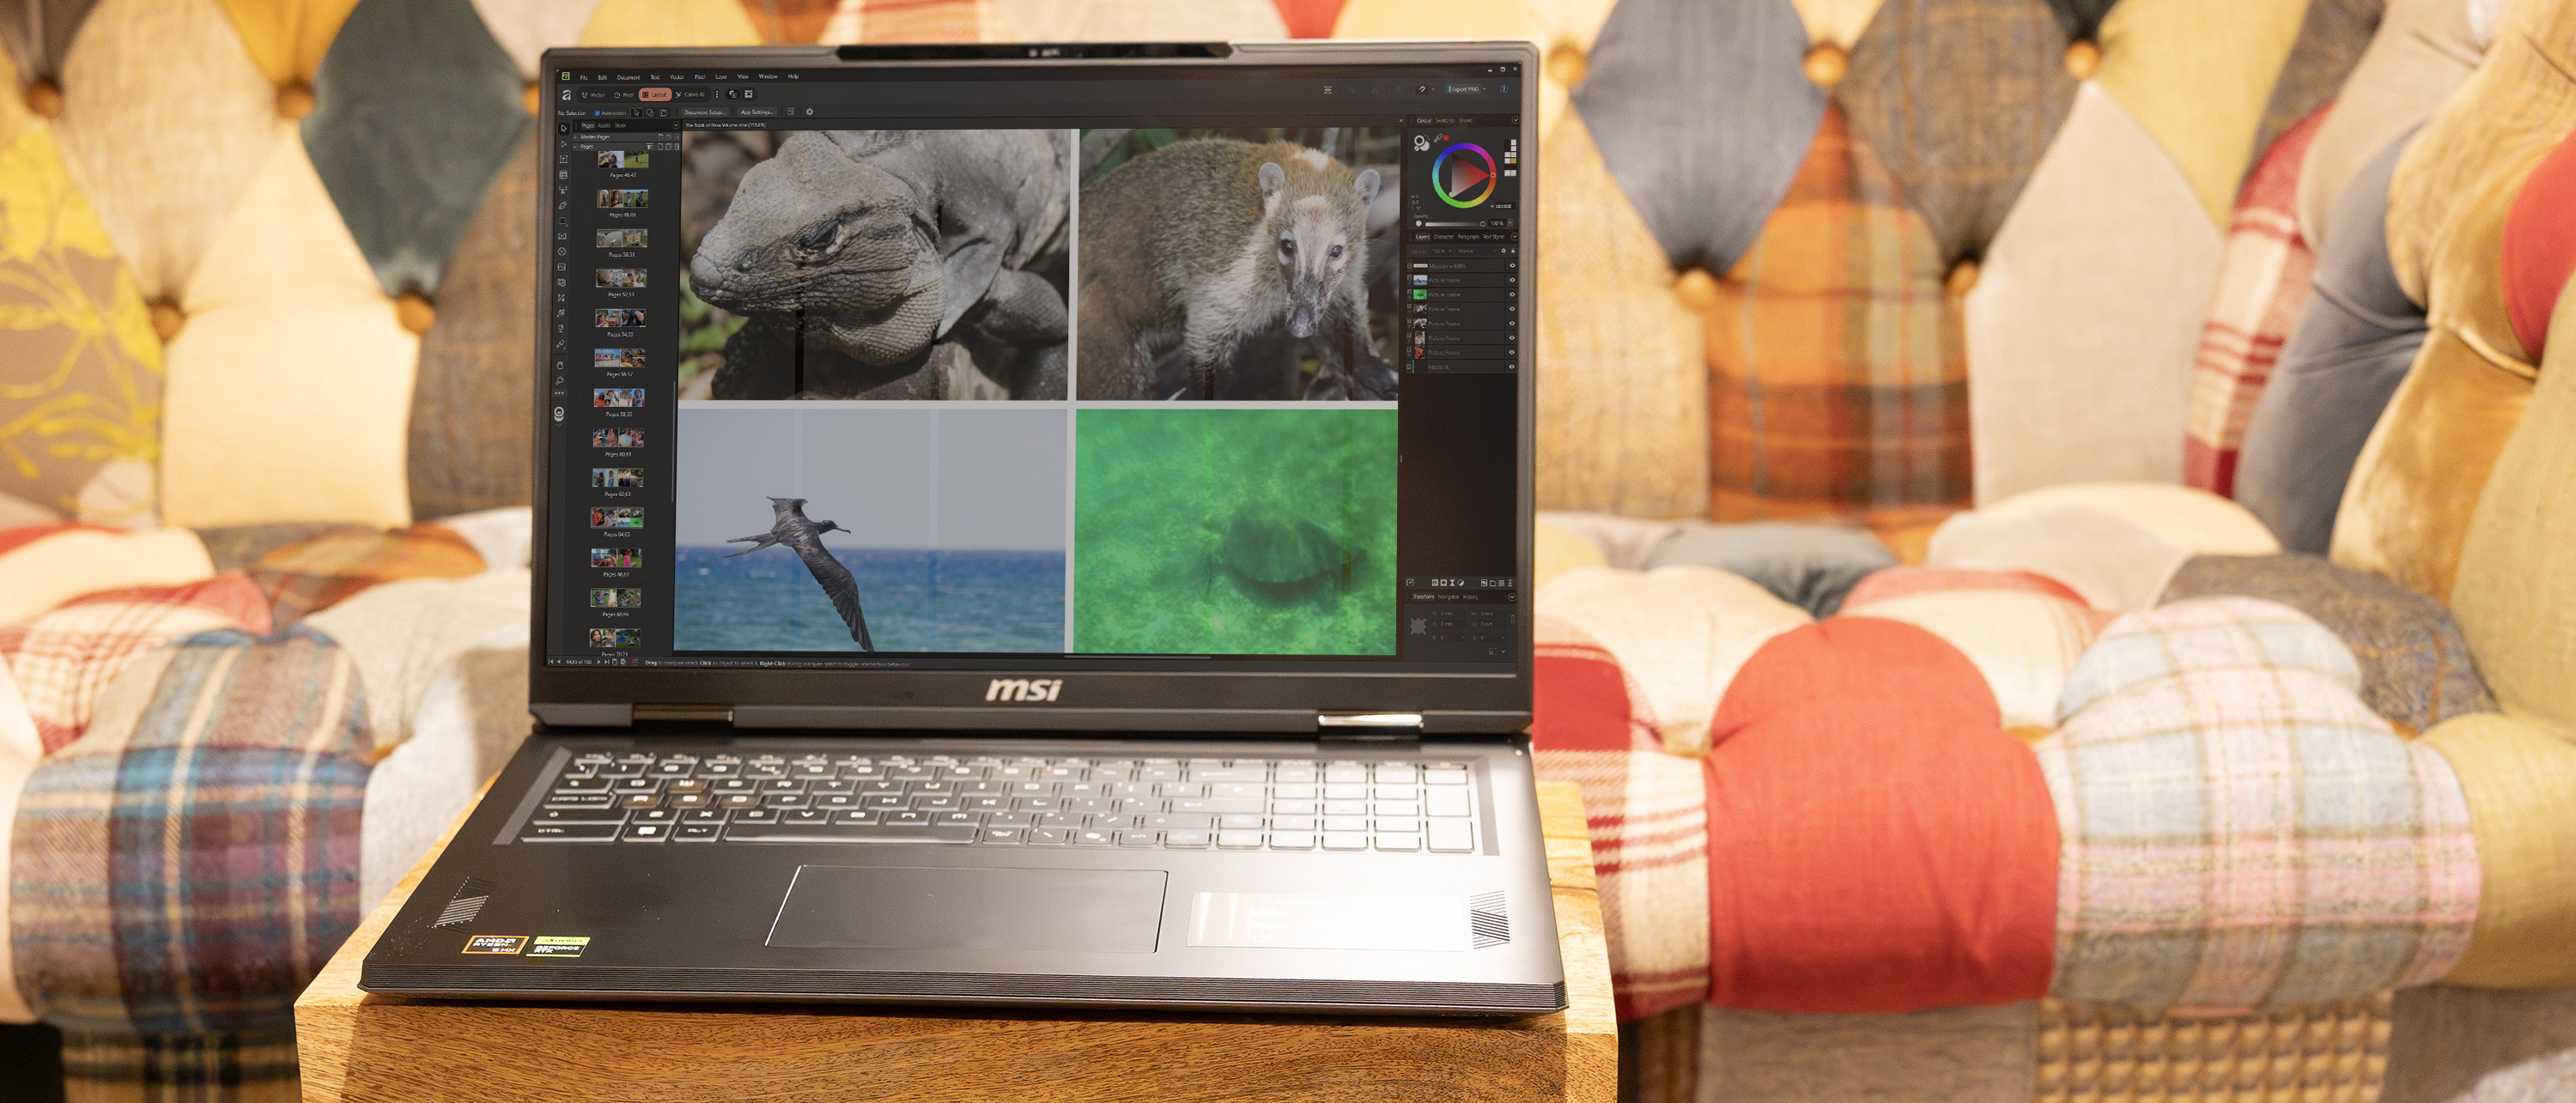
I started working with 3D in 2004, mainly based in advertising, and I am now a lead artist in textures and shading for environments and props for Kandor Graphics. I find working on personal projects keeps my skills fresh and current.
As an artist, I am always inspired by other artists and seeing their work - people like Juan Siquier (with whom I have had the pleasure of working), Ian McQue, Michael Kutsche and Olivier Ponsonnet, among others.
From conception to completion, this image, titled Epic, took me a month to complete. I don’t mind admitting that I’m really pleased with the result. All the modelling and rendering is my own work except the face, which is a copyright-free emoticon.
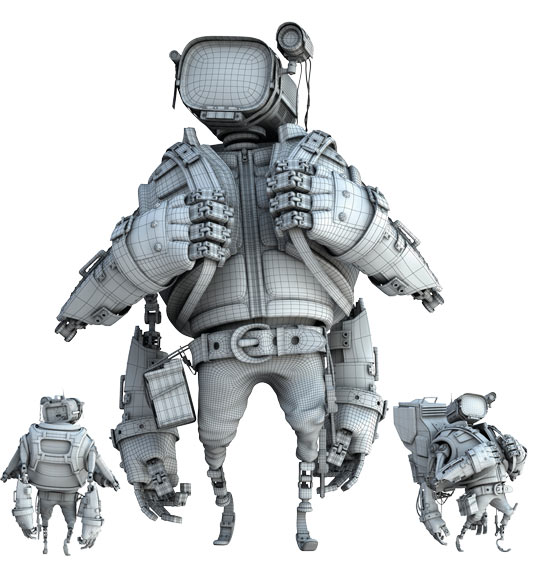
01. Modelling
Beginning with a simple hand-drawn sketch, I add a proxy model to obtain the initial shape. After this, I use reference photographs in order to detail every part until I reach the hi-poly or final model. It is important to use the tools available to really do the job well. On occasion, it is best to do a quick ZBrush model, and then do a retopology. In this case, in parts such as the trousers, the gloves and the vests.
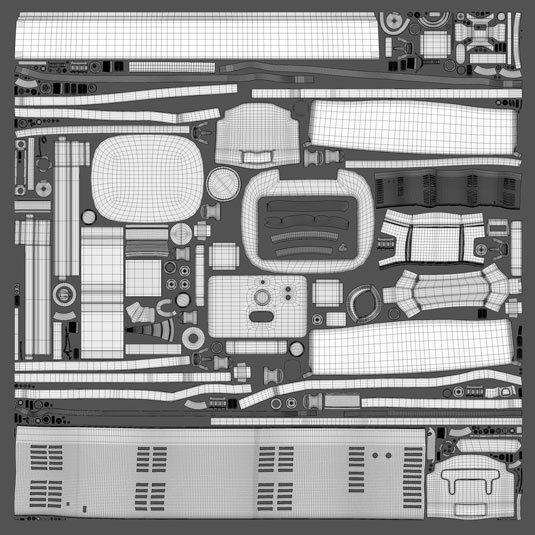
02. UV mapping
With UVLayout, I open different and parts then group them
into six models for more comfortable texturing. I personally do not organise or distribute the islands. What I do instead for texturing is to take a render ID for each object and use it as a mask. This is so that I differentiate between materials, metal, paintings and plastics.
03. Texturing
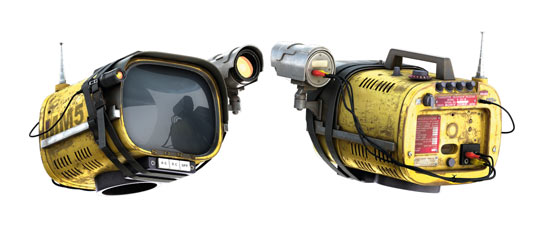
First of all, I work on the base textures that I will need later on: metal,
rust, leather, fabric, paintings, and so on. Afterwards, using render texture, I extract the ID maps, AO, displacement, normal map and UV. In the end, it is all a matter of painting and texture use. I always recommend using a tileable texture base. In this case, there are nine textures in 8K, three of which are for the terrain.
04. Shading
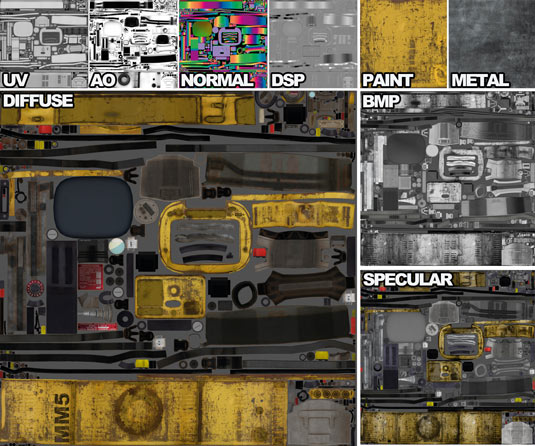
For each part of the model, I extracted the polygons that would be the
same material. Then, it was a matter of using the properties of each material, specular and glossy, according to the finish I was looking for.
Daily design news, reviews, how-tos and more, as picked by the editors.
05. Illumination
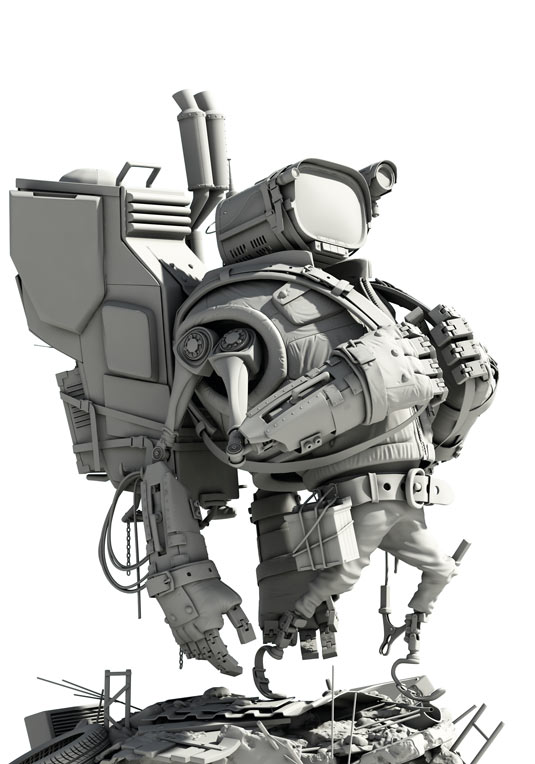
For the exterior lighting, I have used a direct light with Sun and Sky in the environment and a HDRI for the GI, in order to pick up the areas in the shade. It is no more complicated than this. I always use a Physical Camera from V-Ray.
06. Composition
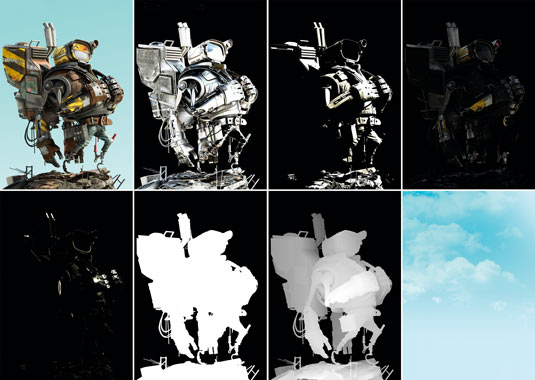
This is one of the most important steps. Playing with colour, saturation and contrast is essential. It is also important to use all the maps available, using Render Elements from V-Ray - as is creating an atmosphere that will highlight the object and that will be in harmony with the story the illustration is telling. It is also useful to employ fog and noise.
07. Final
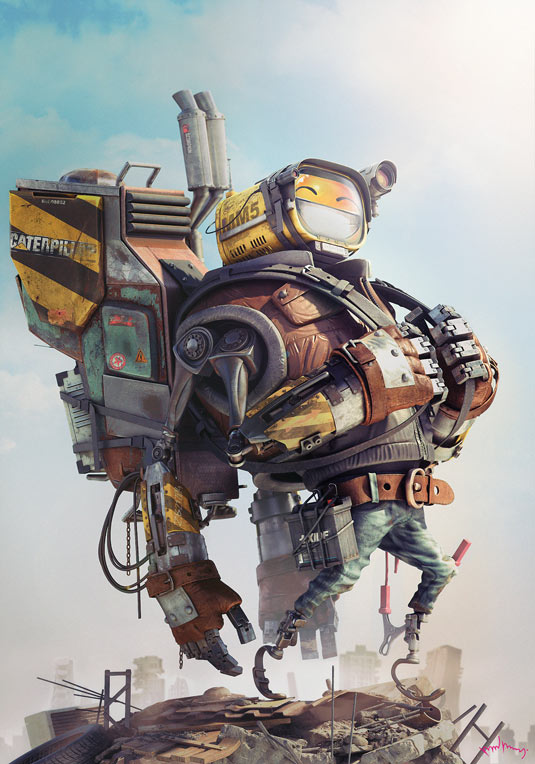
As a last step, I would like to point out that it is important to get feedback from someone who has some 3D knowledge, to avoid mistakes that may have gone unnoticed. In my case, I was helped by Victor Loba. I certainly owe him a dose of thanks for helping me improve
This article originally appeared in 3D World issue 173.
Liked this? Read these!
- Create a perfect mood board with these pro tips
- The best 3D movies of 2013
- Download free textures: high resolution and ready to use now

The Creative Bloq team is made up of a group of art and design enthusiasts, and has changed and evolved since Creative Bloq began back in 2012. The current website team consists of eight full-time members of staff: Editor Georgia Coggan, Deputy Editor Rosie Hilder, Ecommerce Editor Beren Neale, Senior News Editor Daniel Piper, Editor, Digital Art and 3D Ian Dean, Tech Reviews Editor Erlingur Einarsson, Ecommerce Writer Beth Nicholls and Staff Writer Natalie Fear, as well as a roster of freelancers from around the world. The ImagineFX magazine team also pitch in, ensuring that content from leading digital art publication ImagineFX is represented on Creative Bloq.
