Create a Soviet-style collage poster
Nicolas Lambert, aka Pittoresque, shares his tips on creating a propaganda collage using some vintage images and a few well-chosen textures
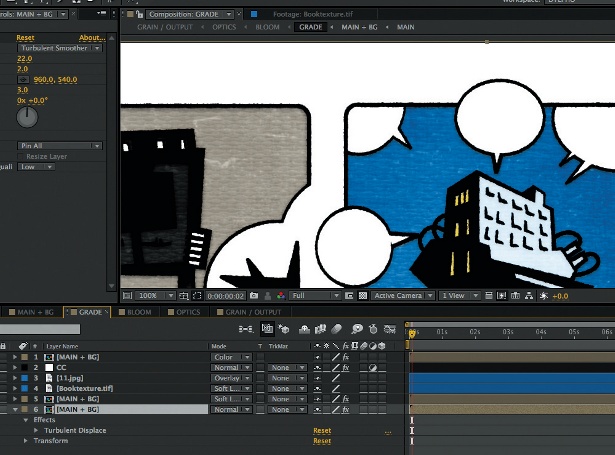
08 Now create two blue-green rectangles and use them to border the copy on the right and the left. Set the blending mode to Multiply and add some blur (Filter>Blur>Gaussian blur).
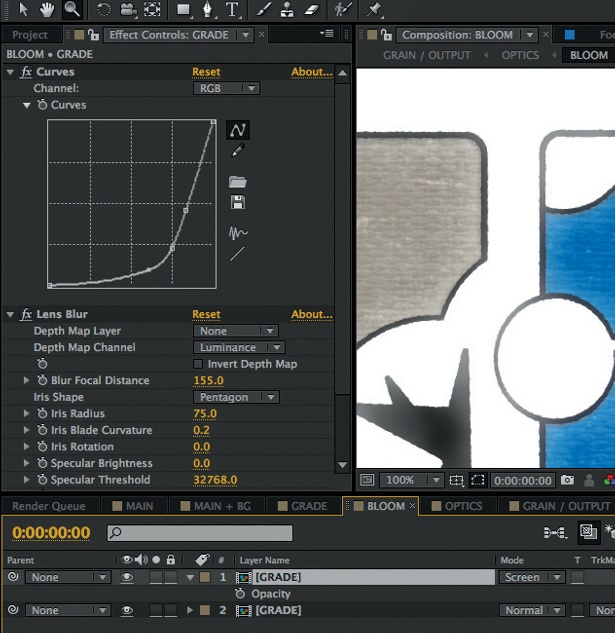
09 Cut out some new flowers, then arrange and overlay them to get a nice composition. Cut out petals from the flowers and arrange them to give some depth. Now source and open an image of a snake, cut it out and move it behind the figure. Duplicate the layer and bring it to the front of the masked men. Create a group for each layer.
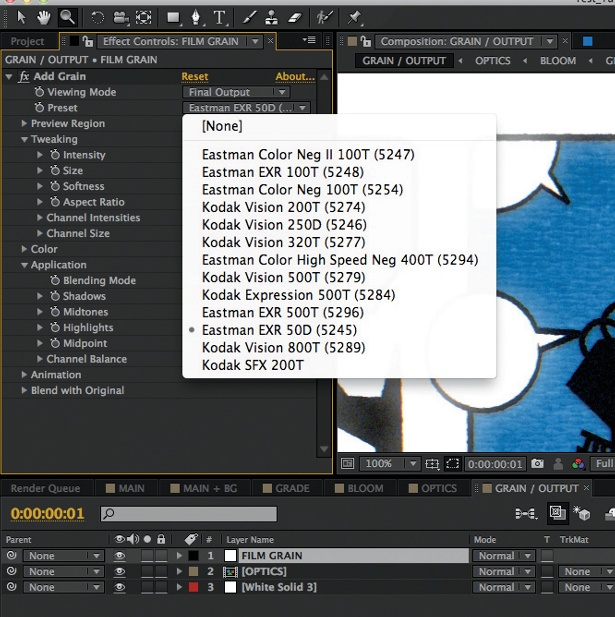
10 Select the masked men layer and select all pixels (Cmd/Ctrl+click). Apply a mask to the bottom snake group. Invert the mask and paint it in white with the Brush tool to reveal the bottom part of the snake.
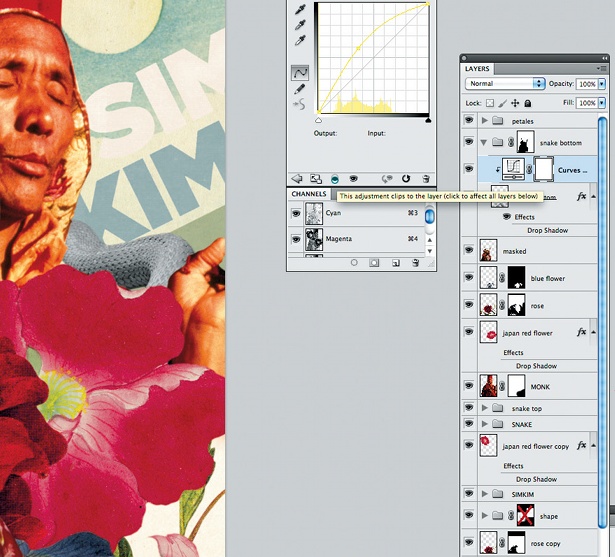
11 To add some colours to the snake, create a Curves adjustment layer above the snake layer in the group. In the Adjustments panel, click on the Clip to Layer icon to affect only the layer below. Select the Yellow channel, and move the curve (Output: 58%, Input: 38%). Repeat the process on the other snake’s group.
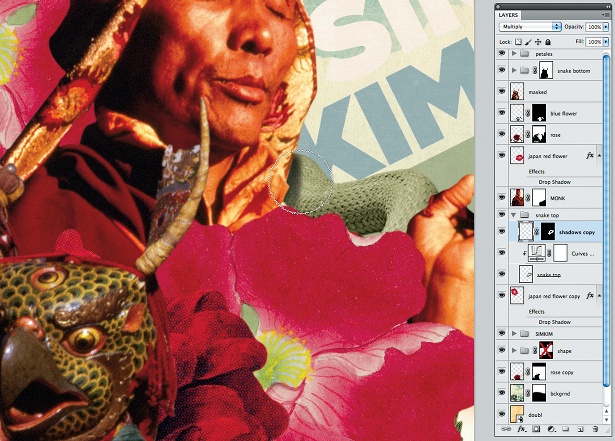
12 To get some relief, create some shadow on the snakes. In one of the snake groups create a layer above the two other layers. Set the blending mode to Multiply. Select all pixels from the snake layer, repeating step 10, and apply a mask to the new layer with your selection. Select the Brush tool, set the opacity to 20% and paint the layer in black. Repeat this step for the other snake.
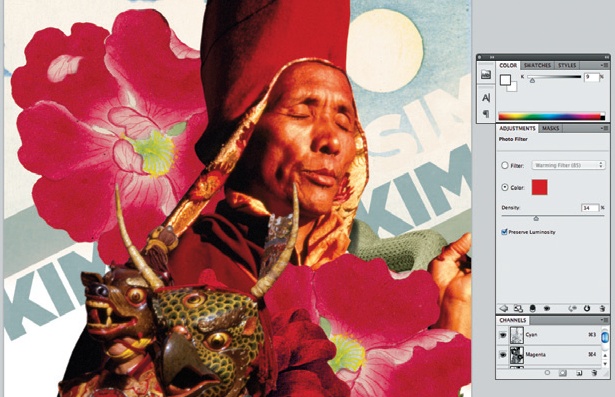
13 Now let’s adjust the colours of the background. Create a group and drag the two layers at the bottom layer. Create a Hue/ Saturation adjustment layer and set Hue to +26. Create a Levels adjustment layer and set the shadow to 0, midtone to 1.00 and highlight at 255. Finally create a Photo Filter layer and choose a red colour. Set the density to 34% and tick Preserve Luminosity.
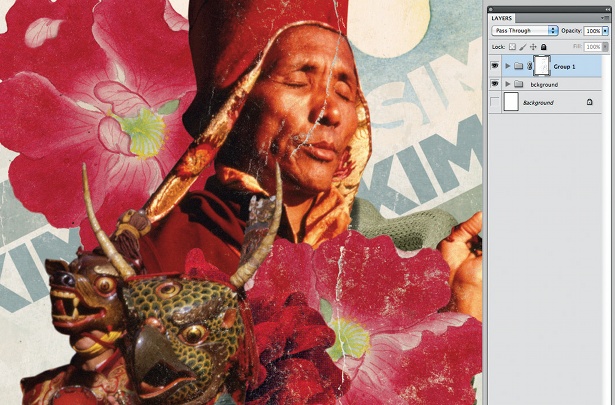
14 Source a splatter-effect texture and place it on the top layer. Set the blending mode to Multiply and opacity to 30%. I’ve also added a plaster texture and applied the Torn Edges filter from step 06. Select the black with the Magic Wand tool, then go back to the artwork and create a group. Bring in all the layers except the background group (step 09). Drag the selection from the plaster file and apply a mask to your new group. Invert the mask (Image>Adjustment>Invert) then recover your selection on the mask (Cmd/Ctrl+click), invert it and move it to obtain more scratches. With the Brush tool, paint the new selection in black to reveal the texture.
Sign up to Creative Bloq's daily newsletter, which brings you the latest news and inspiration from the worlds of art, design and technology.
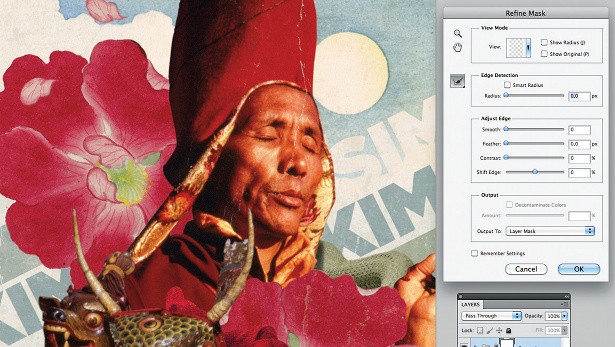
15 To finalise the scratches, go to Refine Mask (Select>Refine Mask) and repeat step 02 to soften the texture. Don’t hesitate to use the Brush tool on the mask with a different opacity to remove or add scratches.

The Creative Bloq team is made up of a group of art and design enthusiasts, and has changed and evolved since Creative Bloq began back in 2012. The current website team consists of eight full-time members of staff: Editor Georgia Coggan, Deputy Editor Rosie Hilder, Ecommerce Editor Beren Neale, Senior News Editor Daniel Piper, Editor, Digital Art and 3D Ian Dean, Tech Reviews Editor Erlingur Einarsson, Ecommerce Writer Beth Nicholls and Staff Writer Natalie Fear, as well as a roster of freelancers from around the world. The ImagineFX magazine team also pitch in, ensuring that content from leading digital art publication ImagineFX is represented on Creative Bloq.
