How to design and model a fantasy creature
Discover how to take your creature concepts to the next level using ZBrush and Quixel.
Sign up to Creative Bloq's daily newsletter, which brings you the latest news and inspiration from the worlds of art, design and technology.
You are now subscribed
Your newsletter sign-up was successful
Want to add more newsletters?
09. Add feathers
![Batches of feathers are created and brushed [click to enlarge]](https://cdn.mos.cms.futurecdn.net/UCdTuVyWMyC5nbmfVCiSPD.jpg)
To add some feather-like detail to the area around the face, I use ZBrush's FiberMesh feature with a low fibre count and large coverage setting with only two segments. Once I am happy with the results, I use the Groom brush to adjust any stray fibre mesh, then rinse and repeat to give me multiple batches of feathers to which I can assign different varieties of the texture.
10. Check texture in Quixel
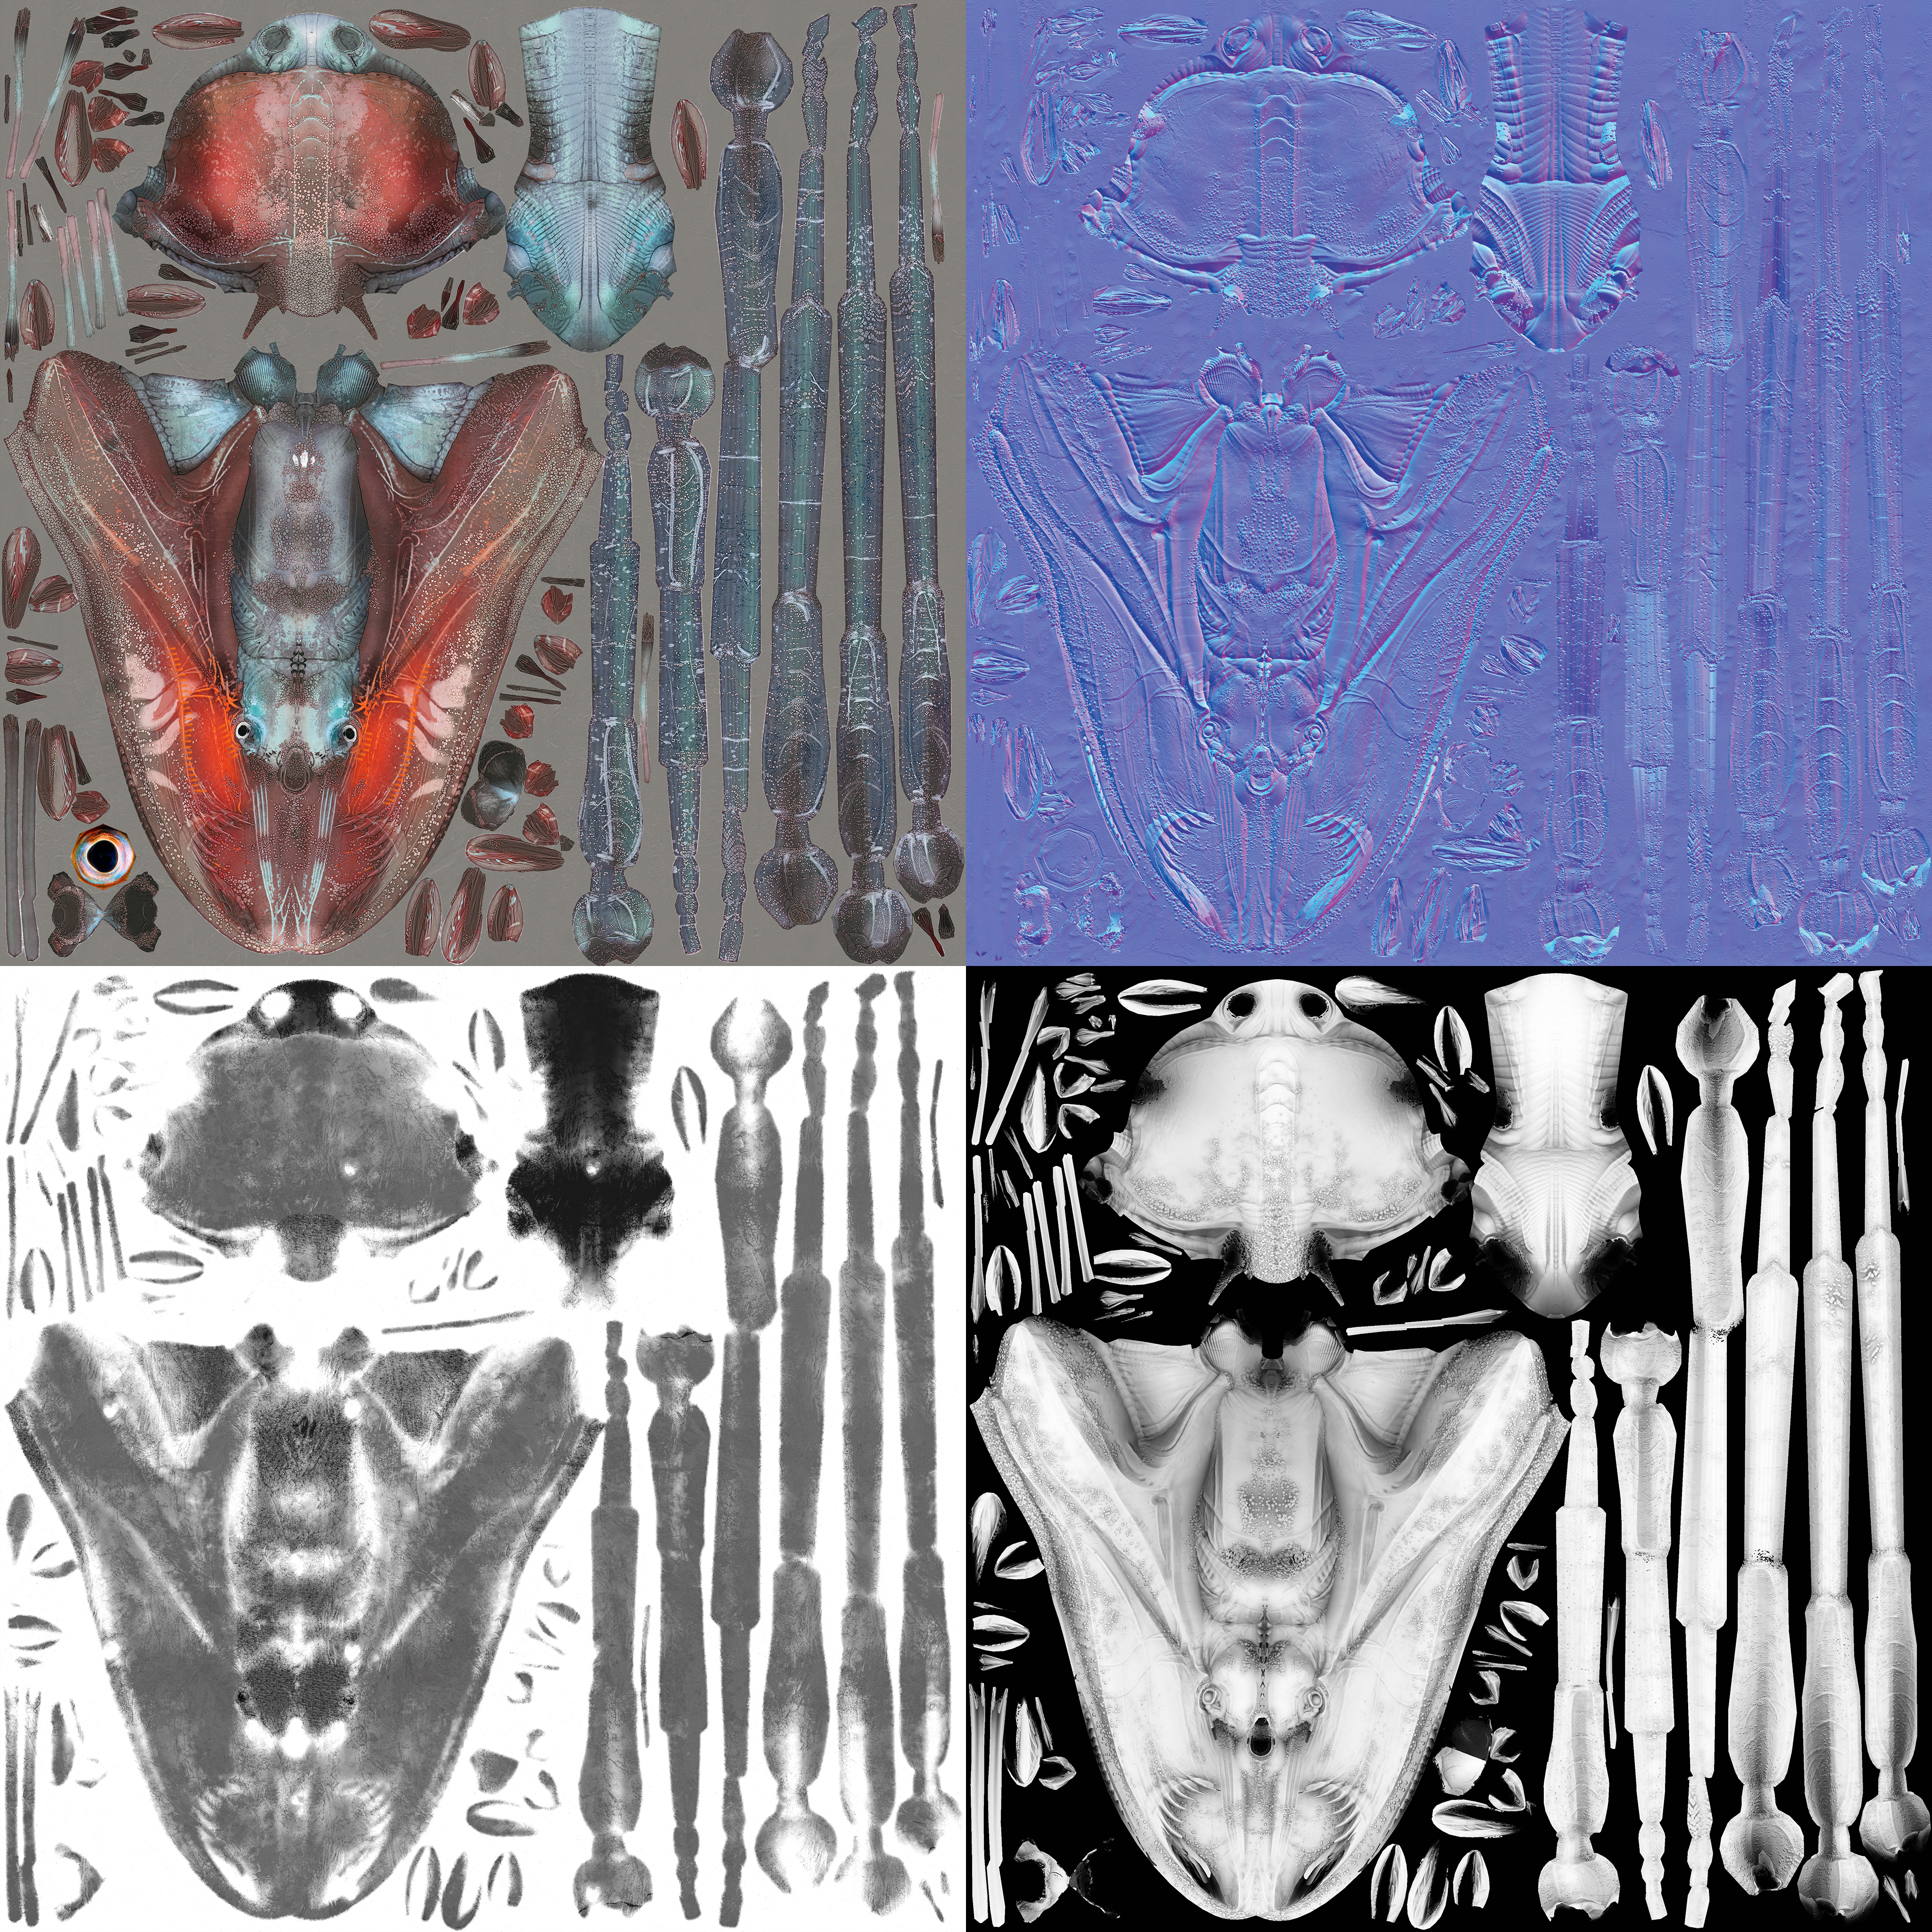
I take the baked texture maps into the Quixel suite for a final polish pass. The texturing process is mainly used for any last-minute fixes to the diffuse or normal maps, as well as for punching up the sharpness and colour richness of the maps with Quixel overlays, since most of the detail was sculpted and painted by hand in ZBrush.
11. Create a gloss/roughness map
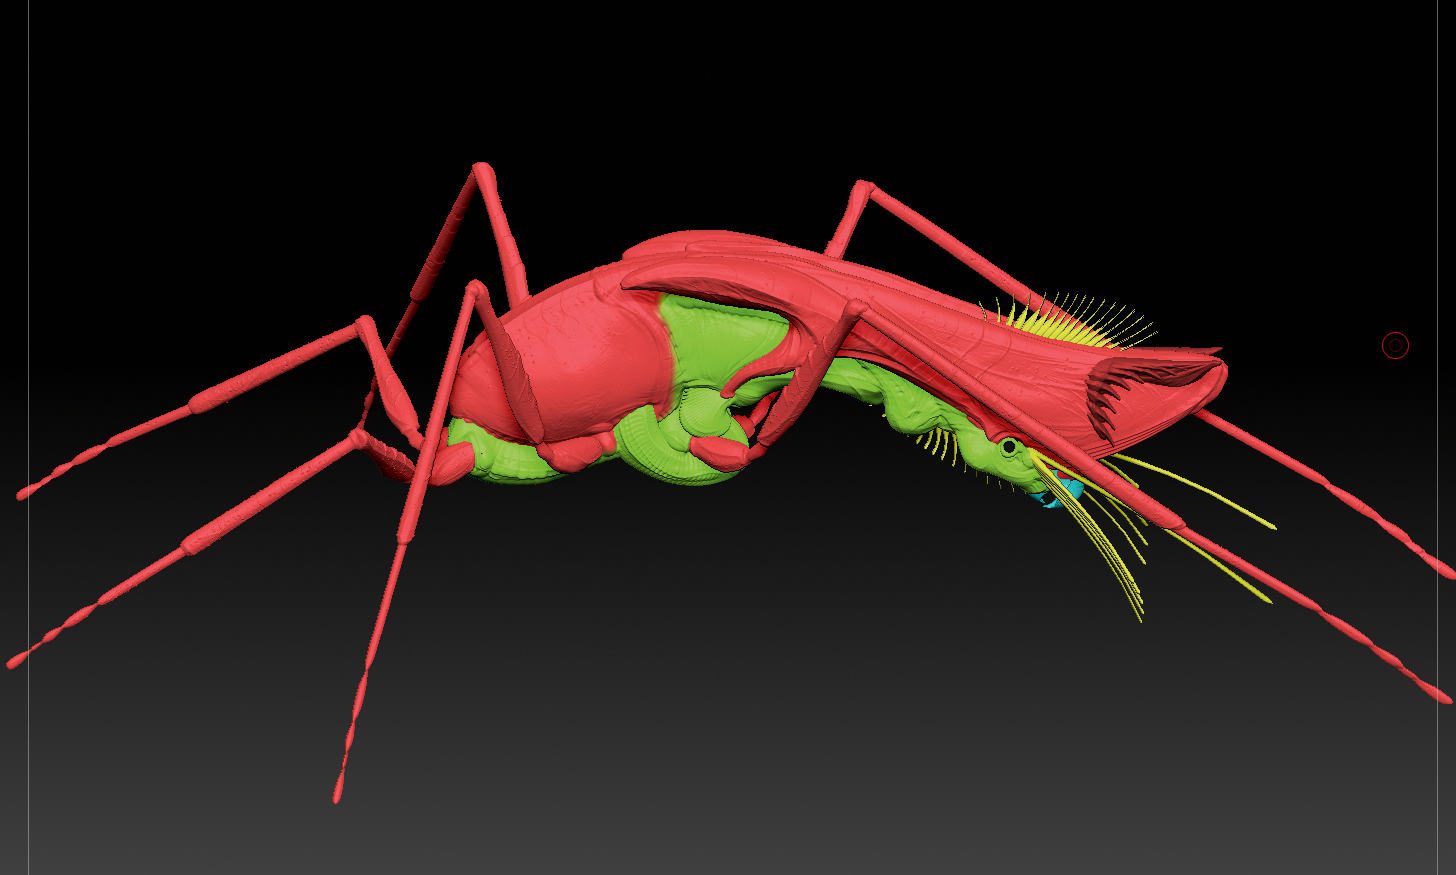
One important part of this process is creating the gloss/roughness map and tweaking it in Marmoset Toolbag 2 (Marmoset). It's a good idea to create a colour ID map with different sub-tools, as this makes it easier to assign different roughness values. I've assigned a different ID to the creature's beak, facial area and the underside of its belly, to achieve a different more wet-looking roughness value than the more weathered dry shells on its back. When making insect-like creatures in Marmoset, I like to have a small amount of metalness in the shells to get a bit of metallic sheen, like you get with beetle shells.
Article continues below12. Adjust the lighting
![Lighting helps to establish the composition [click to enlarge]](https://cdn.mos.cms.futurecdn.net/33kaduQ6nPgN9LbhuX3vTD.jpg)
I take the low-poly into Marmoset with just the AO and Normal maps first, to ensure the sculpted form looks as good as it did in ZBrush. I start by keeping the lighting very simple with just one directional or spot light and an HDR background. With lighting, it is important to think of the light and shadow shapes as a new part of the design and make sure you establish a good composition.
13. Complete final tweaks in Marmoset
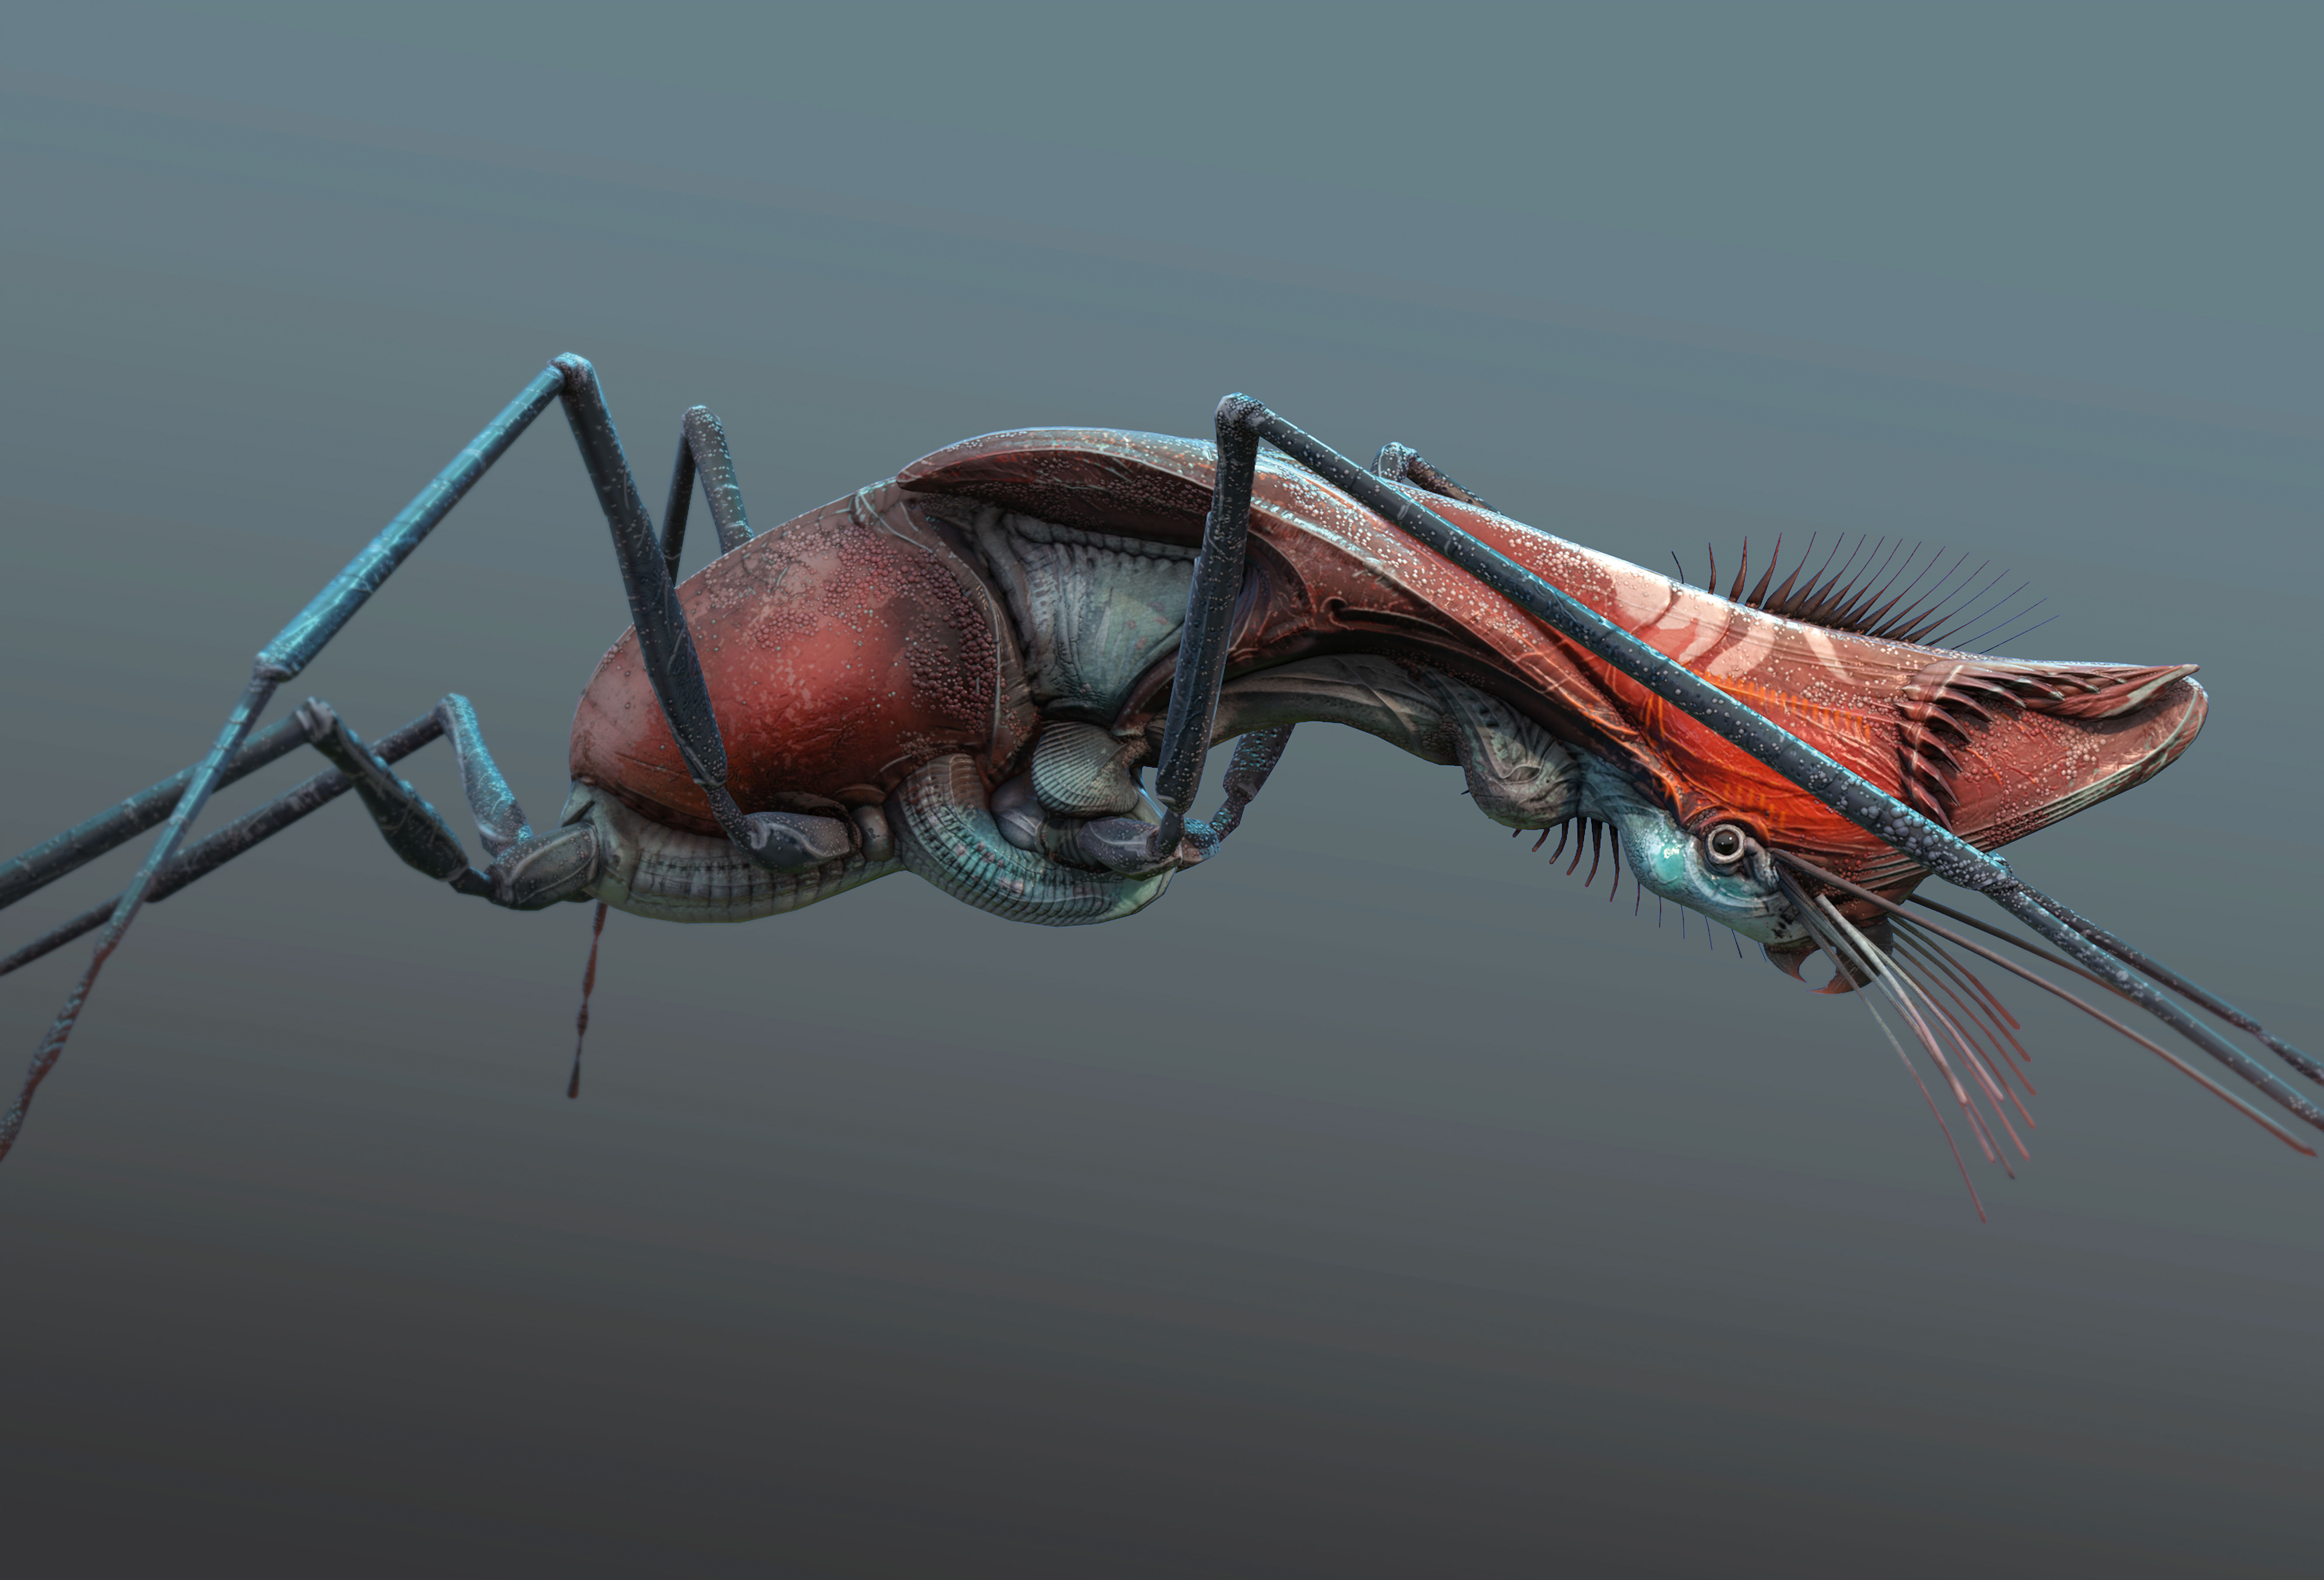
Start to hook up the Quixel maps so you can tweak them on the fly. Pay attention to the specular or glossy highlights the roughness/gloss map will play in the image. The last step is to use any additional rim lights and accent point lights to highlight parts of the model for final render.
Let's establish the render settings. Under the Render tab, set the viewport resolution to 2:1, then set the lighting to have local reflection, ambient occlusion and high-res shadows. In the Capture settings, I punch in a high resolution of 5315- 3614 pixels and set the sampling to 25x. I then check Transparency and choose PSD file.
14. Render the image with Photoshop
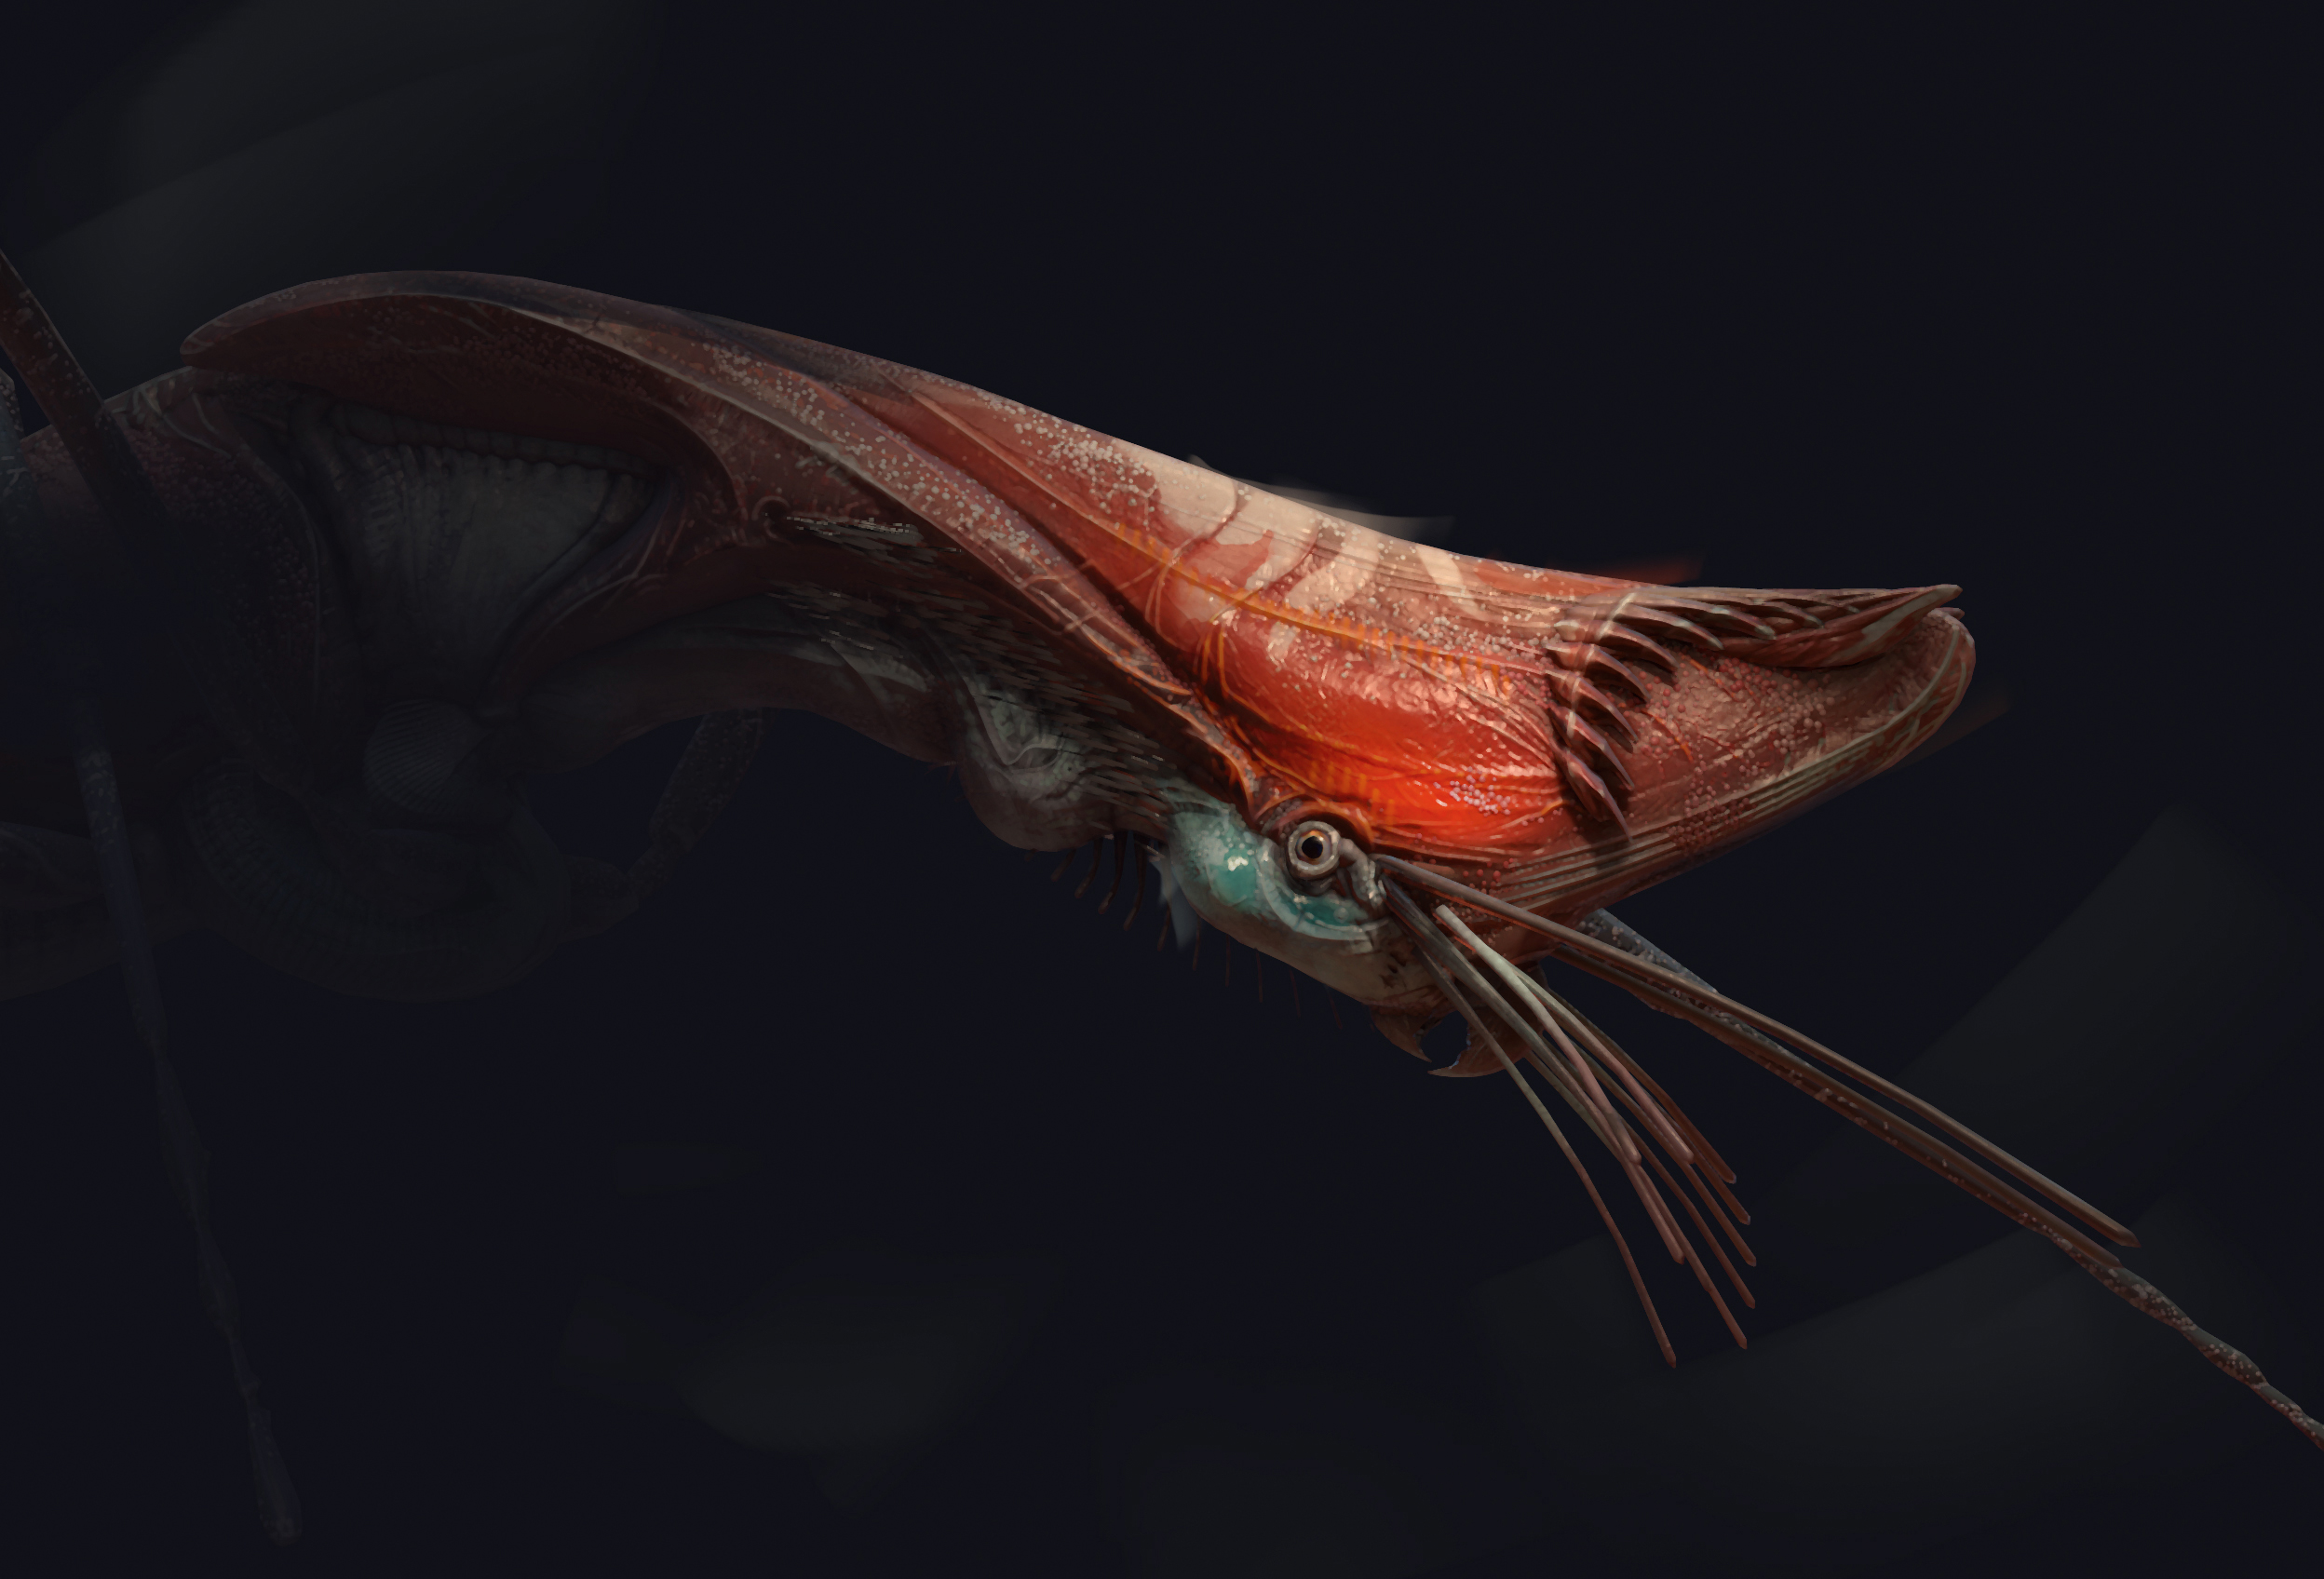
Once the scene is set up and finalised, I take the render into Photoshop to start working on the image as a painting. For guidance, I look at the work of John Singer Sargent, and the way he breaks down the basic assets that make a good painting. The use are the Gradient tool and large, soft brushes to make the creature fade into the background and keep the high-contrast values focused on the head.
Sign up to Creative Bloq's daily newsletter, which brings you the latest news and inspiration from the worlds of art, design and technology.
15. Finish up
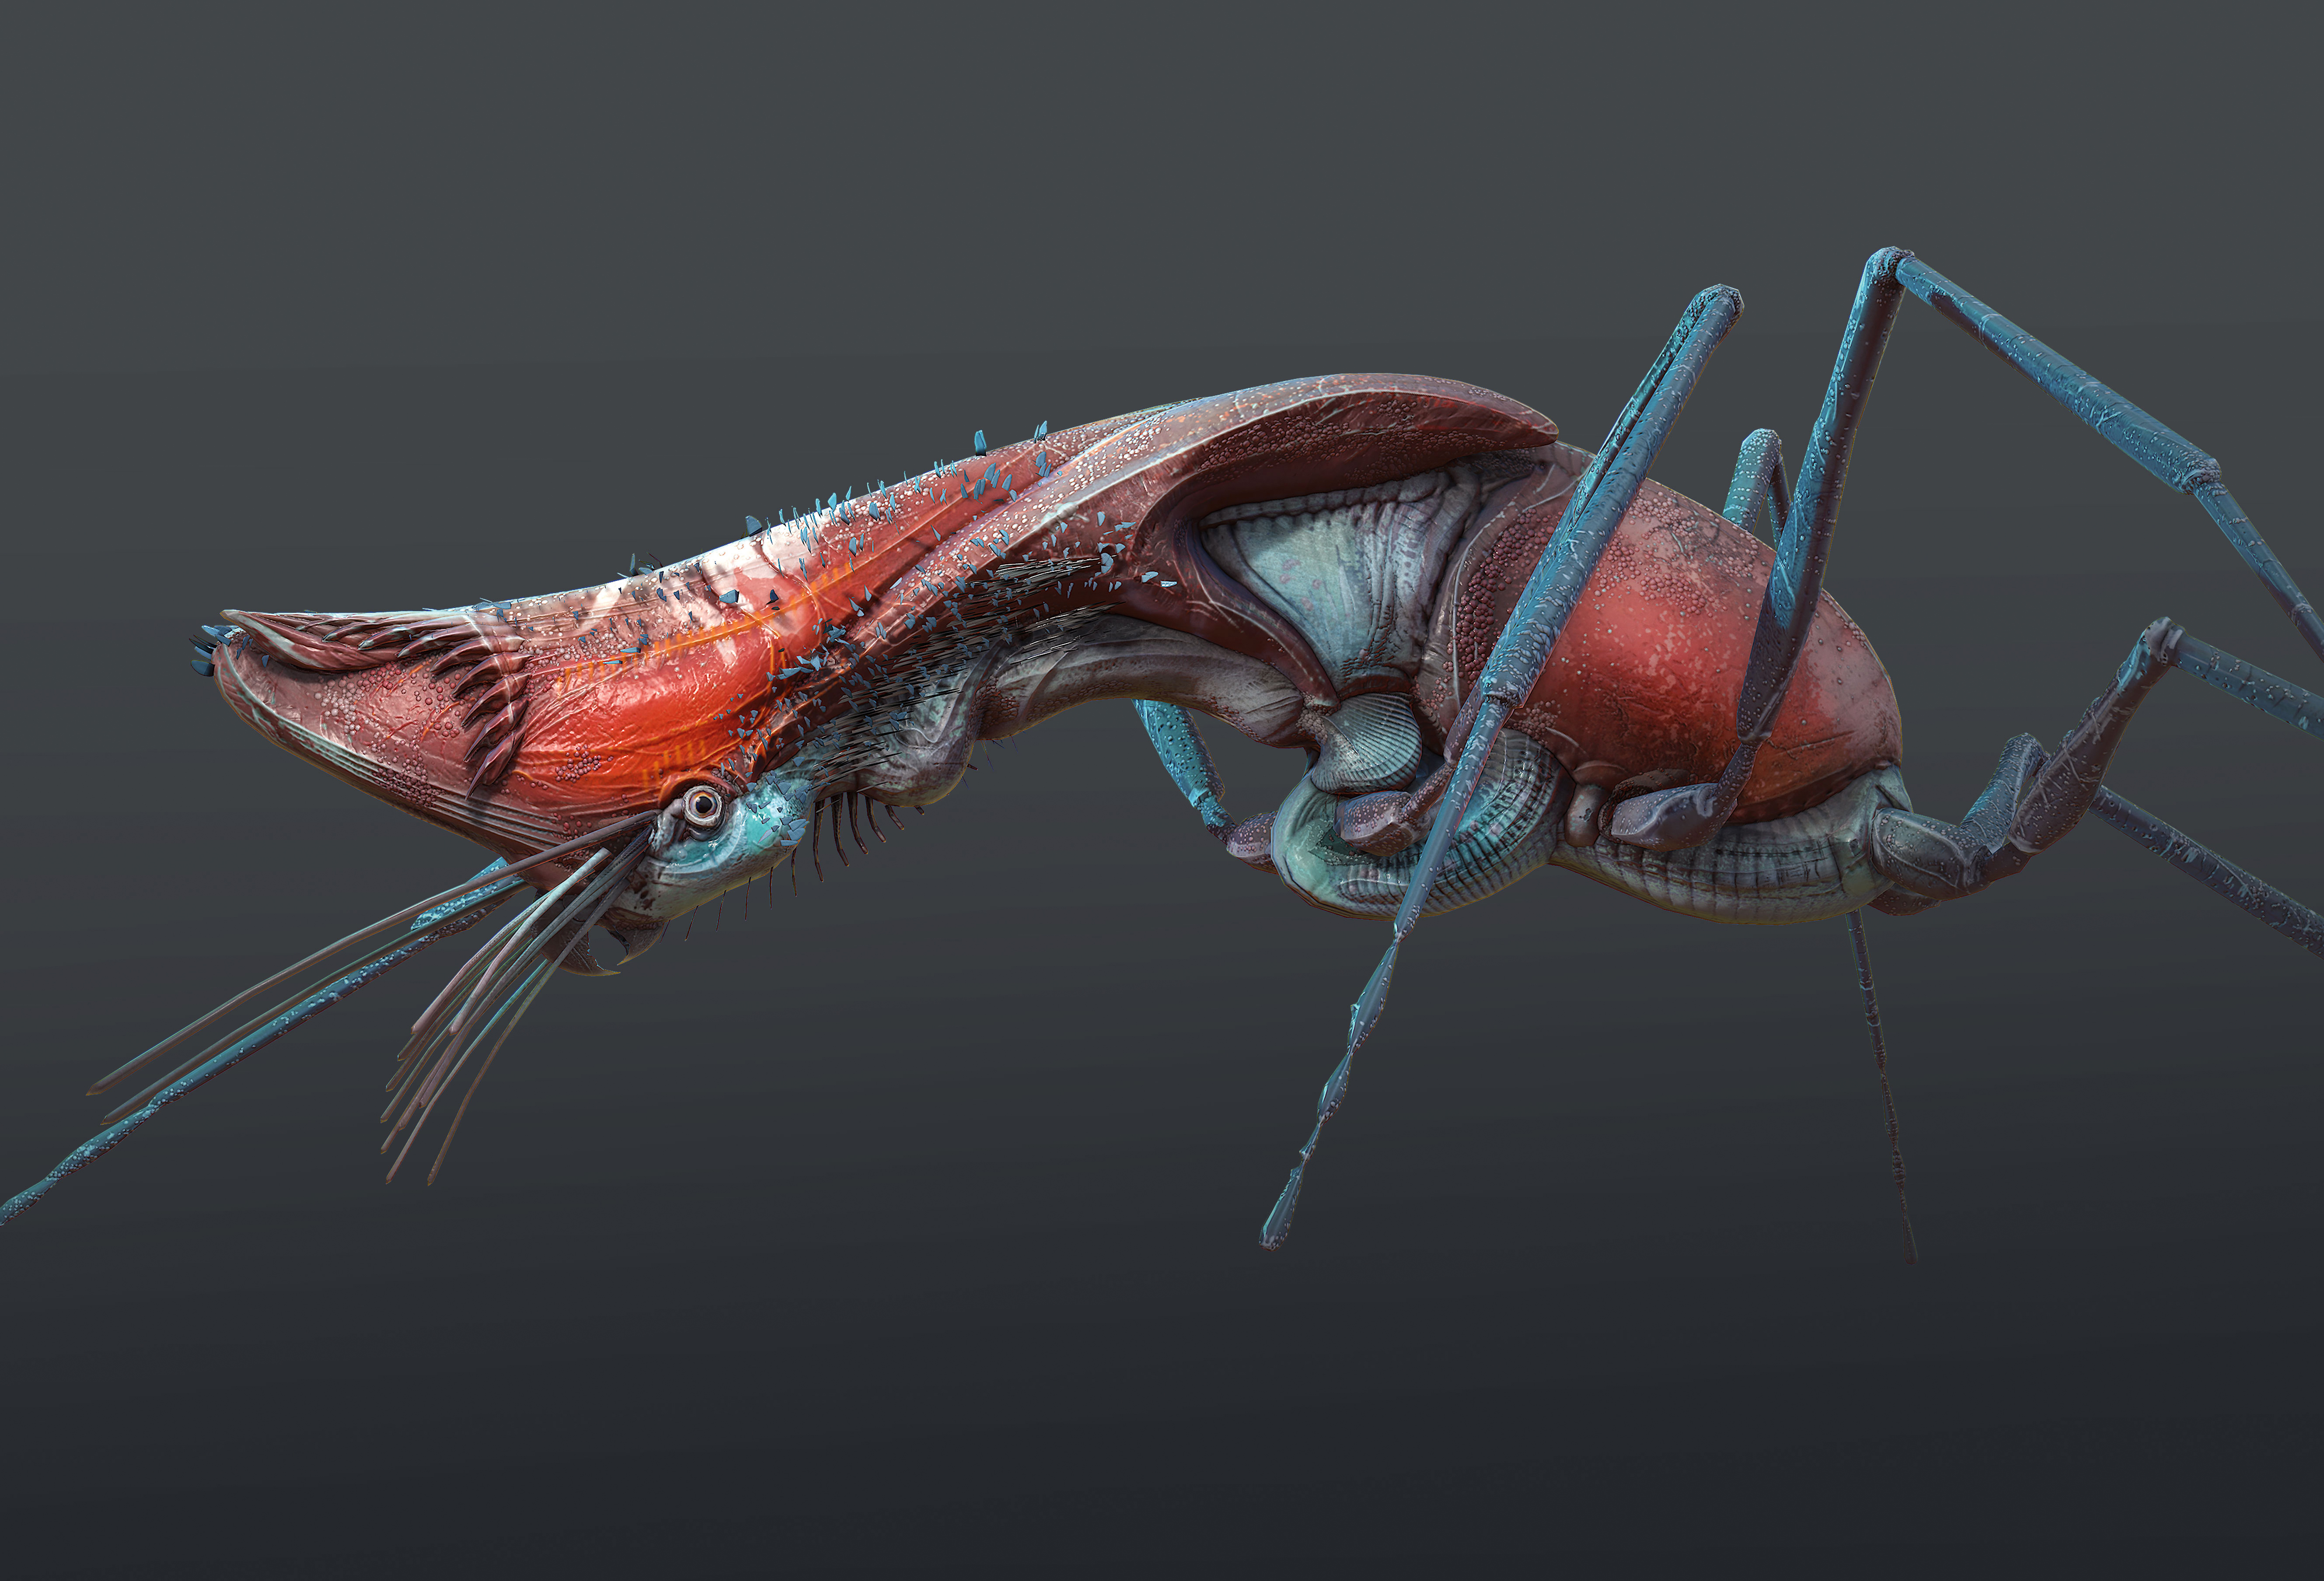
I hand-paint in the depth of field by duplicating the image, blurring it and using a mask to paint the areas I want. After that, it’s just a case of tweaking the levels, vibrancy and colour balance, and using Sharpen and the Paint Daub filters to simplify the values of the image.
This article was originally published in 3D World magazine issue 215. Buy it here.
Related articles:
