Understand matte painting
Find out how Photoshop revolutionised matte painting in the film industry and how you can practise the art at home.

Sign up to Creative Bloq's daily newsletter, which brings you the latest news and inspiration from the worlds of art, design and technology.
You are now subscribed
Your newsletter sign-up was successful
Want to add more newsletters?
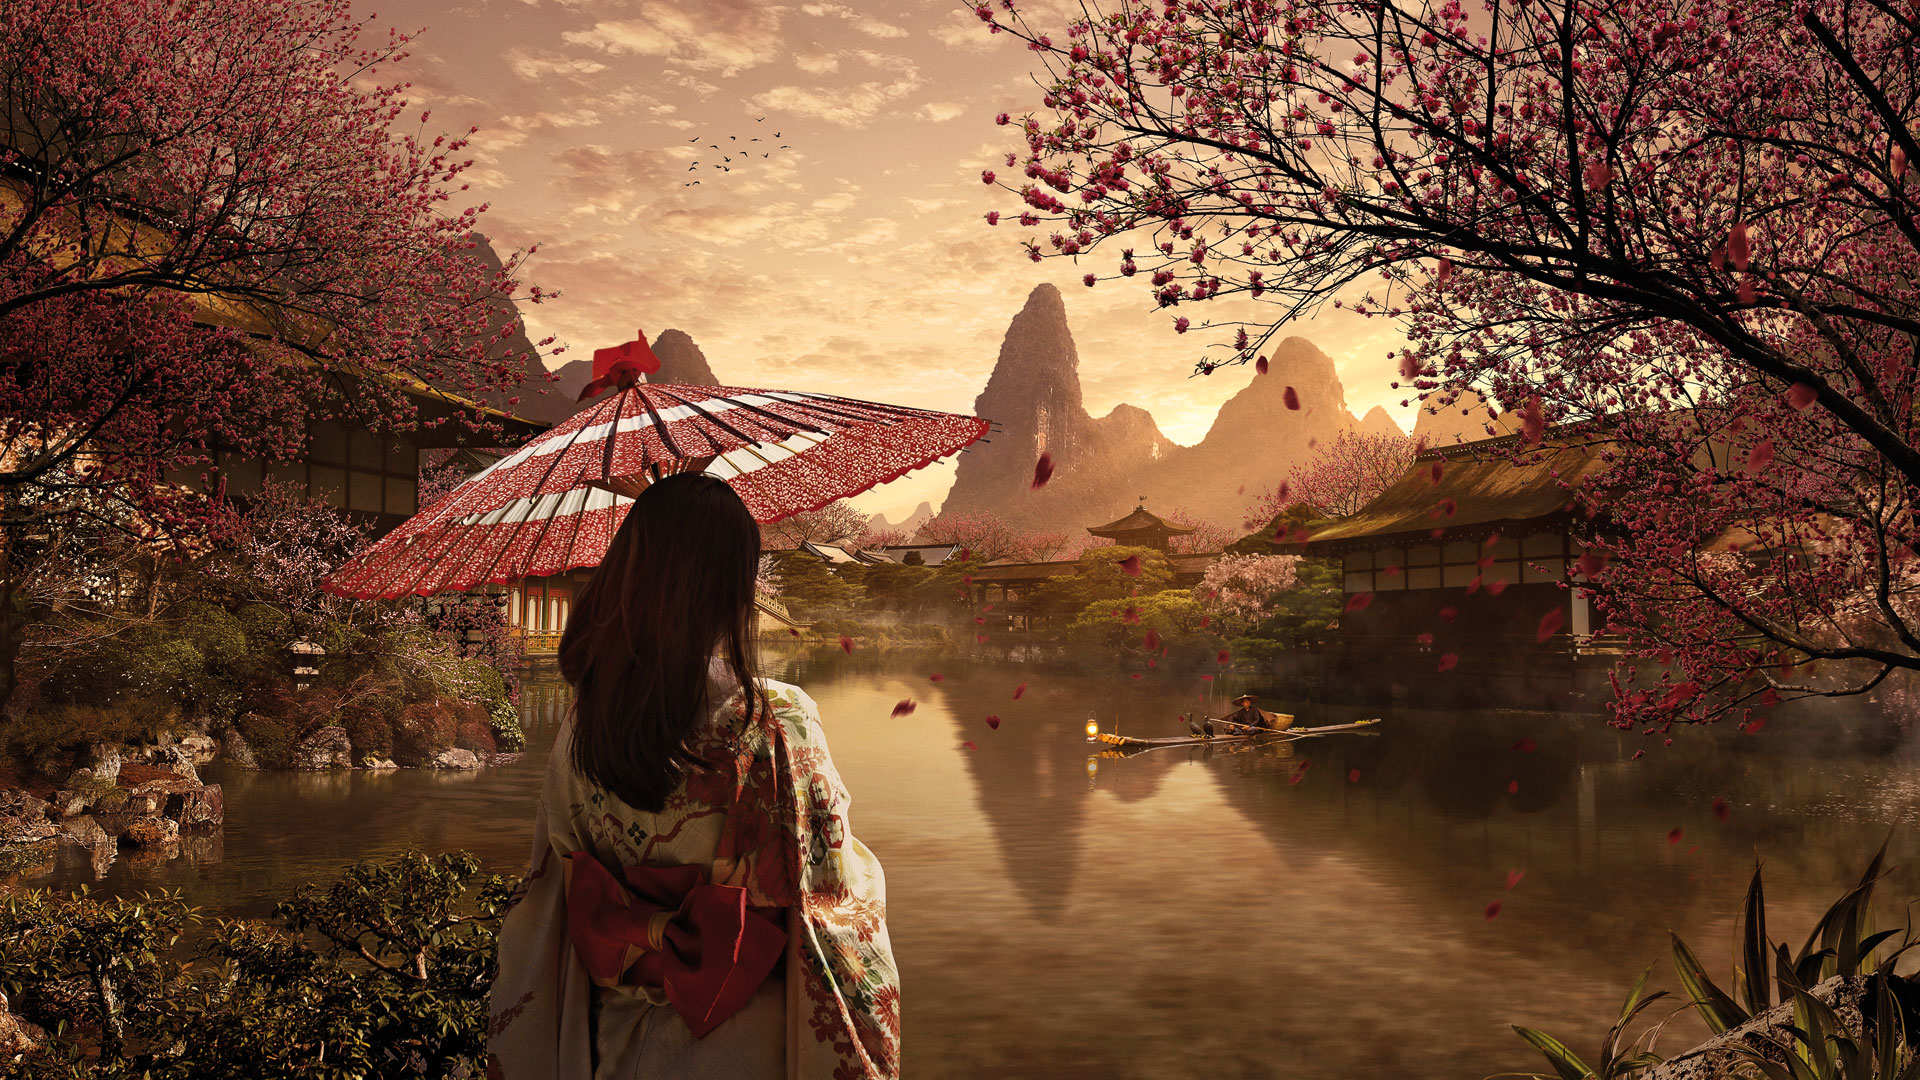
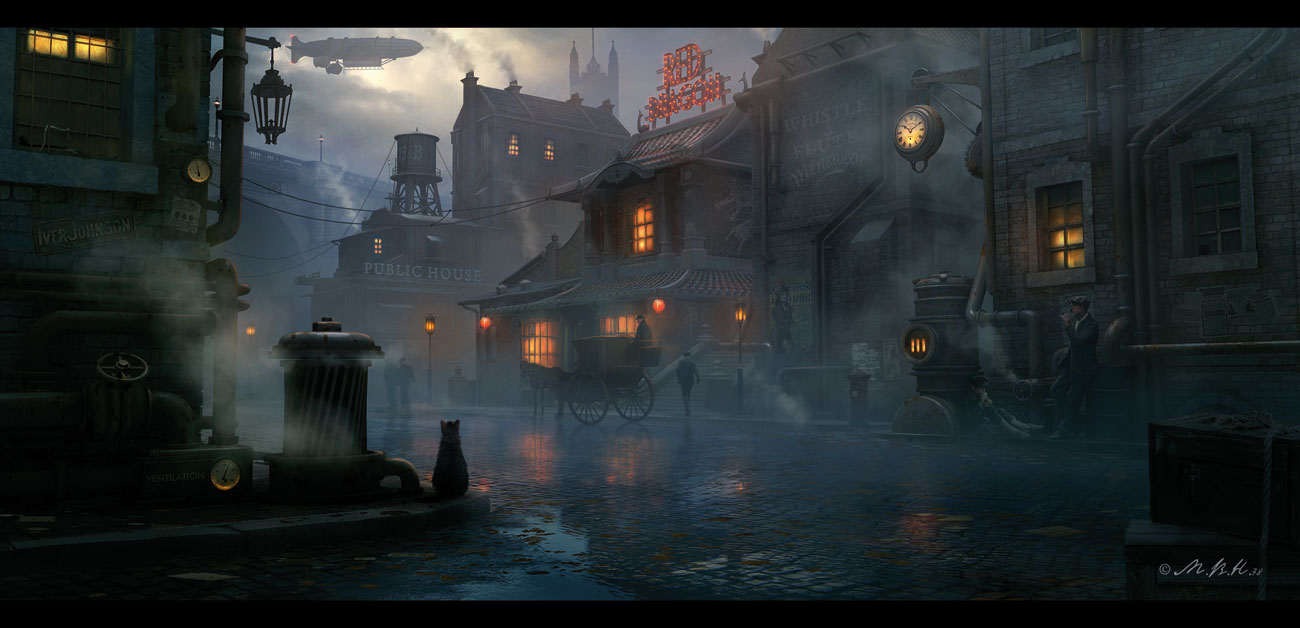
Matte painting and the film industry go together like peaches and cream. Strictly speaking, a matte painting is an image, created using digital or traditional painting techniques, to create a representation of a scene that would be impossible for filmmakers to deliver in real life. This might be because the landscape does not exist in the real world, it's not financially practical to travel to a location, or to extend the set outside of its filmed parameters.
Given its intended use, a matte painting is designed to be a work of photorealism; a landscape or set that can replace reality and trick the viewer's eye into believing it is real.
Photoshop revolutionised matte painting, by offering a digital solution that would speed up creation time. It also gave anyone with the software the chance to try out the high-end techniques themselves at home. The resulting matte paintings are not always intended for use in films, and over time the phrase 'matte painting' has branched out to describe a subset of digital art that we all have the chance to experiment with.
Article continues belowThe key elements of matte painting are a good base plate and a photoreal finish; one that transports the viewer to a far-off or imaginary land. In this feature and Photoshop tutorial, we have gathered the advice of experienced matte painters to share their top tips and techniques to help you improve your own matte-painting skills.
Before you start matte painting
Before launching right in and creating your first matte painting, it's important to understand what it is that you are looking to create and the skills involved. "I would first watch a few tutorials and demo reels just to know exactly what it is and how it is done," suggests matte painter and concept artist Steven Cormann.
"Then my main tip would be to pay attention to the real world. Go outside and observe how light and shadows behave; how atmospheric perspective works. It's extremely important to master realistic lighting if you want to be a matte painter. Making a believable and seamless digital environment is the goal."

A good matte painter usually has a sound knowledge of art, which helps when it comes to achieving realism. "[It's important to] learn the art fundamentals," says creative retoucher João Marcos Britto. "Grab a good book and start to learn about colour theory, perspective and composition. If you have all those, it doesn't really matter what tool you are using."
Sign up to Creative Bloq's daily newsletter, which brings you the latest news and inspiration from the worlds of art, design and technology.
This knowledge is vital for realism, as the eye can sense when something is 'off'. "My top tip would be to always keep an eye on scale and lighting," says digital matte painter Doug Winder. "The human eye is very good at knowing when something isn't quite right and you can often find what you think is the perfect image or element to incorporate into your painting and it will throw everything off."
Having a clear concept of what you want to achieve and being organised is a good place to start, especially if you're under a time pressure to create, says concept artist, illustrator and teacher Lina Sidorova: "The main thing that can increase your speed and productivity is the organisation of everything. The order on the desktop, in the layers, in your head, the right order of actions, the preparation stage, etc."
Considerations for matte painting
Next, you need to consider what you are going to use for the base plate of your matte painting. This is the key element you will be building an entire scene from. It's worth creating a bank of photos that you can use both as a reference to help you understand the way that light and shadow works in reality, as well as imagery that can be incorporated into your actual artwork, either as base photography or for textures further down the line.
Your photo references should help to guide you throughout the process of creating, as matte painter, Amine Amahadar says: "It's really important to always put some photo references on your screen while working on a matte painting. It's easier to make mistakes by working only with your mind. When looking at photos, pay attention to the light, how it's affecting the shadows, how the depth is affecting the landscape… Basically, try to study every aspect of reality and try your best to mimic them in your work."
Don't be afraid to experiment with methods of image processing.
Vladimir Manyukhin
As you work, don't be afraid to experiment either, as this can help you develop your skills. "I'm always looking for something new when creating my next job," says Vladimir Manyukhin, who specialises in concept art and matte painting. "Don't be afraid to experiment with methods of image processing. Over time, you will have your own methods of work and it will greatly accelerate the creation of new works."
Matte painting in Photoshop
Now that we understand the basics of what matte painting is all about, it's time to look at how Photoshop can help achieve incredible artwork. There are many essential techniques to master. "Matte painting is a combination of quite a lot of different techniques, 2D and 3D, that can be a little different from one matte painter to another," explains Cormann.
"When it comes to the 2D part of it, it's a lot of extractions and colour corrections, and for those I like to use mostly the Curves tool along with Channels. On top of that, there is of course painting and for that, I mostly use a standard brush with Color Dynamics and Scattering options activated, depending on the situation."
Most of the Photoshop tools used are basic ones, such as selection tools, colour correction and matching tools, and the standard brushes. It's the skill with which you use them that makes the difference.
Build a base

The first step to creating a matte painting is your base, which needs to be of the best quality that you can find. A high-quality base photo or 3D model will give you much more scope to build from. Often, you may have to build your own base plate from a few different elements and seamlessly integrate them together. This is where Photoshop's selection and transformation tools come into play.
"When I'm working on a matte painting, I use tools like the Lasso tool, which allows me to extract elements precisely; masks, as it's really important to work in a non-destructive way; and the Clone Stamp tool, which I use a lot to patch parts of a matte painting and recreate the content," explains Amine Amahadar.
"Parallel to the Clone Stamp tool, a pretty powerful tool doing pretty much the same thing exists in the Fill tool (Edit > Fill or shift+F5). To use it, you only have to select an unwanted area with the Lasso, enter the Fill menu, and be careful to ensure you are in Content-Aware mode. It works more or less, according to the selection."
If you want a more definite selection, typically for hair or fur, use the Refine Edge tool
Maxime Delcambre
Concept artist Maxime Delcambre makes use of the full range of selection tools in Photoshop, including the Lasso tool alongside the Refine Edge tool, which makes precise selections on complex subjects: "If you want a more definite selection, typically for hair or fur, use the Refine Edge tool. It's very simple to use: draw your selection with the brush and play with the setting of Smooth, Feather and Contrast to make a perfect selection." You may also need to make use of the Transformation tools to manipulate the photo or 3D elements to create your base scene.
There may be situations where more advanced selection techniques are required to build a good base plate. One of the most common tasks of a matte painter is to replace the sky of a given plate, explains Cormann, which must be tackled delicately to ensure a seamless composition: "I very often use the same keying technique using the Curves tool along with Channels. The idea is to duplicate the channel that has the most contrast, then play with Curves to increase that contrast to the maximum. I also use the Brush tool or Dodge tool to refine and get the sky area completely white, and the rest of the image that I don't want, completely black. I can then do a selection and easily extract and replace the sky [with] another one."
Match the colours

When you have a rough composition in place for your base plate, it's important to work on the colours of your scene. Making sure that all of the photographic elements work together as one is important, so that it's not obvious that different photo references have been stitched together.
Sidorova makes use of the Match Color command, found in the Image > Adjustments menu: "It's funny, but sometimes I am so lazy that I even use Match Color to make a proper tone sketch for my future painting, I just choose a good tone or colour reference and colour match my planes to its planes. Also, it helps to get the good colour variations in the unexpected places in the textures."
I believe Curves is the most powerful tool Photoshop provides
João Marcos Britto
Britto prefers to use the Curves command for colour consistency: "I believe Curves is the most powerful tool Photoshop provides. Nowadays, what I usually do is separate my colour adjustments from my luminosity adjustments. I start by adjusting luminosity values according to what I need to match the scene. This is done in a black-and-white image (Hue/Saturation set on Color mode on top of everything) so I can focus just on the luminosity. Once that is finished, the rest of my adjustments are for colour correcting the subject to match the scene."
The idea of both the composition stage and the colour correction stage is to build a photographic image that is flawless as one scene. You want your photo references (or 3D elements) to carry the artwork and be the main focus. This is because they help you maintain that all-important realism, so the more they show through, the better.
Get painting

When the base is in place, it's time to start digitally painting in the rest of the scene. This does rely heavily on a good knowledge of art and painting in order to ensure the brush strokes are as photoreal as the photography. The idea of the painting stage is to build up on the base and add in elements, extend the scene and bring in objects that are not possible to photograph.
Most of the matte painters we have spoken to rely on the basic brushes. Delcambre suggests getting to grips with the Brush tool and using it with a stylus for ultimate accuracy. Ensure that the pressure-sensitivity is turned on for Size and Opacity, so you can paint as you would in traditional mediums.
Delcambre also suggests sticking to a few basic Photoshop brushes, as this can improve the consistency of the artwork. No more than three main brushes are usually needed: a main brush for general painting, a Basic Round blur brush and a detail brush for things like vegetation, rocks and clouds.
A matte painting is designed to depict a scene, as part of a larger story, so it's worth spending time on the painting stage to bring in small textures and elements that help to evolve that story and bring out the detail of the photographs underneath. You may need to sharpen the image right at the end to bring the whole piece together, as well as run more colour correction steps.
Practice certainly makes perfect when it comes to matte painting and it's a skill that can be tricky to master, but one that is certainly worth the effort.
This article originally appeared in Photoshop Creative. Buy back issues here.
Related articles:
