19 tips for great Poser art
Create character-based art and animations with these tips.
Sign up to Creative Bloq's daily newsletter, which brings you the latest news and inspiration from the worlds of art, design and technology.
You are now subscribed
Your newsletter sign-up was successful
Want to add more newsletters?
11. Consider body weight
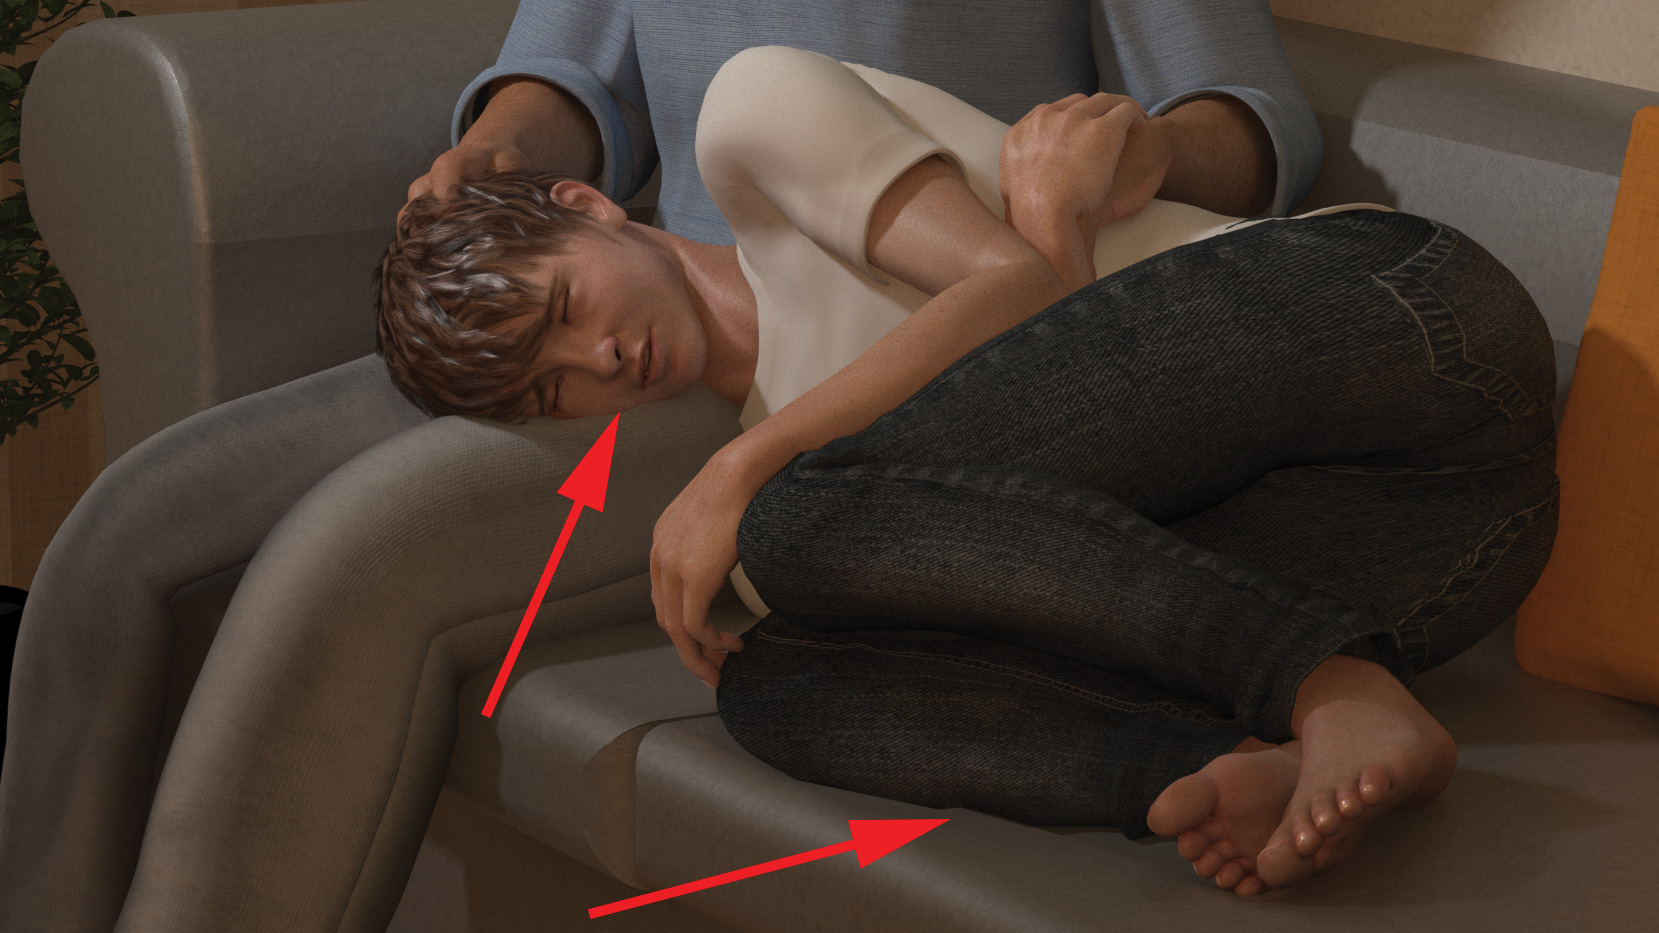
Most off-the-shelf models come with morphs for shape and muscularity, but none have settings for interaction with other objects (the ground, couches and chairs, etc). Sinking a character’s feet slightly into the ground or their buttocks into a chair will avoid that floaty look caused by simply dropping to the ground or resting on a surface. Use the Morph tool or magnets to deform the skin or couch surface to give the illusion of weight.
12. Make use of area lights
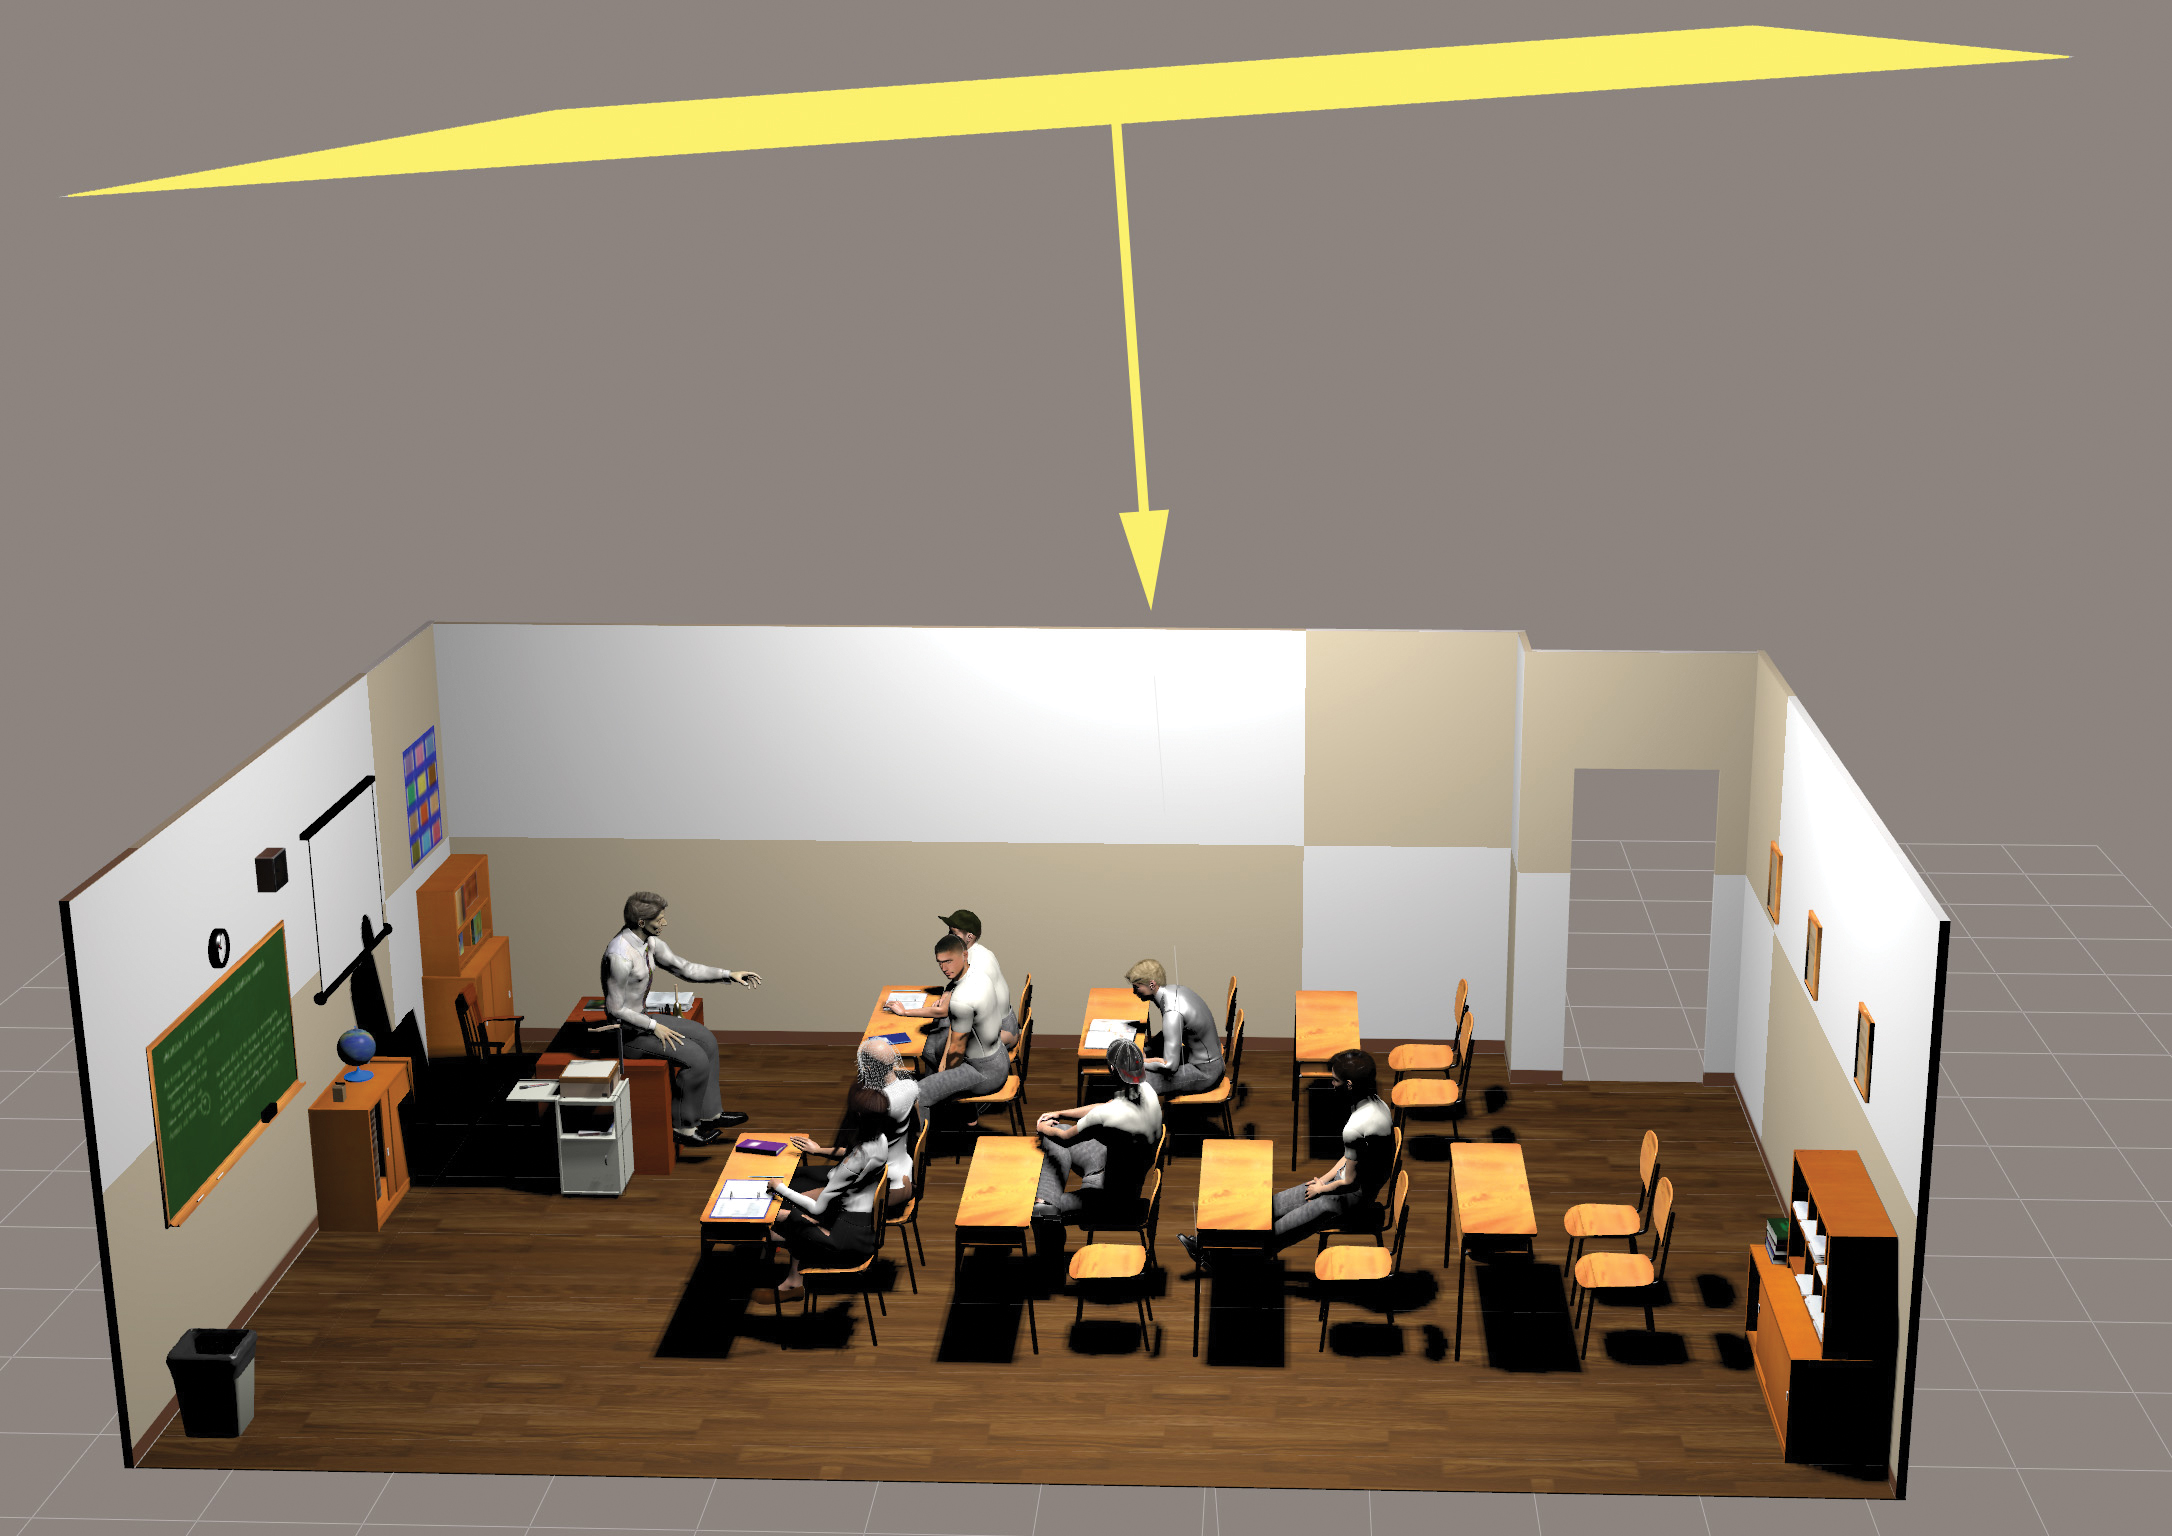
When it comes to lighting, sometimes less is more. A single overhead or frontal area light will often provide sufficient soft lighting with no other lights needed. The more lights in a scene, the more the rendering engine has to calculate and the greater the likelihood of unwanted noise artefacts. The softness of an area light’s shadows are proportional to its scale.
In the past, you’d mess about with infinite lights, having to make building parts invisible to simulate internal overhead light arrays. Now you can simply insert a single area into the room at a scale of say 1,000%, and a brightness of 300% is a great size for lighting a large room or hall.
Article continues below13. Check out EZDome
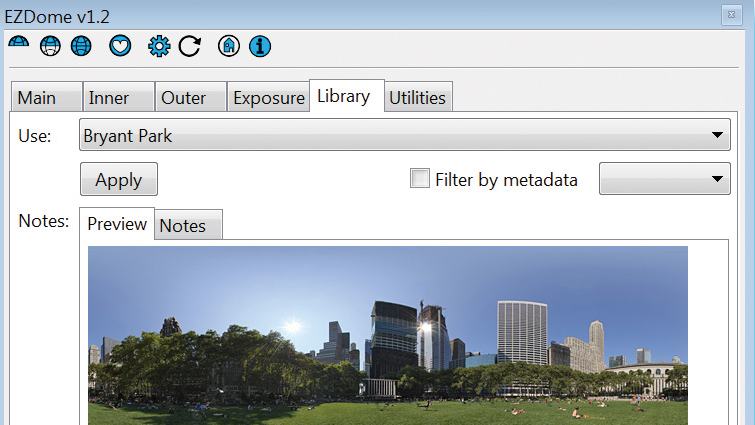
When it comes to lighting outdoor scenes, Snarly Gribbly’s free EZDome program is a versatile replacement for the old Firefly IBL system. It uses smart image-based lighting (sIBL) images which include the sun’s location. You can convert standard HDRI images to sIBL using sIBL Edit – which is also free.
EZDome will add an sIBL or HDRI to a full or half sky dome, and can then be set to automatically add a shadow-casting light that will be applied at the correct point in the scene. This is a great and easy way to add realistic 360-degree lighting to a scene.
14. Don't be constrained by realism
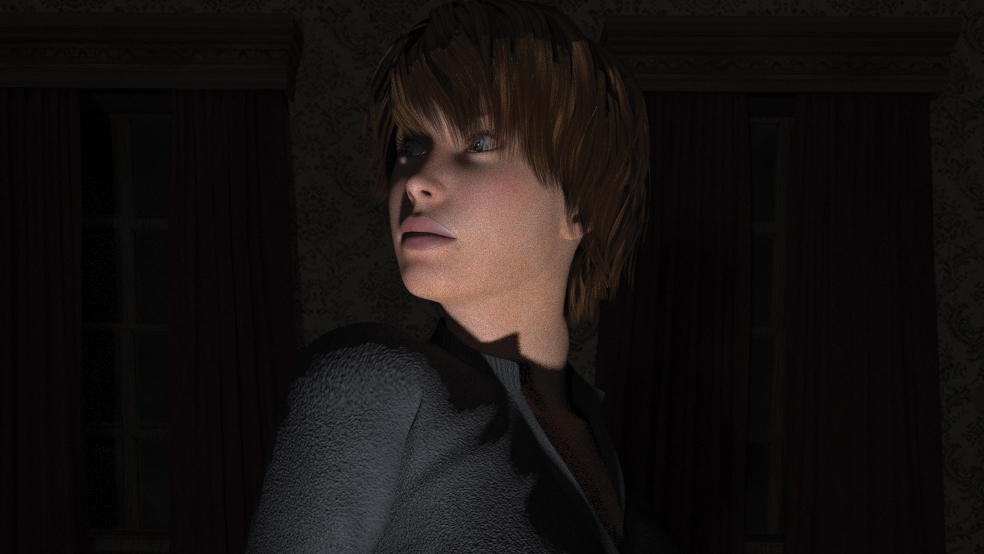
Even though you may be using Poser’s powerful Cycles-based renderer, if your scene is better served by highlighting and accenting with lights that could not exist in the real world (such as spot whose origin is inside the visible scene yet has no visible source to the viewer), then don’t be such a slave to realism that you sacrifice the effect you are seeking.
One subtle effect for creating drama is a low-level, upwards-facing spot attached to the figure’s head (think of the old campfire horror-story trick with a flashlight). Turned bright, the effect is stark, but turned very low, it’s a great way to add some subtle fill-in colour to a dark scene.
Sign up to Creative Bloq's daily newsletter, which brings you the latest news and inspiration from the worlds of art, design and technology.
15. Utilise gobos for shadows
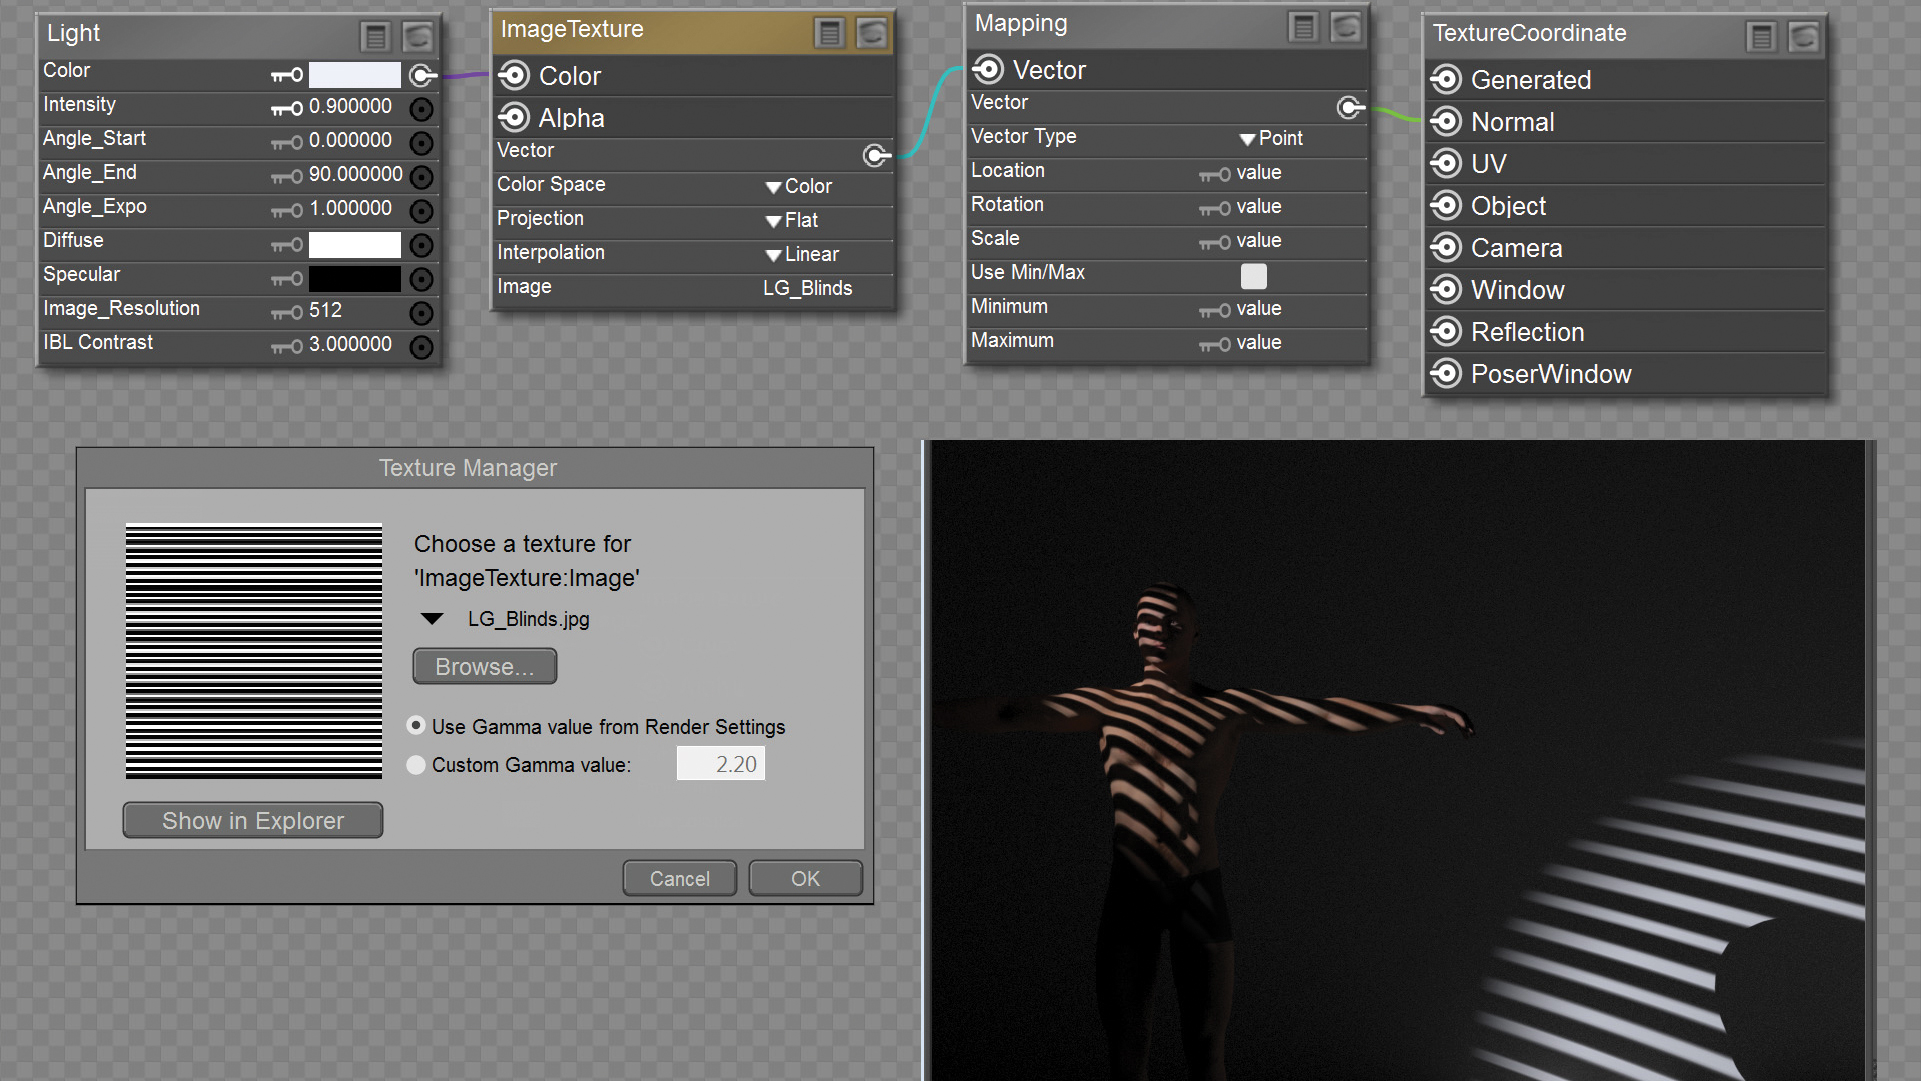
Use gobos or billboards to cast shadows rather than depending upon expensive geometry. The old Firefly way of simply plugging an image directly into the light’s colour channel no longer works. In Superfly, the easiest way is simply to create a semi-transparent plane and attach it in front of the spot that you want to affect (much as a photographer would use a gel).
However, using this slightly more sophisticated setup (thanks to piersyf for the original), you can extend the effect to create stained glass and projector effects. You can use a mix of greyscale or coloured imagery to add interest and realism.
16. Apply displacement
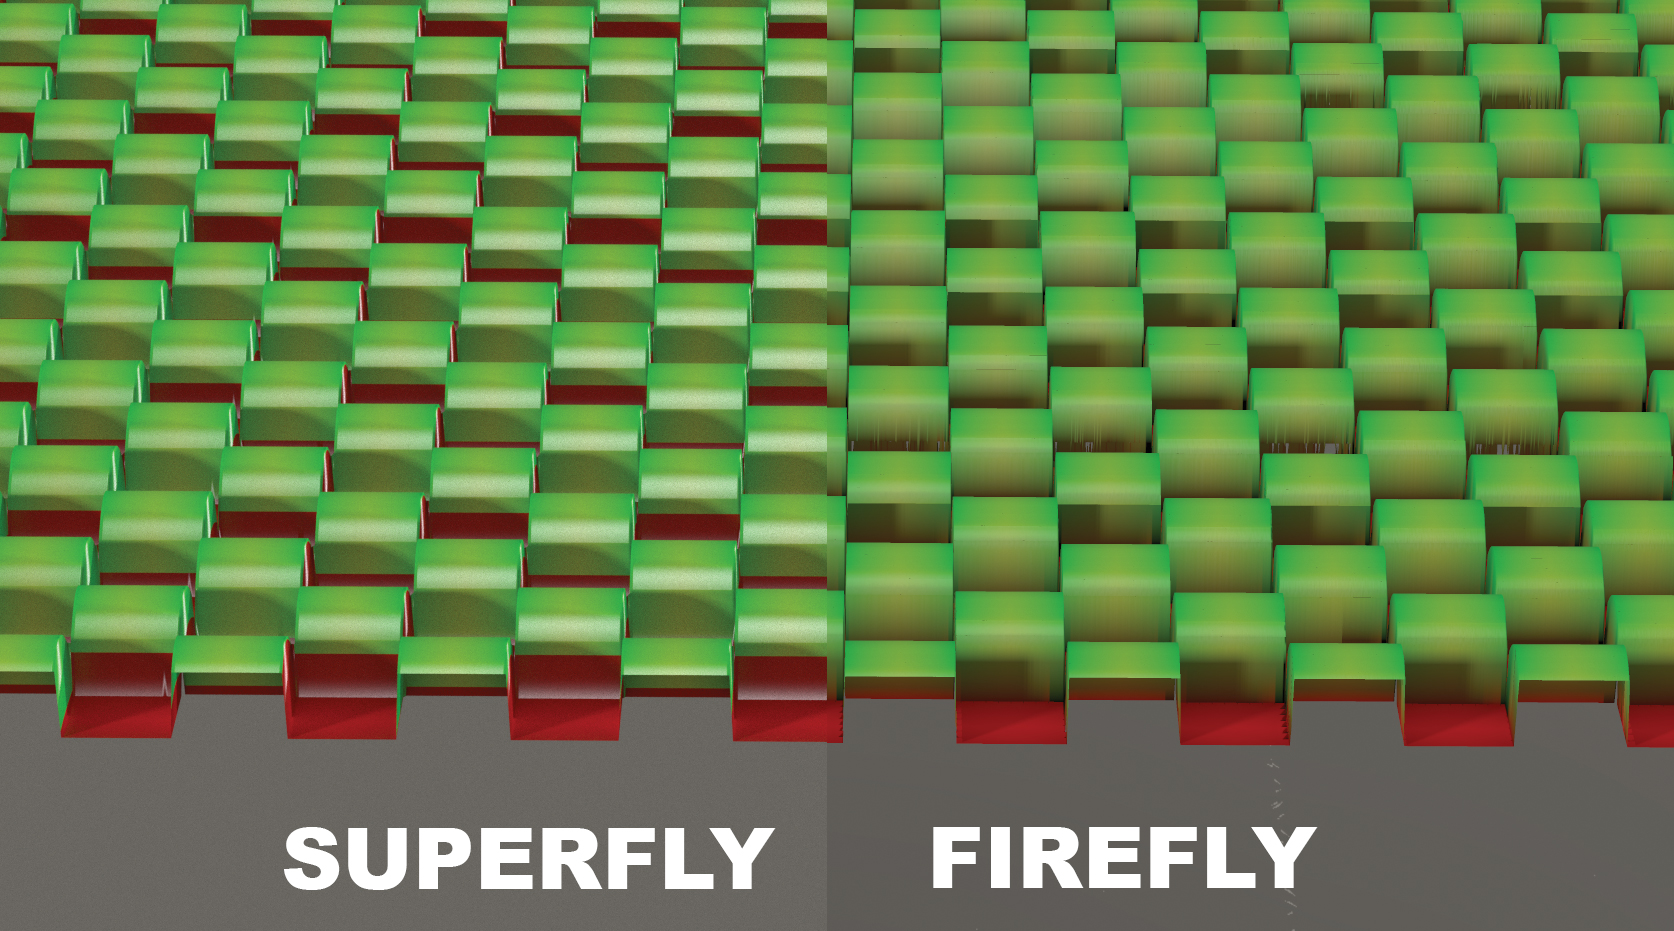
Superfly uses a different displacement engine to Firefly (vertex displacement rather than micro polygon). With Superfly, the more polygons, the greater the displacement resolution. Before you can even apply displacement, you’ll have to open the object’s properties tab and increase subdivision to 3 or even 5.
There is an option with a multipart model, such as a human figure, to subdivide only the parts that you need extra resolution on (the face for instance). This avoids creating unwieldy numbers of polygons that will needlessly degrade your system performance. Subdivision is also a great way to smooth jagged bends on older figures.
17. Set up Cycles
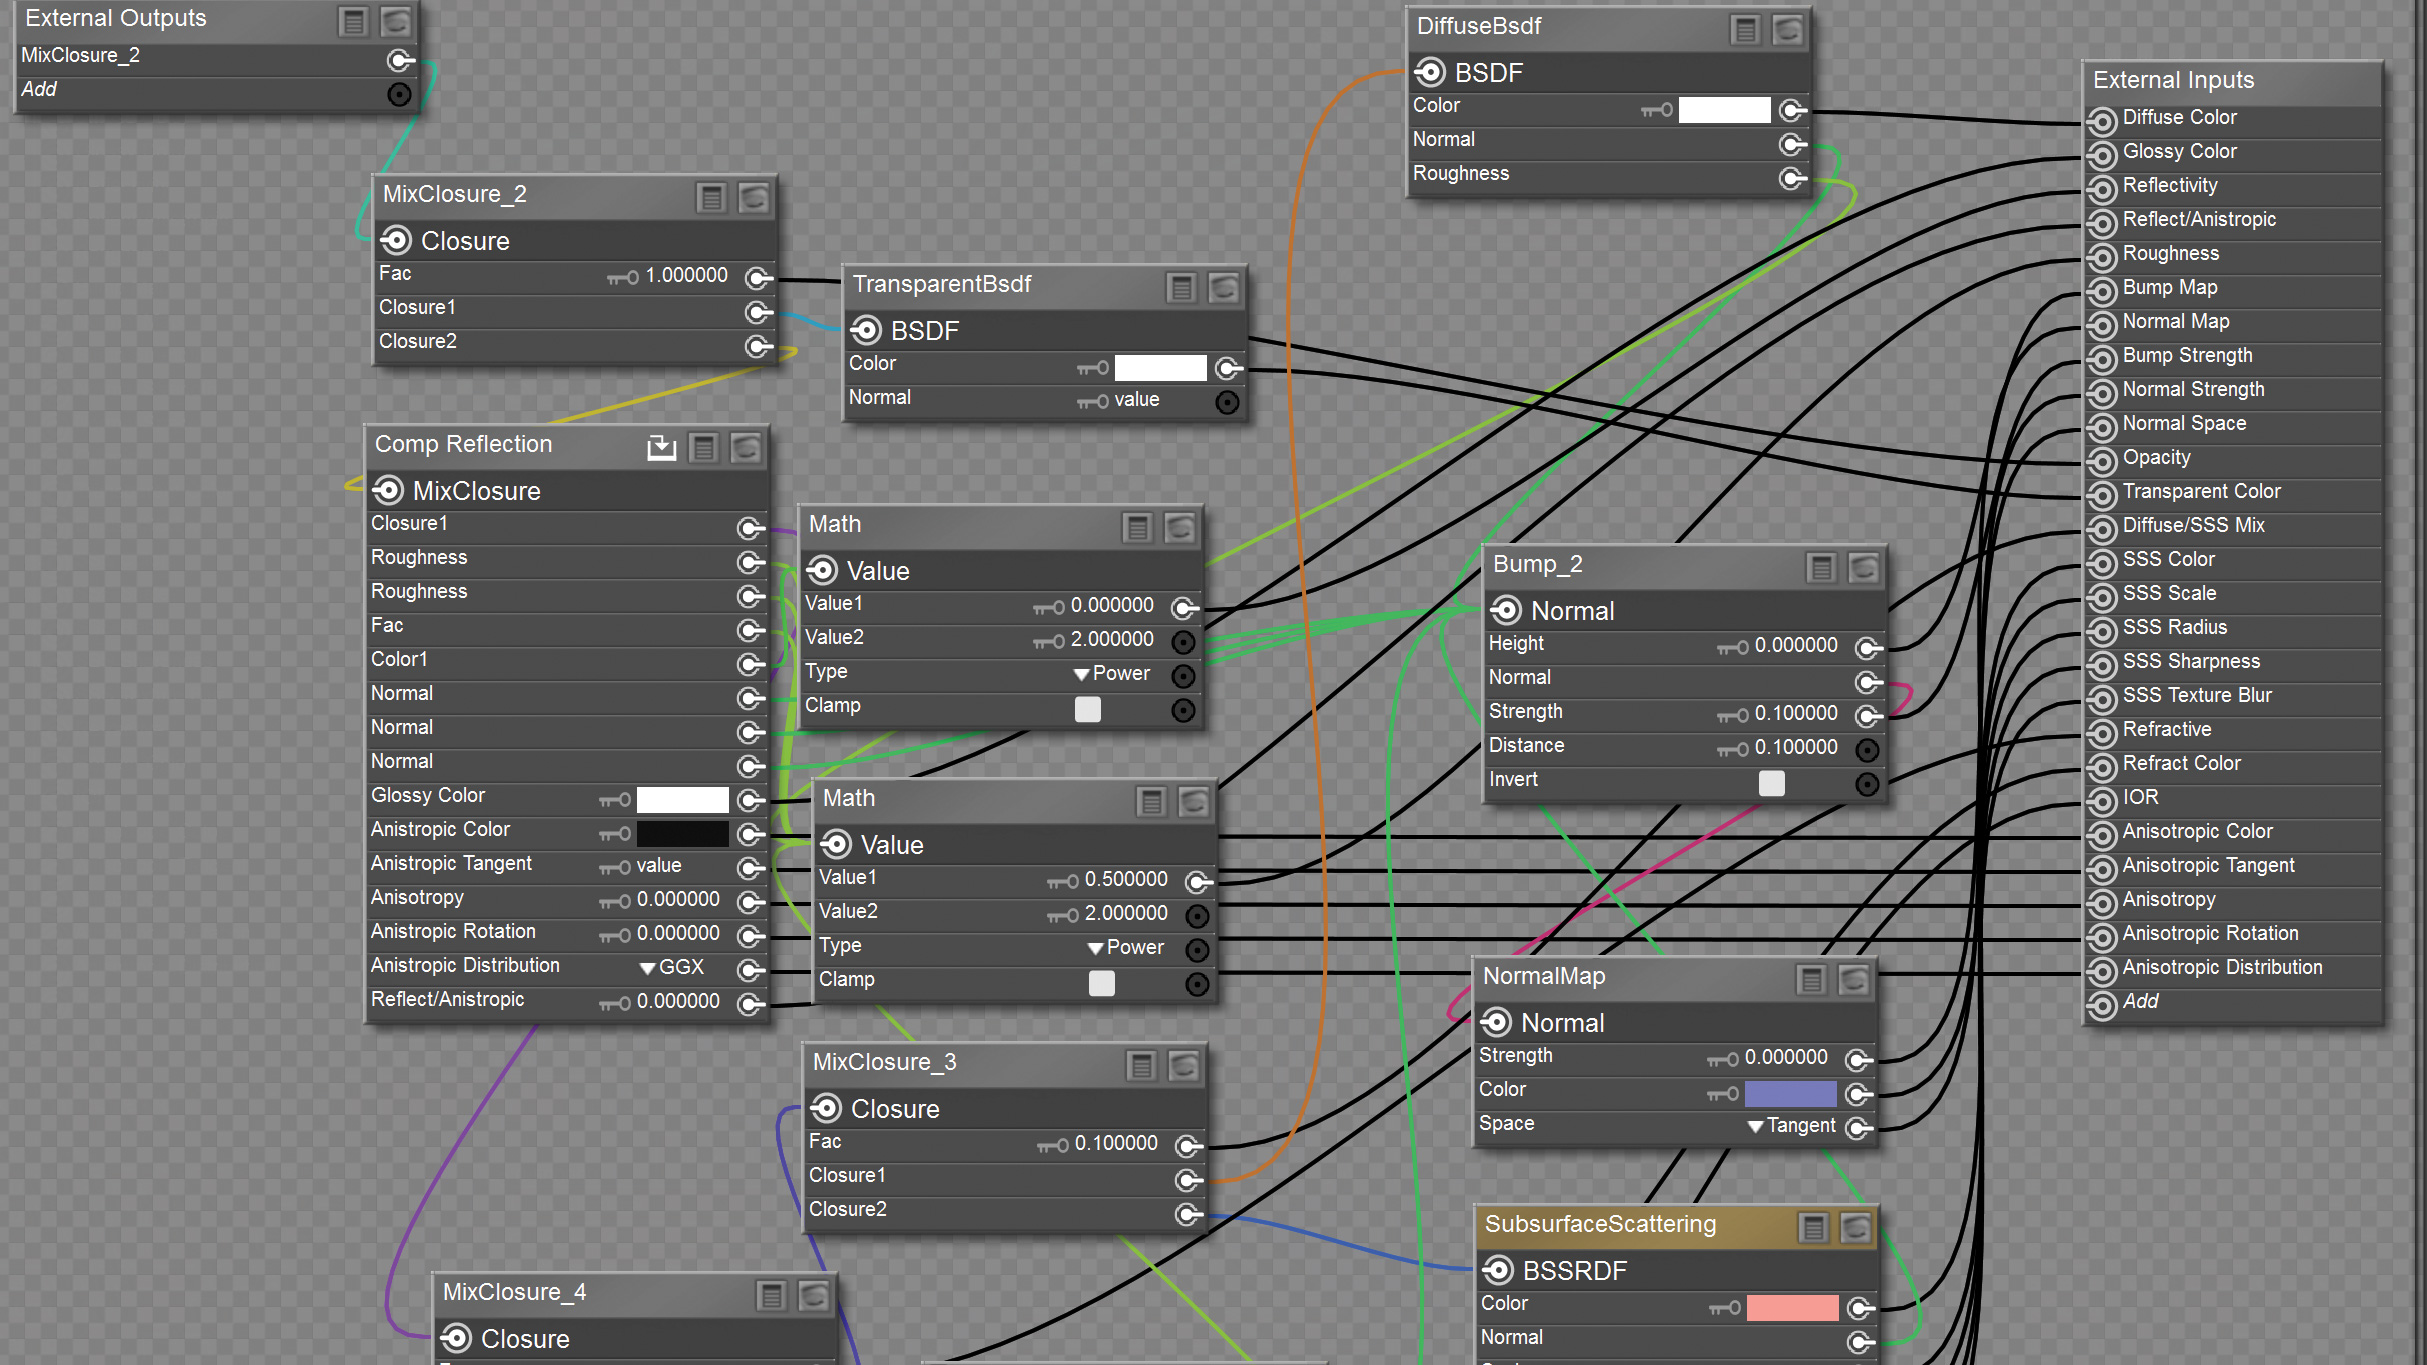
Don’t feel the need to create Cycles node rigs just because they are part of the Superfly PBR engine. These can be complicated to set up, and there are still imperfections and unpredictabilities
in Poser’s implementation of certain features, such as transparency and displacement. The Poser surface root node does an excellent job of approximating many Cycles features for a fraction of the effort, complexity and rendering time. That said, notwithstanding the occasional feature that was not ported over, you can copy Cycles materials from Blender across to Poser if you find any that you like.
18. Create hair gloss
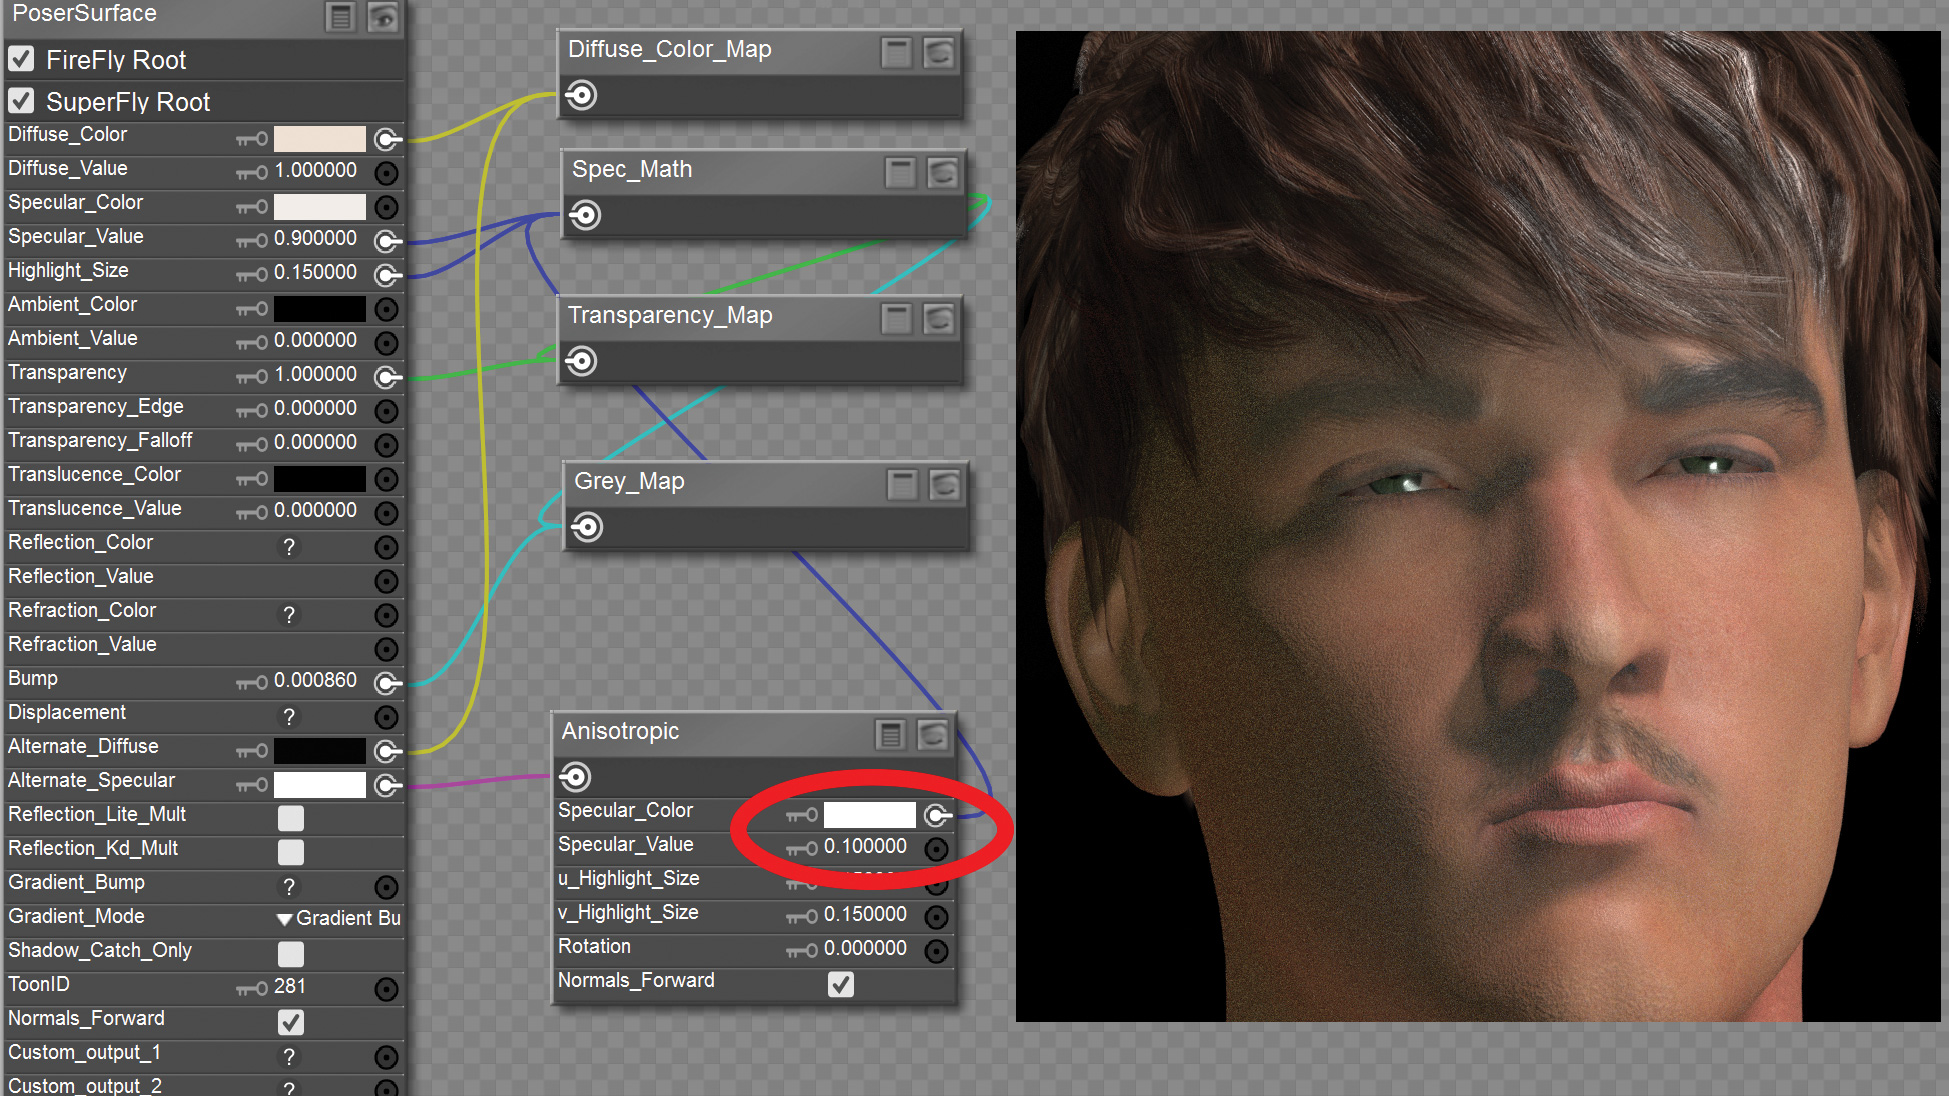
If you are repurposing hair materials intended for the default renderer for use in Superfly (almost all off-the-shelf products), you’ll usually need to reduce the glossiness, reflection or specularity. These will usually be plugged into the ALTERNATE specularity channel.
Lips and fingernails will also commonly need reworking. Expand Anisotropic nodes and look for values labelled ‘Glossiness’ or ‘K’s’. These can usually be reduced to 0.1 or less. The easiest solution is simply to delete anything plugged into the alternate diffuse or specularity channels. You’ll probably want to reduce any primary specularity or reflection values too.
19. Create grass
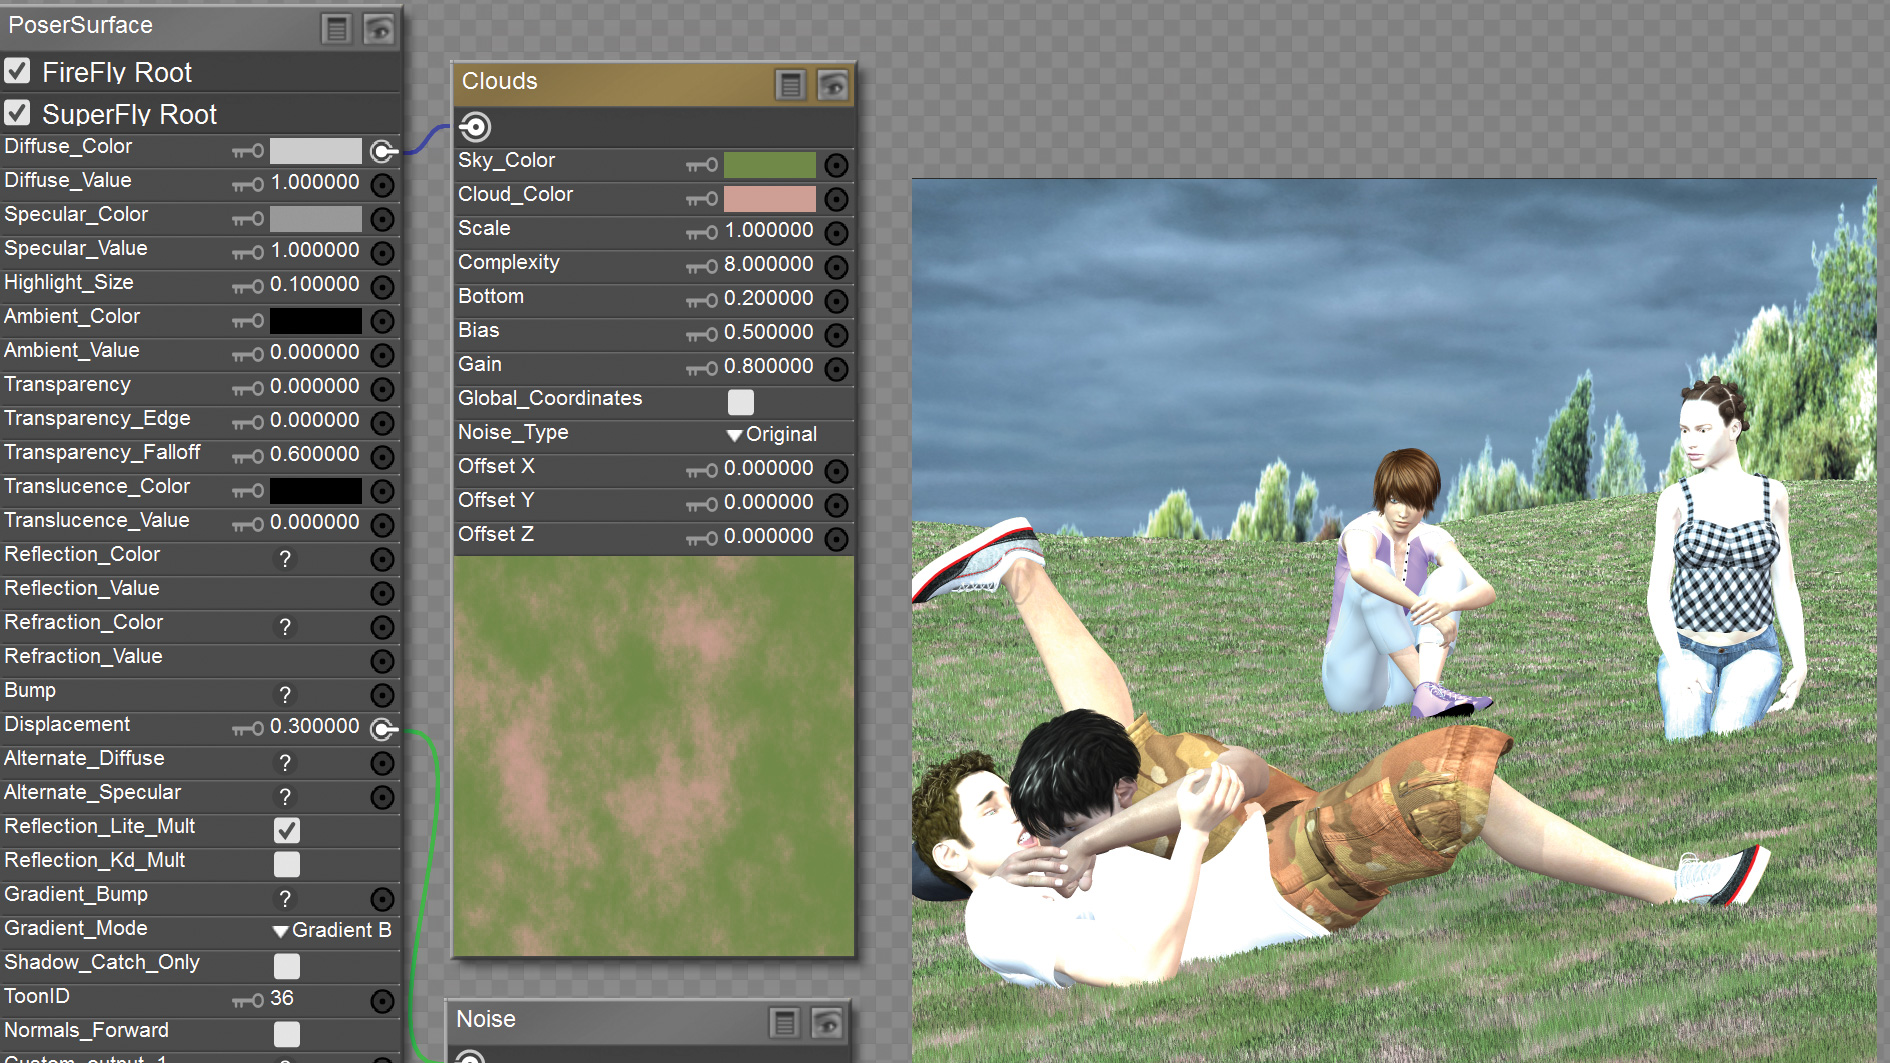
Importing polygon grass is expensive on your memory budget, and using the hair room to grow it is even more costly on your processing, especially during render.
If you are using the Firefly renderer, there’s thankfully an easy technique you can use to effectively create ‘fur’ grass or carpet. Simply attach a noise node to the displacement input. If you use a Clouds node in the Diffuse input, or a carpet pattern, this is a great way to transform bland polygons. For carpet combine the noise with a greyscale bump map using the Blender node if you want to give it deep pile sculpting.
This article originally published in 3D World, the world's best-selling magazine for CG artists. Buy issue 233 now or subscribe.
Related articles:
