Get started with Redux Thunk
Give your web apps a thunk to speed them up without getting in a state tangle.

State is a big part of a React application, which is why Redux is commonly paired with it. That data often comes from a database, which requires a request and a response. For some applications, this communication can be constant. It can be tricky trying to manage solely within React components.
This also introduces some new problems – what happens if it loads slowly, or doesn't load at all? Every component dealing with asynchronous data would have to contain logic to handle these scenarios.
A 'thunk' is a concept that can help with this situation. Each thunk is a function that returns another function. That function can then be called at a later point, much like a callback. If we could dispatch a thunk instead of an action object, we can add in some extra logic in reaction to another event.
Redux Thunk is a library that sits in between dispatched actions and the reducer. When it sees a thunk is dispatched, it passes some methods into the returned function that can be used to dispatch further actions, like a success or error event.
In this tutorial, we will make use of thunks to help pull in the data from a server rather than from a JSON file, working with PhotoShare – a photo-commenting application powered by Redux.
Got a new site project, but need it to stay simple? Here are our guides to the best website builder and web hosting service. Sharing files with others? Get your cloud storage right.
Download the files for this tutorial.
Daily design news, reviews, how-tos and more, as picked by the editors.
01. Install dependencies
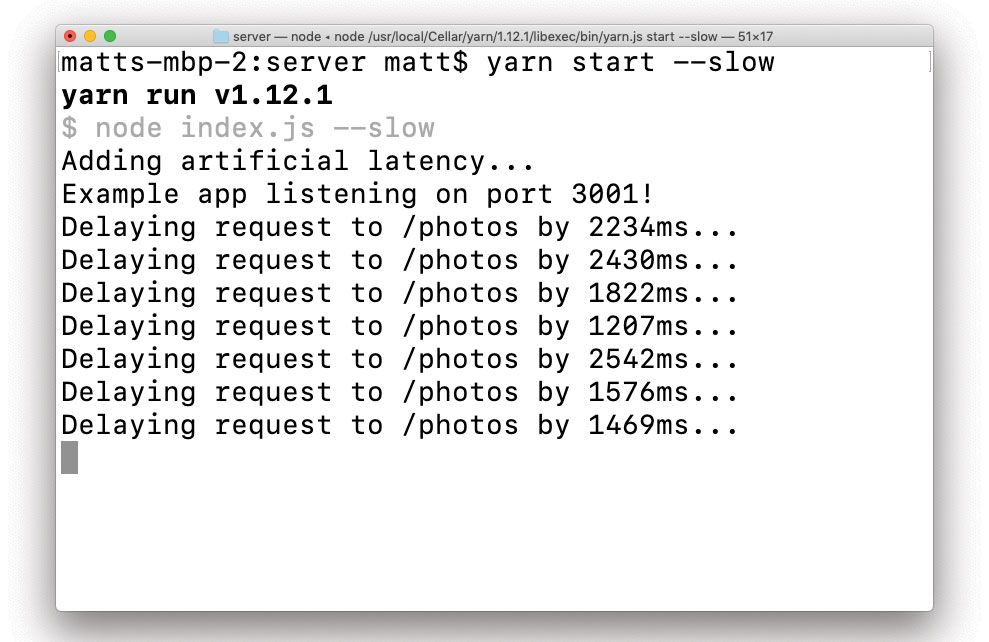
There are two parts to this project – the front end site and the back end server it runs on. While the tutorial focuses on the front end, we need a server running in order to fetch the photos. Download the project files and install the dependencies for both the site and the server. Run the servers for both and leave them running in the background.
/* one terminal inside /site */
> yarn
> yarn start
/* one terminal inside /server */
> yarn
> yarn start
02. Set up middleware
Redux Thunk is a middleware – functionality that sits between actions and reducers that can change how those actions behave. Redux supports multiple sets of middleware that cover the entire application. They get added when the store is created using the compose method. Add middleware to the createStore method within index.js.
import { applyMiddleware, compose }
from "redux";
import thunk from "redux-thunk";
[...]
const store = createStore(
	rootReducer,
	compose(
		applyMiddleware(thunk),
		devtools
	)
);
03. Set up action creators
The first thing we need to do now is to load the photos into the gallery. Like regular actions, we need action creators for the various states that an asynchronous call will take. Most will have start, success and error actions. These let Redux know what the JavaScript is busy doing. Within actions/photos/photos.js, set up three action creators for these different states.
export const loadGalleryStart =() => ({
	type: LOAD_GALLERY_START });
export const loadGallerySuccess =
photos => ({
	type: LOAD_GALLERY_SUCCESS,
	photos
});
export const loadGalleryError =() => ({
	type: LOAD_GALLERY_ERROR });
04. Create a thunk for loading
Thunks work exactly the same as action creators. We still dispatch the return value, but this time it returns a function instead of an object. The middleware that we set up earlier will pass a dispatch method into the returned function. This enables us to send more actions to Redux after the initial dispatch. Create a loadGallery method that returns a function. For now, have it dispatch an action to show that the gallery is still loading.
export const loadGallery = () =>
dispatch => {
	dispatch(loadGalleryStart());
};
05. Load data from the server
We are now ready to start fetching from the server we set up at the beginning. We can do this by using axios – a package designed to work with promises across different browsers. Import axios and make a request for the photos within loadGallery. If the promise resolves, dispatch the success action, and if not dispatch the error action. With that, the structure of the thunk is complete.
import axios from "axios";
[...]
return axios
	.get("http://localhost:3001/photos")
	.then(response => dispatch(
		loadGallerySuccess(response.data)))
	.catch(() => dispatch(
loadGalleryError()));
06. Dispatch the thunk
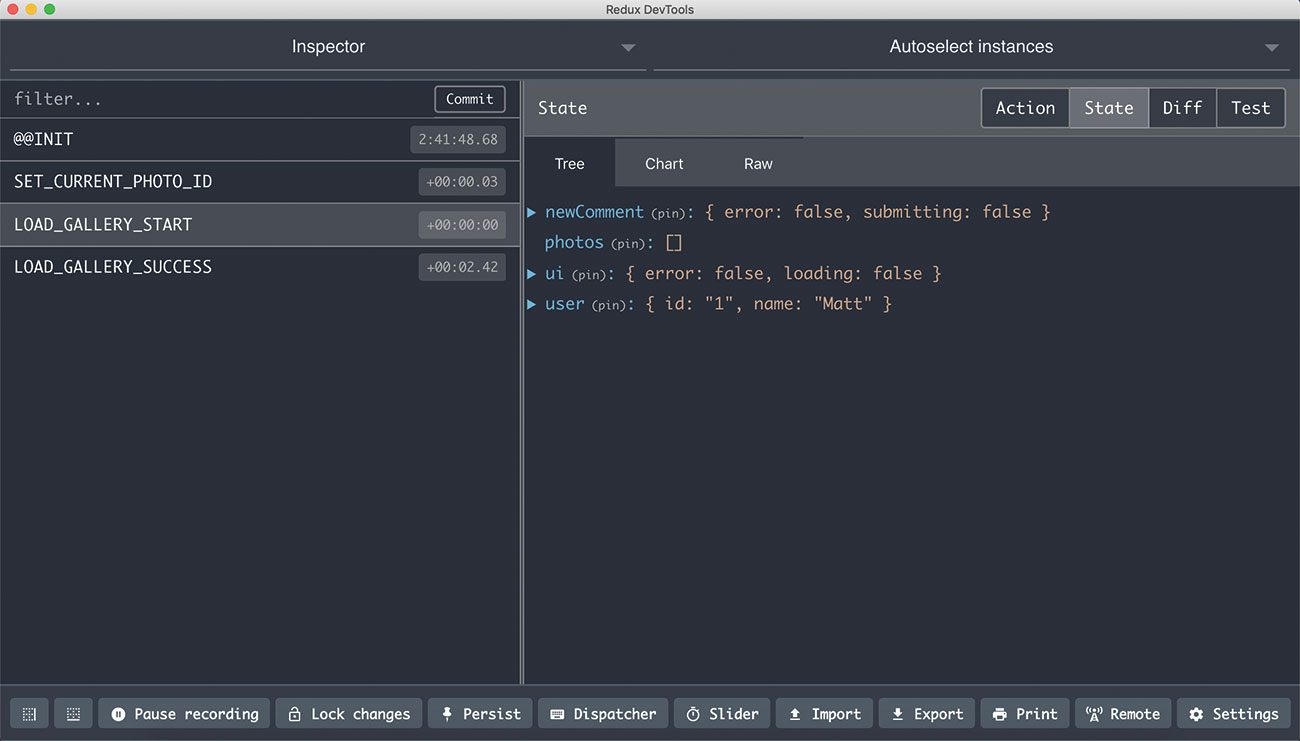
The thunk will not do anything until it's been dispatched. We can do that within a React component like any other action. A good time to start loading the photos is when the user views the main gallery. We can use React's componentDidMount lifecycle method as a trigger, after checking the gallery is not already loaded. Within components/container/Gallery/Gallery.js dispatch a loadGallery action by adding it to mapDispatchToProps and calling it within componentDidMount.
componentDidMount() {
	if (!this.props.photosLoaded) {
		this.props.loadGallery();
	}
}
export const mapDispatchToProps =
 dispatch => ({
	loadGallery: () =>
	 dispatch(loadGallery()),
});
07. Add photos on success
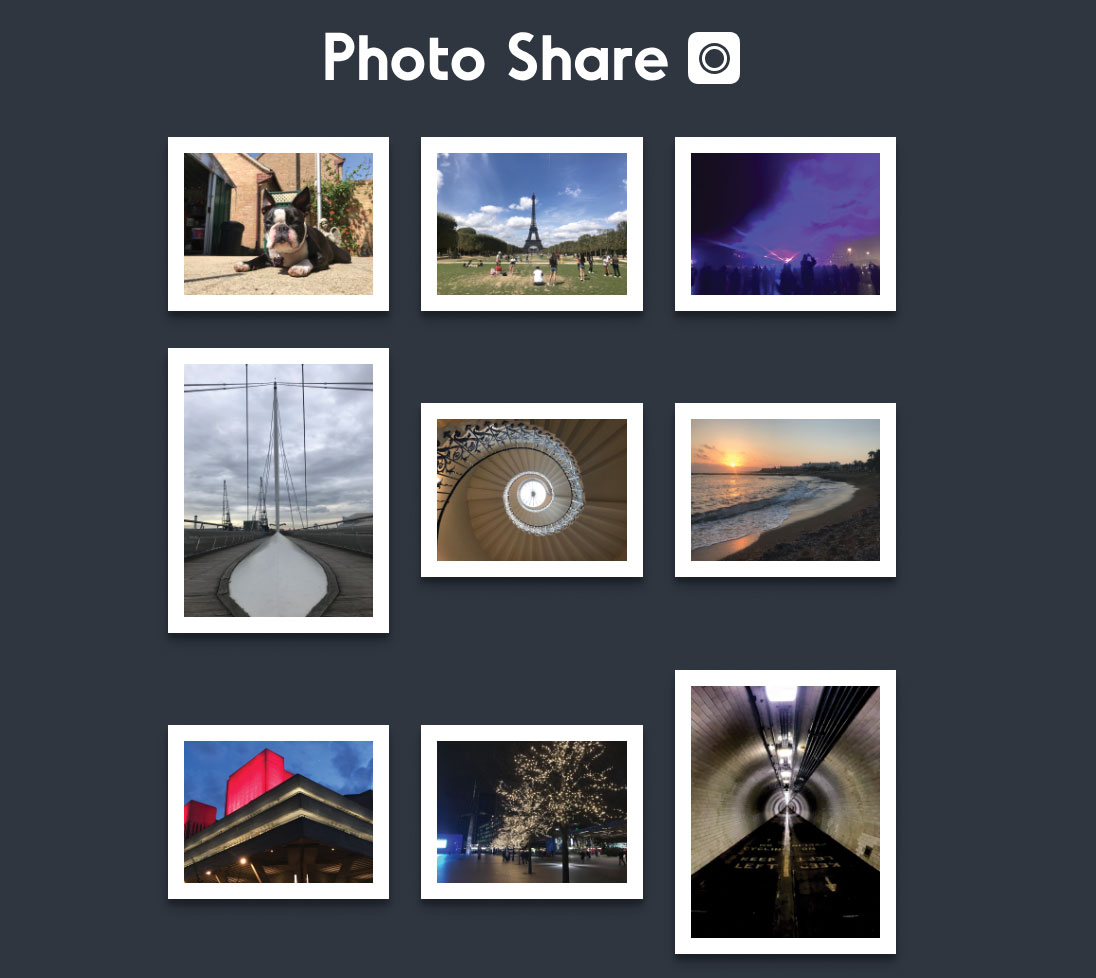
When the photos come back from the server, we dispatch a LOAD_GALLERY_SUCCESS action with the photos. We need to get this into the state through the photos reducer. Head to reducers/photos/photos.js and add a case for the success action. The payload contains all the photos as an array. Once the state is updated, the photo selector passes the photos through to the gallery component to be displayed.
case LOAD_GALLERY_SUCCESS:
	return action.photos;
08. Set up the UI
Currently, the photos suddenly appear after they are loaded. On a slower connection, the user will be looking at a blank screen until the request finishes, if it ever does. The actions we send to load photos can also be picked up in the UI reducer in order to keep the interface up to date with what's happening. Update the loading and error flags within the UI reducer at reducers/ui/ui.js.
case LOAD_GALLERY_ERROR:
	return { ...state,
		loading: false, error: true };
case LOAD_GALLERY_START:
	return { ...state,
		loading: true, error: false };
case LOAD_GALLERY_SUCCESS:
	return { ...state,
		loading: false };
09. Add loading and error selector
As with the gallery photos themselves, we need selectors to get the various UI states values out of Redux. We can pass these to the gallery, which will then render different elements if either one is true. In selectors/ui/ui.js, add a couple of functions to get the values out.
export const isGalleryErrored =
 state => state.ui.error;
export const isGalleryLoading =
 state => state.ui.loading;
10. Add data to GalleryContainer
With the selectors ready, they can now be added to the Gallery container component. Adding them here means that the component responsible for displaying the gallery does not need to know about how the data has arrived. Head to container/Gallery/Gallery.js and add the selectors to mapStateToProps. Make constants for the values to help display the state in the next step.
const { error, loading,
 photos } = this.props;
[...]
export const mapStateToProps =
 state => ({
	error: isGalleryErrored(state),
	loading: isGalleryLoading(state),
});
11. Show loading and error state

While we have the error and loading props, there is currently no UI to indicate when they are active. These props are Boolean values, which means we can toggle the display of components when they are true. Update the render method to make sure the <Error> and <Loading> components render instead of the gallery when needed.
if (error) {
	return <Error />;
}
if (loading) {
	return <Loading />;
}
12. Fetch the gallery again
With the gallery loaded, we can move on to an individual photo. Clicking into any of the photos and refreshing the page does not load the photo back up, as there is no instruction on this page yet to load the gallery. Open container/Photo/Photo.js and load the gallery in componentDidMount like in the Gallery component. The photosLoaded check will not try to load the photos again if they were already loaded within the gallery.
if (!this.props.photosLoaded) {
	this.props.loadGallery();
}
13. Add a new comment
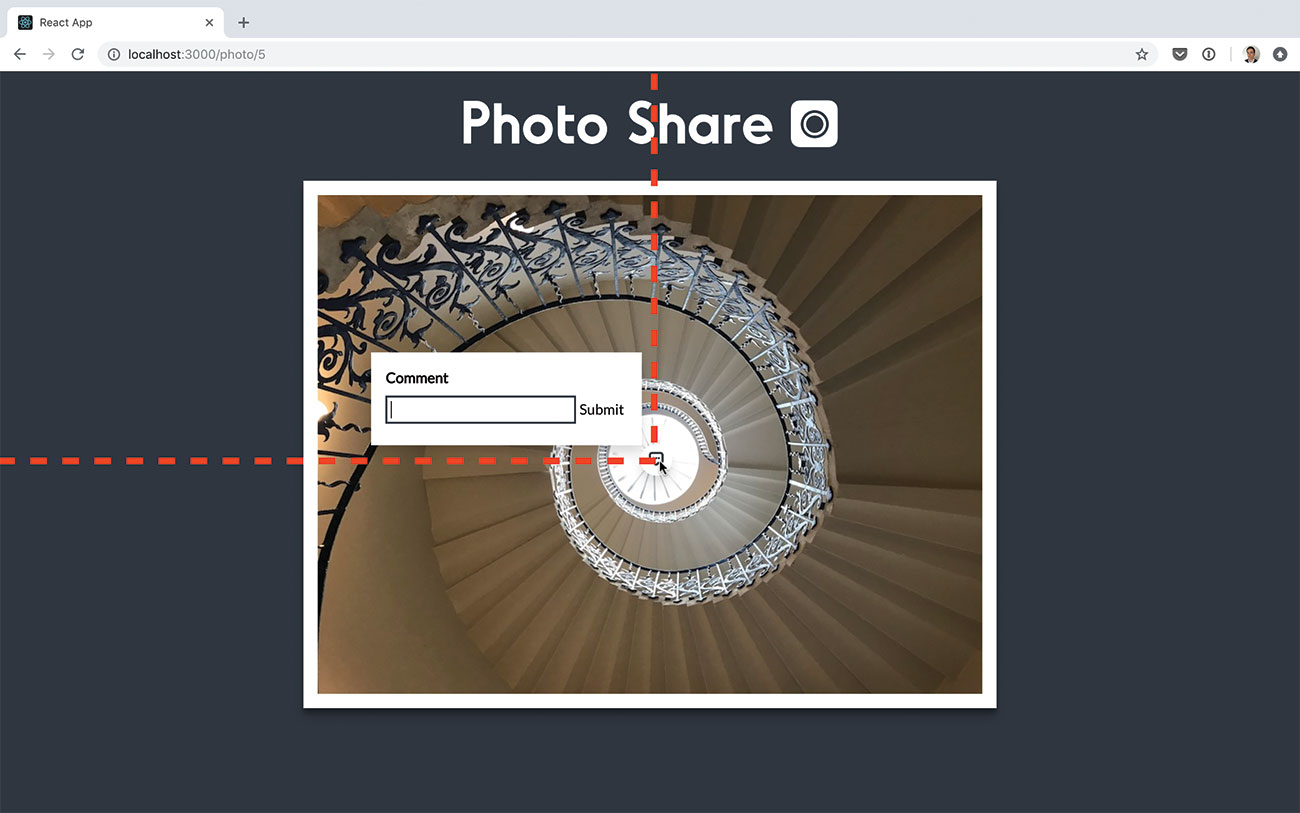
The user can click on the photo where they want to leave a comment. The Photo presentational component will run the addNewComment prop function when this happens. Inside the addNewComment function, calculate the point where the user has clicked within the photo. The server requires a round integer percentage value when it gets saved.
const photo = e.target
 .getBoundingClientRect();
const top = e.clientX - photo.left;
const left = e.clientY - photo.top;
const topPc = Math.round((top /
 photo.width) * 100);
const leftPc = Math.round((left /
 photo.height) * 100);
14. Tell Redux about the comment
With the position calculated, we then need to tell Redux about the comment so it can display the comment form. There is already an action set up to add the new comment on screen. Add addNewComment into mapDispatchToProps and call it after we calculated the position of the click.
this.props.addNewComment(
 topPc, leftPc);
[…]
export const mapDispatchToProps =
 dispatch => ({
	addNewComment: (top, left) =>
	 dispatch(addNewComment(top, left)),
});
15. Tell Photo about new comment
When new comment information is passed to Redux, we need to pass it into the Photo presentational component. This enables it to show the form at that position. Find the getNewComment selector, add it to mapStateToProps and pass the prop into <Photo>.
export const mapStateToProps =
 (state, props) => ({
	newComment: getNewComment(state),
});
<Photo [...] newComment={
this.props.newComment} />
16. Call thunk in comment
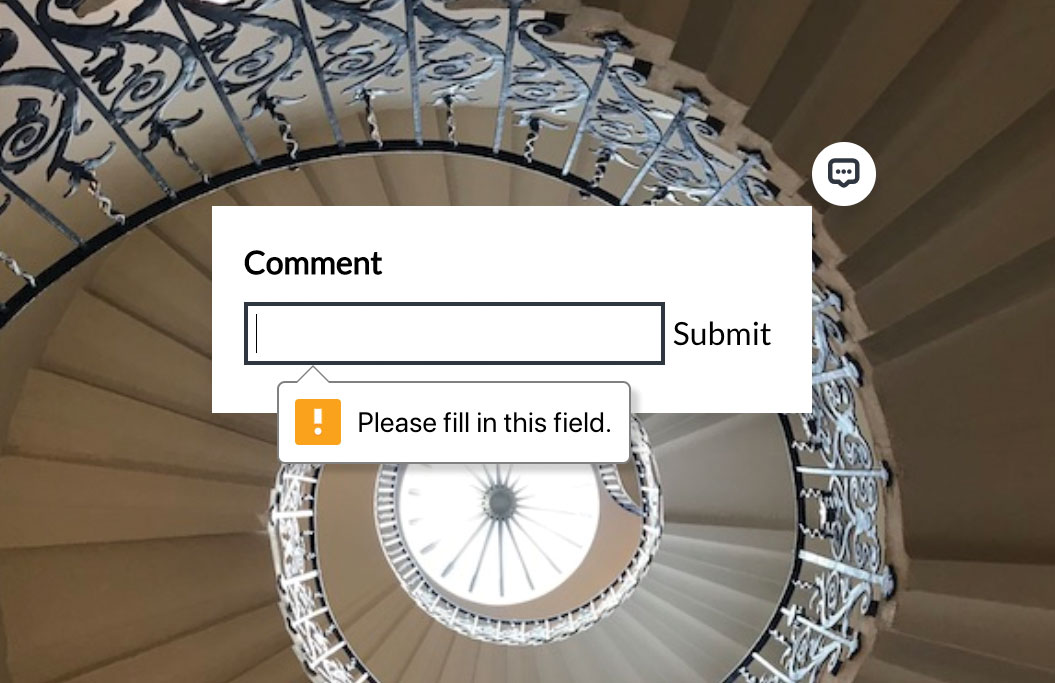
Clicking on the photo now will bring up the new comment form. This is its own connected component. When the form is submitted, it calls a submitComment prop function and gets passed. This is a thunk that we will make. Open up container/NewComment/NewComment.js and add the thunk to mapDispatchToProps. Pass that prop into the rendered presentational component.
<NewComment [...]
 submitComment={submitComment} />
export const mapDispatchToProps =
 dispatch => ({
	submitComment: comment => dispatch(
	 submitComment(comment))
});
17. Gather content for thunk
The thunk to add a new comment has a similar structure to the fetching of the gallery, including a start, success and error action. There is an extra argument passed into this thunk – the getState function. This enables direct access to the current state in order to grab data from it. Create the submitComment thunk in actions/newComment/newComment.js. Each comment is associated with a photo and a user. For this tutorial, the user ID is hard-coded into the user reducer.
export const submitComment = comment
 => (dispatch, getState) => {
	dispatch(submitCommentStart());
	const currentPhotoId =
	 getCurrentPhotoId(getState());
	const user =
	 getCurrentUser(getState());
	const { left, top } =
	 getNewComment(getState());
};
18. Post the request
With all the necessary data in place, we can submit the comment. Axios has a post method to deal with POST requests, with the second argument being the data to send in that request. Add the request to the thunk, passing in data in snake case to match what the server expects.
return axios
	.post(
	 "http://localhost:3001/comments", {
		user_id: user.id,
		photo_id: currentPhotoId,
		comment,
		left,
		top
	})
19. Handle success and error
If the promise from axios resolves or rejects, we need to tell the application about it. If it resolves successfully, the server will pass back the content of the comment. We should pass that in with the success action. If it gets rejected, fire an error action. Update the promise with then and catch blocks.
.then(({ data: {
 id, comment, left, top } }) =>
	dispatch(
		submitCommentSuccess(
		 id, comment, left, top,
		 user, currentPhotoId)
	)
)
.catch(() => dispatch(
submitCommentError()));
20. Add comment to photo
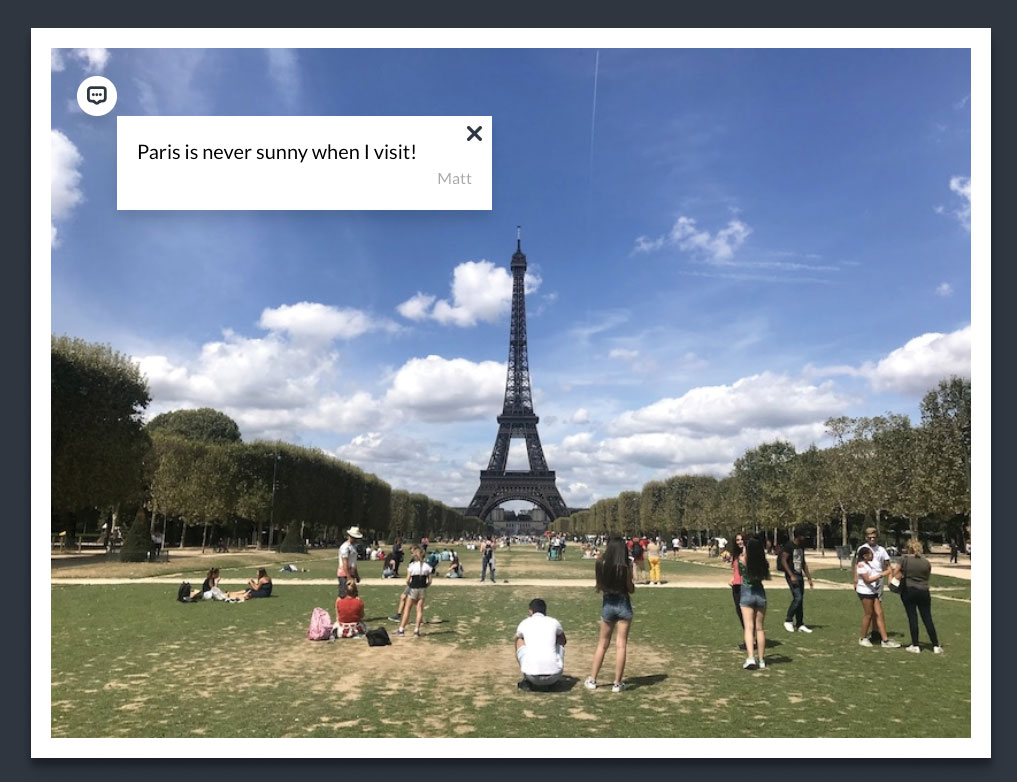
Right now, once the comment is added successfully it gets cleared from the screen but is not visible until the page refreshes. We can update the photos reducer to pick up on the new comment and add it to its comments array, to display like the rest of them. Open up reducer/photos/photos.js and add a case to handle the action. Create a copy of the state to make sure we don't accidentally mutate the existing state.
case SUBMIT_COMMENT_SUCCESS:
	const { id, comment, top, left,
	 user, photoId } = action.payload;
	const newState = JSON.parse(
	 JSON.stringify(state));
	const photo = newState.find(
	 photo => photo.id === photoId);
	photo.comments.push({
		id, comment, left, top, user
	});
	return newState;
21. Hide other comments
Lastly, if another comment is open and the user wants to add a new comment, the UI gets too cluttered. We should hide the comment box if a new comment is being composed. We can hook into the existing ADD_NEW_COMMENT action to clear the commentOpen value. Head to reducer/ui/ui.js and add a case for that.
case ADD_NEW_COMMENT:
	return {
		...state,
		commentOpen: undefined
};
This article was originally published in issue 283 of creative web design magazine Web Designer. Buy issue 283 here or subscribe to Web Designer here.
Related articles:

Matt Crouch is a front end developer who uses his knowledge of React, GraphQL and Styled Components to build online platforms for award-winning startups across the UK. He has written a range of articles and tutorials for net and Web Designer magazines covering the latest and greatest web development tools and technologies.
