How to sculpt a human nose in ZBrush: 4 easy steps
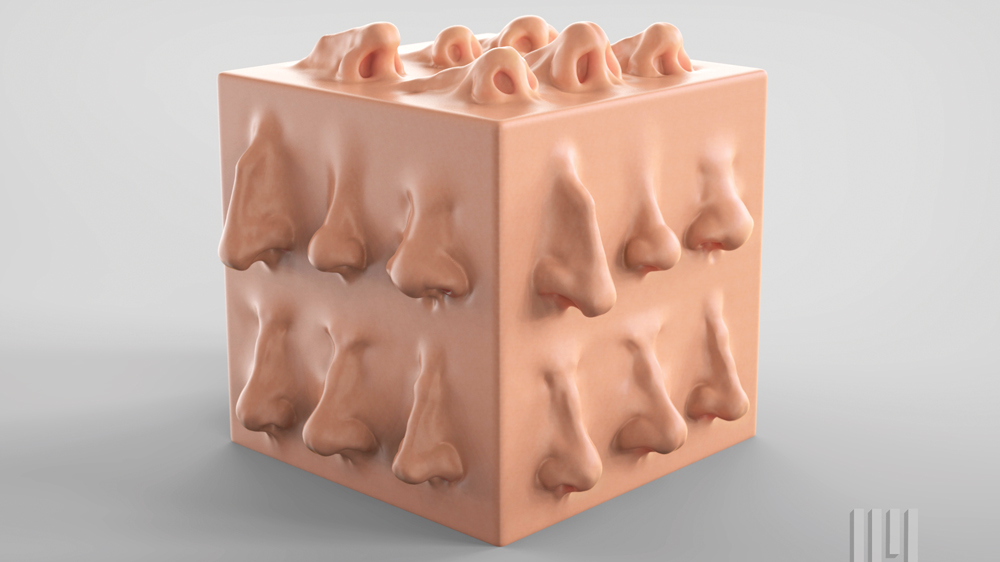
Sculpt a simple, anatomically correct human nose in ZBrush.
Sign up to Creative Bloq's daily newsletter, which brings you the latest news and inspiration from the worlds of art, design and technology.
You are now subscribed
Your newsletter sign-up was successful
Want to add more newsletters?
Human noses come in all shapes and sizes. However, it's important to know the basics of anatomy to sculpt a more believable nose. In this ZBrush tutorial, we'll walk through how to sculpt a realistic human nose in four simple steps.
First off, it's necessary to understand how a nose works. If we were to explain a nose in its simplest forms, we would most likely divide it into three parts that we see at first glance: bridge, tip and nostrils (also known by some as wings). However, as artists, we need to dig a little deeper. We also need to consider what lies beneath the skin.
Let’s focus on the part of the nose that sticks out of the skull, and defines how skin wraps around it. Without going into surgical level of detail, we can break it down into a few more smaller parts (see step 3): nasal bone, dorsal hump, cartilages (lateral, septal, lesser and greater alar) and dense soft tissue. They go by many names, so do not be alarmed if your resource shows an alternative.
Article continues belowGrab a mirror and take a look at your own nose. Gently poke and press it with your fingers to feel how the nasal bone and cartilage connects and all the pieces work together.
For practice, you may want to try learning how to draw one before moving on to sculpting exaggerated and rough forms, clearly highlighting the edges and particular parts of the nose. It will help you remember how it is built and what it is supposed to look like. Try not to dwell on getting the angles absolutely perfect. Humans are not perfect creatures. Get the general shape right and enjoy the process.
01. Create a simple base
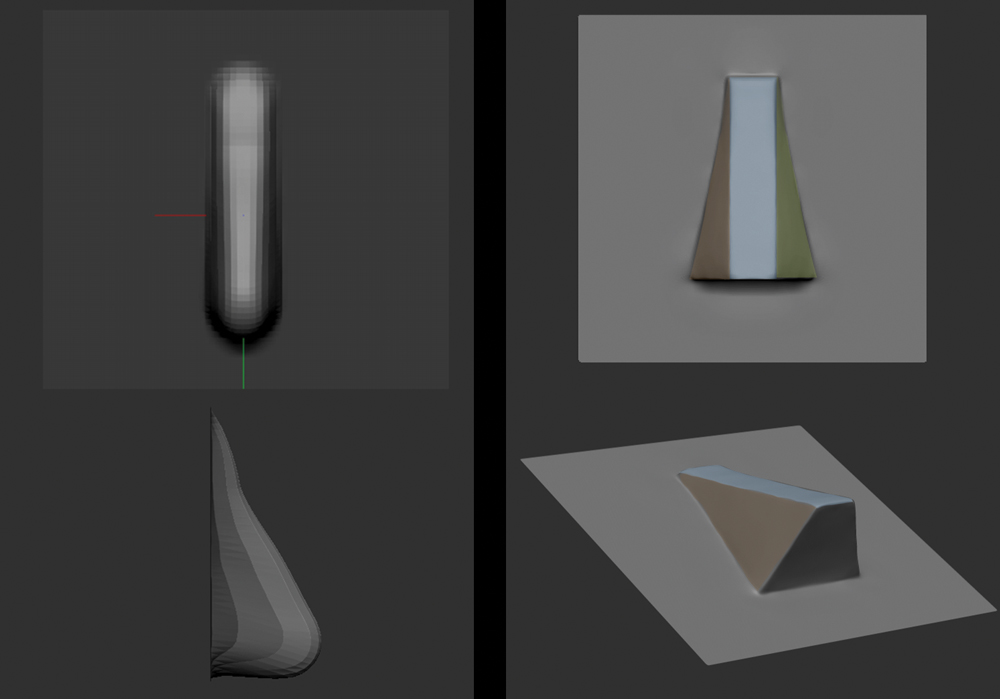
From Project > Misc, bring up the Brush3DTemplate, mask out a rough shape and pull it out with the Move brush. Ctrl+click and drag on the canvas to unmask. Mask out the edges of the plane to avoid pulling them in the process. If you struggle building the initial shape, start by blocking out four planes. Everything around us can be broken down into simple geometry, so imagine the nose being made of four polygons stuck together.
02. Activate Sculptris Pro Mode
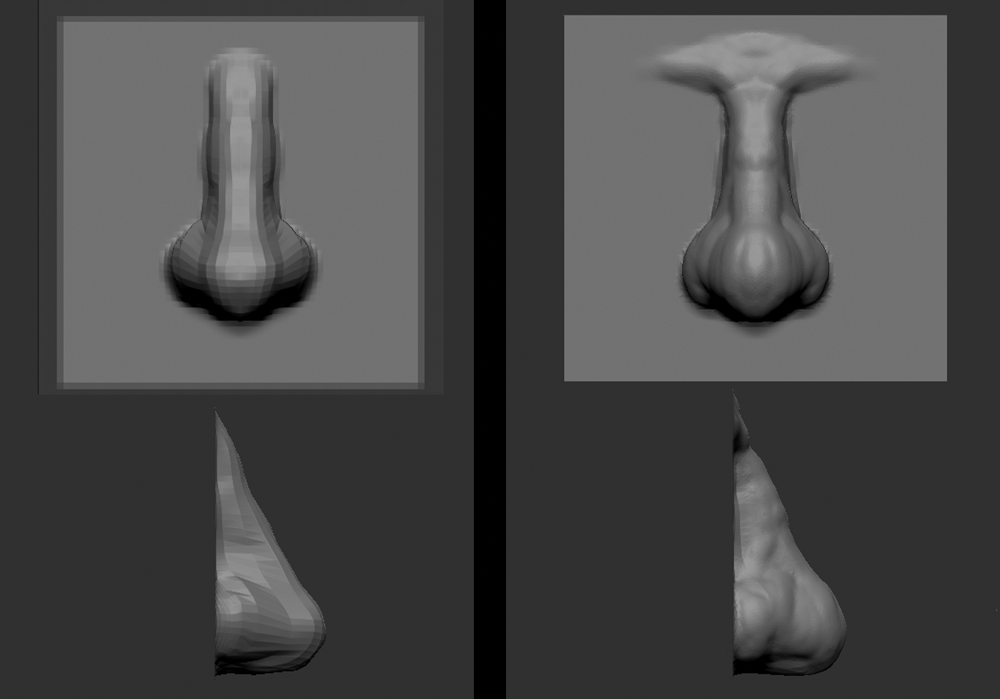
Now we have a base, we can block out the position and size of the nose. The best way is to use the Clay brush with Sculptris Pro Mode activated – bear in mind that it will not work on a tool with subdivision levels. In this mode it is easier to practise and build forms without having to worry about subdividing the mesh, as Sculptris Pro Mode helpfully changes tessellation based on the size of the brush.
Sign up to Creative Bloq's daily newsletter, which brings you the latest news and inspiration from the worlds of art, design and technology.
03. Add secondary shapes
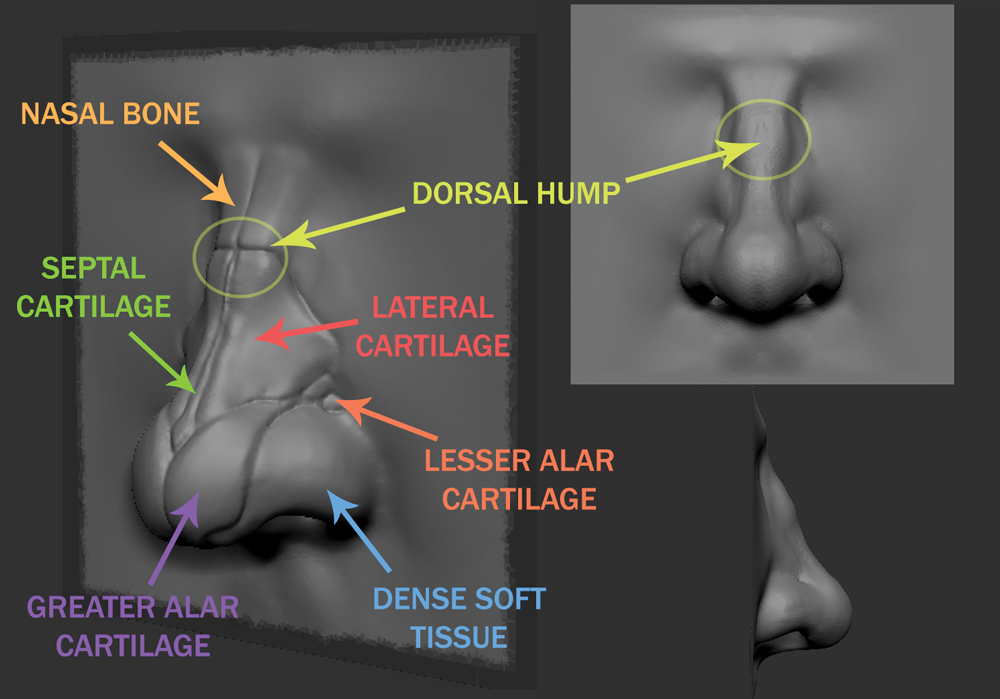
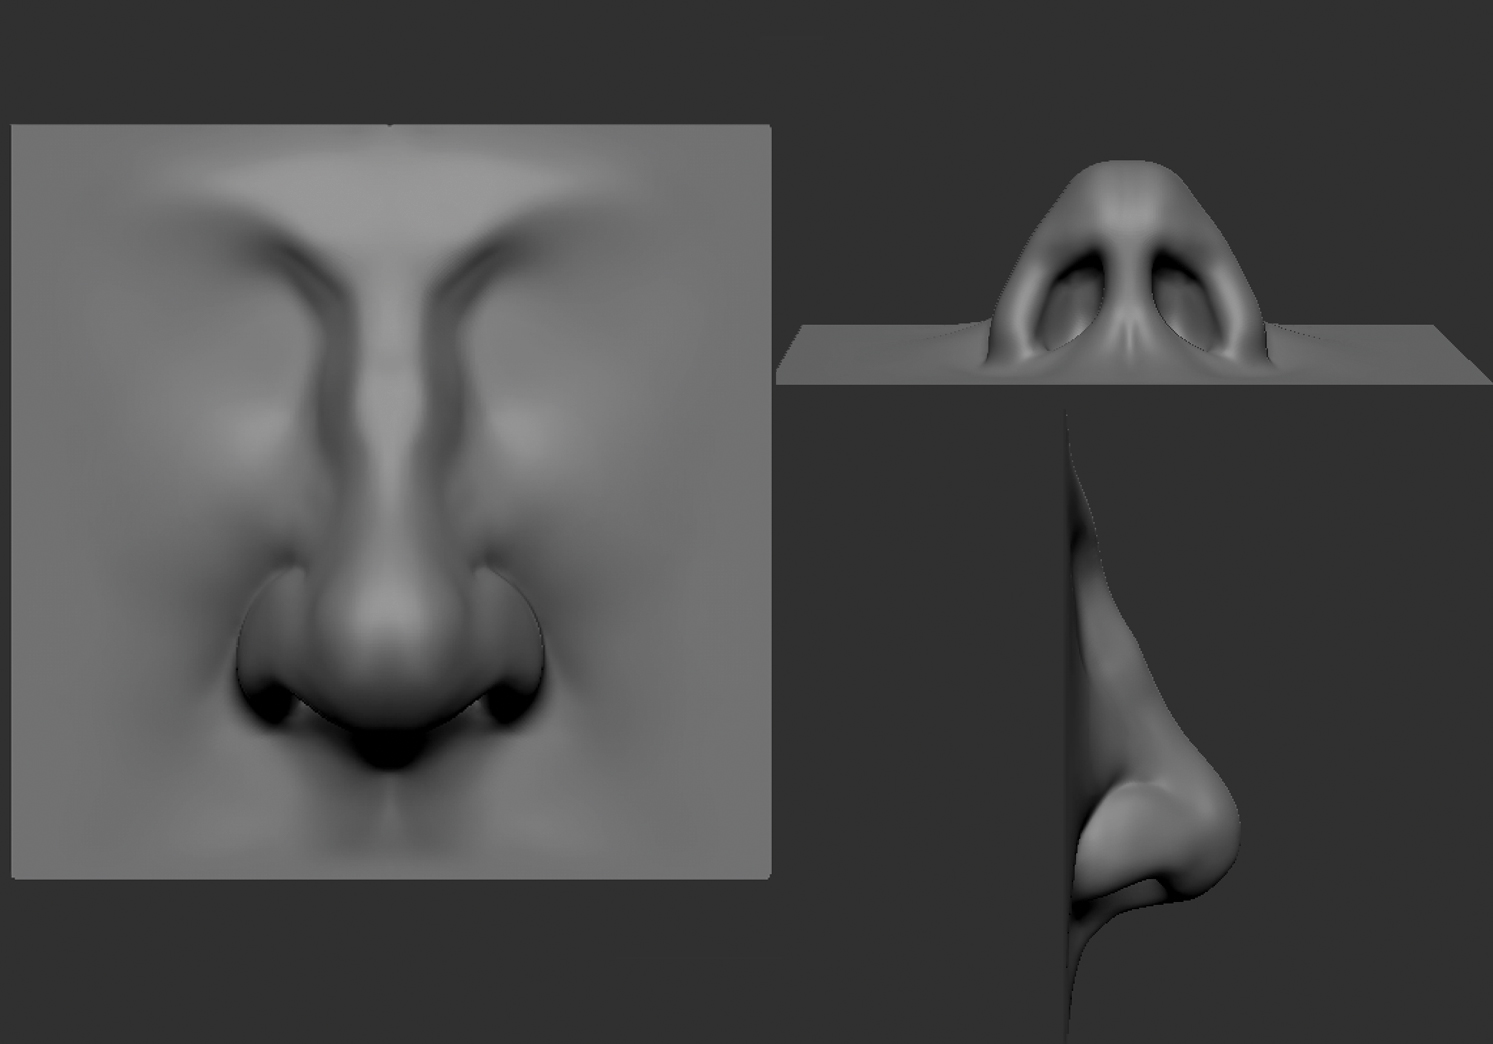
Using the DamStandard brush, sketch out the deeper creases and add more structure around the bridge of the nose. Draw on rough borders of the cartilages to identify secondary shapes. Let’s not forget the dorsal hump – the place where the nasal bone and cartilages connect. Use clay and move brushes to reshape the nose. Make sure to check the shape from all angles to see if the silhouette works well.
04. Finalise the shape
All noses are different, so we have a lot of flexibility as to how we can model it to look. If we are aiming to achieve a more broad or skinny nose, you can try to exaggerate some of the structure ever so slightly. When you are happy with the shape, unmask the plane, go to ZRemesher, click on FreezeBorder and press ZRemesher. Repeat the process to achieve lower polygon density.
This article originally appeared in 3D World issue 243; subscribe here.
Read more:

Maya is a 3D artist with a broad set of skills, diverse portfolio and extensive experience creating 3D assets for games and learning programmes. She has an excellent knowledge of Blender, ZBrush, Keyshot, Autodesk 3ds Max and Maya, Substance Painter and Designer, Photoshop; and integrating assets into Unity and Unreal Engine.
