Get started with vector illustration in 10 easy steps
Ben the Illustrator explains how to create vector illustrations using Adobe Illustrator, explaining the key tools and offering expert tips.
For me personally, vector illustration is one of the most satisfying and exciting creative outputs there is - once you've learned the basics it's pure enjoyment, playing with shapes and colour. This article will guide you through the first few tools and tips you'll need to be on your way making vector illustrations with Adobe Illustrator.
So what exactly is vector illustration? Vector illustrations produced in Adobe Illustrator (as opposed to pixel-based illustrations produced in Photoshop) are essentially made up of lines and points, which form shapes, which you then build up in layers to produce the artwork.
Here I'll take you through 10 steps that will introduce you to the fundamentals, including the key tools, and get you started on the road to translating your creative vision into incredible vector illustrations...
01. Setting up
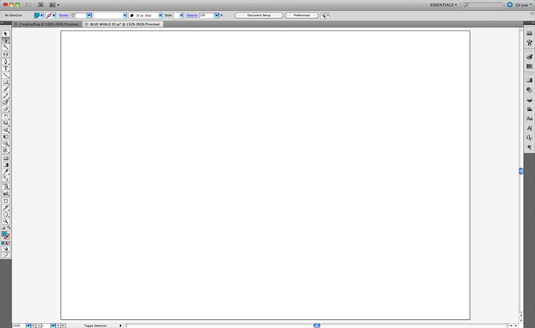
On first opening Illustrator, you’ll need an Artboard: this is the document/area you work on. Click File>New, and apply the size you’d like for your image (if size is irrelevant when you’re learning, choose A4 from the dropdown menu). In the Advanced section you can also choose from CMYK (if you’re illustrating for print) or RGB (if you’re working for the web).
When I work I always use Illustrator to trace from a scanned pencil drawing, although of course, you can draw freehand into Illustrator. If you’d like to trace from a scanned drawing then click File>Place and choose your drawing from your computer.
02. Save as you go
As you work it is best to get into the habit of saving your work as you go along. Firstly click File>Save As... to name your file and choose where to store it on your computer.
Every time you then want to save the file as it stands at any moment just click File>Save, or use the shortcut key Cmd+S. I recommend getting into the habit of saving like this every minute, so nothing is ever lost should your computer crash. You can repeat this process to save separate, newer versions of the artwork as separate files.
Daily design news, reviews, how-tos and more, as picked by the editors.
03. The tools menu
You’ll see a great selection of tools in the menu on the left-hand side of your screen (the 'toolbar'). Some of these, such as the pen tool and mesh tools, can take some time to learn. But when first getting started I recommend opting for the Pencil Tool (just click N to select it quickly - this is the Pencil Tool's shortcut key). If you have a Wacom tablet then you’ll find the drawing tools far easier to use, but you can still understand how it works from using a mouse.
04. Your first shape
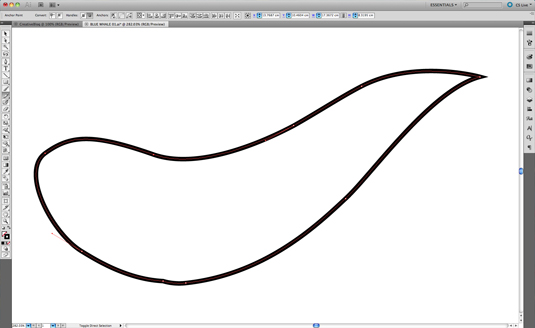
Draw a shape on the artboard with the Pencil Tool. When you finish you’ll see it highlighted by a vector line, made up of vector points.

If you draw a second shape, the first will no longer be highlighted or selected. You can choose to select shapes by clicking on the black arrow Selection Tool (shortcut key V).
05. Changing the look
With a shape selected, you can play with how it looks. For example the Stroke Menu Box (usually found on the right-hand side or click Window>Stroke) enables you to alter the thickness of the line and the Colour, and Swatches Menu Boxes (again, click Window>Colour/Swatches) let you choose colours for both the outline and 'fill'. To switch between the fill and outline colours, click between the filled and outlined squares in the top right of the menu box.
06. Colour palette
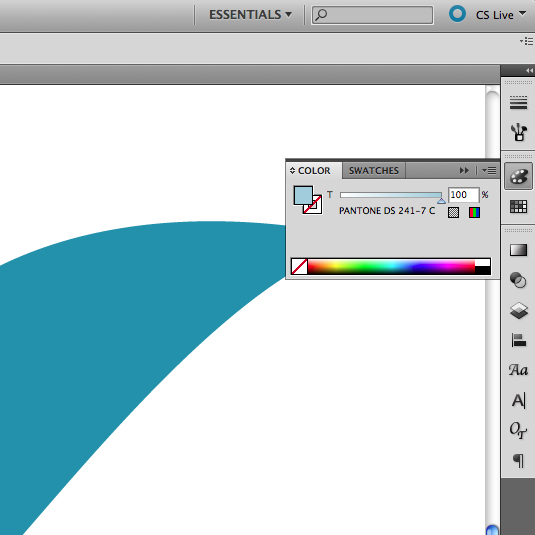
For a wider selection of colours, open a palette. In the top right corner of the Swatch menu box click Open Swatch Library>Colour Books. Then I recommend starting out with Pantone Process Coated for a good selection of colours.
07. Shape tools
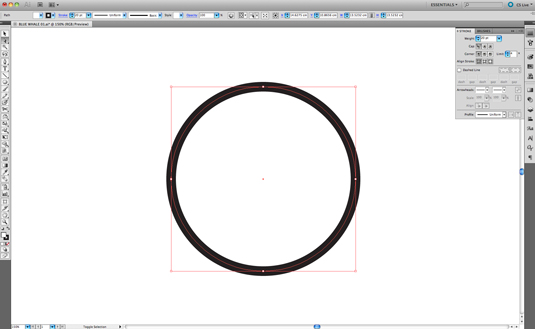
If you’re not ready to be drawing into Illustrator, or want to create something more graphic than hand-drawn, the Shape Tools are perfect. Use shortcut key M for rectangles and L for circles; there are more to choose from by holding down the Shape Tool icon in your toolbar.
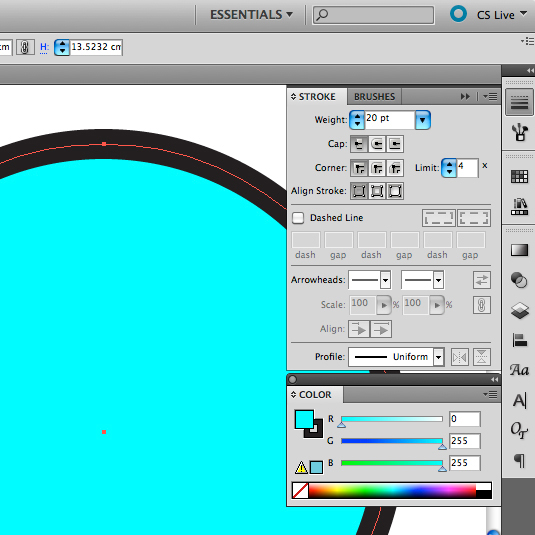
To create a shape, click and drag the Shape Tool cursor on your artboard. You’ll see that these act in the same way as shapes drawn with the pencil tool. Again, select each one to play with their outline or fill colours. To create a square or a perfect circle, hold down the Shift key as you click and drag the shape on your artboard.
08. Free Transform
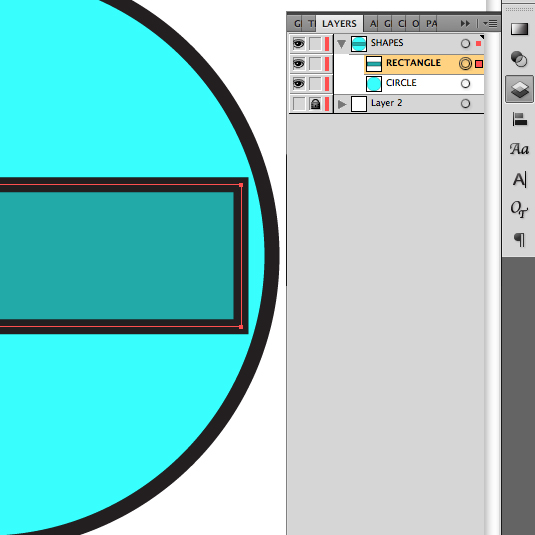
Being a vector, any shape you make is adjustable independently of everything else around it, so colours can be changed at any time. You can also resize or rotate a shape using the Free Transform Tool (shortcut key E). You can use this tool to squash or stretch a shape. To resize the shape without altering the shape itself, hold down Shift while dragging.
Unlike stretching an object in a pixel-based program like Photoshop, when you enlarge a vector shape, there is no loss in quality. As you create shapes you’ll see how they layer on top of each other: a new shape will always be above previous shapes as you build up an image. In the Layers Menu Box you can alter where a shape sits by dragging it up or down in the list.
09. Working with type
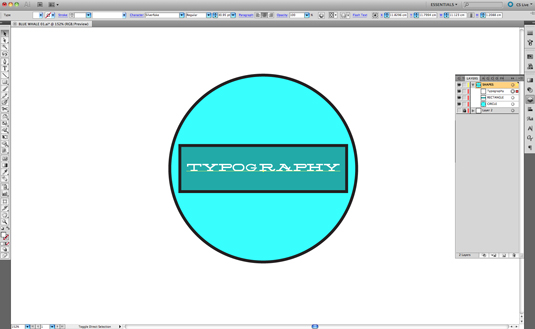
Aside from the drawing and shape tools, Adobe Illustrator also has everything you need for working with type. To get started, select the Type Tool from your toolbar, click anywhere on your artboard and start typing. You can then select your type and - as before - resize, rotate or colour your type however you like. You can of course also choose different fonts, lettering thicknesses and spacing options from the Character Menu Box (click Window>Type>Character).
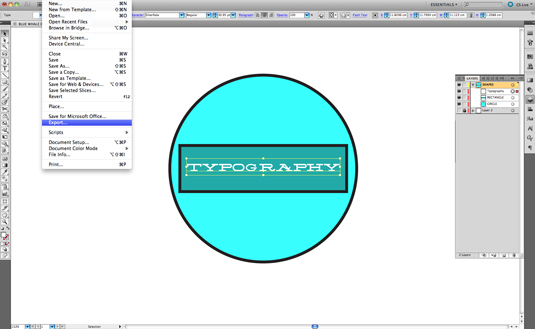
When you have your first vector masterpiece complete you may want to export it as a jpeg to share or show online. To do this simply click File>Export..., name your artwork, choose JPEG from the drop-down menu and click Export.
10. Going further

Here are your next ports of call for finding out more about vector illustrations:
- Vector Tuts - a great site dedicated to vector illustration
- Amazing vector art tutorials
- The 100 best Illustrator tutorials
- Top Adobe Illustrator resources
- Inspirational examples of vector artwork
As I said at the beginning, vector illustration really is an enjoyable process. You can achieve work that is anything from bold and eye-catching to subtle and elegant. As with anything worthwhile in life. it takes time and dedication. But starting with a basic understanding of the tools mentioned, followed by further learning about and experimenting with other tools and effects, you’ll soon be on your way to creating professional vector illustrations.

Do you have any tips for newbie illustrators you wish you'd been told earlier in your career? Give a little back to the community in the comments box below!
Words: Ben the Illustrator
Based in the Somerset town of Frome in the UK, Ben is a nature-loving picture maker and founder of The Mighty Pencil. Follow him on Twitter @BenIllustrator.

The Creative Bloq team is made up of a group of art and design enthusiasts, and has changed and evolved since Creative Bloq began back in 2012. The current website team consists of eight full-time members of staff: Editor Georgia Coggan, Deputy Editor Rosie Hilder, Ecommerce Editor Beren Neale, Senior News Editor Daniel Piper, Editor, Digital Art and 3D Ian Dean, Tech Reviews Editor Erlingur Einarsson, Ecommerce Writer Beth Nicholls and Staff Writer Natalie Fear, as well as a roster of freelancers from around the world. The ImagineFX magazine team also pitch in, ensuring that content from leading digital art publication ImagineFX is represented on Creative Bloq.
