03. Frame by frame
This is the most time-consuming method, but it also has the most flexibility. Because animated GIFs are just a series of images, you can paint, draw, or add filters to the frames individually to create a truly custom effect.

With the Animation/Timeline window open, select all the frames and click the 'trash' icon.
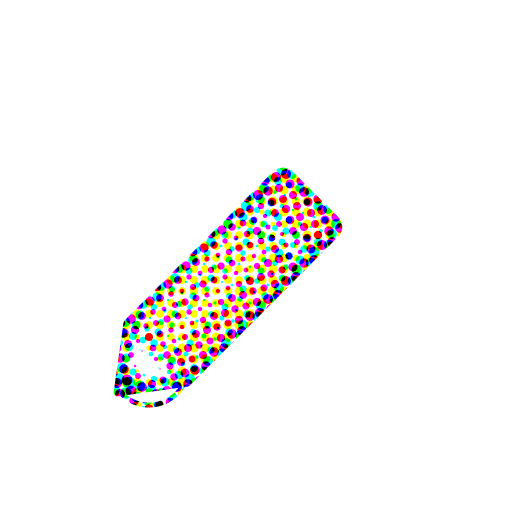
Paint, draw, or apply any effect to each layer in the Layers window. In this example, I applied a Color Halftone to each layer.

In the Animation/Timeline window, choose the More menu in the upper right. Select 'Make Frames from Layers' to turn each layer into an individual frame.

Select all the frames again and click the down arrow beneath any frame. Here you can set the frame speed. Select 'Other' and enter 0.03 for 30fps playback.
You're now ready to save. Select 'Save for Web and Devices' from the File menu. In Photoshop CC, it's under File>Export. Select GIF, and the desired number of colors. Be sure to check the Transparency, Matte, and Animation Options at the bottom of the dialog. Click 'Save' and save the file as a new name.
Results

Conclusion
The possibilities are endless. Anything you can do with an image in Photoshop can be done with an animated GIF. Be creative and have fun.
Words: Matthew Broerman
Matthew Broerman is a designer, developer, and animator from Cincinnati, Ohio. He is the creator of Animaticons, a set of high-resolution animated GIF icons designed for easy use and customization. Learn more and download the free set of icons at animaticons.co.
Liked this? Read these!
- Free Photoshop brushes every creative must have!
- Create a perfect mood board with these pro tips
- Tools every graphic designer should have

