ZBrush tutorial: Create an insectoid alien with DynaMesh
Scott Spencer uses DynaMesh, the Curve brushes and FiberMesh to create a ferocious alien design.
Sign up to Creative Bloq's daily newsletter, which brings you the latest news and inspiration from the worlds of art, design and technology.
You are now subscribed
Your newsletter sign-up was successful
Want to add more newsletters?
This tutorial will look at how I created a ferocious insect alien character using DynaMesh tools. DynaMesh is a new ZBrush approach to building volumes, which brings the program even closer to seamless digital sculpting.
DynaMesh enables you to add and subtract to the mesh without worrying about the original volumes or underlying topology. As you alter the shape, the mesh is dynamically rebuilt – hence the name DynaMesh. This approach frees you from the need to import a base mesh with an established volume. Now you’re free to add to and subtract from the form as you see fit as you work. This opens up new vistas of creativity, unhampered by software limits.
The character here was created entirely from spheres with the addition of a couple of parts cut from other models. This ability to cut and paste models together opens up new opportunities for combining old meshes into new designs. I’ll also look at the new Curve brushes for adding form and details, and how the FiberMesh tools let you create realistic, editable hair and fur in ZBrush. Let’s get started!
Article continues belowDownload the support files for this ZBrush tutorial here and here.
Stage 01: Build the foundations of your alien insect
To begin you’ll first establish the basic form of the body. You’ll use spheres in conjunction with DynaMesh to create the foundation forms of the torso, pelvis, arms and head. By building these shapes out of basic interlocking parts, you’re able to take a unique approach to sculpting.
Rather than shaping the character from an existing volume, you’ll be building the volume you need by adding interlocking shapes and masses. For the most part you’ll use the simplest of forms – the polysphere – as your virtual ball of clay. With the Move brush you’ll shape spheres into the pieces you need, and join them together into the rough sculpt of your character’s body.
00:00 Build the torso mass
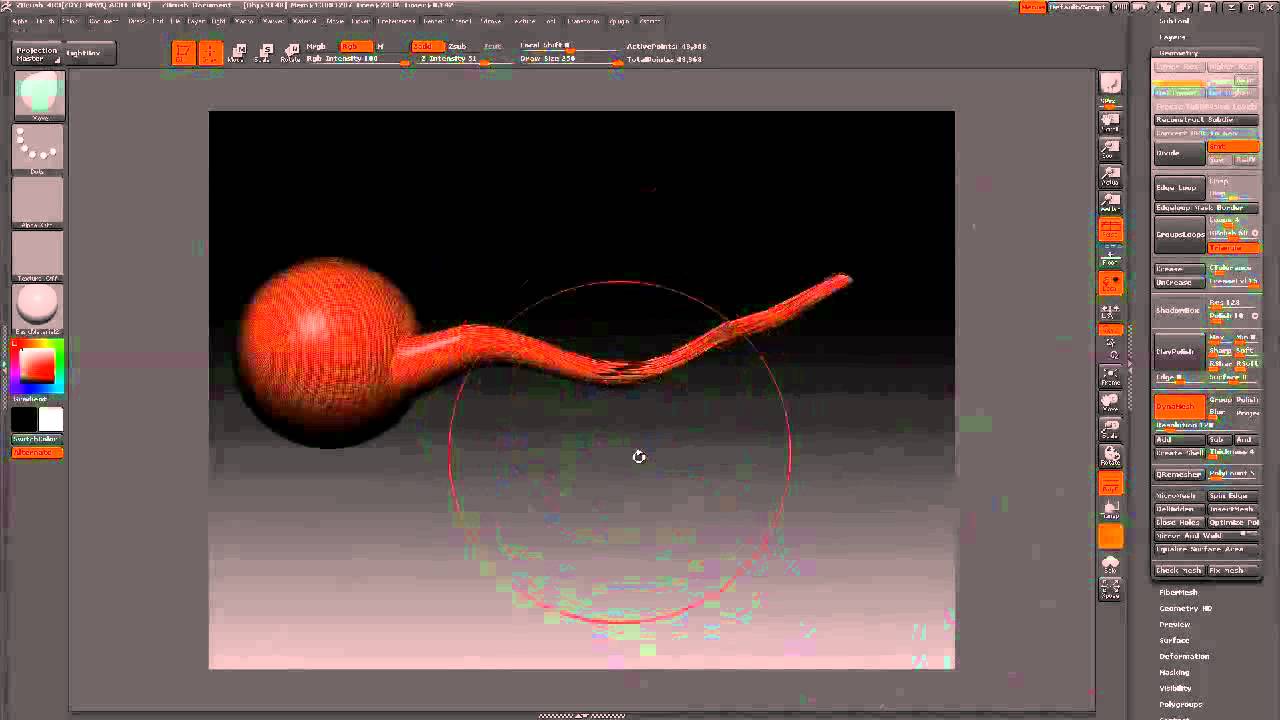
The best place to start any figure, in my opinion, is the torso mass. This enables you to establish the volume and orientation of the ribcage, and gives you a point from which to grow off the appendages and pelvic block. You’ll create your ribcage from the polysphere primitive. Open the Lightbox browser and from the Tool section select the Polysphere. Draw the model on the canvas, and while in Edit mode, use the Move brush to shape it into the egg form of the ribcage.
Sign up to Creative Bloq's daily newsletter, which brings you the latest news and inspiration from the worlds of art, design and technology.
I continue to refine the form by pulling the thoracic arch up and in and from the side view, giving the ribcage its characteristic tilt. This will be the central point from which I expand the rest of the figure, so I want it to be relatively accurate in terms of shape and orientation. Don’t spend too much time here, though, as this phase is far more about creating shape and gesture than any details.
00:21 Enable DynaMesh
Once you have the torso mass established, you need to create a DynaMesh. This will enable you to take advantage of the DynaMesh tools to reconstruct, add and subtract from the mesh dynamically as you progress. Under the Geometry menu (Tool > Geometry), move the DynaMesh resolution slider to 128 and click the DynaMesh button. Here, 128 sets the resolution of the DynaMesh so each time the mesh is updated it retains its details. As the figure grows, this value may need to be increased to maintain the level of detail you add to the model.
03:09 Add the pelvis
You’re ready to add the pelvic mass. Since the model is now in DynaMesh mode you have access to the Insert brushes. The Insert brushes enable you to insert various pieces of polygon geometry into the ZTool, position and scale them, and then blend them seamlessly into the DynaMesh. From the Brush menu select the Insert Sphere brush. Click and drag the ribcage to draw a sphere. You’ll see the sphere appears on the ribcage while the rest of the ZTool is masked. This enables you to scale and reposition the sphere using the Transpose tools; the torso will be unaffected while it’s masked. Using the Move brush I shape the sphere into the abdomen and pelvis.
Once I’m happy with the shape and orientation I clear the mask by drawing a mask ([Ctrl]-click and drag) on the background. To DynaMesh the two volumes of the torso and the pelvis together, repeat the [Ctrl]-click and drag action on the background. This will tell ZBrush to process the ZTool as a DynaMesh, and glue the parts together. Use the Insert Sphere brush again to add the pelvic bones called the iliac crests. I’m creating alien forms, so I’m exploring interesting shapes by dragging points off the surface. As these are DynaMesh spheres, when I DynaMesh them, the stretched geometry is rebuilt with even distribution.
06:16 Add scapulae and neck
Use the Insert Sphere brush to add the shoulders in the form of two spheres. Select the Move brush and shape these into the scapulae and clavicles. These are integral forms to the shoulder girdle. Add two more spheres for the neck and head. Execute a DynaMesh and, using the Standard brush, start to shape the head.
08:43 Create the segmented head structure
Use the new Transpose feature to clone the head and create a segmented insectoid skull structure that features a repeating head form. Duplicate the body and, using a show marquee, hide the rest of the body. Go to Tool > Geometry and click Delete Hidden. Now click Close Holes and you have a copy of the head itself. You’ll use this head ZTool in conjunction with the Insert brush.
11:01 Custom insert brush
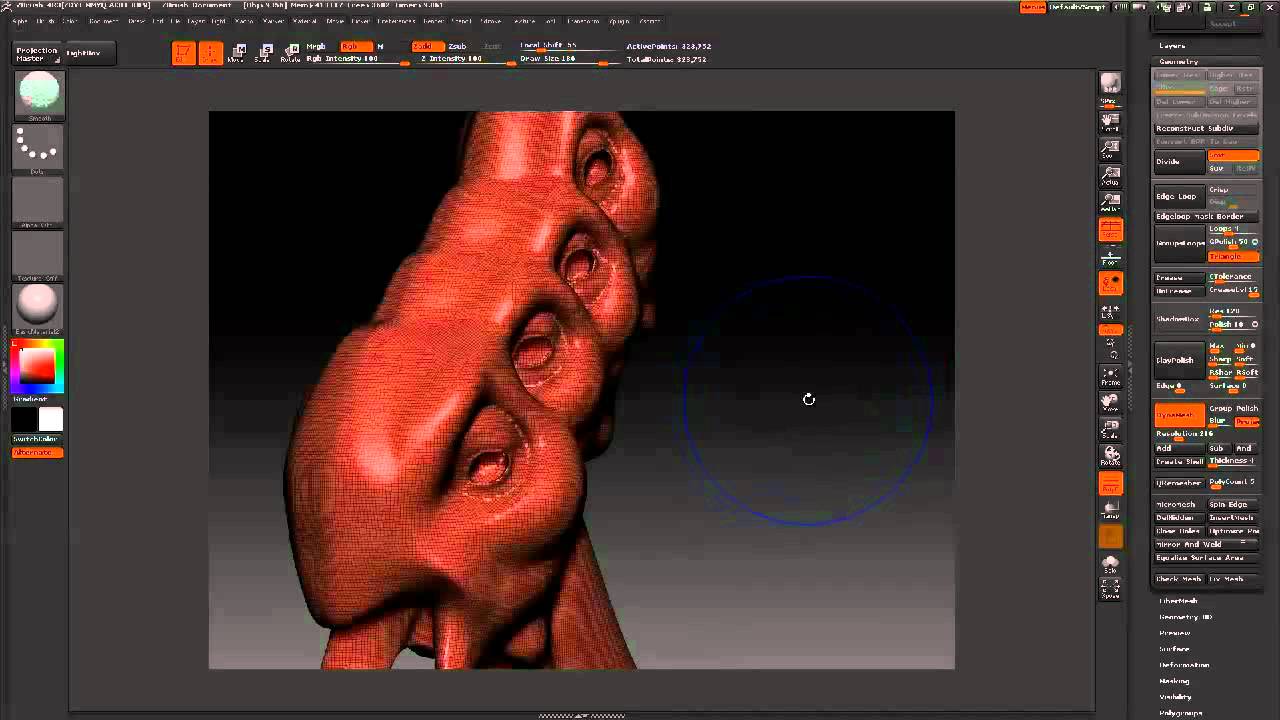
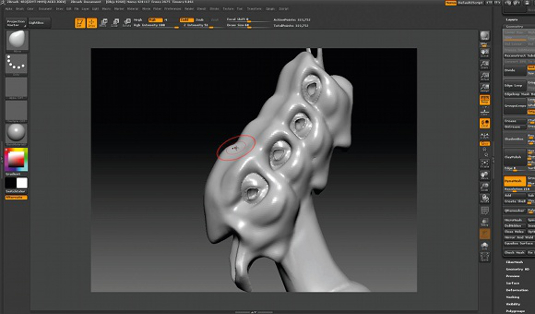
Select the Insert brush. From the Brush > Modifiers menu you’ll find a ZTool pop-up window. Click this icon to open the Tool menu. Here you can select the geometry that will be inserted by the brush. Select the head ZTool. Click and drag on the model to draw the head. Use the Transpose tools to position and scale it. Once you like the head position press and hold [Ctrl] while clicking the middle circle of the transpose move line. As you drag, a clone of the ZTool will be created. Shift this head into place. Repeat until you have a repeating head pattern.
18:21 Add eyelid details
You have the heads duplicated now. I want each eye socket to contain a fleshy human eyelid and associated ocular structure, which will be an extremely creepy contrast. Instead of sculpting these eyes I can simply borrow them from another human head model. Use the Insert Head brush to place a human head in the ZTool. Position and scale it using the Transpose tools so that the eye lines up correctly. Use the Move brush to push any parts of the head model you don’t want inside the alien head. Use the previously detailed [Ctrl]-click-drag-transpose clone technique to duplicate the eyes. Clear the mask and execute DynaMesh to join these parts together. At this stage I need to raise my DynaMesh resolution to 216 to maintain the eyelid details.
Stage 02:Make further refinements to the creature’s figure
At this stage you have the central pillar of the body established. The head structure, with its unique repeating segments, is created, and the eyelid details have been inserted from another head model. Next you’ll start to work on the appendicular forms, or the limbs, of the creature. I’ll use the Insert brush again to insert arms from another model to use as the basis for this creature’s alien appendages.
23:56 Add the arms
To add the arms you’ll again use a customised Insert Mesh brush. First you need to create the arm geometry you’ll use on your creature. From the Lightbox Tool menu, select the Super Average Man ZTool. Use the Select Lasso brush to hide all but the arm. Click Tool > Geometry > Delete Hidden to remove the unneeded geometry. Now click Tool > Geometry > Close Holes to fill the end of the arm and clean up the geometry. You now have an arm that can be inserted into the creature body. Return to the creature ZTool.
Select the Insert Nose brush again that you used previously to insert the eye geometry. From the Brush > Modifiers menu, click the Tool menu popup and select the arm ZTool. This will enable you to insert the arm geometry into the body. Click and drag to add the arms. Scale and position them using the Transpose tools. The arms are made more slender by using the Tool > Deformation > Inflate slider and setting a small negative value. This deflates the arms and makes them more spindly. Clear the mask and [Ctrl]-click and drag on the backdrop to DynaMesh the arms and the body into a single mass.
31:21 Add muscle with Curve brushes
You now want to add muscular forms that transverse the body and knit the various masses together. At this stage you really just have the basic figure building block, but by adding muscle forms you’ll start to create a functional physiology where you can see that the creature has a muscular and skeletal system that’s alien yet functional.
You’ll start by adding pectoral muscles connecting the arms and the torso mass. To do this, use the new Curve brushes. From the Brush menu select the Curve Tube brush. Open the Stroke menu, and under the Curve Mode settings, turn on the Size button. This will cause the stroke to taper from large to small along your stroke. Your brush draw size will determine the maximum size of the stroke. Click and drag a stroke from the arm to the chest. The stroke will taper from the start to the end. If the overall size is too big, simply reduce your draw size and click the end of the curve. This will cause the stroke to rescale dynamically. You can also move the curve itself to change the direction of the stroke. Notice that your brush turns blue when you mouse over the curve – this means that you’re able to edit this particular stroke.
As this is an alien physiology, experiment with breaking up the muscles in interesting ways and adding negative spaces between them. The Curve Tube brushes are used to add muscles to the neck and arms as well. Once you’re happy with the strokes you’ve laid down, clear the mask and then execute a DynaMesh by [Ctrl]-clicking and dragging on the background. This will incorporate all your strokes into the mesh.
38:58 Add surface details with Curve brushes
In addition to adding muscle forms with the Curve Tube brushes, I use them to add interesting surface details. Dial down the draw size and trace the brush along the surface of the figure. I use these to create long, elegant lines that are suggestive of ridges in the exoskeleton of the creature. I use these to suggest bony protrusions as well as functional surface forms on the creature’s skin and shell. Make sure you use the Curve Tube Snap brush because this will conform to the surface as you stroke.
00:00 Change the hand shape and arms
As well as adding geometry with DynaMesh, you can use it to fuse existing forms together and create new shapes. This is the approach you’ll take to deform the hands into a more suitable alien shape. At this stage the hands are simple human digits, but the design calls out for a more bizarre presentation. Using the geometry that’s already there, you’ll reconfigure the hand into two large appendages and a smaller clawed thumb. To accomplish this you simply use the transpose tools to shift the fingers until they intersect into three digits. Execute a DynaMesh to blend the fingers together into this new form. Now the digits can be scaled up and further refined using the Clay Tubes and Inflate brushes.
I also use Transpose to repose the arms into a less generic T pose. The intention here is to create a sense of tension in the posture by repositioning the limbs as if the creature is prepared to spring into action. As you work on the hands and arms, try to be aware of the underlying anatomy of the hands, so there’s clarity of function in the structures you create. I’m careful to create fleshy pads on the undersides of the fingers and to accentuate the large knuckles and bone structure under the skin.
02:31 Insert eyeball spheres
Append a polysphere into the ZTool and move and scale it to line up with the eyes. Use the transpose clone technique of [Ctrl]-clicking and dragging the centre circle of the move transpose line to copy the eyeball and place it again in each socket. Once you have the eyes in place, use ZPlugin > SubTool Master to mirror them across the X axis. SubTool Master is available for free download.
07:09 Sculpt back details anatomy
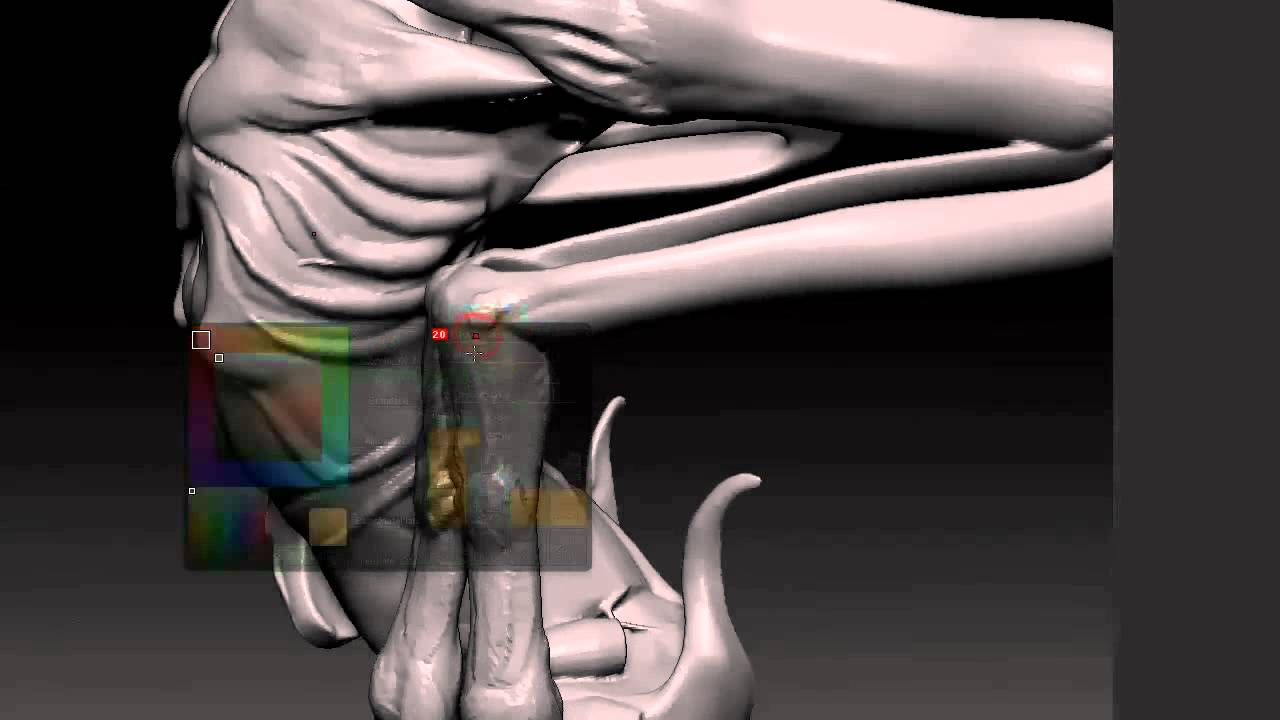
The back is detailed with the Clay Tubes brush. Often I turn off the alpha on this brush to add form in a more subtle manner. The idea here is to suggest the network of muscles connecting the scapulae to the spine. Look at human anatomy and try to adapt the shapes to this alien skeleton. These muscles are called the rhomboids, and they extend from the scapulae to the spine. I also experiment with creating exposed negative spaces in the muscles extending from the arms to the shoulders.
Stage 03: Add the final touches to your alien creature
In the last stage of the project you’ll add the final touches to the creature. This includes adding the scorpion-like stinger appendages that extend from its back. You’ll create these using a lesser-known ZSphere technique. I’ll also look at the process of detailing the pockmarked and fluted exoskeletal plate covering the body, and how to use the new FiberMesh tools to create a covering of short, coarse hairs much like those found on insect bodies. These FiberMeshes are actual geometry that can be groomed within ZBrush, rendered and even exported.
00:00 Add the stingers
The alien’s stinger appendages are created using ZSpheres in conjunction with connector meshes. Connector meshes enable you to replace the usual ZSpheres joints and connections with other ZTools. In this case you’ll use polyspheres, because this helps to create the segmented jointed forms common to a scorpion’s tail.
Append a ZSphere in as a SubTool. See the video for the process of creating the ZSphere spine and adding the four stinger tails. The connector meshes and local meshes are selected under the Tool > Adaptive Skin menu. Once these meshes are defined, you get a higher degree of control on the shape of the default adaptive skin mesh.
Position the stingers to create an active, dynamic composition to the pose of the creature. Remember that you’re trying to suggest tension and spring in the forms here. This helps to communicate a sense of danger from the design. Once you’re happy with the ZSphere model, create an adaptive skin and import it into the SubTool stack. The mesh will already be polygrouped by segment, which will make sculpting the exoskeletal joints much easier.
22:41 Create the tendrils
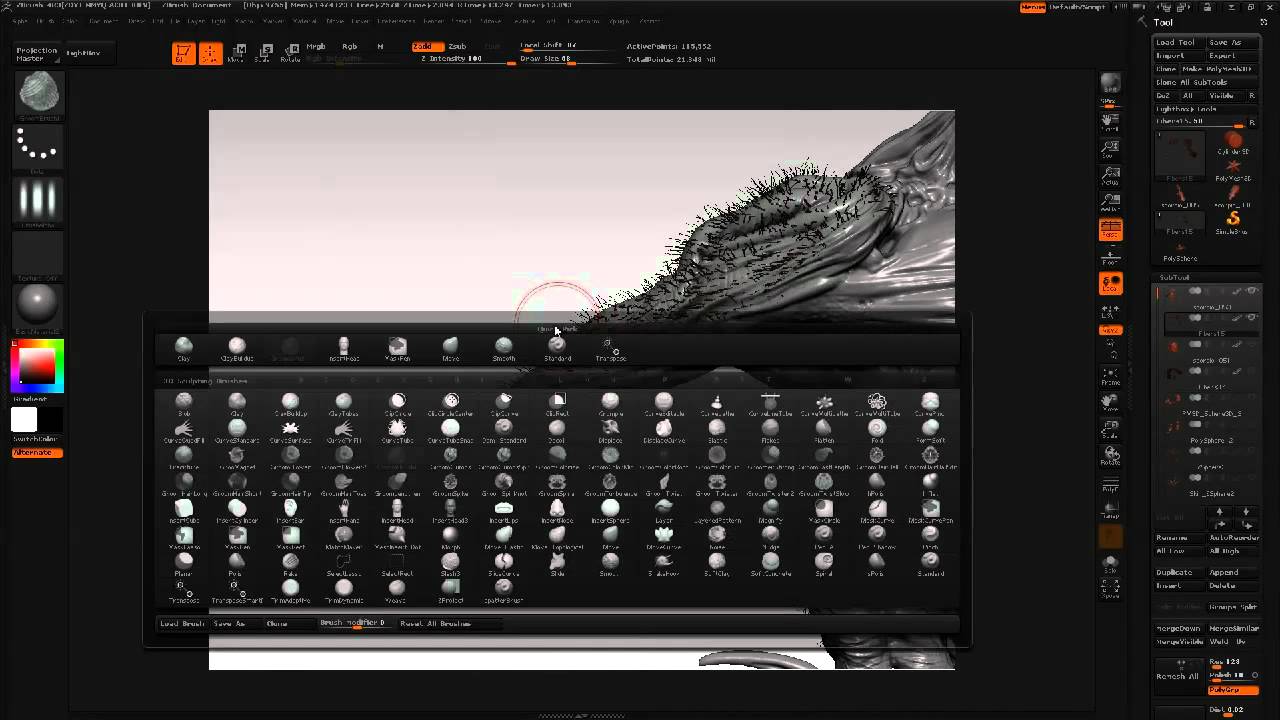
At this stage I want to break up the silhouette at the back of the head and suggest hair with a mass of dangling tendrils. These are added with the Curve Tube brush. From the Brush menu, select Curve Tube and open the Stroke menu, making sure Size is on. This will taper each stroke. Draw a stroke with the Curve brush. Now you can click and drag on the endpoints of the curve to reposition the stroke. Each stroke will remain editable until you draw another or execute a DynaMesh with [Ctrl]-click and drag. Here you can see how I massed several strokes in to create a dense tendril mass at the back of the head. Remember that you can reposition each stroke as you go by clicking and dragging on the endpoints.
34:22 Detail the abdomen plates
You need to add more details to the surface of the body. As this is an insectoid alien creature, I want the body to be mostly covered in intricate interlocking exoskeletal plates.
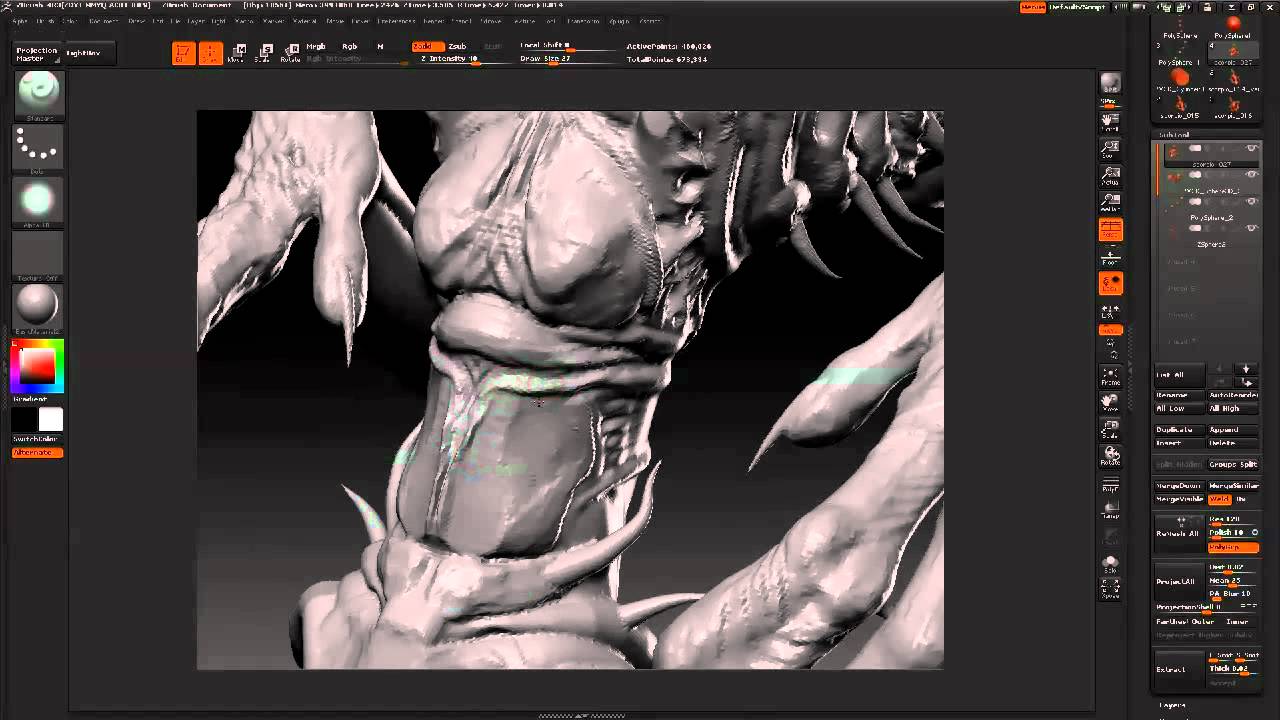
Use the Mask Pen brush to isolate the area you want to create a plate for. Once the area is masked, I use the Move brush to shift the geometry out and create a hard line edge around the perimeter. Details such as fluting and small ridges are sculpted in with the Standard Brush and alpha 01. Take your time and enjoy this process. I move around the figure, alternating between adding raised ridges and picking out deep pits to catch darker shadows. This helps to make the surface interesting through the contrast of light and dark.
00:00 Create spiny hairs with FiberMesh
One of the last steps is to add an overall coverage of short, spiny hairs, similar to those seen in macro photographs of insects. These hairs will be too numerous and fine to create with the Curve brush, so you’ll use ZBrush’s new hair system, FiberMesh. I’ve included the FiberMesh preset for this character with the tutorial files, but you can see here and on the video how I create the hair. I first mask the back of the shoulders, arms and other areas that I want hair to grow from. If I leave the figure unmasked, hair will grow from the entire surface, which isn’t what I want. Under Tool > FiberMesh click Preview and set the parameters shown in the video.
When you’re happy, click the Accept button and a new SubTool of mesh fibres will be generated. You can further shape these using the grooming brushes located in the Brush menu. Press [B] for brushes and [G] for groom to see a list of available brushes. I only do minor shaping to these hairs since they’re so short and coarse. A character with denser fur could be groomed further using this brush set.
Scott Spencer is a designer at Weta Workshop in New Zealand. He has worked on several films, games and commercials over a decade in the industry.
Read a review of ZBrush 4 R13

The Creative Bloq team is made up of a group of art and design enthusiasts, and has changed and evolved since Creative Bloq began back in 2012. The current website team consists of eight full-time members of staff: Editor Georgia Coggan, Deputy Editor Rosie Hilder, Ecommerce Editor Beren Neale, Senior News Editor Daniel Piper, Editor, Digital Art and 3D Ian Dean, Tech Reviews Editor Erlingur Einarsson, Ecommerce Writer Beth Nicholls and Staff Writer Natalie Fear, as well as a roster of freelancers from around the world. The ImagineFX magazine team also pitch in, ensuring that content from leading digital art publication ImagineFX is represented on Creative Bloq.
