Don't miss Vertex 2018, our debut event for the CG community. Packed with inspiring talks from industry pros working in games, VFX and more, plus career advice, workshops, an expo and more, if you work – or play – in CG, it’s unmissable. Book your ticket now.
Vector Displacement Mesh (VDM) is a 3D sculpt, used as brush building blocks, that enables undercutting when drawing on a model’s surface. But what exactly does it mean?
The simplest way to understand it is to start with alphas. Alpha textures are greyscale images that we often use for sculpting fine-detailed patterns like wrinkles and skin pores. Without them we would have to painstakingly draw the details on by hand, one by one. Alphas are awesome and quite efficient to use in combination with bushes, but they are basically flat images with black values, and they do not support undercuts and overhangs, which limits what can be done with them.
However, Alpha 3D stores the information of all XYZ axes and does not have any vertical elevation restrictions. By definition, it is 3D as it uses VDM in its system. All you need to worry about is the polygon density to enable proper projection of the Vector Displacement Mesh onto your model.
Create detailed 3D shapes with ease
Let’s look at an example of creating some highly detailed 3D art: imagine I want to model some dragon scales, but I don't want to use a 2D alpha because this way I would have to go back and sculpt them some more for extra depth. Scales do not just sit there side by side, they overhang and partially cover one another, so it takes a great deal of time making them look realistic. It is a long, tiring and very repetitive process, but there is a way to make it easier and quicker in the future.
I can create a Vector Displacement Mesh, save it as a brush and simply draw my sculpt onto a model with a single stroke, as many times as my heart desires. Job done! I know that I still have to spend some time making those VDM brushes, of course, but once they are done, I will not have to go and create them again – they will be sitting in my brush library, waiting for the next time I need them.
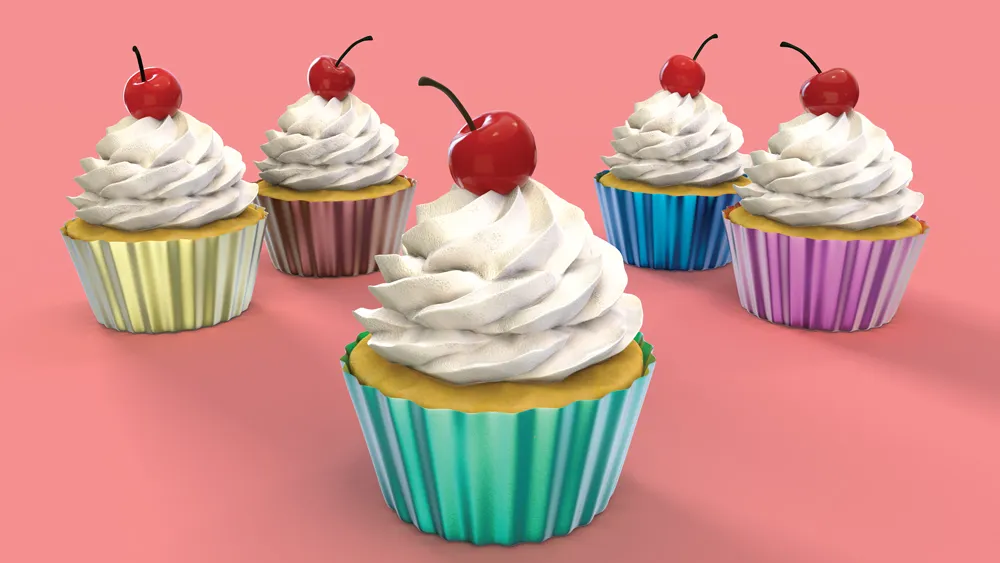
Here I will demonstrate how easy it is in these simple steps, making a swirl frosting for my 10-minute 3D cupcake.
01. Start the swirl

To start off, we first need to get a canvas, so head to Lightbox> Project>MISC and select the Brush 3D template. With a clay brush selected, build a little hill in the middle of the canvas, more or less to the size of the swirl. Now, with the radial symmetry on and DamStandard brush selected, start sculpting the grooves and peaks of the swirl shape.
02. Fix distorted edges

Make sure to stay away from the edges of the plane. If you accidentally mess up the edges, you have to fix them before saving the VDM: mask the edges, invert mask, go to Tool>Deformation>Relax Plane Grid or Morph to Grid, depending on the level of damage caused to your plane. This should reshape the edges and add more geometry.
03. Save out to the VDM

To save out your sculpt as a VDM, you need to select a brush that can save all the information contained in your model. With Chisel3D selected, open the Brush palette, select Create and click on Create MultiAlpha Brush. This automatically creates a new Chisel brush out of your model. Your current Alpha texture now contains a VDM of the sculpt with a 3D mark in top-left corner.
04. Save out the brush

In order to now save out the brush and create an icon for it, open a 3D sphere and turn it into a polymesh. Divide it a few times and drag out your VDM. Position the sphere to capture the icon, go to the Brush palette, hold down the Alt key and click on SelectIcon. With the icon generated, you can finally save it out with Brush>Save As. Rename your brand-new brush and it is done!
This article was originally published in issue 230 of 3D World, the world's best-selling magazine for CG artists. Buy issue 230 or subscribe to 3D World here.
Book your Vertex 2018 ticket now
On 13 March we’re launching Vertex 2018: a one-day event in London for the CG community. Featuring a jam-packed schedule of inspiring talks from the industry’s most exciting practitioners, there will also be workshops, networking opportunities, a busy expo and lots more. Get your ticket to Vertex 2018 now.
Related articles:

