Accelerate your branding workflow with Illustrator's artboards
Graphic designer Andy Cooke explains how to make full use of Illustrator's artboards to easily construct and output a wide variety of brand collateral.
Sign up to Creative Bloq's daily newsletter, which brings you the latest news and inspiration from the worlds of art, design and technology.
You are now subscribed
Your newsletter sign-up was successful
Want to add more newsletters?
Illustrator's artboards enable you to work on multiple design elements without needing to switch between document windows, making it an invaluable tool for creating a range of branding collateral, from business cards to flyer designs.
Being able to toggle from a work-in-progress layer to an artwork layer is great for speeding up your creative process, and having everything in one document makes comparing different designs a breeze. In this guide I will explain how to use Illustrator's artboards to create and edit a range of printed branding material for a company.
01. Prepare your layers
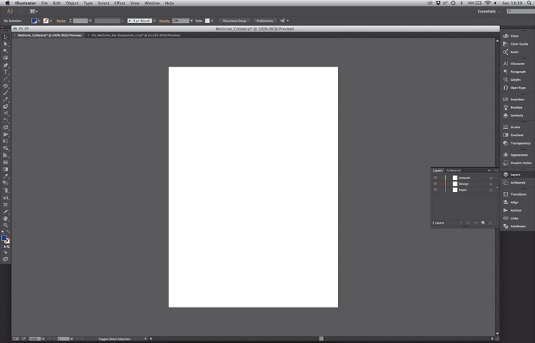
Set up a blank A4 page with three layers, 'Paper', which will be a representation of base paper stock, 'Design', which is the closest representation of the finished item, and 'Artwork', the print ready layer that will be exported. Create your guidelines on the Design layer. You can now start to drop elements onto the artboard.
Article continues below02. Manipulate the artboard
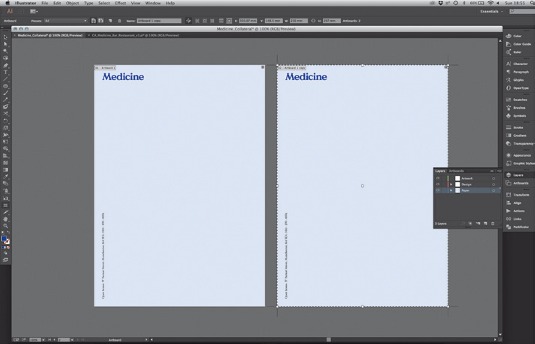
Holding Opt/Alt, click and drag your artboard across to the right to duplicate it, taking the elements with it. Use the Control bar to edit the dimensions. Show guides (Cmd/Ctrl+;) then press Opt/Alt and click and drag the guides to duplicate them to your new artboard. Change the elements on the Paper and Design layers for these new pieces.
03. Copy all the content
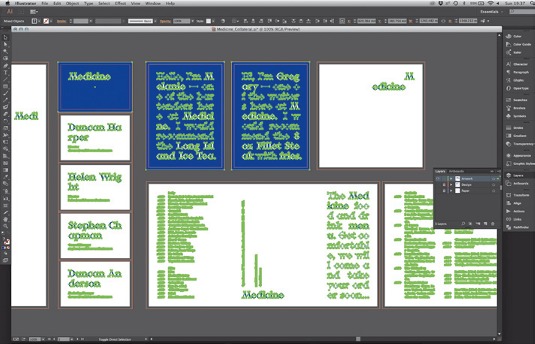
Because the guidelines are on the Design layer, when you select Cmd/Ctrl+; only the bleed lines show on the Artwork layer. Copy all of the content from the Design layer onto the Artwork layer. As with any areas requiring bleed, outline all content (using Cmd/Ctrl+Shift+O). This will make colour editing a whole lot easier.
04. Changing colours
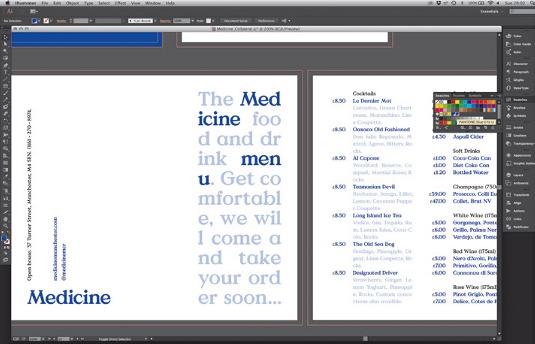
To change the colour scheme, go to Select>Same>Fill>Colour - this will select all elements in the same colour as the one you've selected. To reassign colours to a print version, click on the icon below Print, making sure Recolour Art is selected in the Assign section. This re-assigns all selected elements to the closest match in the system.
05. White over colour
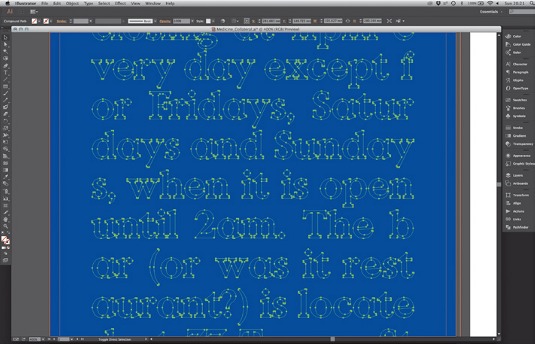
Here, there are sections that are white on blue - this should be the paper colour. To fix this, copy the text and hit Cmd/Ctrl+8 to turn the objects into a Compound Path. Select the blue box and open the Pathfinder panel. Choose the Minus Front option so the text appears stamped out. Now paste your text back in front of the box.
Sign up to Creative Bloq's daily newsletter, which brings you the latest news and inspiration from the worlds of art, design and technology.
06. Tweaking opacities
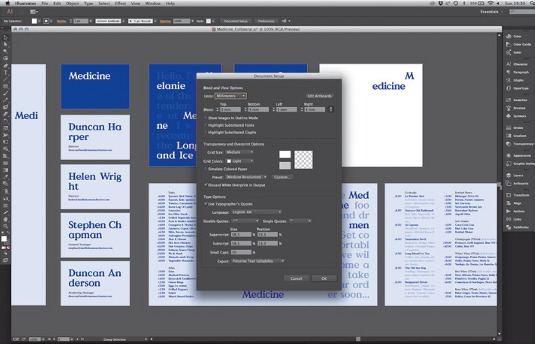
Because the opacities have essentially been switched, you need to tweak them. To do this go to Select>Same>Opacity. Select and tweak any letters that require it. Next, turn to the black text elements. You can use Select>Same>Fill>Colour, then find the right Pantone shade in the correct colour book from the Swatches panel.
07. Getting ready for print
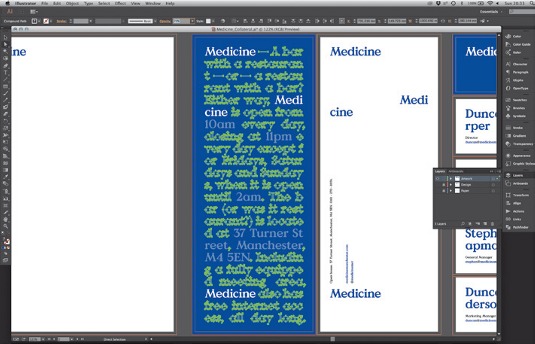
When outputting the files for print, the Paper and Design layers have to be deleted, and your Artwork layer comes into play. Hit Cmd/Ctrl+Opt/Alt+P for the Document Setup window. The bleed guides show up as red outlines. Set the bleed to around 3mm so the different pieces don't overlap.
08. Setting new presets
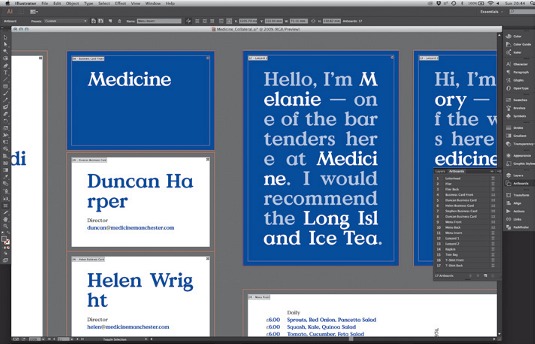
To simplify the exporting process, create new PDF Presets by going to Edit>Adobe PDF Presets>New. In Marks and Bleeds tick Trim Marks (you can also alter bleed marks here). Check Off set is set to 3mm and Use Document Bleed settings is unticked. In Output, tick No Colour Conversion.
09. Check for mistakes
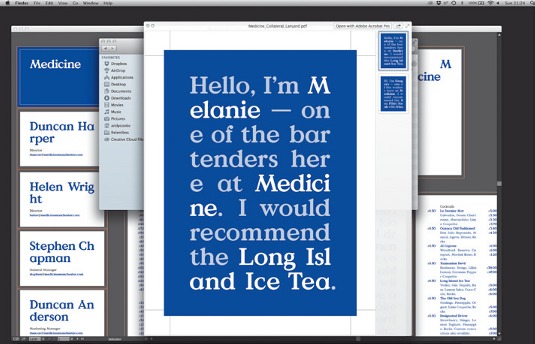
When saving each element for print, go through and check each file has been exported the way that you wanted. To ensure the PDFs are ready for print, you need to open them in Adobe Acrobat, and check the Output Preview. This lists the colours in the document, and you can uncheck any if necessary.
Words: Andy Cooke
Andy Cooke is an independent graphic designer working for clients of all sizes across identity, print, editorial, packaging and screen. He also runs illustration agency RareKind Manchester and networking event Beers & Ideas. This article originally appeared in Computer Arts issue 225.

The Creative Bloq team is made up of a group of art and design enthusiasts, and has changed and evolved since Creative Bloq began back in 2012. The current website team consists of eight full-time members of staff: Editor Georgia Coggan, Deputy Editor Rosie Hilder, Ecommerce Editor Beren Neale, Senior News Editor Daniel Piper, Editor, Digital Art and 3D Ian Dean, Tech Reviews Editor Erlingur Einarsson, Ecommerce Writer Beth Nicholls and Staff Writer Natalie Fear, as well as a roster of freelancers from around the world. The ImagineFX magazine team also pitch in, ensuring that content from leading digital art publication ImagineFX is represented on Creative Bloq.
