Design a branding solution in Illustrator
Sebastián Litmanovich reveals how to create a range of original branding elements from a logo design
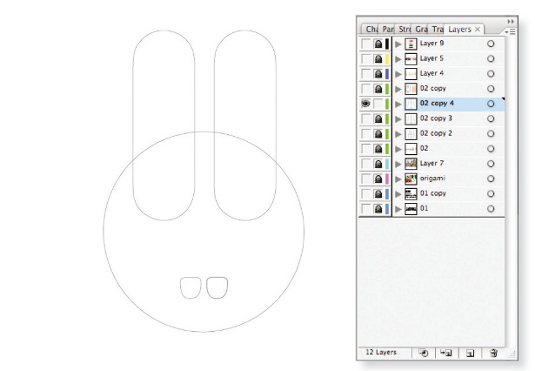
07 With the external shape of the ‘R’ removed, duplicate the inside shape to create the teeth. Once you’re done, select and delete the inside of the letter ‘O’.
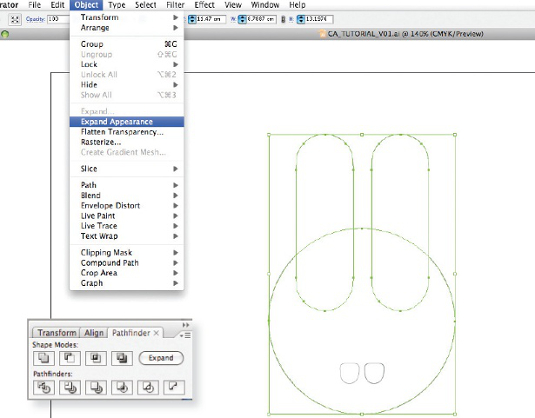
08 Select all the shapes making up the face outline apart from the teeth, go to the Pathfinder panel and hit Unite. Now navigate to Object> Expand Appearance.
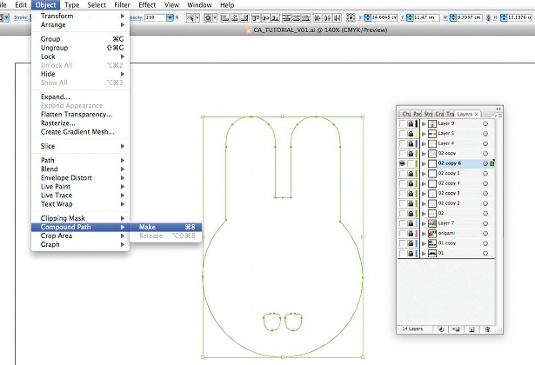
09 We now have a blended shape and the two teeth elements, which we need to put in the same path. Select all three elements and go to Object>Compound Path>Make.
Article continues below 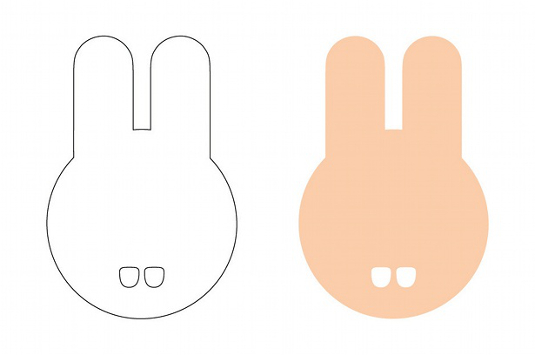
10 At this stage, we have a unique branding element made up of different parts of the logo. This can be used as either a filled or stroke object.
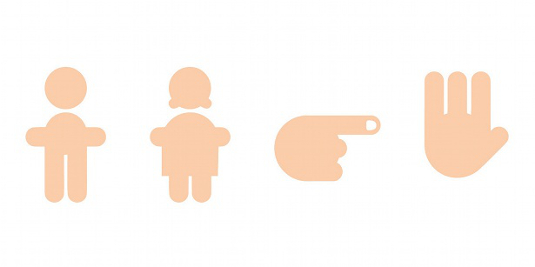
11 Once you have finalised your icon, experiment with more using the same process. Here are some additional icons – toilet signs, a stop sign and a direction sign – that I designed for Iori Hotel, which is situated high in the mountains.
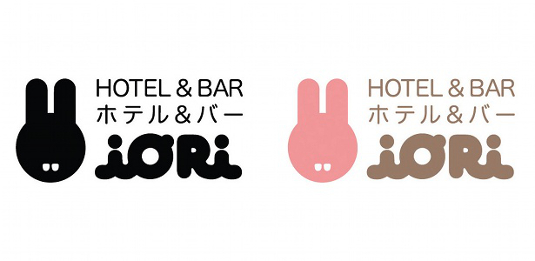
12 A good test for the success of your branding icons is how well they work when placed next to the original logo. In this case, even when the proportions of the animal’s face are much bigger than the logo font, the different elements still work very well together.
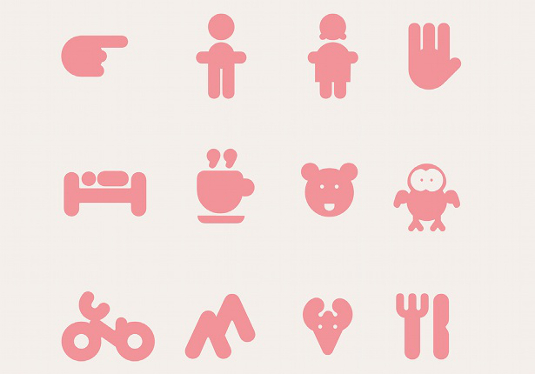
13 The last step is to put together the icon set with the logo. Now you have a complete branding family comprising lots of different elements.
Sign up to Creative Bloq's daily newsletter, which brings you the latest news and inspiration from the worlds of art, design and technology.

The Creative Bloq team is made up of a group of art and design enthusiasts, and has changed and evolved since Creative Bloq began back in 2012. The current website team consists of eight full-time members of staff: Editor Georgia Coggan, Deputy Editor Rosie Hilder, Ecommerce Editor Beren Neale, Senior News Editor Daniel Piper, Editor, Digital Art and 3D Ian Dean, Tech Reviews Editor Erlingur Einarsson, Ecommerce Writer Beth Nicholls and Staff Writer Natalie Fear, as well as a roster of freelancers from around the world. The ImagineFX magazine team also pitch in, ensuring that content from leading digital art publication ImagineFX is represented on Creative Bloq.
