How to perfect hair in your portraits
Learn how to perfect your portraits using ZBrush, 3ds Max and the Hair Farm plug-in.
13. Generate hair
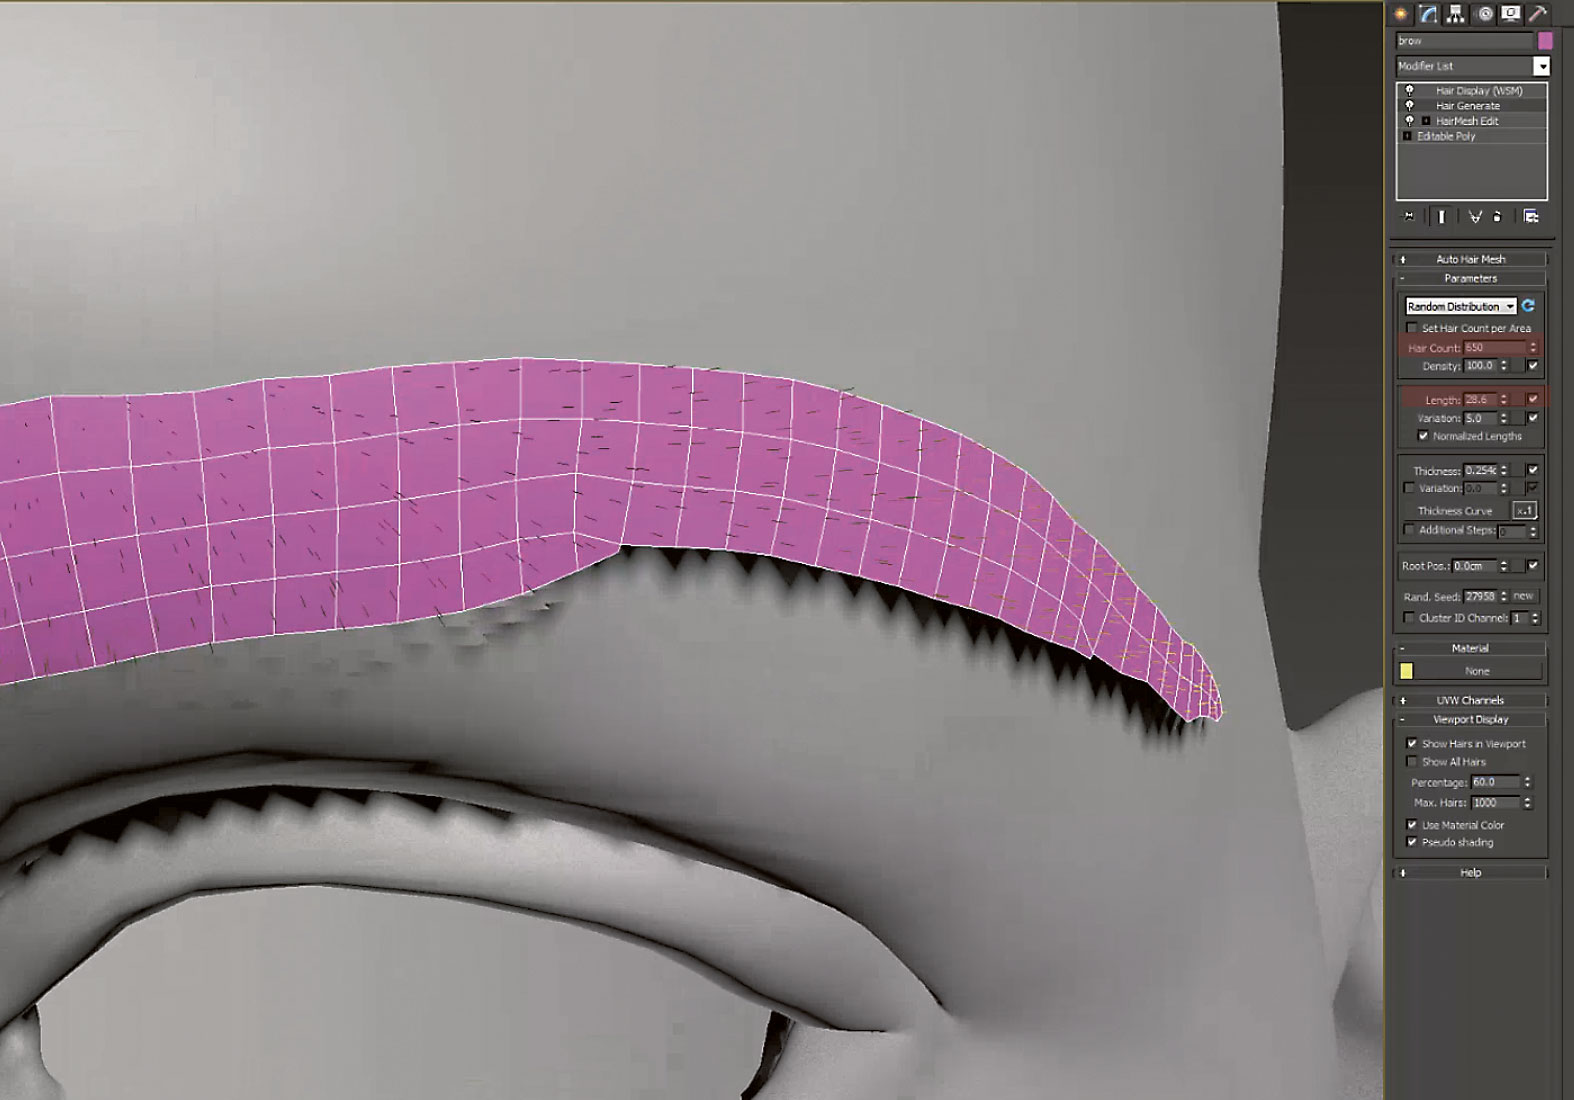
Load a Hair Generate modifier and set the Hair count to 5,000, Length to 28.6 and Thickness Curve to 0.01. Play with the viewport percentage until you get something that is workable in the viewport.
14. Tweak the hair
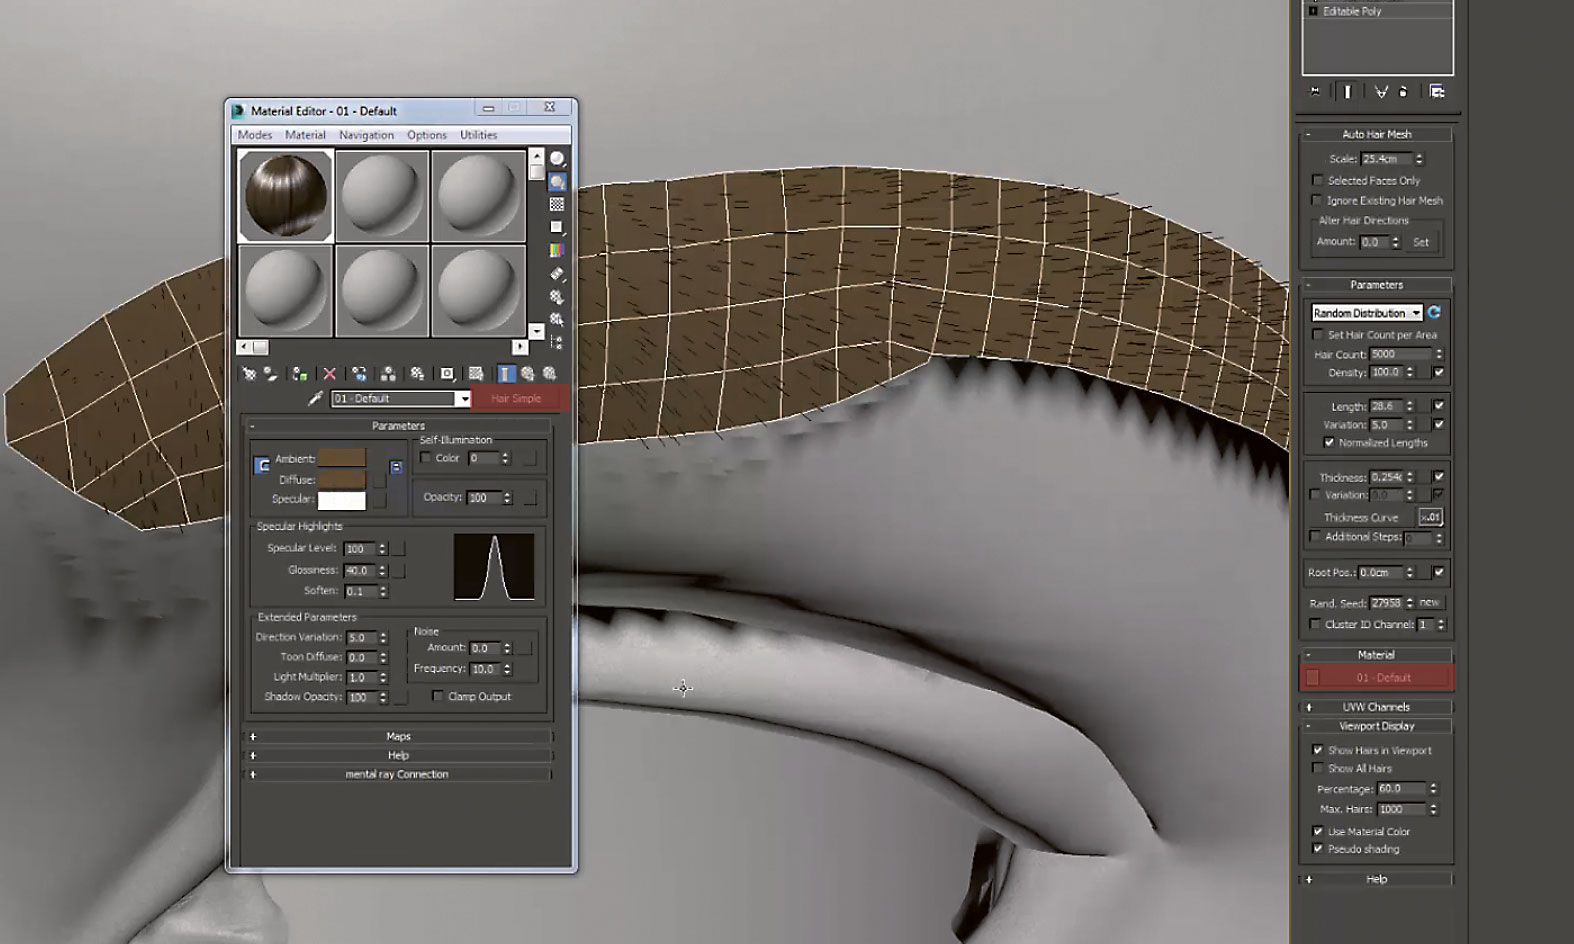
Press M on the keyboard to go to the Material Editor. Add a Hair Simple material to the editor slot and apply it to the eyebrow mesh under the Hair Generate modifier in the Material section. Tweak the hair count to a higher value (15,000) and set the length to 100. Darken the diffuse colour of the Hair Simple material to make the brows darker. Tweak the eyebrow shape a bit more as you work.
15. Adding a light
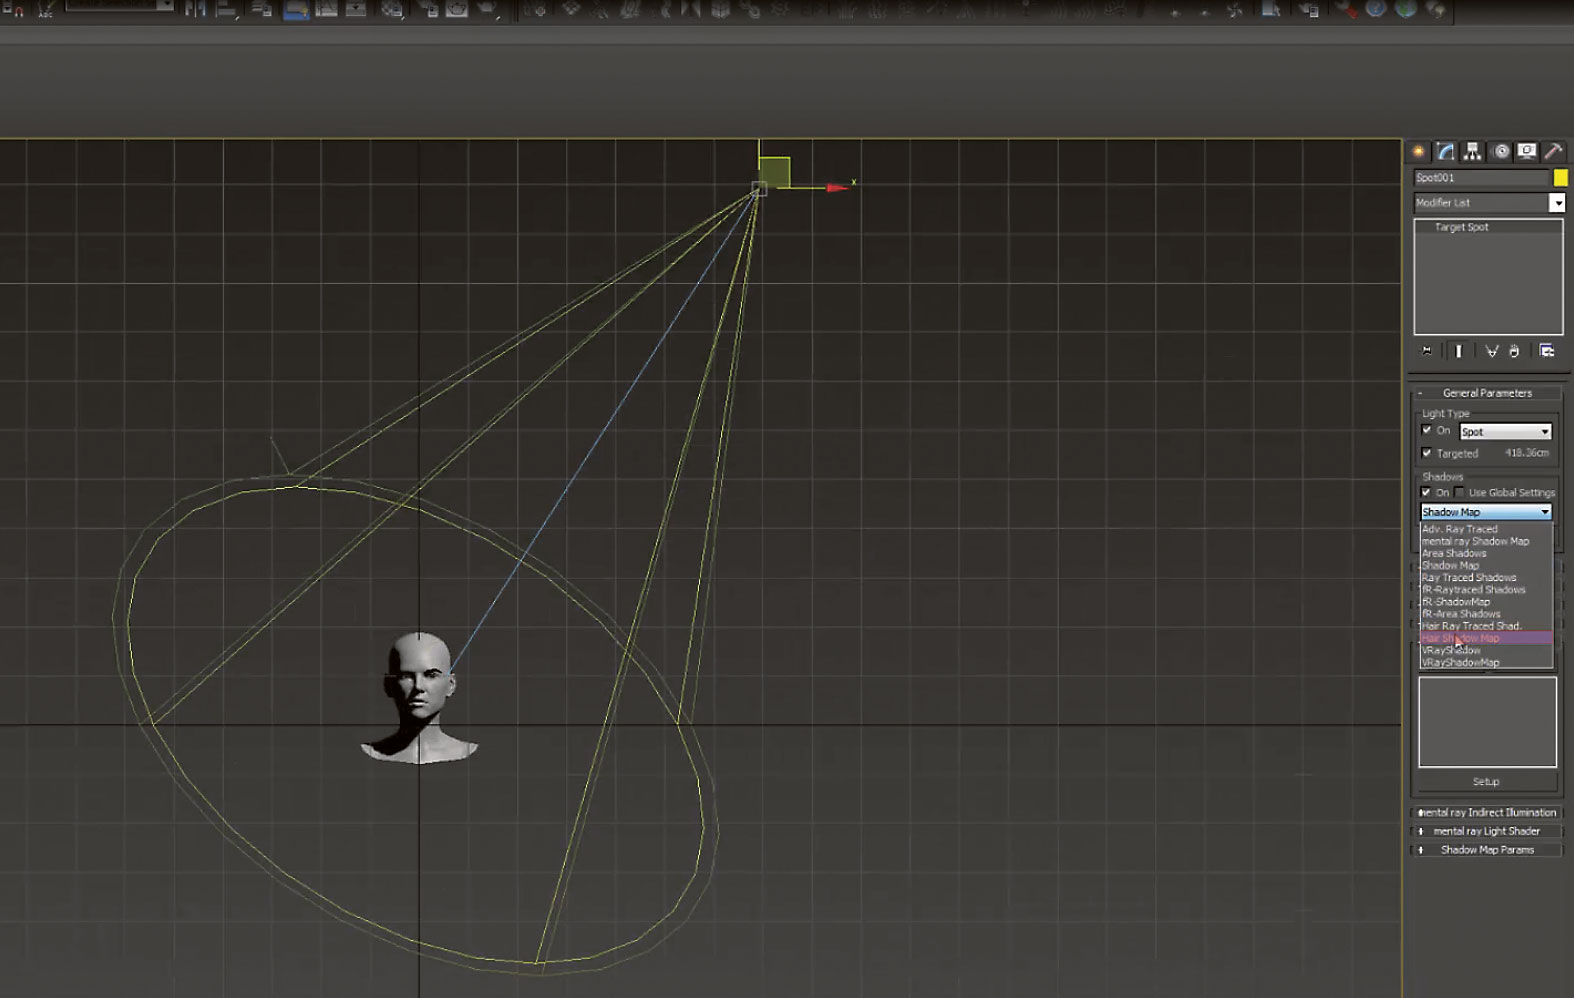
Go to Light tab and select Target Spot; add it to the scene and aim the target at the face. Move the light up. Change the shadow type to Hair Shadow Map.
Article continues below16. Fixing the pivot
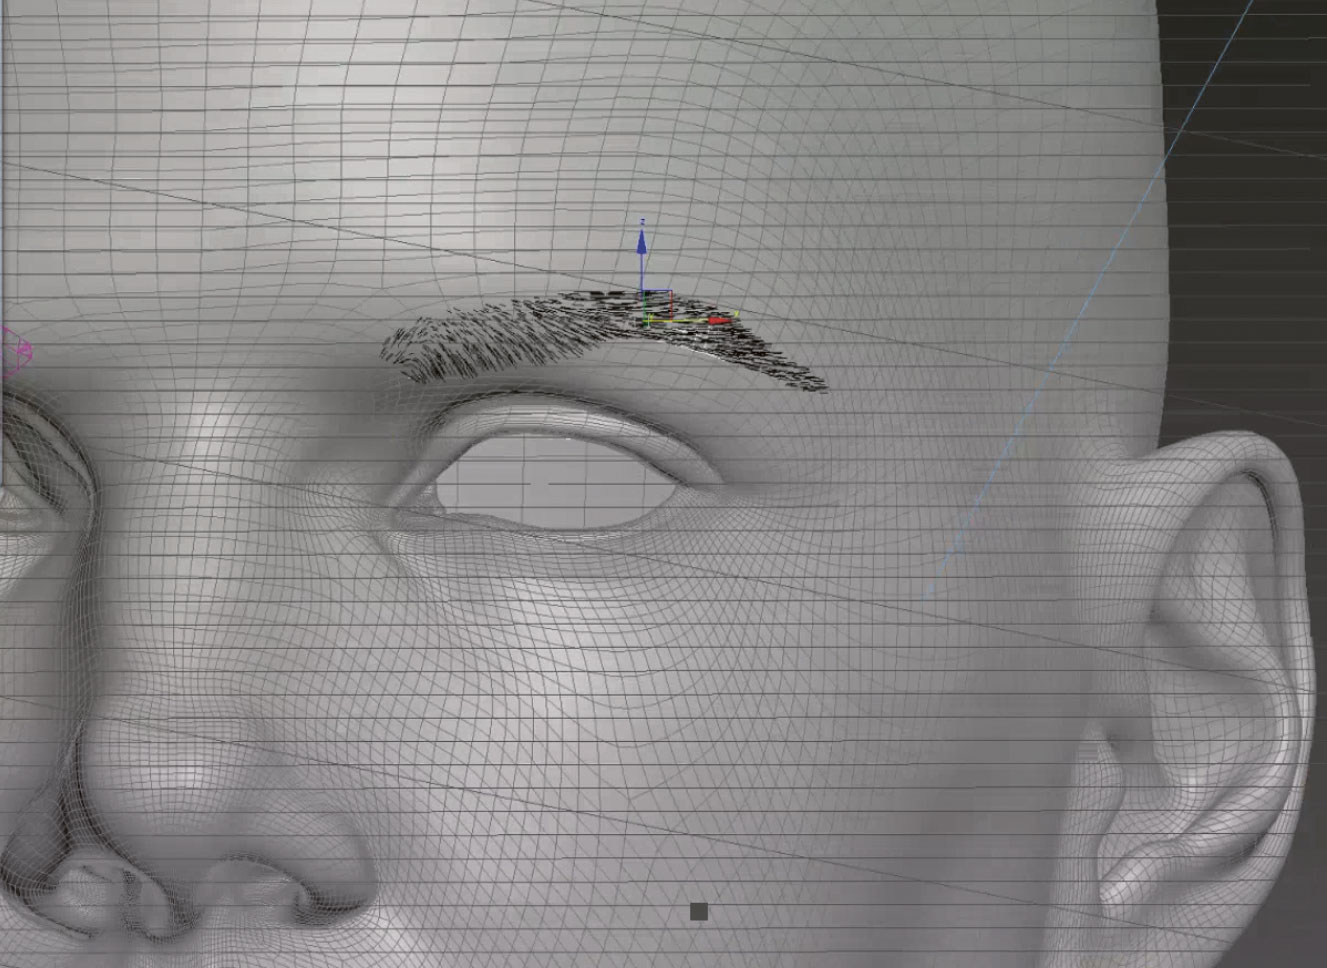
Select the brow mesh, go to the Hierarchy tab, and select the option Affect pivot only. Move the pivot up (it should be at 0,0,0 in the scene) and place it in the eyebrow, where it will help you move the eyebrow mesh onto the head mesh.
17. Tweaking the shape
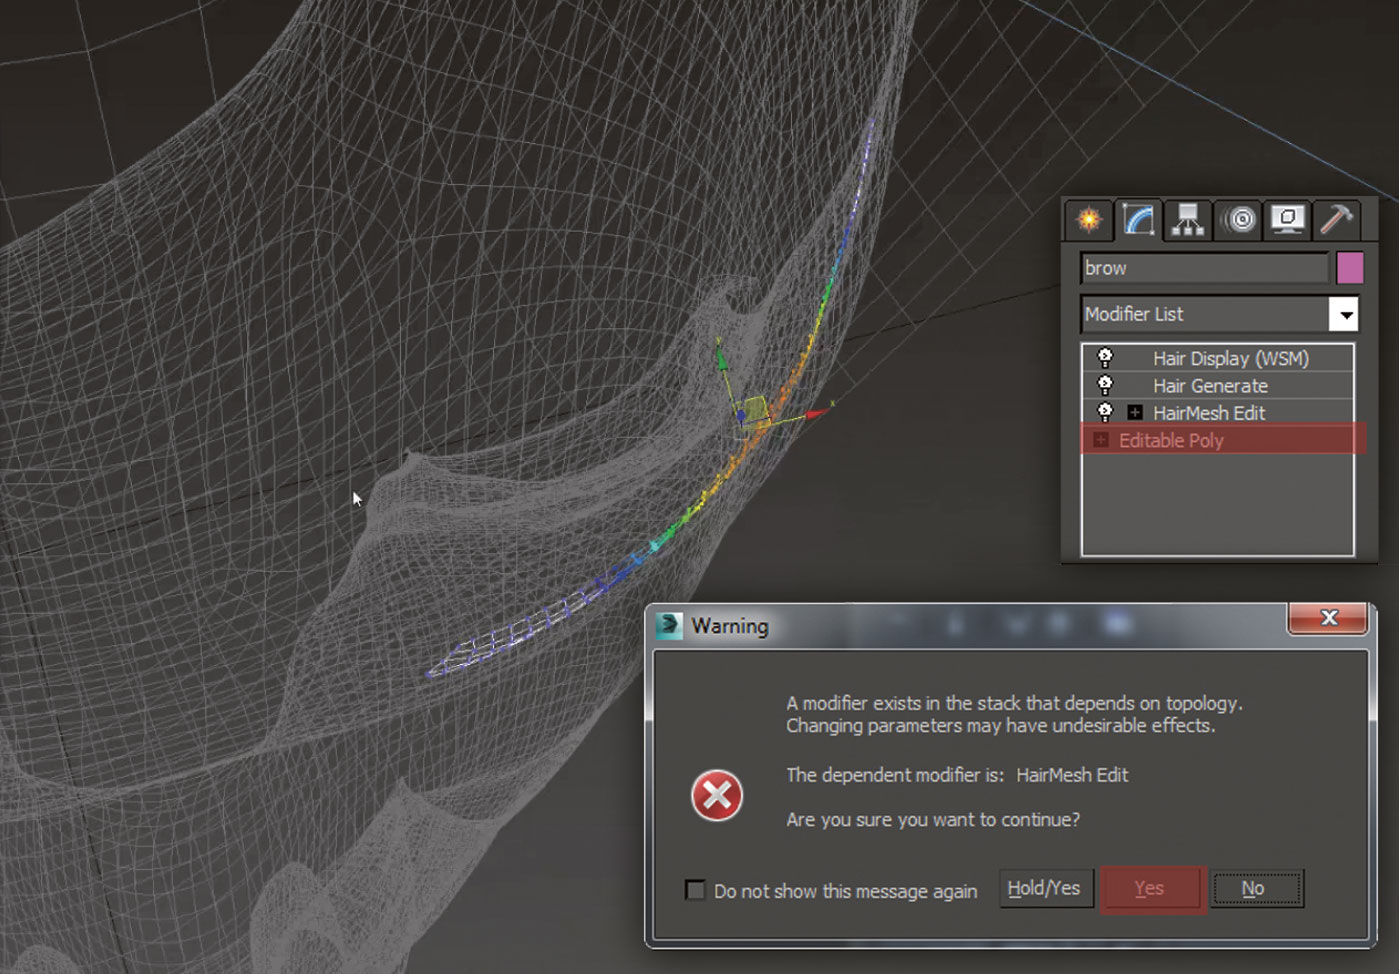
On the modifier list from the brow mesh, go to Editable Poly and change the shape of the original mesh to conform better to the head. When the warning appears about the modifier in the stack being dependent on topology, simply press Yes. As long as no verts or edges are added we should be fine. Remember to use soft selection to move several verts at once. Once you are happy with your eyebrows, do a test render. Continue to tweak the shape, and extrude once more to get a bit more depth and more control over the curvature of the eyebrow (curvature if viewed from above).
18. Adding hair to poly modifier
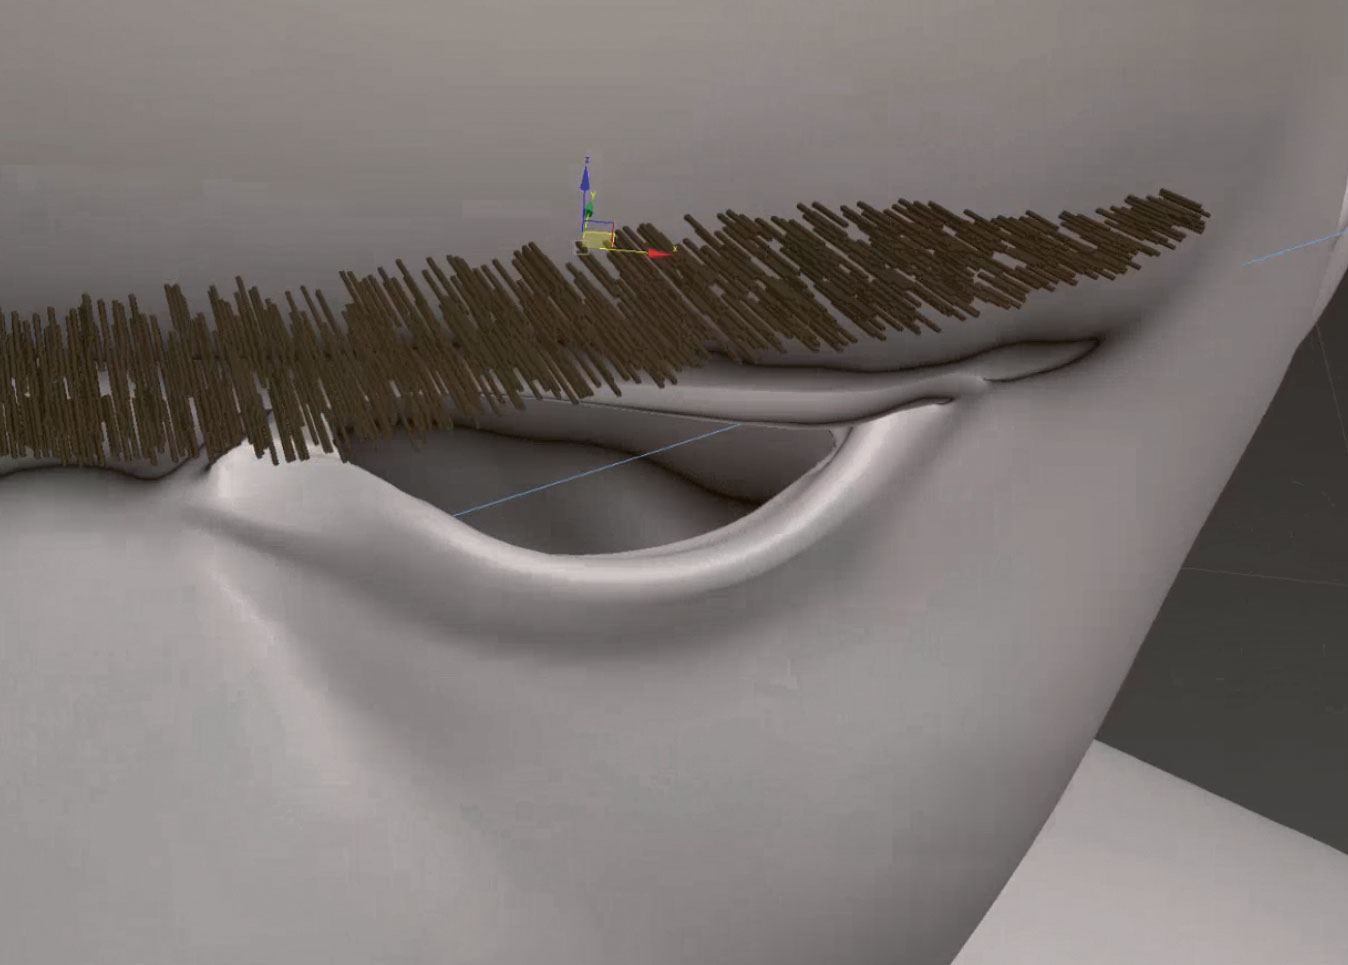
Go to the Modifier list and add a Hair to Poly. This will convert the brows to a mesh. Then go to the Hair Generate modifier and tweak the thickness.
19. Adding more hair style modifiers
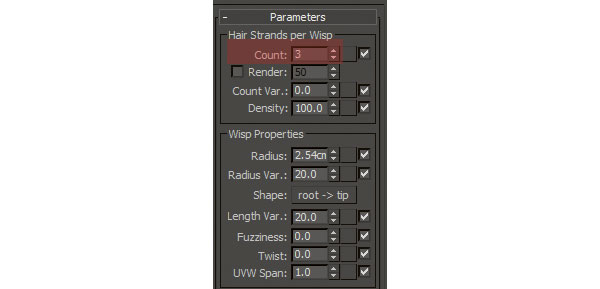
Add Hairstyle Wisps. This will generate more strands of hair. Tweak the count until you have something desirable. In my case, a count of 3 seemed to work well. Since we have a lot more hairs, this is a good time to refine the eyebrow shape.
Sign up to Creative Bloq's daily newsletter, which brings you the latest news and inspiration from the worlds of art, design and technology.
20. Add a UV modifier
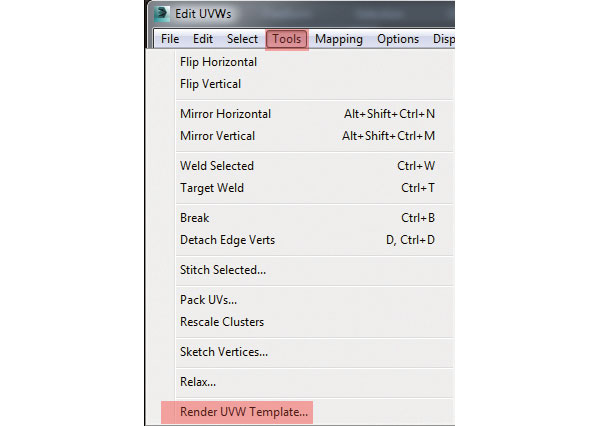
Add an UnwrapUVW modifier. Open the UVW Editor. Now go to Tools>Render UVW Template. Save the image somewhere on your drive.
21. Paint in Photoshop
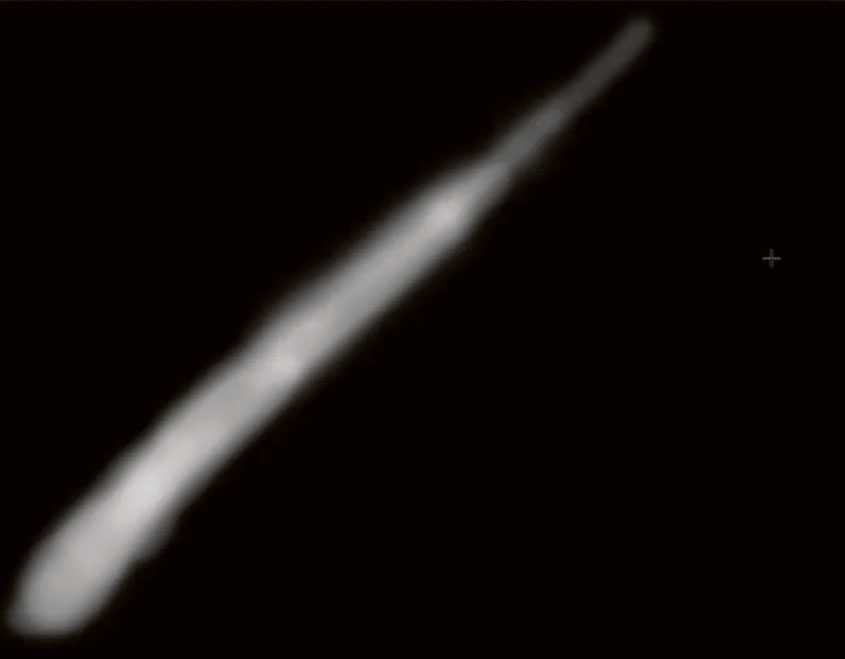
Open Photoshop and the file we just exported. Using a Round brush with 0 Hardness, paint white in the areas of the UVs where the hair is more dense, and darker where it is less dense. It should be completely black around the edges so the hairs fade out in those areas. Save the file and return to 3ds Max.
22. Hair density
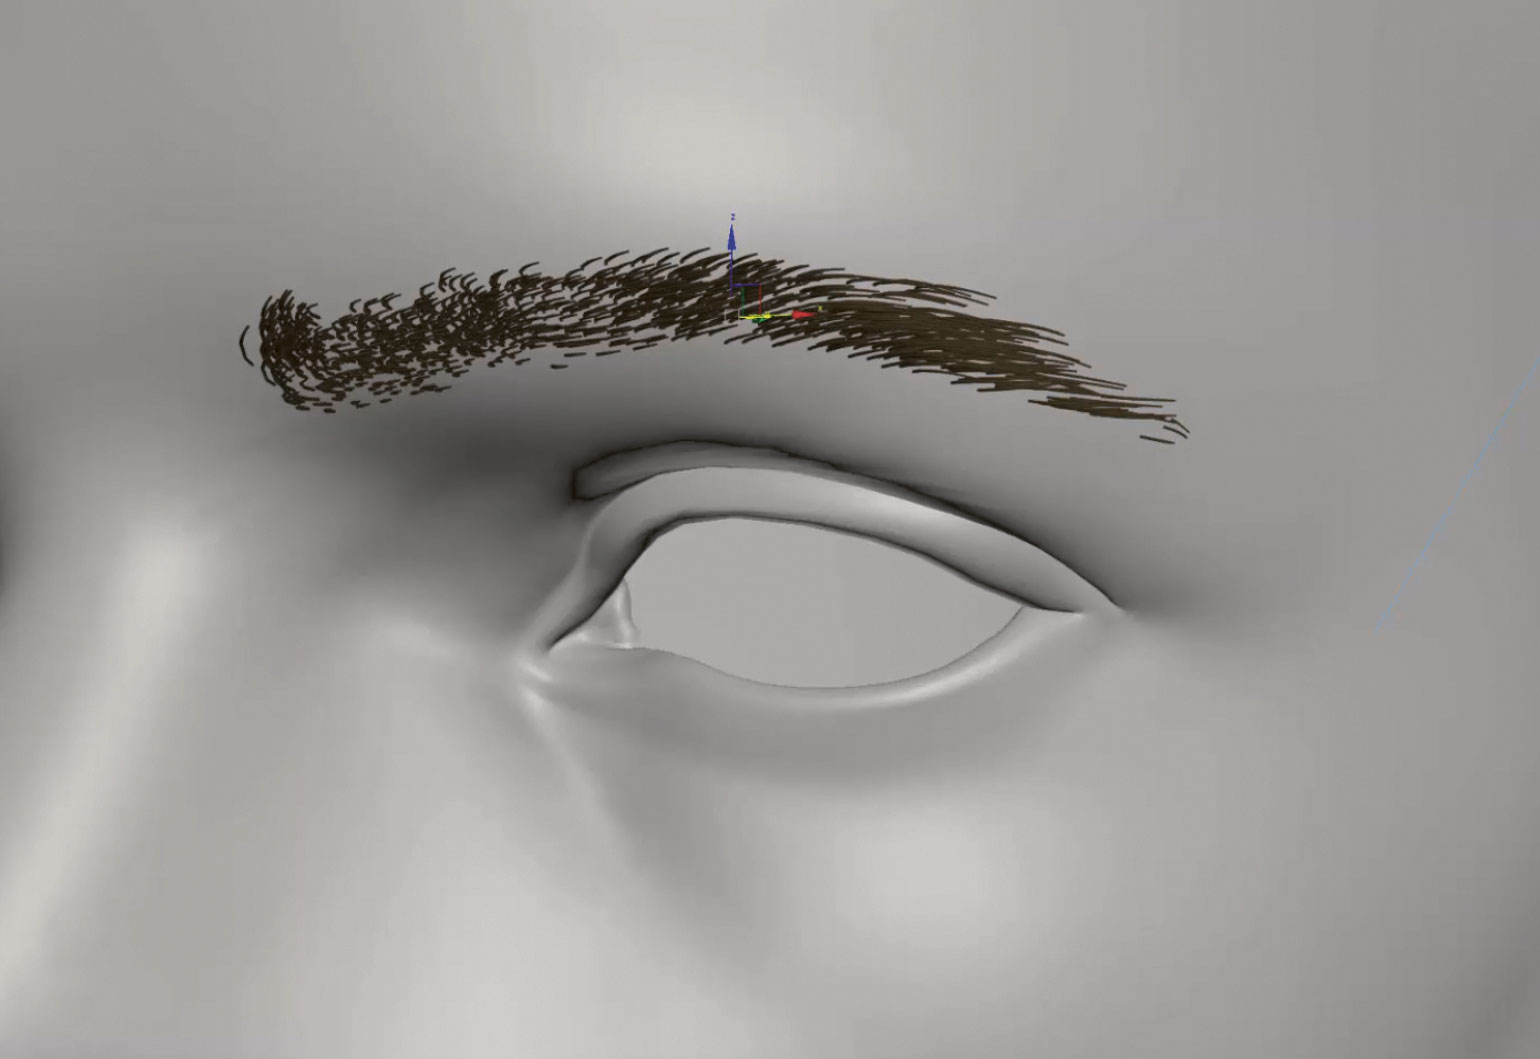
On the Hair Generate modifier, apply the image we created into the density slot. Change the hair count to 4,000, or whatever number seems to work best for you according to your topology. Keep tweaking the shape of the brows.
23. Mirroring the brow
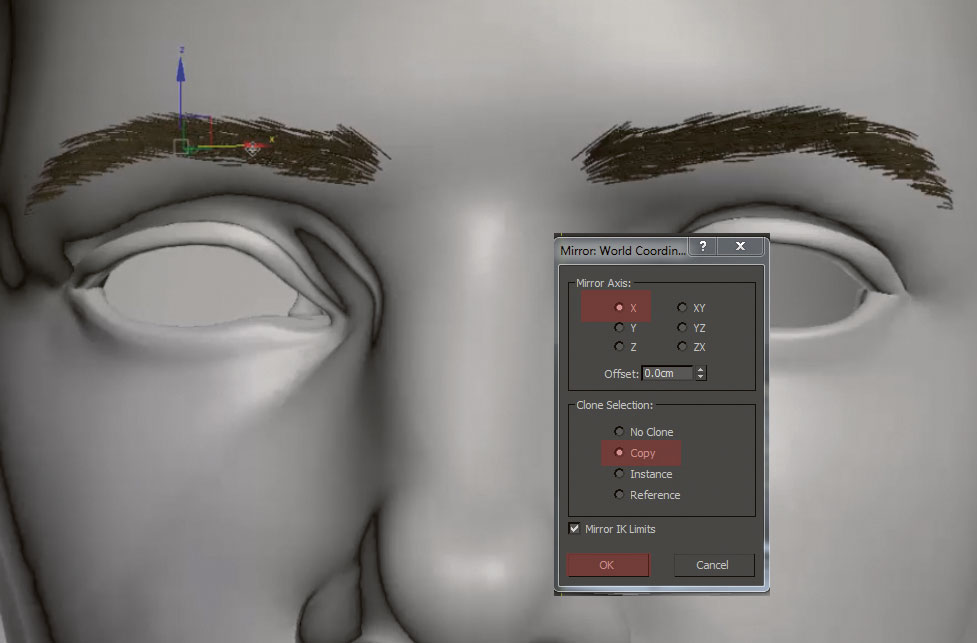
Click the Mirror button and select X and Copy. This will create a copy of our brow on the missing side. Feel free to tweak it to make it slightly different from the first one.
This article originally appeared in 3D World issue 214; buy it here!
Related articles:
