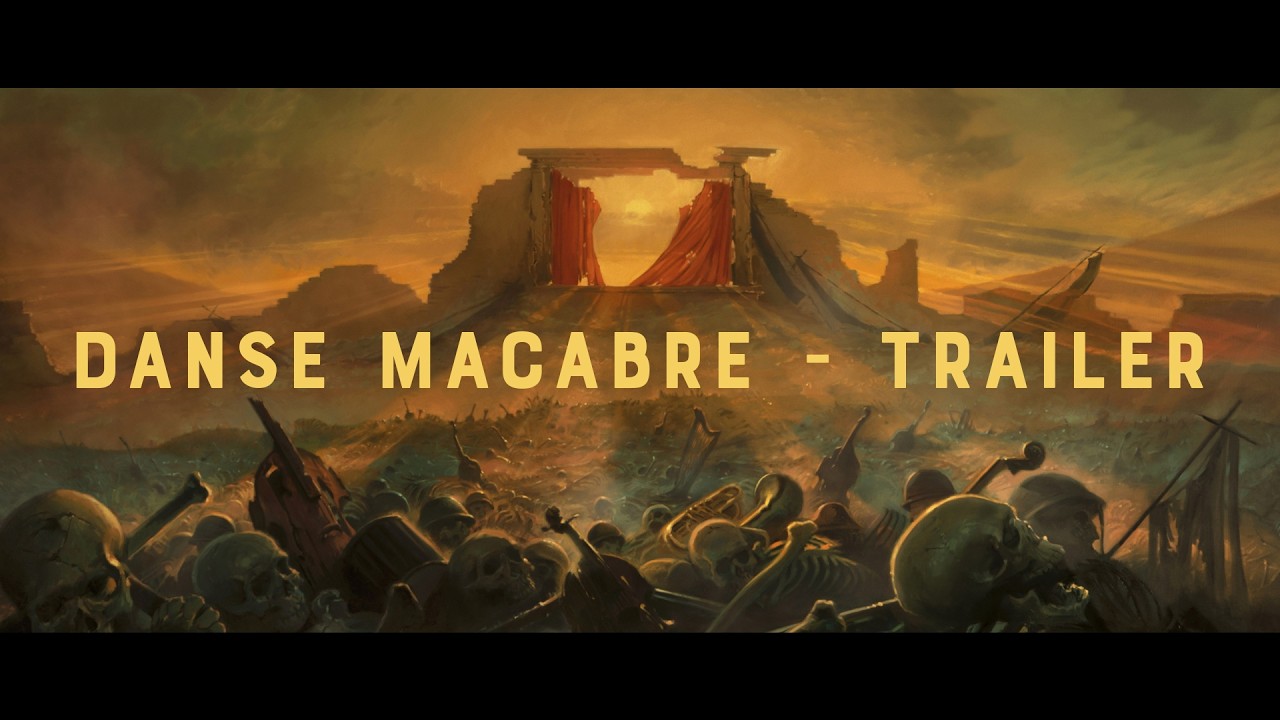
Danse Macabre is an apocalyptic nightmare short film based on the Allegro from Shostakovich's 10th Symphony. Written, directed, and painted by Hisko Hulsing, the film is beautiful, engaging, and inspiring. The animation explores themes of suffering, war, and terror.
Earlier this year it was selected for competition at the Annecy Festival, the world's largest and most important animation festival. The film boasted an international team, with it being produced by Valk Productions in the Netherlands, Autour de Minuit in France, Vivi Film in Belgium and Cinemon Entertainment in Hungary.
To indie artists, creating films like this can seem impossible, and yet when shots are clearly broken down, it all seems a lot more achievable. In this compositing breakdown, the Compositing Technical Director on the short film, Stijn Calis, works through the workflow used to finalise one of the shots from the project.
Watch the Danse Macabre trailer
Danse Macabre breakdown
Using Fusion Studio, Calis seamlessly integrates distinct visual mediums: a beautifully hand-painted 2D background by Hisko and a fully realised 3D character created by Autour de Minuit, overdrawn by AI and manual labour in TVPaint.
The work begins by bringing a static background to life using fabricated reactive lighting setups, animated fire layers, and atmospheric dust particles. Using basic tools like Luma Keyers and polygon masks to sculpt the ambient light, Calis makes foreground elements pop while maintaining the integrity of the original artwork.
From there, the focus shifts to character integration. Calis preps the character using stylised passes processed through TVPaint and Stable Diffusion, carefully colour grading the asset to match the painterly environment. Finally, he applies finishing touches, extracts highlights for soft glows and applies unifying film grain.

Step 1: background compositing and dynamics
The environment is established using the static background painting alongside manually animated fire and smoke layers from TVPaint. The background was initially too dull, so Calis introduced dynamic light bouncing across the scene.
He then added a colour corrector and called it "ccBoostFire" before using a LumaKeyer to create a mask of the light parts of the background and use this mask on the colour corrector to boost the midtones of the image.
For added atmosphere, Calis integrated 4K dust particles sourced from FootageCrate. By merging these atmospheric elements on top of the base layers, the static painting immediately began to feel like a living, breathing space with flickering illumination.
This foundational step ensured the environment felt dynamic before the main subject was even introduced.

Step 2: background colour grading
With the dynamics in place, the scene's contrast and focal points were refined through targeted colour grading. The background walls initially lacked depth, so a combination of polygon masks and Luma Keyers was used to dim the ambient lighting in specific areas.
Darkening these background walls was crucial for making foreground elements (like the glass on the table) pop out to the viewer.

Step 3: character precomp and AI stylisation
The character started as a raw 3D render which inherently clashed with the hand-painted background. The first phase of character integration involved importing the 3D render and blending in a specialised stylisation pass processed by Stable Diffusion, trained on the artwork of the director Hisko Hulsing and operated by 2D animator Stein Louise.
This required the compositing team to deliver “pre-comp” generated ProRes 422 files for each individual render layer that came from the EXRs from Blender: masks made from cryptomattes for guns, skeletons, helmets, diffuse-pass, beauty-pass, z-depth (normalised), normals, UVs, and canny-filters.
This subtle AI integration, making up about 5% of the overall project, added a painterly texture to the render. Layering this stylised pass over the raw 3D render began to bridge the aesthetic gap between the character and the traditional artwork and ensured the CGI elements do not look out of place.

Step 4: character colour grading
Even with the stylistic TVPaint / Stable Diffusion pass applied, the character still looked entirely detached from the scene, especially compared to the original painting. Calis addressed this by clearing out the background and applying an Alpha Divide to isolate the character cleanly.
He then pushed the character through an aggressive colour grading process, manually tweaking the hues, saturation, and contrast levels. The ultimate goal here was to visually match the character's values to the specific lighting conditions and moody colour palette of the painted background.

Step 5: character shadows and pre-blur
A character seamlessly colour matched will still look like it is floating without proper grounding. To overcome this, Calis took the mask of the character, blurred it and cut out the parts that overlapped the background (the railing). He then used a colour corrector and dropped the gain.
The next step was to add a pre-blur. Instead of just merging that image on top of the background, he utilised a pre-blur technique to deliver a ‘fake global illumination’ on the character. This mimicked how real-world light scatters and diffuses over distance. Having a solid pre-blurred base ensured that when the character was finally merged, it interacted realistically with the varied textures of the painted floor and surrounding foreground objects.

Step 6: character merging
With the pre-blurred shadows generated, it was time to composite the character into the scene permanently. Calis merged the character layers using a Multiply blend mode to ensure the underlying background was darkened naturally without blowing out the black levels.
A comparison with the original painting was carried out to see how dark the shadows can be. In this case, a Multiply percentage of 50 was used. This was followed by merging the character layer using a Normal blend mode, but only applying it 65%.

Step 7: character table reflection
To further ground the soldier in the environment, Calis needed to simulate reflections on the shiny surfaces directly beneath him. He achieved this by taking the colour graded character and caching out any unnecessary parts.
He then flipped the character vertically to create the base of the reflection on the table. Because a perfect mirror reflection would look artificial on a wooden surface, he introduced a Fast Noise node. This was kept static but broken up by distorting the flipped image with a Displace so that it perfectly matched the rough, uneven texture of the painted table beneath his arms.

Step 8: fine detail reflections
Environmental compositing thrives on micro-details, such as how the character reflects in secondary objects like the foreground wine glass. So, Calis took the total image and applied a dent deformation to it. This slight bend simulated the curvature of the cylindrical glass bottle. Next, he applied a blur to soften the reflection, mimicking the imperfect surface of the thick glass.
Finally, he merged this distorted, blurred image using a precise polygon mask. This isolated the reflection strictly to the highlights of the bottle, adding an extra realistic physical interaction between the integrated character and the background painting.

Step 9: glow and film grain finishing
The final step in any composite is unifying the disparate elements so they feel like a single piece of film footage. The first step to making this happen was to isolate the brightest parts of the animated fire. He used a Luma Keyer to extract the core flames and then applied a Soft Glow to make the light bleed naturally into the surrounding darkness and over the character's armour.
Once the glows were there, he applied a global film grain over the entire composition. This grain acted as the ultimate unifier, blending the painted background, the 3D render, the AI stylisation, and the digital particles into one cohesive, cinematic final shot.
For more behind the scenes of Danse Macabre, take a look at Stijn Calis’ YouTube tutorial The Compositing of a shot in ‘Danse Macabre’.
Also see our guides to the best animation software and the best laptops for animation.