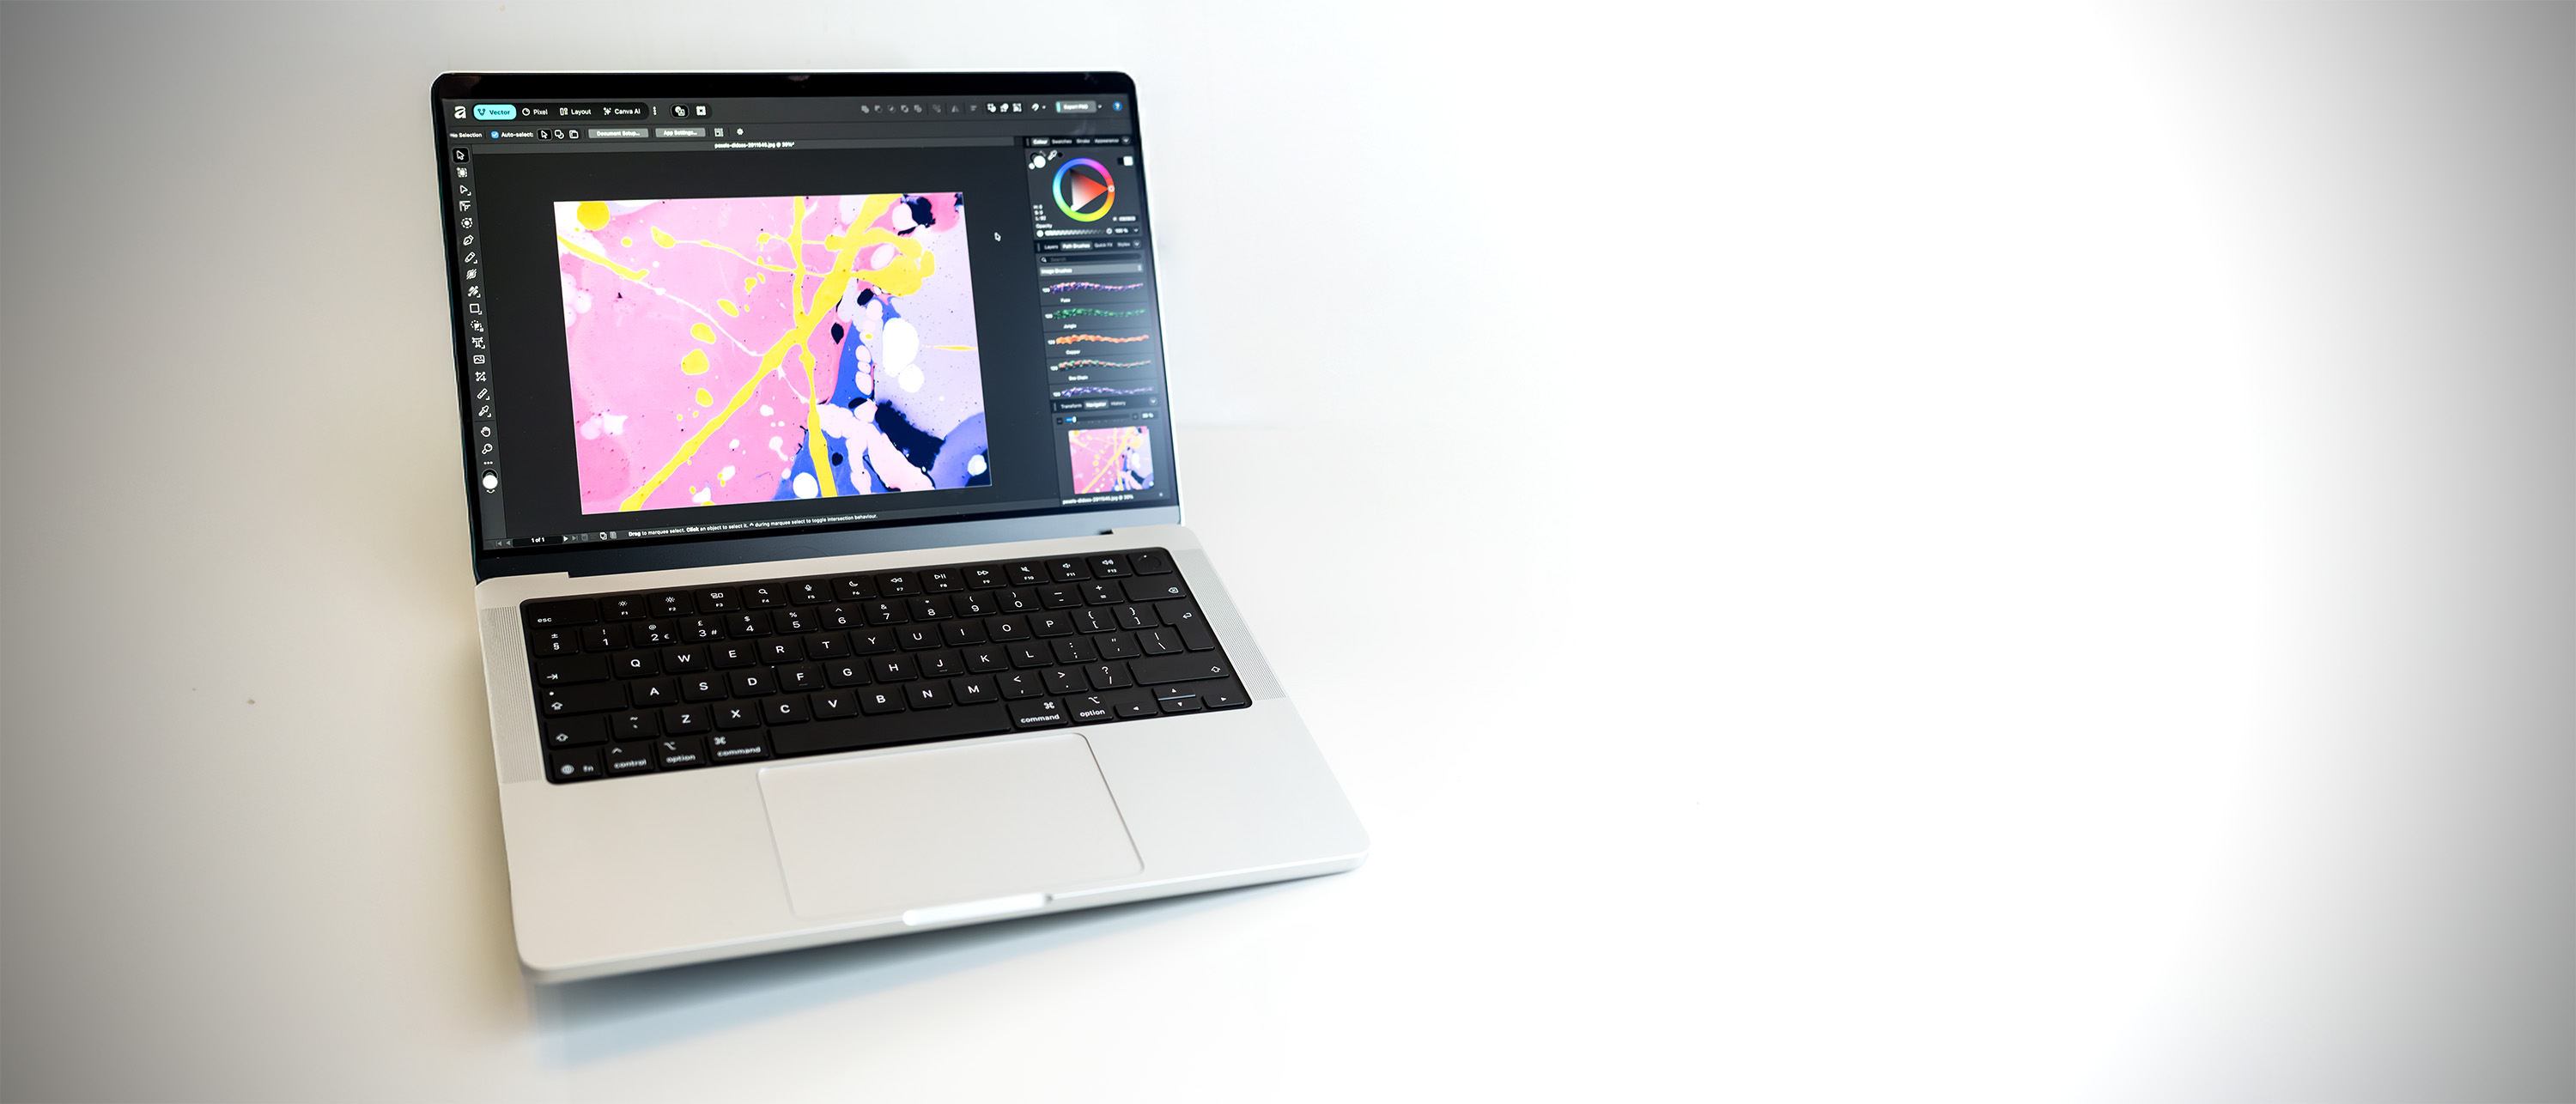
Make interactive 3D typography effects
Discover how to create exciting text effects for your site.

Sign up to Creative Bloq's daily newsletter, which brings you the latest news and inspiration from the worlds of art, design and technology.
You are now subscribed
Your newsletter sign-up was successful
Want to add more newsletters?
Typography has always played a major part in any designer’s arsenal of tools as they select the right typeface that will enhance the message and present the right context for what is being communicated. Over the past eight years, web designers have had the ability to bring in custom typefaces such as kinetic typography to their design and have similar typographical control to those enjoyed by print designers.
Take a look at many of the sites that are featured as award-winning or receiving ‘site of the day’ titles and you will soon notice that their use of typography becomes central to the design, allowing them to rise above their competition. This can range from animated letter forms, reactive movement to the user interactions, to bold use of type forms taking centre stage (keep your typography files safe in cloud storage).
If you want to create an attention grabbing site with zero fuss, try a website builder too. And be sure your site's performance is optimised with top web hosting.
Article continues belowIn this tutorial, the type effect will use the shapes of the letters as a mask to some fast, free-flowing particles trails that will dynamically swirl and move through the letters. Not only will there be this beautiful animation, but as this will be rendered onto the HTML5 canvas element, this will be transformed in 3D to rotate towards the mouse as it moves around the screen. This is perfect for site headers or just when you need to grab the user’s attention for a call to action.
Download the tutorial files here
01. Start the process
Open the ‘start’ folder from the project files in your code IDE. The project is going to start by creating the particle object class. This will be used to create the flowing imagery within the text in the project. Open the ‘sketch.js’ file and add the following variable to start creating the base particle.
function Particle() {
  this.pos = createVector(random(width), random((height - 100)));
  this.vel = createVector(0, 0);
  this.acc = createVector(0, 0);
  this.maxspeed = maxSpeed;
this.prevPos = this.pos.copy(); 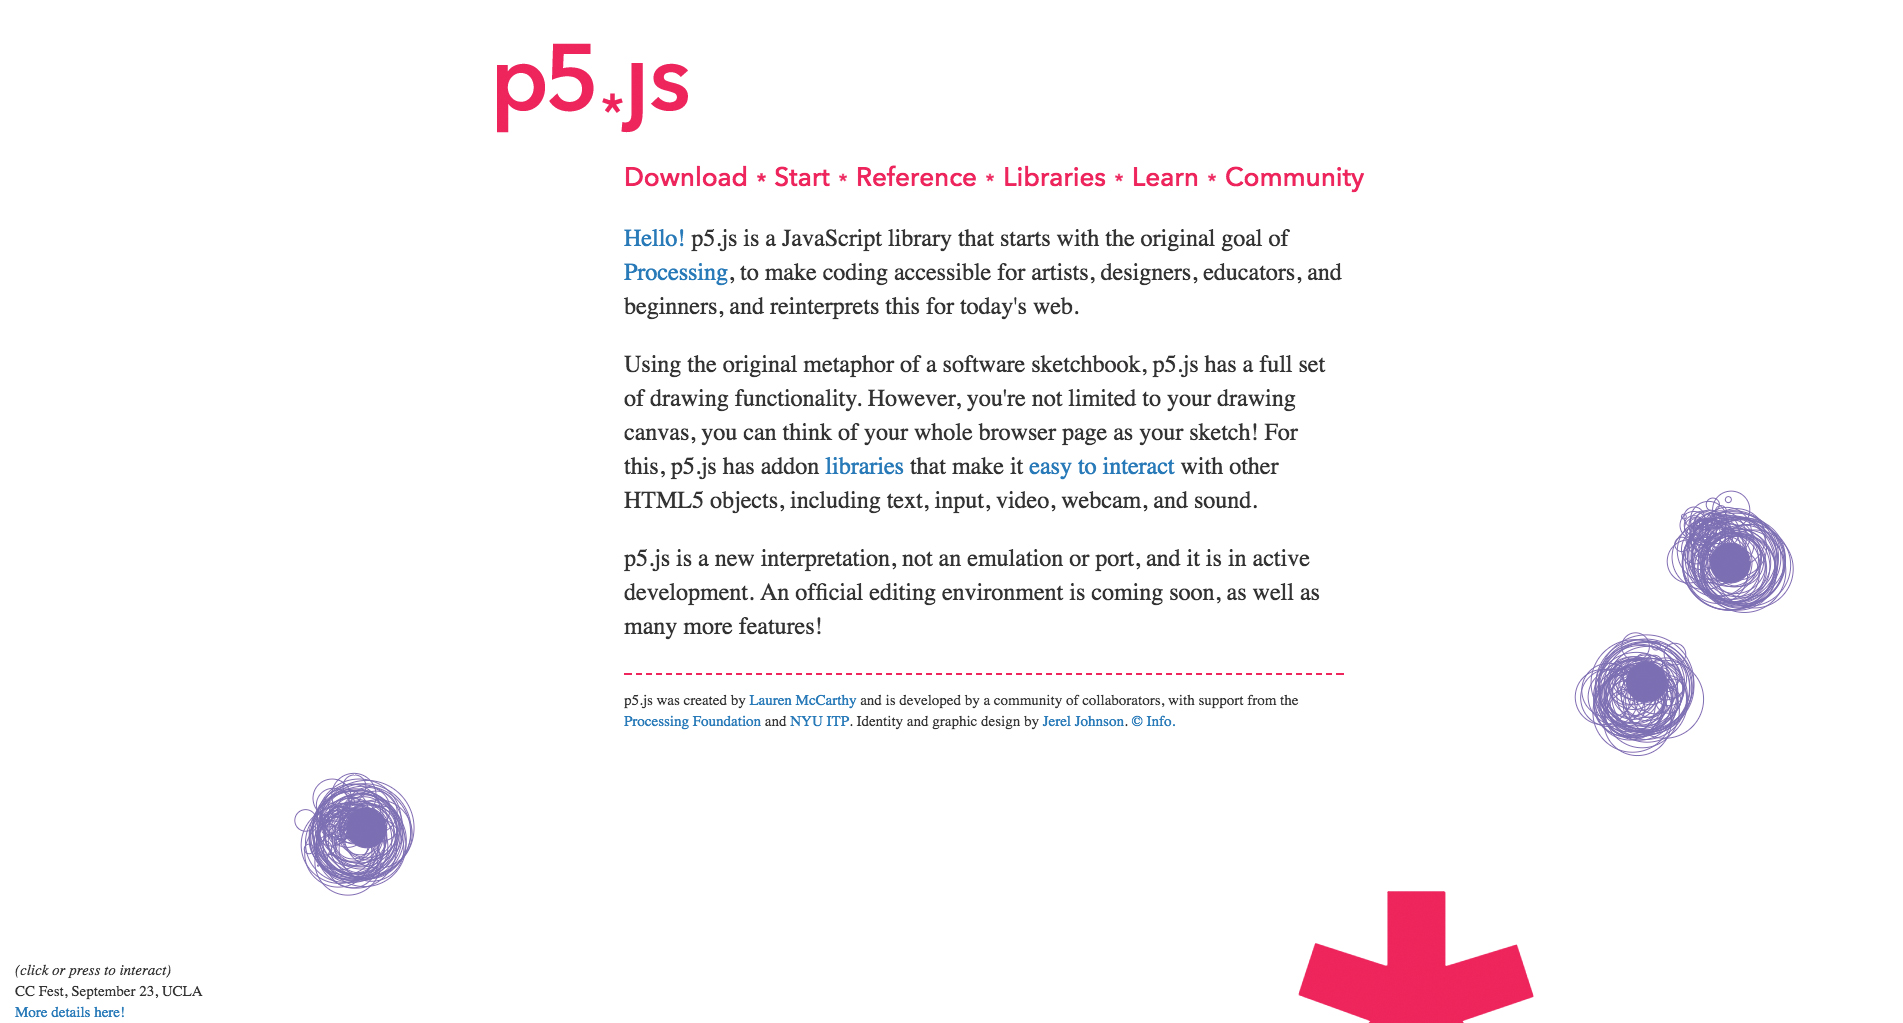
02. Update the particle
In order to move the particle, an update function will be run each frame, this will work out the velocity of the particle and the acceleration to the velocity. The velocity will eventually be limited by a global variable which will be added later. The velocity is added to the position of the individual particle. By creating one particle, several thousand will be created on the screen at any one time.
Sign up to Creative Bloq's daily newsletter, which brings you the latest news and inspiration from the worlds of art, design and technology.
this.update = function () {
  this.vel.add(this.acc);
  this.vel.limit(this.maxspeed);
  this.pos.add(this.vel);
  this.acc.mult(0);
  }
03. Go with the flow
To give the particles their flowing movement, a flow field generated by noise will be followed. The function created here enables the vector of flow to be passed in and it will then be followed, hence the name of this function. The force of the vector direction will be applied to the particle.
this.follow = function (vectors) {
  var x = floor(this.pos.x / scl);
  var y = floor(this.pos.y / scl);
  var index = x + y * cols;
  var force = vectors[index];
  this.applyForce(force);
  }
04. Follow but not too closely
In order to stop all the particles bunching up together, which can easily happen with this kind of movement, the particles will have a very small amount of randomness added to their position. This will cause a slight amount of scattering to occur.
this.scatter = function (vectors) {
  this.pos.x += random(-0.9, 0.9);
  this.pos.y += random(-0.9, 0.9);
  }
  this.applyForce = function (force) {
  this.acc.add(force);
} 
05. Display the particle
The show function here displays the particle. The first thing it does is add a one pixel stroke of a light grey colour to create the line. The line is drawn from its current position to its last position on the previous frame. The previous position is stored for next time through the loop.
this.show = function () {
  stroke(180);
  strokeWeight(1);
  line(this.pos.x, this.pos.y, this.prevPos.x, this.prevPos.y);
  this.updatePrev();
  }
  this.updatePrev = function () {
  this.prevPos.x = this.pos.x;
  this.prevPos.y = this.pos.y;
  }
06. Wrap around
The edges function works out if the particle reaches the edge of the screen and, if so, wraps it around to come on the opposite side. This section deals with the x position so it is detecting if it is greater than the width of the screen then sending it to left edge and vice versa.
  this.edges = function () {
  if (this.pos.x > width) {
  this.pos.x = 0;
  this.updatePrev();
  }
  if (this.pos.x < 0) {
  this.pos.x = width;
  this.updatePrev();
  }
07. Wrapper’s delight
This code is the remainder of the edge detection and it detects the particle on the y axis for the top and bottom of the screen. The brackets here wrap up the entire particle class. This means by using this class many particles can be created.
if (this.pos.y > height) {
  this.pos.y = 0;
  this.updatePrev();
  }
  if (this.pos.y < 0) {
  this.pos.y = height;
  this.updatePrev();
  }
  }
}
08. Make many particles
Now as the particle is created it’s time to think about making many particles. To do this all of our code can go above the Particle function class. Here a number of global variables are declared to enable the system to run. They’ll be called at various times during the code, so they can then be explored.
var inc = 0.1;
var scl = 100, zoff = 0;
var cols, rows, movement = 0;
var particles = [];
var flowfield;
var img;
var maxSpeed;
var t, calcX = 0, calcY = 0, currX = 0, currY = 0, targetX = 0, targetY = 0;
09. Set it all up
The setup function, declared here, sets how the screen will look at the start. The first detection being done is to see what the width of the screen is. If it’s relatively large, a large image is loaded, the canvas is created and this is scaled via CSS to fit within the display.
function setup() {
  if (windowWidth > 1200) {
  img = loadImage("assets/studio.png");
  var canvas = createCanvas(1920, 630);
  maxSpeed = 10.5;
} 
10. Other screens
The rest of the if statement checks different screen resolutions and loads an image that is most appropriate for that screen size. Similarly different-sized canvas elements are created. This is mainly to stop a mobile dealing with more pixels than it has to.
else if (windowWidth > 900) {
  img = loadImage("assets/studio-tablet-wide.png");
  var canvas = createCanvas(1200, 394);
  scl = 60;
  maxSpeed = 7;
  } else {
  img = loadImage("assets/studio-tablet-tall.png");
  var canvas = createCanvas(700, 230);
  scl = 40;
  maxSpeed = 5;
  }
11. Make a grid
Once the screen size is worked out the canvas is placed inside the header div tag in the index.html page. A number of columns and rows are worked out based on the width and height; it’s a little like an invisible grid. Finally, an array is set for the flow field.
canvas.parent('header');
cols = floor(width / scl);
rows = floor(height / scl);
flowfield = new Array(cols);
12. Make particles
The number of particles is set up based on the width of the screen – if the screen is 1920 pixels wide then 2500 particles will be created and it moves downwards from there. A for loop creates the new particles. The background colour of the screen is set to almost full white.
var numParticles = Math.floor((2500 / 1920) * width);
  for (var i = 0; i < numParticles; i++) {
  particles[i] = new Particle();
  }
  background(245);
}
13. Draw the screen
The results of all the calculations are drawn on screen every frame in the draw function. Firstly, a light grey rectangle with a very low opacity fills the screen to fade what has been drawn previously. After this is drawn, the fill is turned off as the particles will be made up of strokes not fills.
function draw() {
  noStroke();
  fill(245, 10);
  rect(0, 0, width, height);
  noFill();
  var yoff = 0;
14. Create a flow effect
To get the flow effect there are two ‘for’ loops moving through the rows and columns to update the noise values. These are then changed into angles from the noise value ready to update the particles for each of the positions on the screen.
for (var y = 0; y < rows; y++) {
  var xoff = 0;
  for (var x = 0; x < cols; x++) {
  var index = (x + y * cols);
  var angle = noise(xoff, yoff, zoff) * TWO_PI * 4;
  var v = p5.Vector.fromAngle(angle);
15. Update the array
The array of flow is updated with the angle and the values are increased so that the offset of each position is increased each time it goes up. This might seem complicated but it really just creates random flowing motion for the particles to follow on the screen.
v.setMag(1);
  flowfield[index] = v;
  xoff += inc;
  }
  yoff += inc;
  zoff += 0.001;
} 
16. Update the particles
Now the particles are all looped through in their array. Each individual particle is told to follow the flow field, to update, check the edges of the screen, scatter slightly and finally be drawn on the screen using the show function. Save the file and test the ‘index.html’ to see the particles moving about.
for (var i = 0; i < particles.length; i++) {
  particles[i].follow(flowfield);
  particles[i].update();
  particles[i].edges();
  particles[i].scatter();
  particles[i].show();
  }
}
17. Add the text
The text is a mask that is placed over the top. To do this, the correct image is placed over the top of the particles. Add this code before the closing brace of the draw function. Save and check the browser to see the effect working with the text now.
image(img, 0, 0); 
18. Detect the mouse position
The mouse position is referenced and the x and y values are mapped onto degree angles that can be moved. On the y axis this will be -25 to 25 and vice versa for the x axis. The remaining code should be placed after the last code was added, before the end of the draw function.
targetY = Math.round(map(mouseX, 0, width, -25, 25));
targetX = Math.round(map(mouseY, 0, height, 25, -25));
19. Ease into place
The target position is now given a little easing so that the degrees slowly reach their target. This is created using a classic easing algorithm of taking off the current position from the destination and multiplying by a low number.
var vx = (targetX - currX) * 0.05;
var vy = (targetY - currY) * 0.05;
calcX += vx;
calcY += vy;
20. Write the CSS
The ‘t’ variable here takes the calculated values and places them into a CSS string using the transform values of rotateX and rotateY. The current position is calculated from the position the canvas is currently rotated to.
t = 'rotateX(' + calcX + 'deg) rotateY(' + calcY + 'deg)';
currX = calcX;
currY = calcY; 
21. Finish off
Now the CSS is applied to the canvas element in this code. Save the page and preview this in the browser. Now the mouse fully updates the rotation of the canvas so that it turns as the mouse moves. Of course all of the particles in that space move with it on the screen.
canvas.style.WebkitTransform = t;
canvas.style.msTransform = t;
canvas.style.transform = t;
This article was originally published in creative web design magazine Web Designer. Buy issue 271 or subscribe.
Related articles:
Web Designer is the premier magazine for aspiring online creatives and industry professionals. The monthly title offers cutting-edge practical projects spanning XHTML, CSS, Flash and WordPress as well as hosting features and interviews with the web community’s most influential people. Each issue also has a dedicated Industry section covering news and views from the trade, website showcases featuring the finest design talent and a free CD of valuable resources.
