How to add assets and materials to a basic 3D game environment
In the third installment of this six-part series, Andrew Finch talks assets and materials.
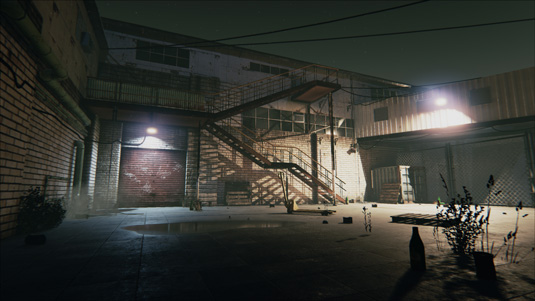
Last week we looked at UV unwrapping the asset for texturing and lighting and also learnt the process for creating diffuse, specular and normal maps. We talked about texture creation: I tend to make my own textures using Photoshop to manipulate photographs to create diffuse and specular ones. Remember there's a wealth of free photograph galleries online that you can use.
This time we're going to work on the assets and materials. When dealing with your assets in Unreal Editor you usually work via the Content Browser. This browser allows you to add folders to better organise and find your assets when creating a new environment, as scenes can get large quickly.
I'll show you how to import your assets into the correct folders within the Content Browser and create materials to apply to your meshes.
I spend a lot of time creating and modifying assets in the Content Browser and with the new tools in Unreal 4 it's now easier than ever to transfer assets from one project to another.
This tutorial will concentrate on material creation. Materials are very important to get right because they affect the visuals of your environment so much. Materials in Unreal are very powerful and give you the ability to create all sorts of visual styles from photorealistic to cell-shaded cartoon.
Here are the assets you need:
01. Importing assets
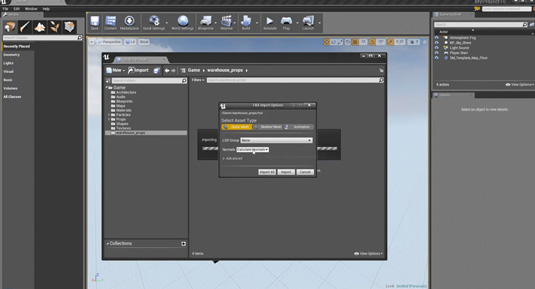
With the Content Browser open select the game folder and right-click to add a new folder. This is the location for all your assets so name it accordingly.
Open an explorer window and browse to the location of your exported .fbx files and select all of them; simply drag the selection from the window into the new folder you created. Unreal presents you with an .fbx importer options window, just change the normals rollout setting to Calculate Normals.
Daily design news, reviews, how-tos and more, as picked by the editors.
02. Creating new materials
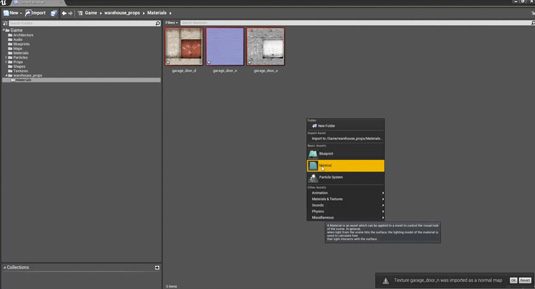
Using the same technique for the meshes, drag and drop the textures into a new folder called materials. With the textures imported, right-click anywhere in free space within the materials folder and select Material from the rollout.
This will create a blank material, name it appropriately. Double-clicking on the new material will open the material up for editing in a new window. This is where you drop your textures into the material and can set up how it will look.
Tip: Using texture samples
Hold down [T] with texture selected in the asset browser to drop a texture sample node into the material
03. Assigning textures
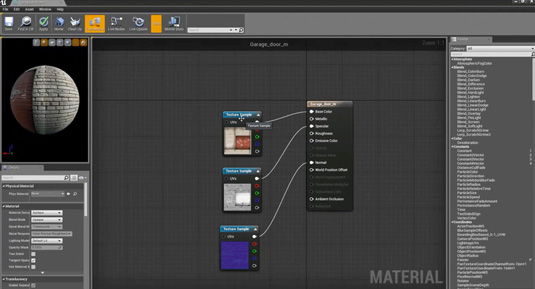
You have to plug in textures to their corresponding material slot in order for them to work correctly. For example, the diffuse texture will link into the Base Colour slot and the normal texture will link to the Normal slot. Drop Texture Nodes into the new material and assign textures to each of them, in this case, diffuse, normal and specular. Then link each texture to its corresponding material slot.
Next page: more on how to add to your basic game environment with assets and materials

The Creative Bloq team is made up of a group of art and design enthusiasts, and has changed and evolved since Creative Bloq began back in 2012. The current website team consists of eight full-time members of staff: Editor Georgia Coggan, Deputy Editor Rosie Hilder, Ecommerce Editor Beren Neale, Senior News Editor Daniel Piper, Editor, Digital Art and 3D Ian Dean, Tech Reviews Editor Erlingur Einarsson, Ecommerce Writer Beth Nicholls and Staff Writer Natalie Fear, as well as a roster of freelancers from around the world. The ImagineFX magazine team also pitch in, ensuring that content from leading digital art publication ImagineFX is represented on Creative Bloq.
