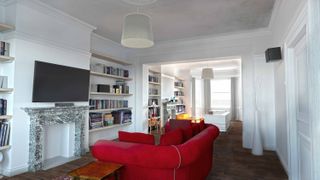
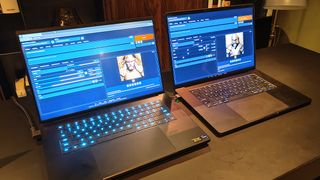
Want to know how to create a realistic 3D architectural fly-through but aren't sure where to focus your efforts within the pipeline? If you know the basics of 3D art, this tutorial is for you.
Although we will use XSI as a frontend, the steps should be fairly software agnostic. More detail is given on setting up global illumination in Redshift, so most of this will be applicable to a Maya frontend too.
01. Define your aims
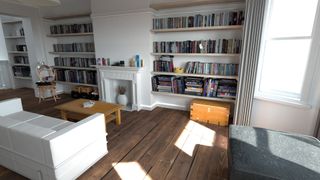
The first questions we ask any client at Fluid Pictures is who the project is for. You need to have a really good idea of who the audience is so you can be clear about how you want it to look. In this case, the project is to be shown to a TV executive and played off a laptop, and the idea is that it looks like it could have been shot on a smartphone.
02. Find references
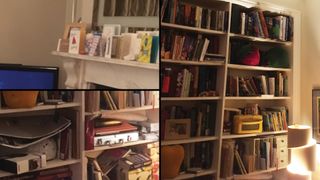
Once you have a concept in mind, go forth to the internet and find as many images as you can as reference. It is so much easier if you have something to hand to provide you with ideas, or to show you exactly what something looks like in indoor lighting.
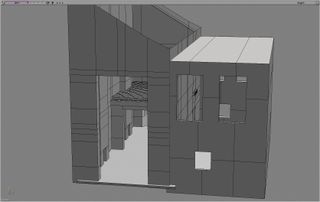
03. Model simple geometry
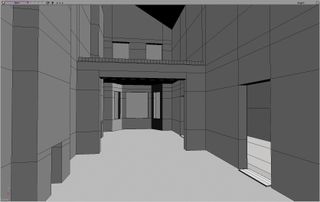
Get a primitive cube and start to model the base geometry of the architecture. In this case, it is a traditional two room ground floor North London house. Decide where the windows should be and make sure you’ve got all the major bits of architecture in place. If you’re having internal lighting (I’m not in this case), then get stand ins for those, too.
04. Start lighting
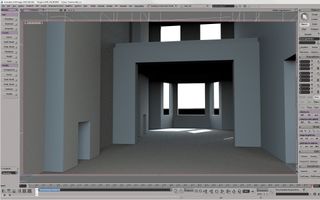
Add a white diffuse material to your walls and set up your lighting. My scene doesn’t have any additional interior lighting as it is supposed to look ‘off your phone’ real and not ‘shot like a movie’ real. I start with a HDR sky dome and a small area light for the sun to achieve sharp sun shadows.
05. Set up global illumination
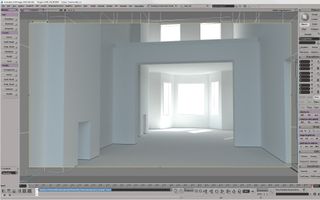
You’re not going to get anywhere without being able to the bounce light in the room. In the past, you either had to simulate each area of light falling into the room, or turn on global illumination and sit back for a long wait. Now you can switch on Redshift Brute-Force GI Engine and get good results in a fraction of the time.
Get the Creative Bloq Newsletter
Daily design news, reviews, how-tos and more, as picked by the editors.
06. Model furniture
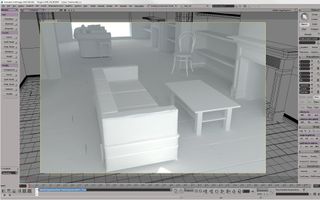
You need some furniture, so head to your web-based CG model shop, or make them by hand. Just create the major components that you know you’re going to need. Don’t go mad with detail and texturing just yet, but if you do build anything properly, make sure there are no problem polygons flickering away.
07. Set up camera moves
I want to be walking round the room, so set up a simple camera pan and fly-through at head height with a bit of automatic camera shake. Once again, get references; I walk about the room with a phone camera to get an idea of what a hand-held camera looks like. Don’t guess if you don’t have to.
08. Add detail to the architecture
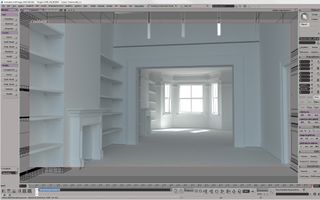
Once you’re happy with the way your camera is moving, you can start adding detail and textures to the architecture where you’re going to see it. Use those references to tell you where to add those unexpected bits of detail that make it real.
09. Add more detail to the scene
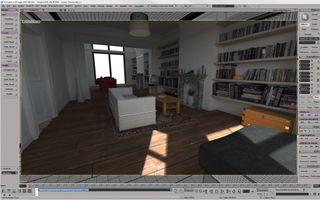
Kiss your weekend goodbye and keep adding detail. Use your reference to see what should be lying under the table. Texture the spine of every book, add rounded edges to everything. You might not see it, but you’ll know the detail is there. Keep going till you run out of time, money or willpower.
10. Check references and relight

So all is looking good. Check your reference again and make sure the colour balance looks convincing. Think about exposure. If you are shooting on a phone, it will vary the exposure as it looks into the light. Do you want to simulate that here, or in the grade afterwards? Render some low-res tests.
11. Decide on a global illumination method
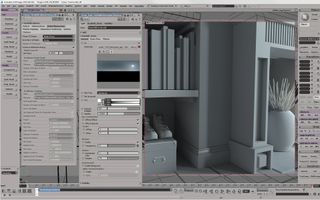
Redshift’s default GI is a brute force method that (fortunately) only has a couple of main parameters. If your render is noisy, as it likely will be – crank up the number of samples until it becomes smooth. However, this can take a very long time if you have big smooth white walls. Your best bet to avoid waiting ages is to invest in a noise reduction plug-in such as Neat Video.
The other GI option is number of GI bounces. You may be tempted to think that ‘more is better’, but be warned that a lot of GI bounces can flatten out your image and lose contrast as energy is bounced through the scene. My advice is to make yourself comfortable and keep testing.
The other main GI method is Irradiance point clouds and caching. Switch your primary and secondary GI to this, and the results will look a lot smoother with no grain. This method is great for large smooth areas of colour – a lot of the calculations are pre-processed so it can be faster for grain-free results.
The issue with irradiance point clouds is potential blotches in your render and you can sometimes see artefacts on fast-moving camera shots. And yes, you’ll have to render it out to realise you have issues, and then slink back to Brute Force and its longer render times.
12. Start compositing
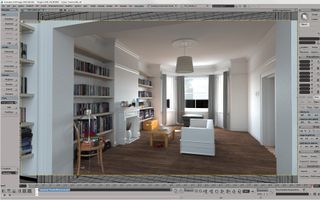
The aim of this project is to see what could be achieved in a single pass. But with Redshift, you are able to split up the render into its various components, so you can render out passes and then composite, adding subtle grades and effects as you do so, although at the moment, you can’t create custom AOVs.
13. Adjust grading
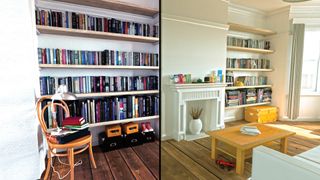
Your final render should be a thing of beautiful reality, and the last thing to do is adjust the grade and add any effects. You should have thought long and hard about your digital cinematography so changes should be minor, but this is where you can push that big filmic grade, or in our case start to desaturate and get a low-tech look.
I don’t feel the need to add grain, video streaks or the appearance of a rolling shutter as I am replicating a phone camera. Just a few tweaks on the levels and you’re done.
This article originally appeared in 3D World issue 224. Buy it here.
Related articles:
