The image editor every landscape photographer should know
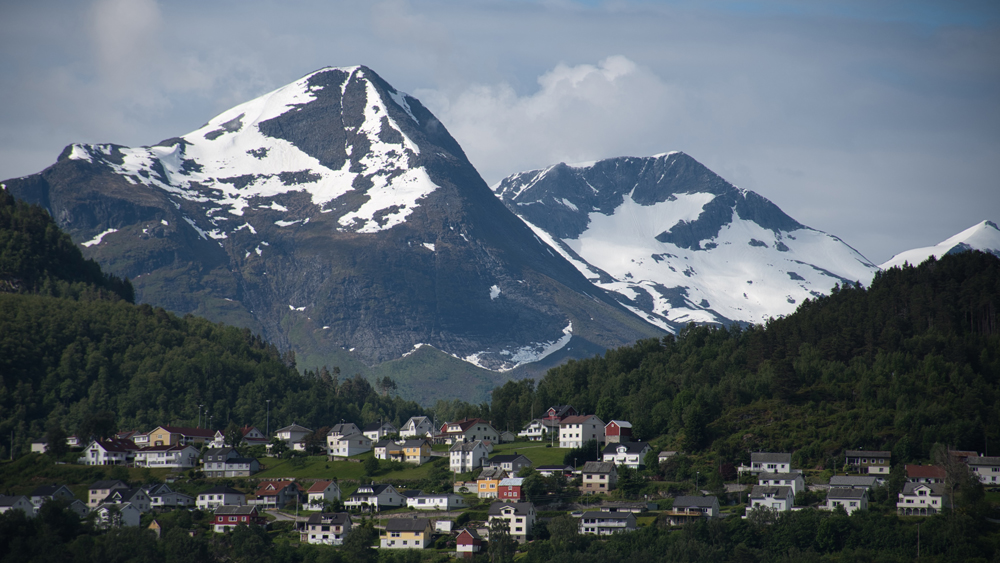
The world is overflowing with beautiful landscapes, which can captivate us for hours. The variety landscape photography offers makes it one of the most popular subjects to shoot. But have you ever taken a photo, of a sunset or storm for example, and noticed how the image just doesn’t do it justice? Capturing a moment that conveys the right light and atmosphere to really give a sense of a scene is difficult, but luckily Luminar 4 has a number of tools to use help really bring your landscape photography to life.
We’ve already covered Luminar 4’s AI Sky Replacement and AI Augmented Sky tools for when nature doesn’t quite produce the good. Plus the Clone & Stamp and Erase tools to get rid of unwanted objects in a scene or background. But now it’s time to focus on a set of tools created specifically for landscape photography – all of which can be found in the Landscape Enhancer Panel in the Luminar 4 Essentials Workspace.
Let’s take a closer look at the tools on offer, and how they can enhance your landscape photography.
4 tools to help quickly improve a landscape
01. AI Enhance
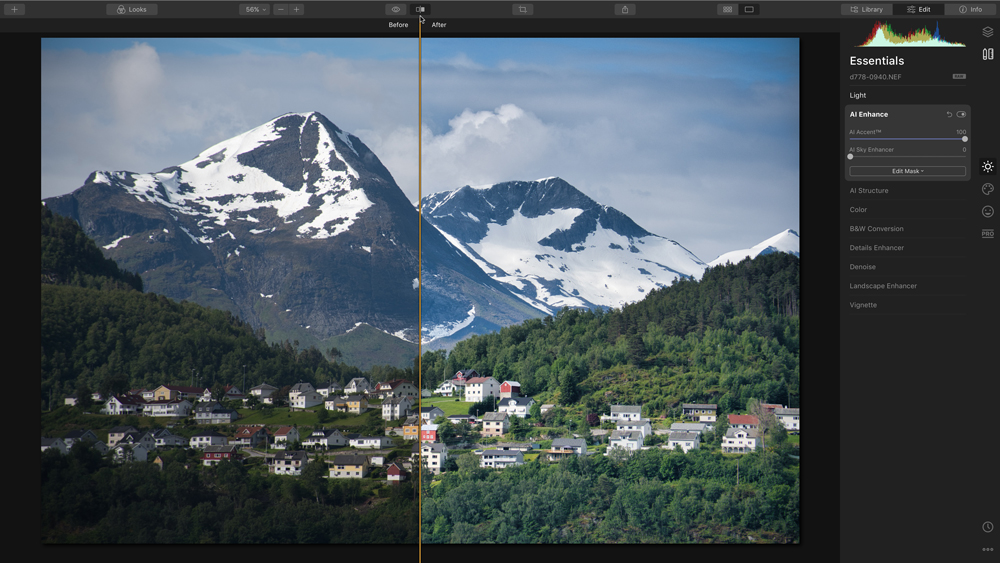
The AI Enhance tool may look unassuming, but don’t be fooled by it’s simple slider-like appearance. Behind this simple tool lies some advanced machine learning algorithms, which can divide a scene into areas and objects that can then be enhanced and adjusted individually. This is a really quick and simple way to fix or improve any obvious tone and colour issues.
02. Dehaze
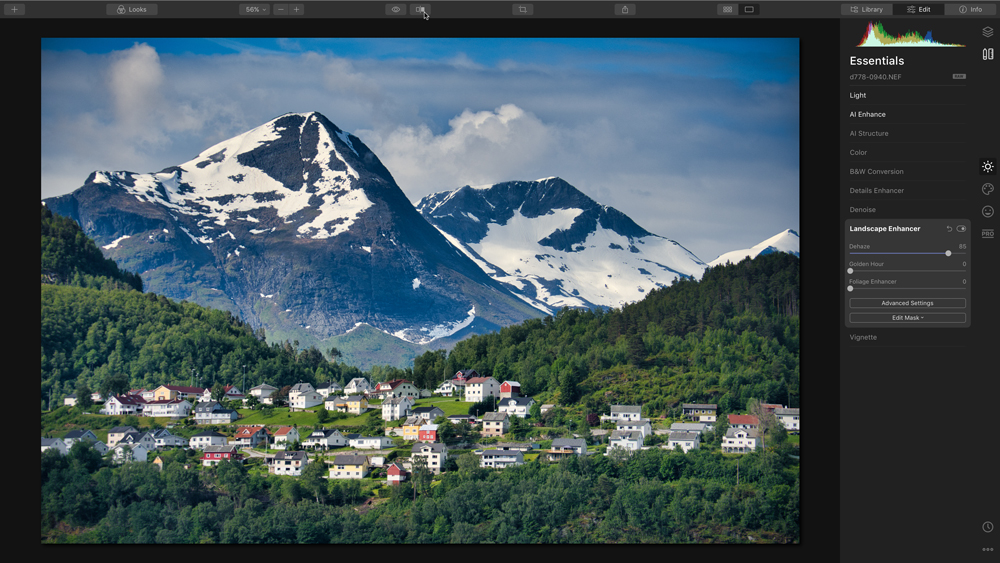
The Landscape Enhancer Panel include a Dehaze tool, which works to restore and correct depth and contrast. Operating in a slightly more subtle way than other photo editing tools, don’t be afraid to experiment with high values.
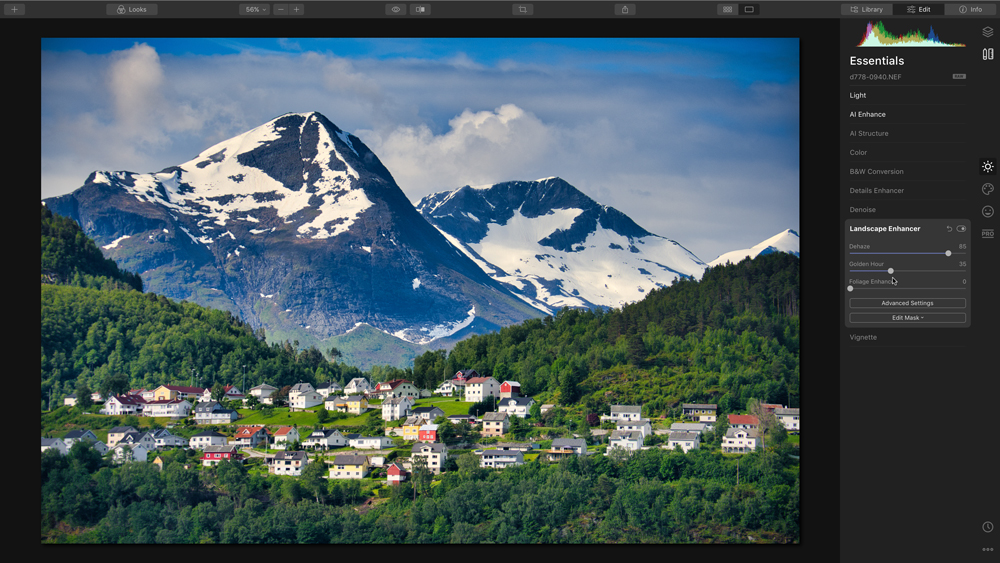
03. Golden Hour
If your image is lacking in warmth, the aptly named Golden Hour tool is your go-to. So if your landscape is looking a little cooler than you remember, experiment with the Golden Hour values. Be mindful, however, as this affects the saturation levels too. A clever little feature though, Golden Hour allows you to add warmth without distorting tones in the sky.
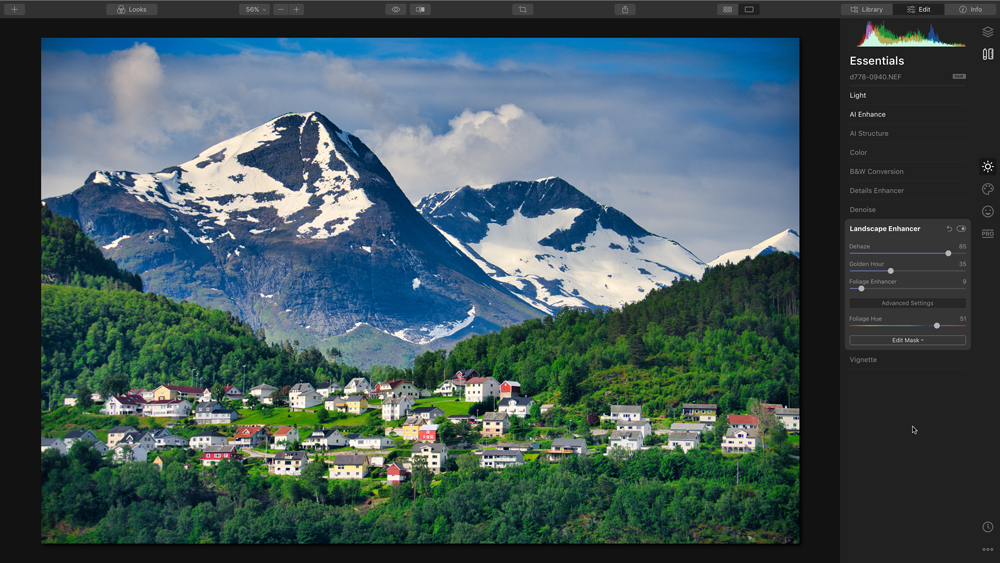
04. Foliage Enhancer
Another clever tool, the foliage enhancer can recognise and pick all of the greenery in a scene for enhancement, leaving the rest untouched. It’s worth noting this tool is highly sensitive, so even low values will have a big impact on the overall image. Use the Advanced Setting button to access a Foliage Hue slider, which helps make trees and grass the most luscious shades of green.
5 easy ways to create stunning landscapes with Luminar 4
The editing tools in Luminar 4 are extensive, and designed to be used together. Here are some super easy but effective ways to use Luminar’s Landscape enhancement features to create truly stunning landscape photography.
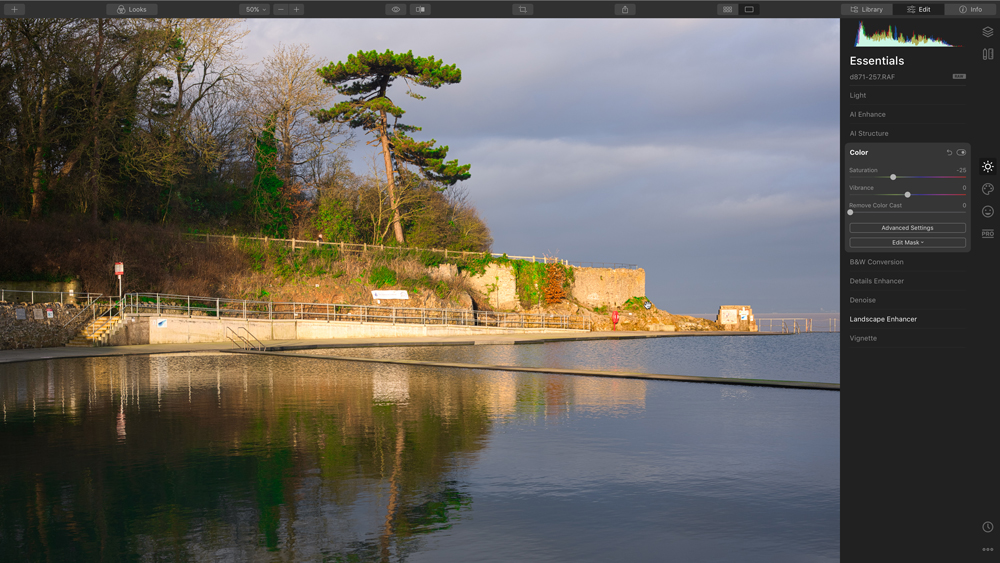
01. Controlled saturation
Using a combination of Dehaze, Golden Hour and Foliage Enhancer can affect the overall saturation of a photography, often pushing it too high. To counteract this, swap to the Color Panel and reduce the saturation value a little. Start with -25% and tweak either way for the best look.
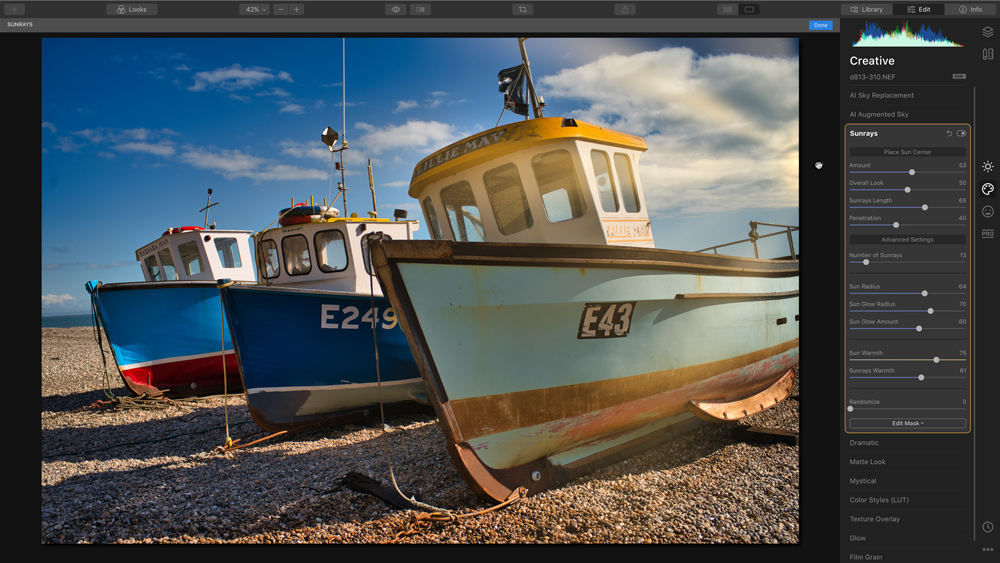
02. Sunshine on demand
If you’re after a little bit of light, but the whole sun in your image is overkill, the Sunrays filter in Luminar 4 is a brilliant way to dial it down and instead feature beautiful, atmospheric lighting. Access this feature via the Place Sun Center button and simply move the unjust outside the overall frame.
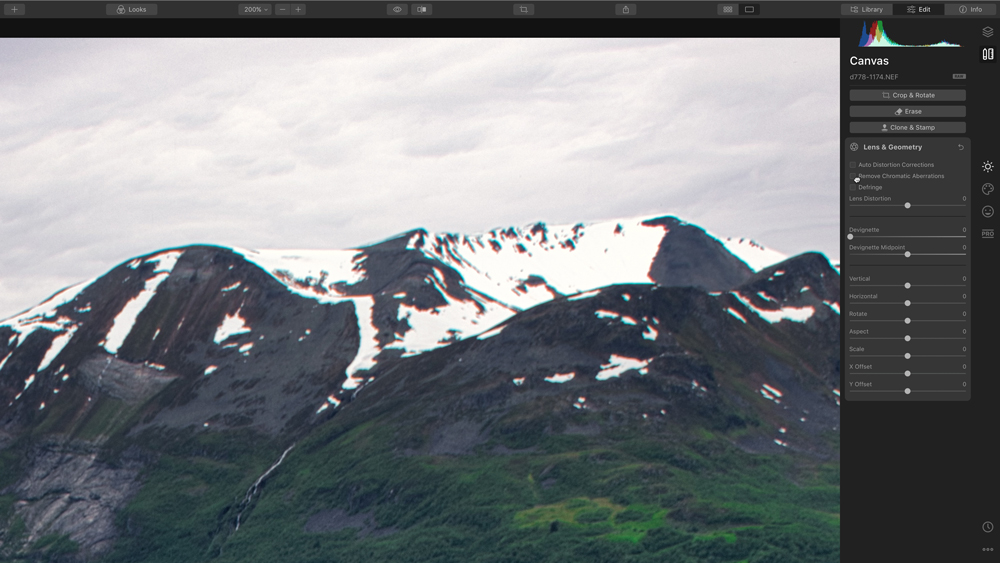
03. Lens corrections
If you’re using a lens that produces chrome aberration (as seen here on the mountain tops) and shooting raw, simply use Luminar’s Lens & Geometry panel to correct this first.
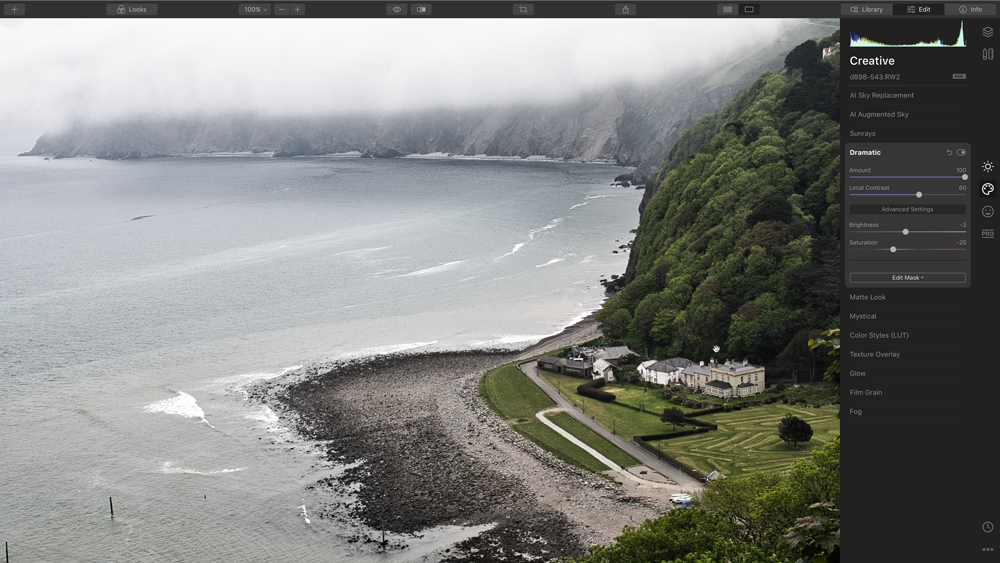
04. Added drama
If your dark and moody landscape to be a bit more dramatic, add some intensity with the aptly named Dramatic Panel. Use the Local Contrast slider to increase the definition of objects in your scene – high contrast, low saturation for the win.
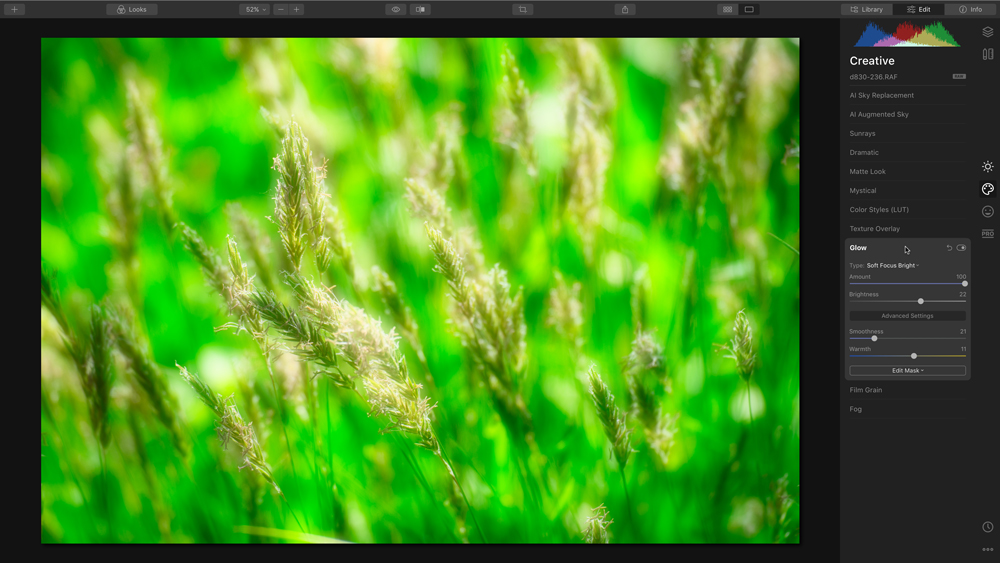
05. Soft glow filter
Alternatively, if you’d like to opt for a more soft, dreamy-like landscape, use the glow filter in the Creative Workspace. No more drama and hard edges, this handy little feature gives landscape photography a much more attractive and evocative feel.
Get your copy of Luminar 4 today
Want to give Luminar 4 a try? You can download a free seven-day trial via the Skylum website today. Available in both macOS and Windows versions, this is one photo editing tool every landscape photographer should know. Save £10/$10 on the full purchase price with the exclusive discount code CB.
Daily design news, reviews, how-tos and more, as picked by the editors.

The Creative Bloq team is made up of a group of art and design enthusiasts, and has changed and evolved since Creative Bloq began back in 2012. The current website team consists of eight full-time members of staff: Editor Georgia Coggan, Deputy Editor Rosie Hilder, Ecommerce Editor Beren Neale, Senior News Editor Daniel Piper, Editor, Digital Art and 3D Ian Dean, Tech Reviews Editor Erlingur Einarsson, Ecommerce Writer Beth Nicholls and Staff Writer Natalie Fear, as well as a roster of freelancers from around the world. The ImagineFX magazine team also pitch in, ensuring that content from leading digital art publication ImagineFX is represented on Creative Bloq.
