





Creative Bloq Verdict
The Cricut Maker 5 isn't a big leap from the Maker 4, but it's smaller, lighter, easier to set up and can cut materials up to 3mm thick. It also keeps the versatility that makes the Maker range so appealing, from intricate paper designs and vinyl stickers to engraving metal and cutting fabric.
Reasons to buy
- +
Smaller and lighter than earlier Makers
- +
Cuts materials up to 3mm thick
- +
Huge range of tools and materials
- +
Up to twice as fast as the Maker 3
Reasons to avoid
- -
Little reason for Maker 4 owners to upgrade
- -
Rotary blade, knife blade and FabricGrip mat cost extra
Why you can trust Creative Bloq Our expert reviewers spend hours testing and comparing products and services so you can choose the best for you. Find out more about how we test.
Price: $349 / £349.99 machine only, $399 / £399.99 Essential Bundle, $529 / £499.99 Ultimate Bundle
Dimensions: 50.2 x 19.1 x 11.9cm
Weight: 4.9kg
Cutting speed: Up to 14.1 inches per second
Materials support: 300+ compatible materials
Maximum cutting speed: 3mm (depending on material and tool)
Compatible tools: 13, including engraving
Maximum Smart Material cut length: 3.6m (12ft)
Maximum cut area: 29.2 x 59.7cm with a large mat
Connectivity: Bluetooth Low Energy, USB-C
Software: Cricut Design Space
I've been using Cricut machines for years, mostly for quilting and personalised craft projects, and what keeps me coming back to the Maker range is how much one machine can do. The Maker 5 keeps that going. Cuts are accurate, it's quick, and Design Space makes projects easy to start, whether you work from a template or design your own.
If you own the older Maker 3, I'd seriously consider upgrading: the faster cutting and more compact body are noticeable straight away. If you already have the slightly newer Maker 4, it's a harder argument to make, because Maker 5 tidies up the older machine and makes subtle improvements rather than replacing it, and the Maker 4 is still an excellent cutter.
For anyone choosing a first Cricut, the Maker 5 is a great option, provided you'll use its extra capabilities. If you mostly make cards, stickers and vinyl decorations, the cheaper Explore range may be all you need.
In this Maker 5 review, I go into detail on what the new craft machine can do, how to use it, and how it compares with recent Cricut releases.
Cricut Maker 5: design & setup
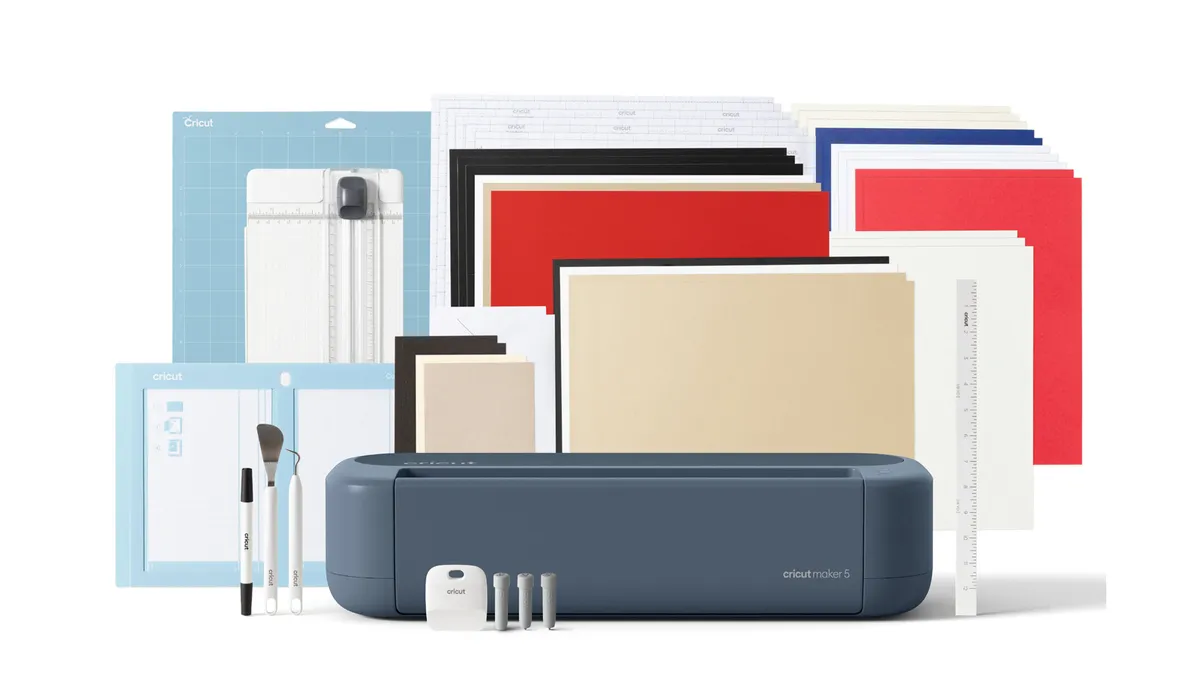
The first thing I noticed was the colour. The Slate Blue finish is a soft grey-blue that looks more contemporary than earlier Makers. It's also a lot smaller, with Cricut claiming a 30% reduction in size compared with earlier machines. At around 50cm wide, 19cm deep and 12cm high, it takes up noticeably less room on my desk, and at 4.9kg it's lighter than the Maker 4, so it's easy to move or put away. That's handy if you have a dedicated craft room, and even more so if, like me, you sometimes have to share your workspace with other projects.
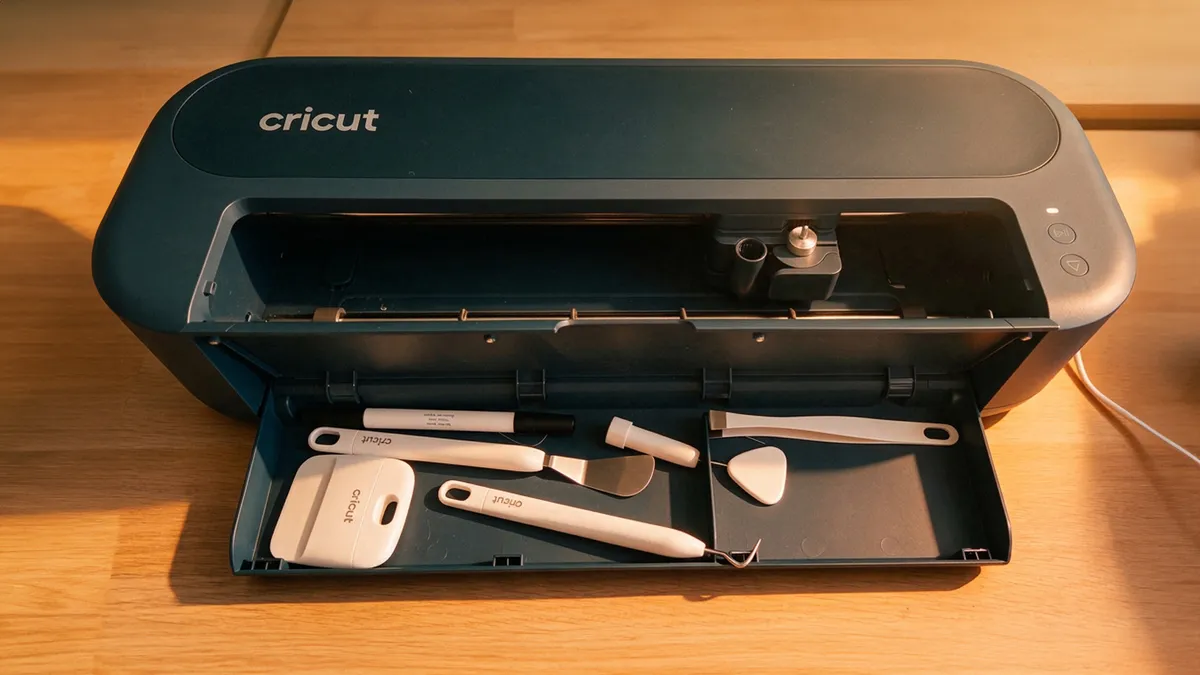
The lid includes a storage tray to keep tools close at hand, and the overall design feels neat and considered.
Setup is straightforward. Head to the Cricut website, select the Maker 5 and follow the instructions. It tells you how much room you need in front of and behind the machine for materials and mats to feed through, and reminds you to remove the packaging before you start. Plug it in, open Design Space on your computer, and follow the prompts. The machine connects over Bluetooth; there's no separate on/off switch to worry about, and the software talks you through loading material and starting each job.
The Maker 5 comes with a 12 x 12 in LightGrip mat, a cutting tool, a scoring tool, and a dual-sided black marker, plus materials for your first project. Depending on the bundle, you may also get a portable trimmer.
If you're upgrading from an older Cricut, many of your existing tools carry over, including mats, fine-point blades, and many older Maker tools, as well as Smart Materials such as vinyl and iron-on. The new snap-in pen holder has different compatibility requirements, though, so check your pens before assuming they'll fit.
The rotary blade for cutting fabric and specialist blades such as the knife blade for thicker materials are extra purchases. They matter most if you're buying the Maker for quilting or more ambitious projects.
Cricut Maker 5: performance & cutting
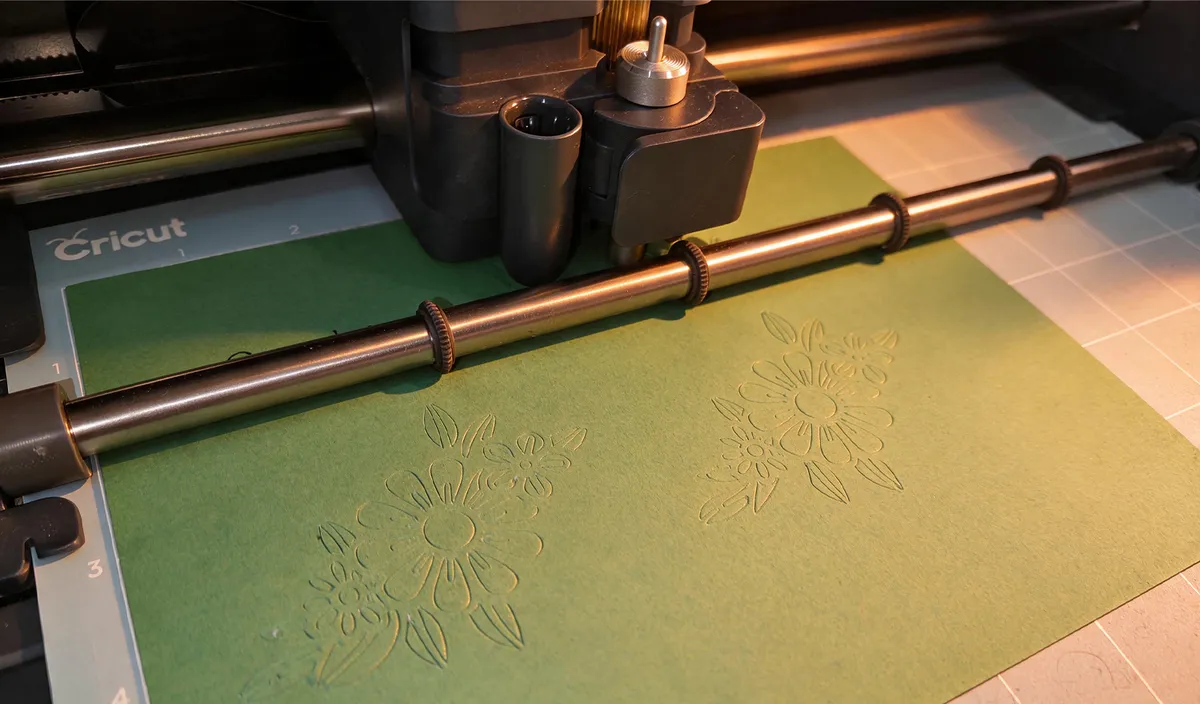
The Maker 5 cuts up to 14.1 inches per second, which is fast, but the Maker 4 already offered that speed, so don't expect a dramatic difference if you're upgrading from that model. Maker 3 owners will notice more: like the Maker 4, the Maker 5 cuts up to twice as fast, which really shows when you're working through multiple designs or larger projects.
It handles more than 300 compatible materials, from delicate paper and vinyl to leather, fabric and selected thicker materials. It can cut, draw, score, engrave and deboss, and it works with a home printer for full-colour Print Then Cut projects.
Smart Materials are a big part of the Cricut experience. They feed straight into the machine without a cutting mat, which makes longer designs much easier. Smart Vinyl, for example, can be loaded directly for continuous cuts of up to 12ft. Leftover vinyl doesn't have to go to waste either, as you can stick smaller pieces onto a Cricut mat.
For standard cardstock, vinyl and iron-on projects, the Maker 5 is very easy to use. Design Space tells you which material to select, which blade or tool to load and when to feed the mat into the machine, so you spend more time creating and less time worrying about settings.
Cricut Maker 5: quilting & fabric
This is where the Maker 5 earns its place as Cricut's flagship. The Explore range handles everyday crafting well, but I'd recommend the Maker to anyone serious about quilting, sewing or fabric projects. In fact, anything that requires more power and precision.
The rotary blade cuts fabric accurately and quickly, without endless measuring or hand-cutting shapes. You'll need to buy the rotary blade and housing separately, along with a pink FabricGrip mat, available in 12 x 12 inches and 12 x 24 inches.
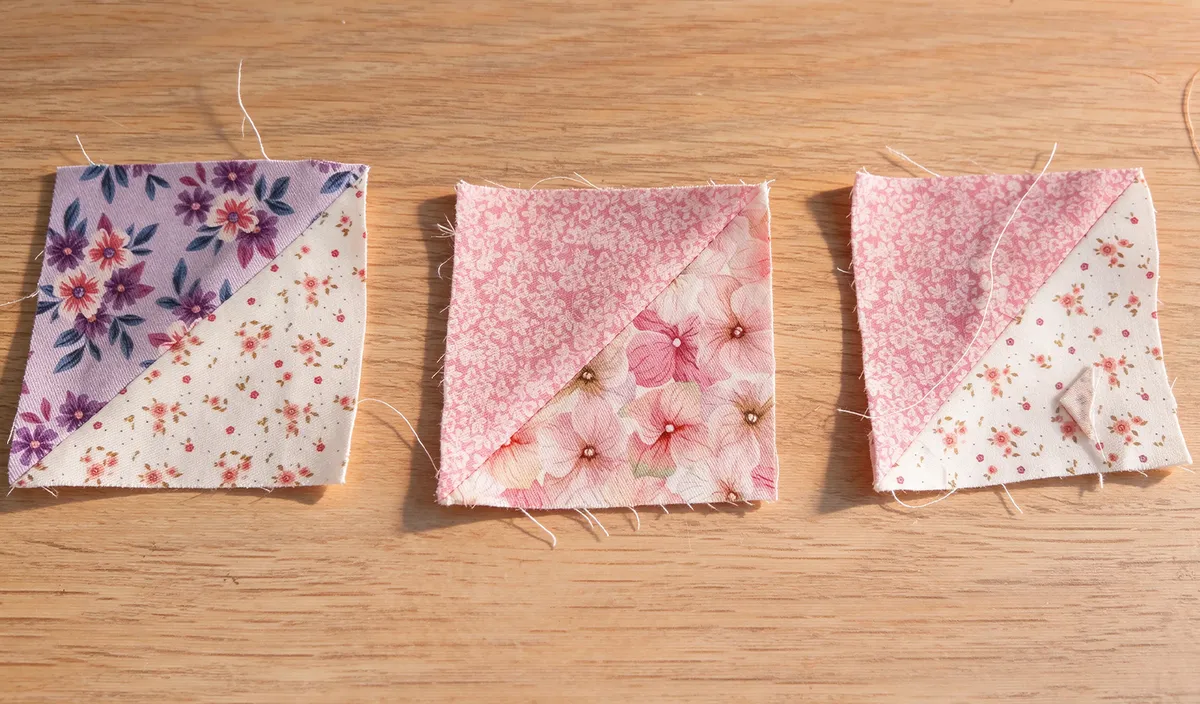
For quilters, that's a huge time-saver. Design Space offers a selection of quilting blocks and templates, with components separated into shapes and colours, ready for cutting. Take the half-square triangle, a quilting staple that's surprisingly fiddly to cut by hand. You're cutting on the bias, so accuracy matters if the pieces are going to line up.
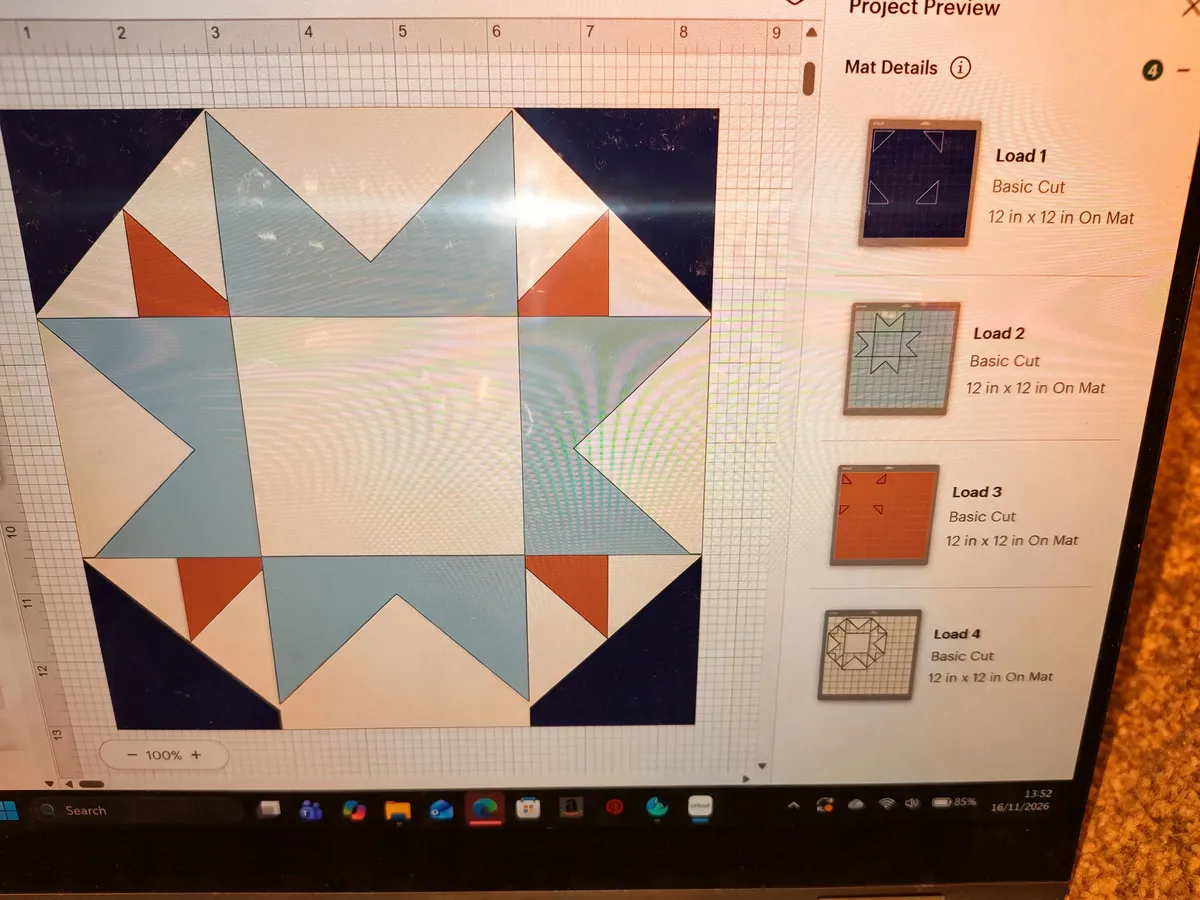
In Design Space, I create a square, add a diagonal line and change the line operation to Cut. After rotating it by 45 degrees, I position it over the square, select both elements and attach them. The result is two accurately cut triangles, ready to use. When you're making a quilt with dozens or even hundreds of identical pieces, having the machine do the repetitive cutting makes a real difference.
The Maker can also handle thicker, more demanding materials than the Explore machines, up to 3mm. Add a knife blade, another extra, and selected wood and chipboard projects open up too.
Engraving personal keepsakes
Engraving is one of my favourite things about the Maker 5. I photographed my house, uploaded it to Design Space, and used the software to prepare the image for engraving on an aluminium sheet. I was thrilled with the result. The machine picked out the lines and architectural details of the building, making a personalised piece that would suit a keepsake or gift. It's the kind of project that shows why I'd pick a Maker over an Explore if you want to experiment with different materials and techniques.
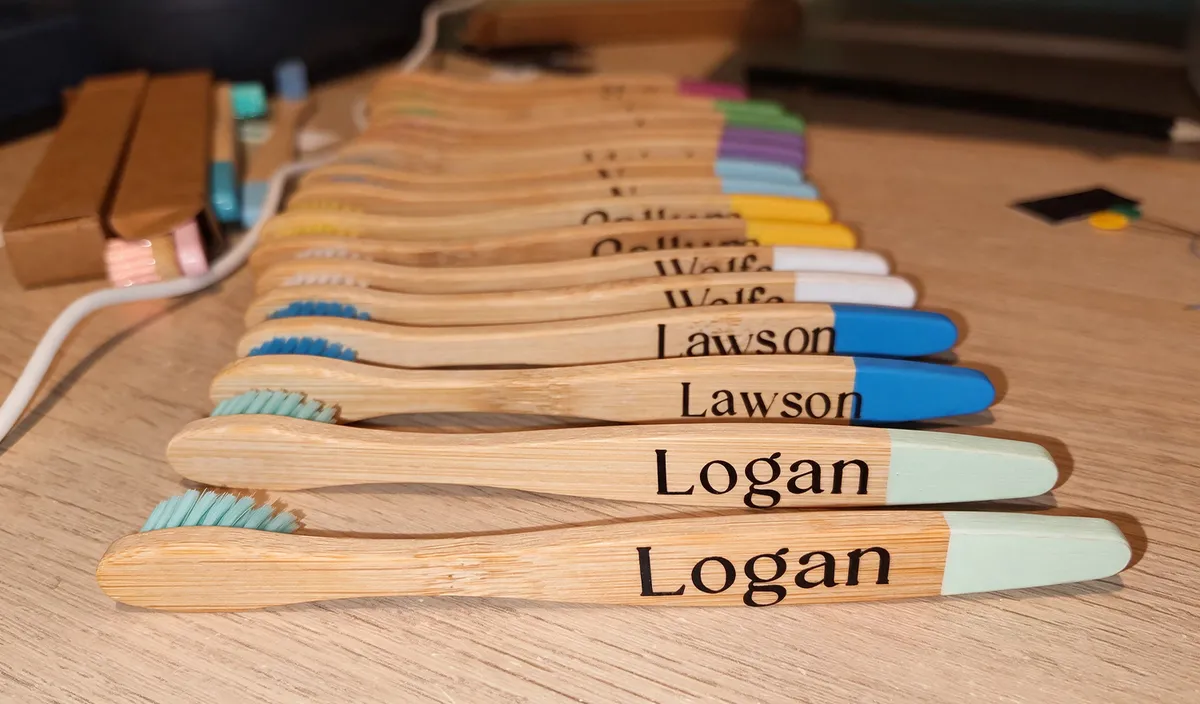
I also used the Maker 5 to engrave and colour a set of toothbrush gifts (pictured) for someone in my village. The process was challenging but fun, and the Maker 5 powered through the set with ease.
The engraving tool works with the Maker 5, but it isn't included in every bundle, so check what you're buying. You can also buy it separately, and Cricut sells suitable metal and acrylic blanks. With the right tools, the machine can also deboss, score, and perforate, leaving plenty of room to experiment beyond straightforward cutting.
Creating vinyl stickers and personalised labels
Personalised vinyl lettering is one of the easiest projects to start with. I've used Design Space to make name tags for items that need a little personalisation. Select Text from the menu, type the names, and choose your font and size. When you're happy with the design, load your Smart Permanent Vinyl with the coloured side facing up. The machine cuts around the letters, leaving you to remove the unwanted vinyl.
This is where patience and a micro-weeding tool come in handy. The tiny pieces inside letters such as 'e' and 'a' can be fiddly to pick out, particularly in smaller text. Next, cut a piece of transfer tape, peel off the backing, and place it over the design. Use a scraper to make sure the lettering sticks to the tape, then lift it away and press it onto your chosen surface. Permanent vinyl is already adhesive-backed, so you don't need any extra glue.
Iron-on vinyl works similarly, with two key differences. Switch on Mirror in Design Space before cutting, and place the iron-on with its shiny side down on the mat. That way, the lettering reads correctly when you transfer it to fabric with a heat press.
Using Print Then Cut with Maker 5
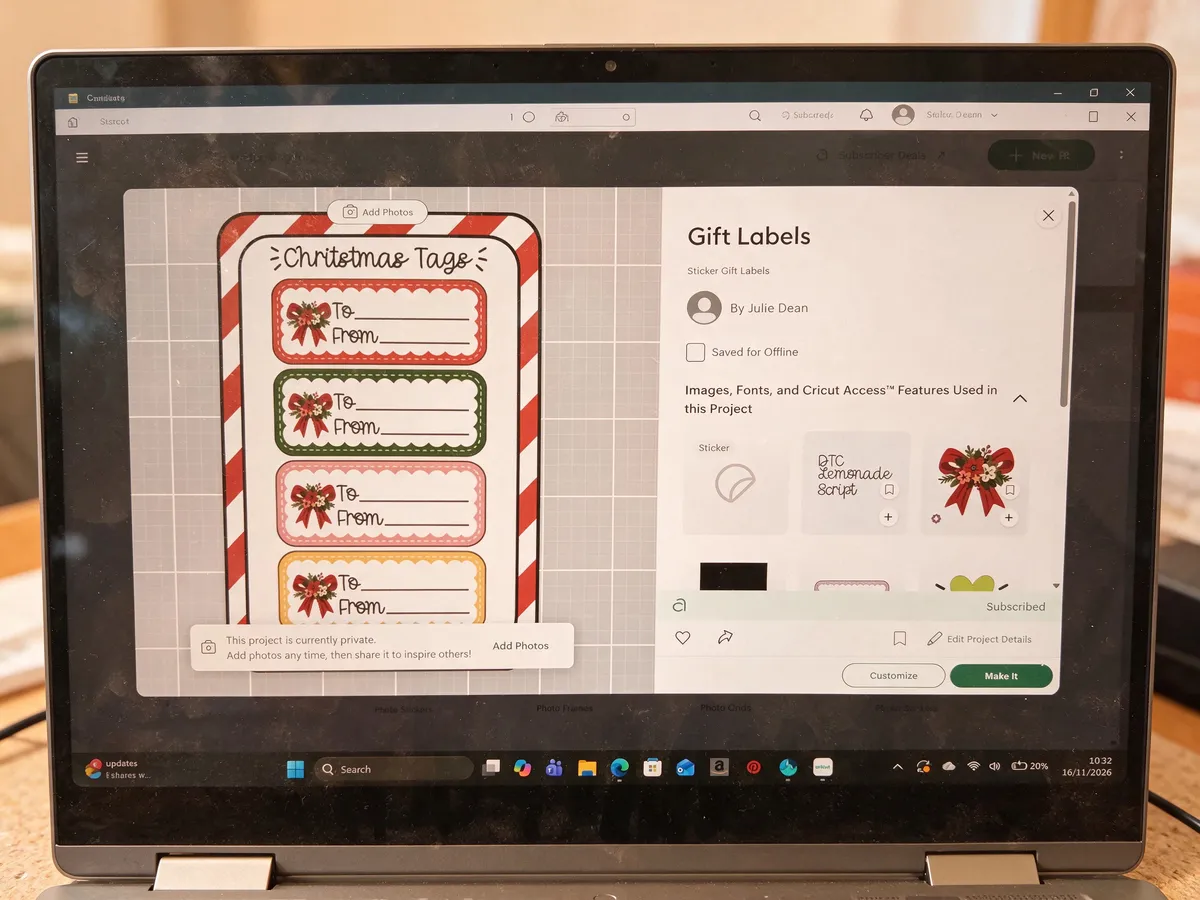
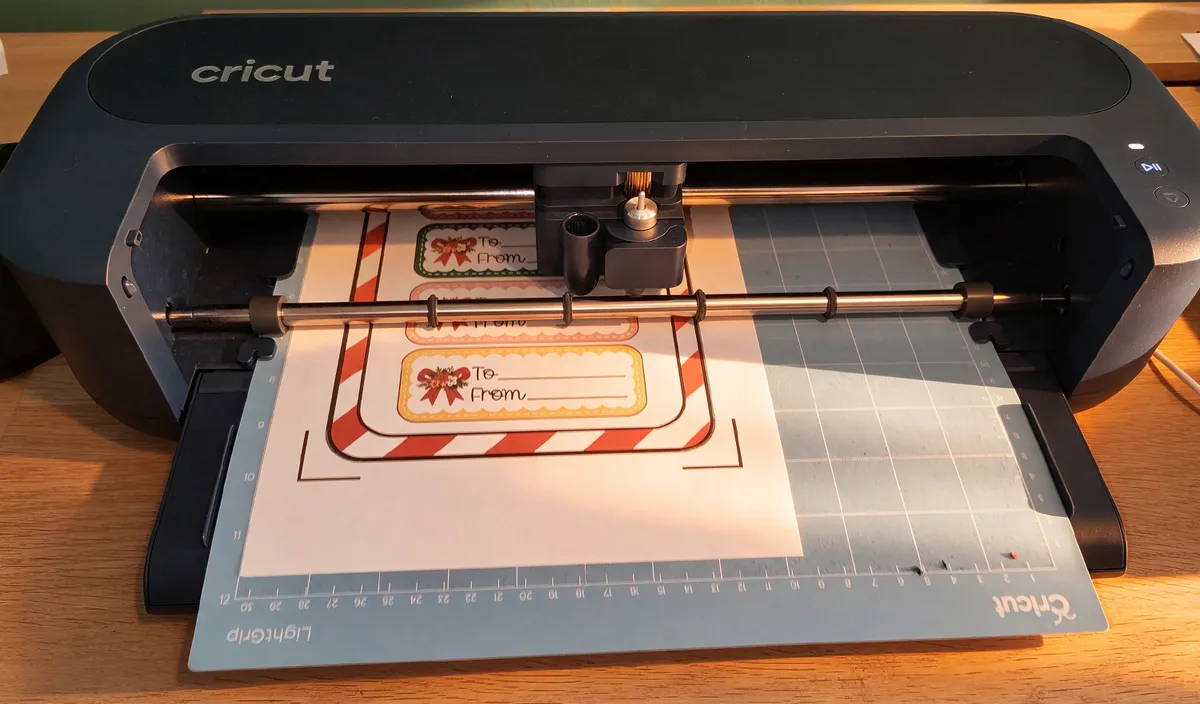
Print Then Cut is one of the most useful features if you like making colourful stickers, gift labels or personalised stationery. Instead of being limited to vinyl colours and effects, you print a full-colour design on your home printer and let the Cricut cut around the individual shapes.
I use it for Christmas present labels. Create your design in Design Space, select Print Then Cut and send it to your printer. Once it's printed onto suitable printable vinyl or sticker paper, place the sheet on the Cricut mat and load it into the machine. The Maker 5 reads the registration marks and cuts around the printed designs, giving you colourful stickers with neat edges.
You'll need to buy printable vinyl or sticker paper separately, though, and the final results depend on your printer as well as the Cricut.
Paper crafts, cards and decorations
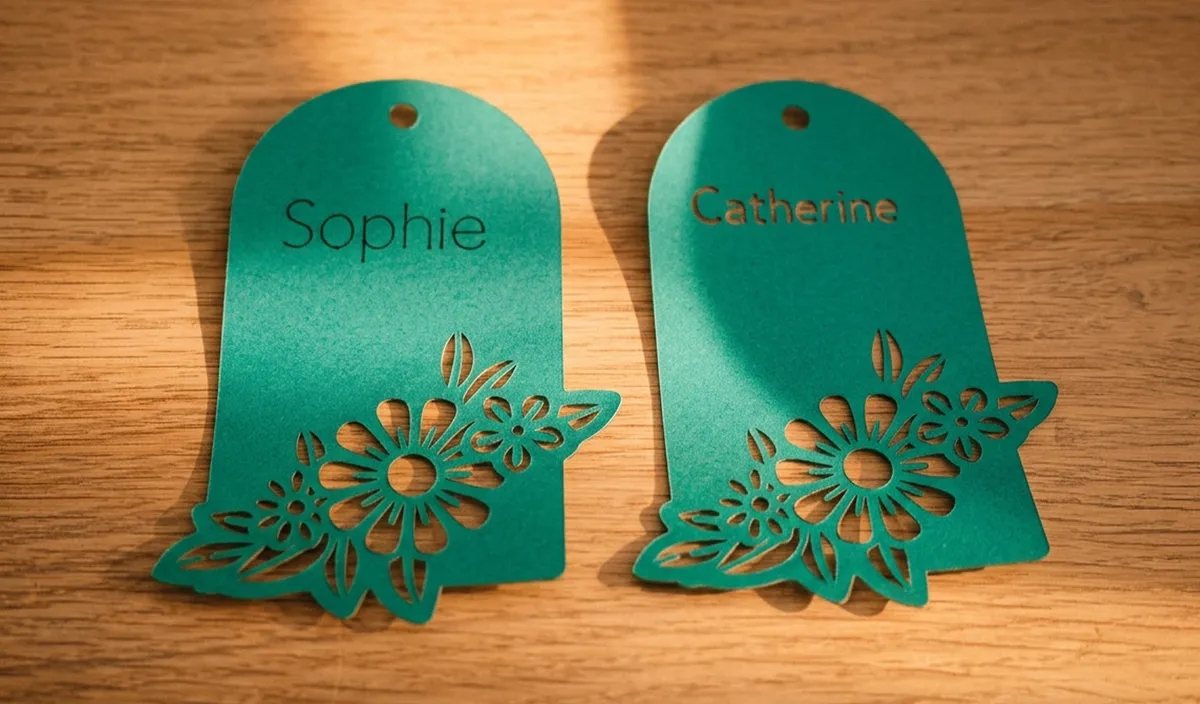
If you enjoy paper crafting, Design Space offers plenty to explore. You can choose pre-made templates, edit existing projects or start from scratch with your own images, shapes and text.
I've used it to make personalised Christmas gift tags, combining the machine's drawing and cutting functions. For one design, I set the machine to write a name with the pen, then switched to the fine-point blade to cut out the tag. For another, I used the blade to cut the lettering itself, which gives a different finish. Being able to write and cut in one project is useful, and Design Space makes it easy to arrange everything before you send the job to the machine.
You can also make paper flowers, boxes, cards, and Christmas decorations, with a huge range of templates you can customise in different colours, fonts, and materials. The included scoring tool helps here, giving you clean fold lines for cards and boxes.
Using foil transfer with Cricut Maker 5
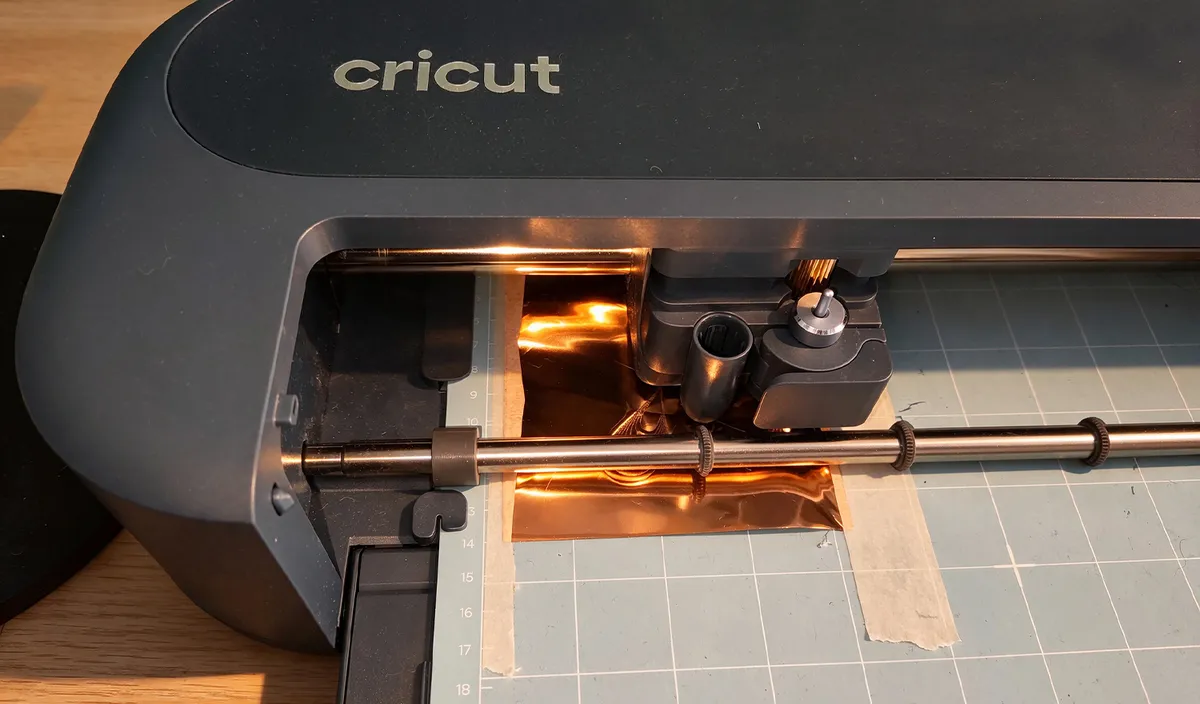
Foil is another way to give cards, gift tags and decorations a more professional finish. The Maker 5 supports Cricut's Foil Transfer Tool, but you'll need to buy the tool and foil sheets separately.
I used the Cricut Foil Transfer Kit, which costs around £43.49 and includes the tool, foil sheets and adhesive strips. It took me three attempts to get the result I wanted, but once I'd got the hang of it, the finish was excellent.
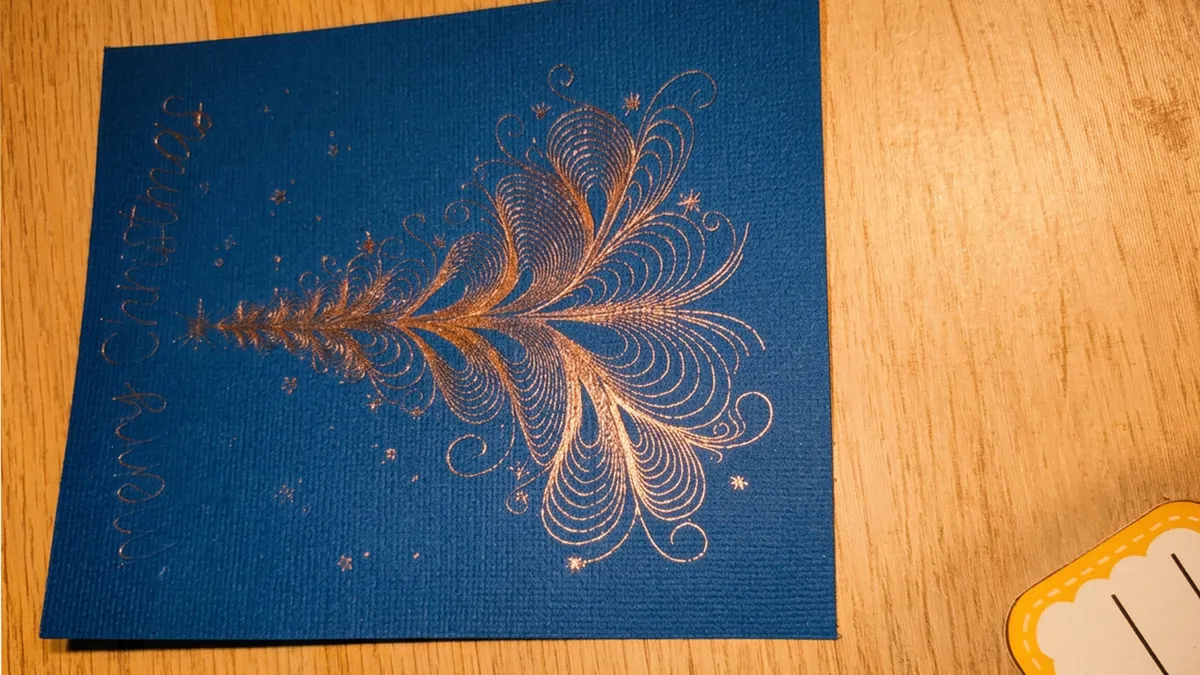
A few tips if you're trying it yourself:
- Choose your design in Design Space and use good-quality cardstock.
- Keep the foil away from the blank Cricut mat, as it can stick to the surface and damage it.
- Place your card on the mat, then position the foil shiny-side up over the area you're decorating.
- Secure the foil with the supplied white adhesive strips.
- Follow the on-screen instructions carefully and load the correct foil transfer tip. The tips are marked with different stripes.
- Some designs need a second pass. If so, carefully remove the first piece of foil, add a fresh piece and change to the correct tool when prompted.
Once it's finished, unload the mat and carefully remove your card. The metallic detail makes handmade cards and gifts look far more polished.
Cricut Design Space and AI features
You control the Maker 5 through Cricut Design Space, which is available on desktop and mobile. It's easy to install and walks you through each stage of a project. There's a huge library of ready-made designs, templates, and fonts, so you don't need to be confident with graphic design to get started; you can upload your own images or build designs from scratch.
Cricut has also added AI-assisted image generation, which is handy if you have an idea but don't have the illustration skills or software to create the artwork yourself.
The basic Design Space app is free, and you don't need a Cricut Access subscription to operate the machine. Access unlocks a much larger library of images, fonts, and ready-made projects, and some features and content depend on it, so it's worth factoring the ongoing cost into your budget if you expect to use the library regularly.
What I like most is how the software guides you through the making process. Pick your project, choose your material, follow the instructions, and the machine does the hard work while you focus on the creative side.
Cricut Maker 5 vs Maker 4, Explore 5
Choosing a Cricut can be confusing with so many models around. The Maker 5 sits at the top of the range, but that doesn't mean it's right for everyone.
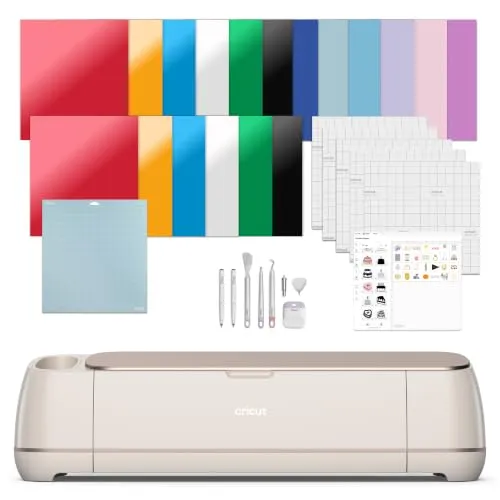
The Maker 4 is still very capable, and the two share much of the same cutting performance and tool compatibility.
The Maker 5 is smaller and lighter, has USB-C connectivity and a revised tool and pen-loading system, and handles compatible materials up to 3mm thick, compared with the Maker 4's 2.4mm.
Both cut at up to 14.1 inches per second, so there's no speed advantage. If you already own a Maker 4, I'd only switch if the smaller footprint, lighter body or workflow improvements matter to you.
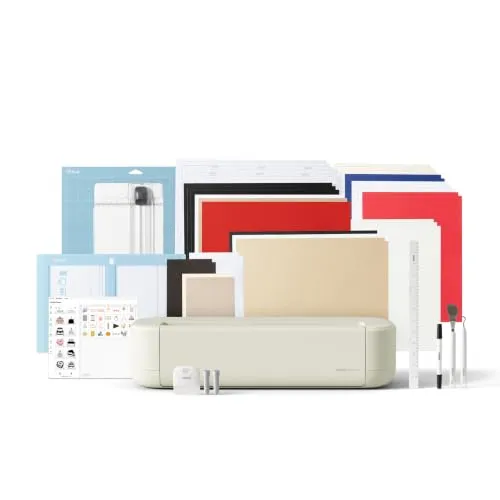
The Explore 5 is much more affordable and ideal for everyday crafting. It handles vinyl, paper, cardstock and iron-on materials, and it's a great choice for stickers, cards, personalised gifts and decorations. It doesn't have the Maker's full range of tools, though.
If you're a quilter, want to cut fabric with a rotary blade, engrave metal, or work with more demanding materials, choose the Maker 5.
For many hobby crafters, the Explore 5 will be perfectly adequate. But if you want to grow into more ambitious projects, the Maker gives you far more flexibility.
Cricut Maker 5: should you buy one?
The Cricut Maker 5 is an excellent cutting machine, and versatility remains its biggest strength. Whether you're making personalised labels, Christmas decorations, paper flowers, cards, fabric patterns, or engraved keepsakes, it can do very little with the right tool and material.
I like how easy it is to set up and use. The smaller size is welcome; the lighter body makes it easier to move around, and the software takes much of the guesswork out of creating projects. Print Then Cut is great, and the engraving shows how much potential there is beyond everyday vinyl and paper crafts.
The extras add up, though. For quilting, you'll need a rotary blade and FabricGrip mat. Engraving, foiling and other specialist projects need their own tools and materials, and printable vinyl is another cost if you plan to make stickers. The supplied cardstock is useful for getting started, but I found it stuck to the mat when I tried to remove it, so peel it away carefully.
If you're upgrading from a Maker 3, the doubled cutting speed makes a compelling case. Maker 4 owners should be more cautious, as the smaller design and extra material thickness are useful, but the cutting performance is largely the same.
For anyone buying their first serious Cricut, though, the Maker 5 is a smart buy. It's easy to use, surprisingly compact for what it can do, and it lets you experiment with a huge range of projects. If you're a quilter or someone who likes to make a little bit of everything, this is the Cricut I'd choose.