Break the JPEG code
Stephen Hislop shows you how to manipulate the code of an image
Sign up to Creative Bloq's daily newsletter, which brings you the latest news and inspiration from the worlds of art, design and technology.
You are now subscribed
Your newsletter sign-up was successful
Want to add more newsletters?

Five times a week
CreativeBloq
Sign up to Creative Bloq's daily newsletter, which brings you the latest news and inspiration from the worlds of art, design and technology.

Once a week
By Design
Sign up to Creative Bloq's daily newsletter, which brings you the latest news and inspiration from the worlds of art, design and technology.

Once a week
State of the Art
Sign up to Creative Bloq's daily newsletter, which brings you the latest news and inspiration from the worlds of art, design and technology.

Seasonal (around events)
Brand Impact Awards
Sign up to Creative Bloq's daily newsletter, which brings you the latest news and inspiration from the worlds of art, design and technology.
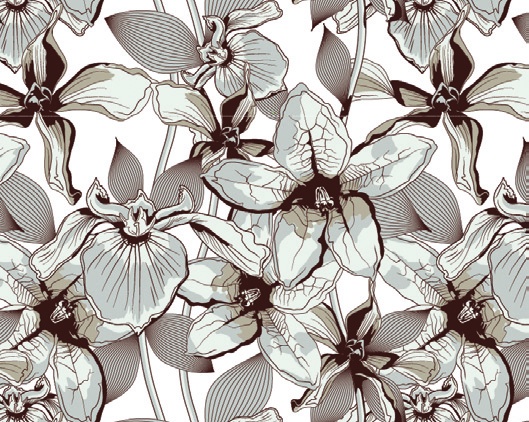
08 Now that we have the image, we will need to edit the colours and make changes to give it a more solid feel. Open the image in Photoshop. You will be greeted with a damage warning – simply click OK and the image will load. Sometimes if the code has been broken, you can simply preview the image and take a screenshot, then load this with Photoshop.
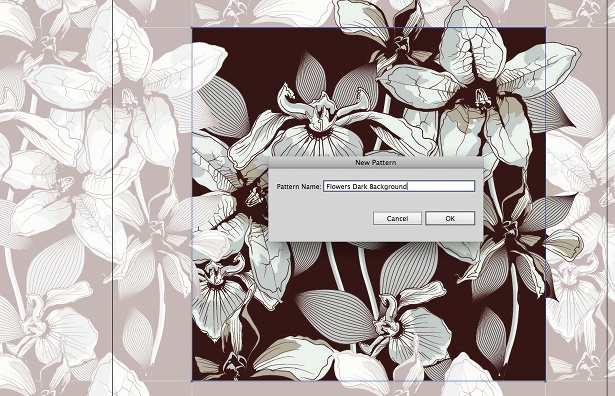
09 To change the colour in your image, go to Image>Adjustments>Hue/Saturation. Here I have set the hue to -34 and the saturation to +17. By doing so, the image instantly has more depth of colour and the tone has changed to how we want it.

10 Next we want to focus on specific colours and change the depth of these. Go to Image>Adjustments>Selective Colour. In the panel, select Blacks from the Colors drop-down menu and add a high percentage of Cyan and Magenta. This will give the top section of your image a more solid feel.
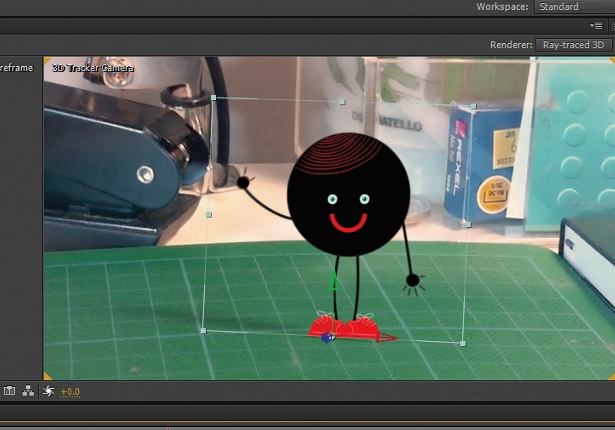
11 To add more punch to the detailed areas, use the same Selective Colour panel, this time selecting Reds. Set the Cyan to a high negative percentage (I have used -96% ). This will remove most of the additional Cyan within these smaller areas and make them really stand out with a more punchy colour. Continue doing this for the other colours in the image until you are happy with the result.
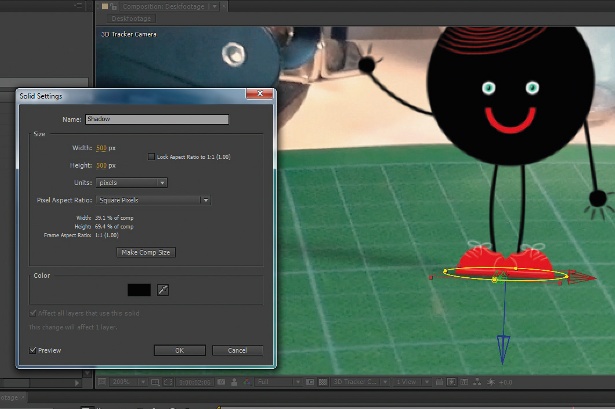
12 Now we have the image looking deep and rich, we want to add some more distortion within Photoshop to the areas that need it. Begin by creating a new transparent layer from which we can work over the original image.
13 Next, select an area of the original image that you feel works well and would look great when added to a new area. Copy your selection onto the new layer and position it into the area that you feel needs some additional distortion.
14 Keep repeating the previous step until you are happy with your final image. On some occasions you might be happy with how the original code worked out – but on others you will want to work into it further. It’s all part of the beauty of this experimental approach.
Sign up to Creative Bloq's daily newsletter, which brings you the latest news and inspiration from the worlds of art, design and technology.
15 Once you have finished the editing and are satisfied with your results, save the image in your desired format – and that’s your final image complete. The beauty of this process lies in its experimental and playful nature, so don’t worry if it takes a few goes to get the result you want: that’s the best part.

The Creative Bloq team is made up of a group of art and design enthusiasts, and has changed and evolved since Creative Bloq began back in 2012. The current website team consists of eight full-time members of staff: Editor Georgia Coggan, Deputy Editor Rosie Hilder, Ecommerce Editor Beren Neale, Senior News Editor Daniel Piper, Editor, Digital Art and 3D Ian Dean, Tech Reviews Editor Erlingur Einarsson, Ecommerce Writer Beth Nicholls and Staff Writer Natalie Fear, as well as a roster of freelancers from around the world. The ImagineFX magazine team also pitch in, ensuring that content from leading digital art publication ImagineFX is represented on Creative Bloq.
