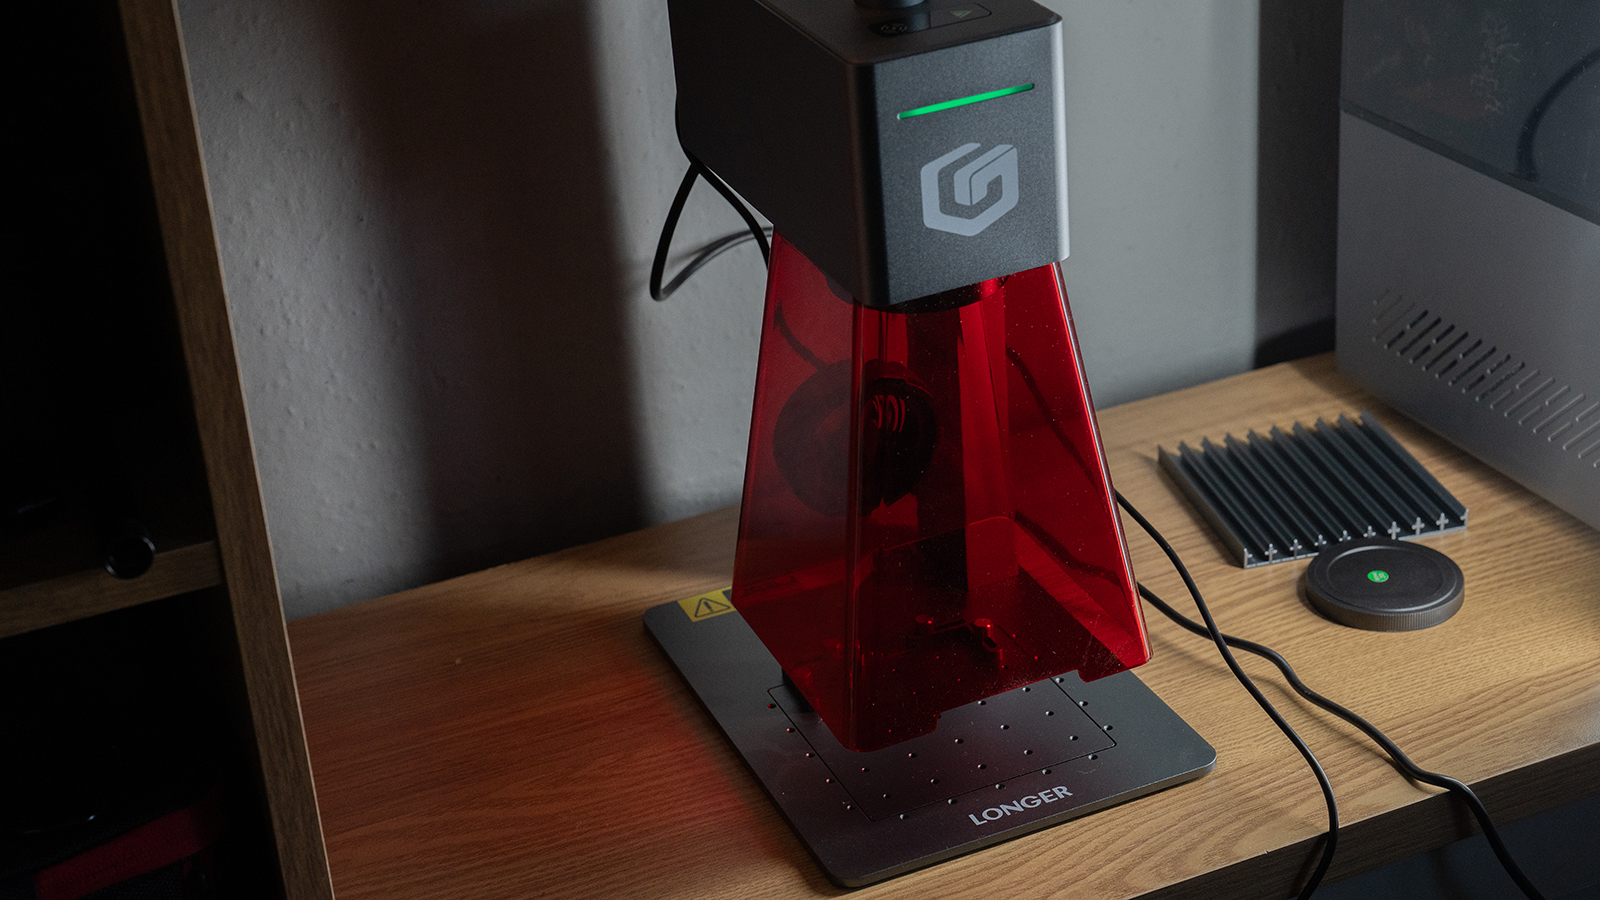
Our Verdict
The Longer Nano laser engraver boasts great build quality, ease of setup and use to get you up and running quickly, and this little powerhouse can tackle a lot of engraving and cutting tasks. It’s not made for large designs but can tackle smaller ones on even the biggest workpieces thanks to its clever form factor and app control. The quality of results is impressive, with excellent detail and minimal scorching. I’d happily recommend having one of these next to a larger machine, to cover all the bases.
For
- Portable form factor
- Wireless connection
- Smart phone app
- Removable base plate
- Simple focus mechanism
Against
- Smaller working area
Why you can trust Creative Bloq
Laser engravers come in all kinds of shapes and sizes but, for the most part, tend towards the larger, so I was very curious to try the Longer Nano, which is more diminutive in stature but promises to be just as capable as some other options out there, with a couple of clever tricks up its sleeve.
I’ve owned and tested many laser engravers over the years, from the Glowforge to the AlgoLaser Pixi, concluding that price doesn’t always equate to the capabilities, and with that in mind I set to the Nano to see what it could do, with its novel form factor.
Longer Nano review: What's in the box?
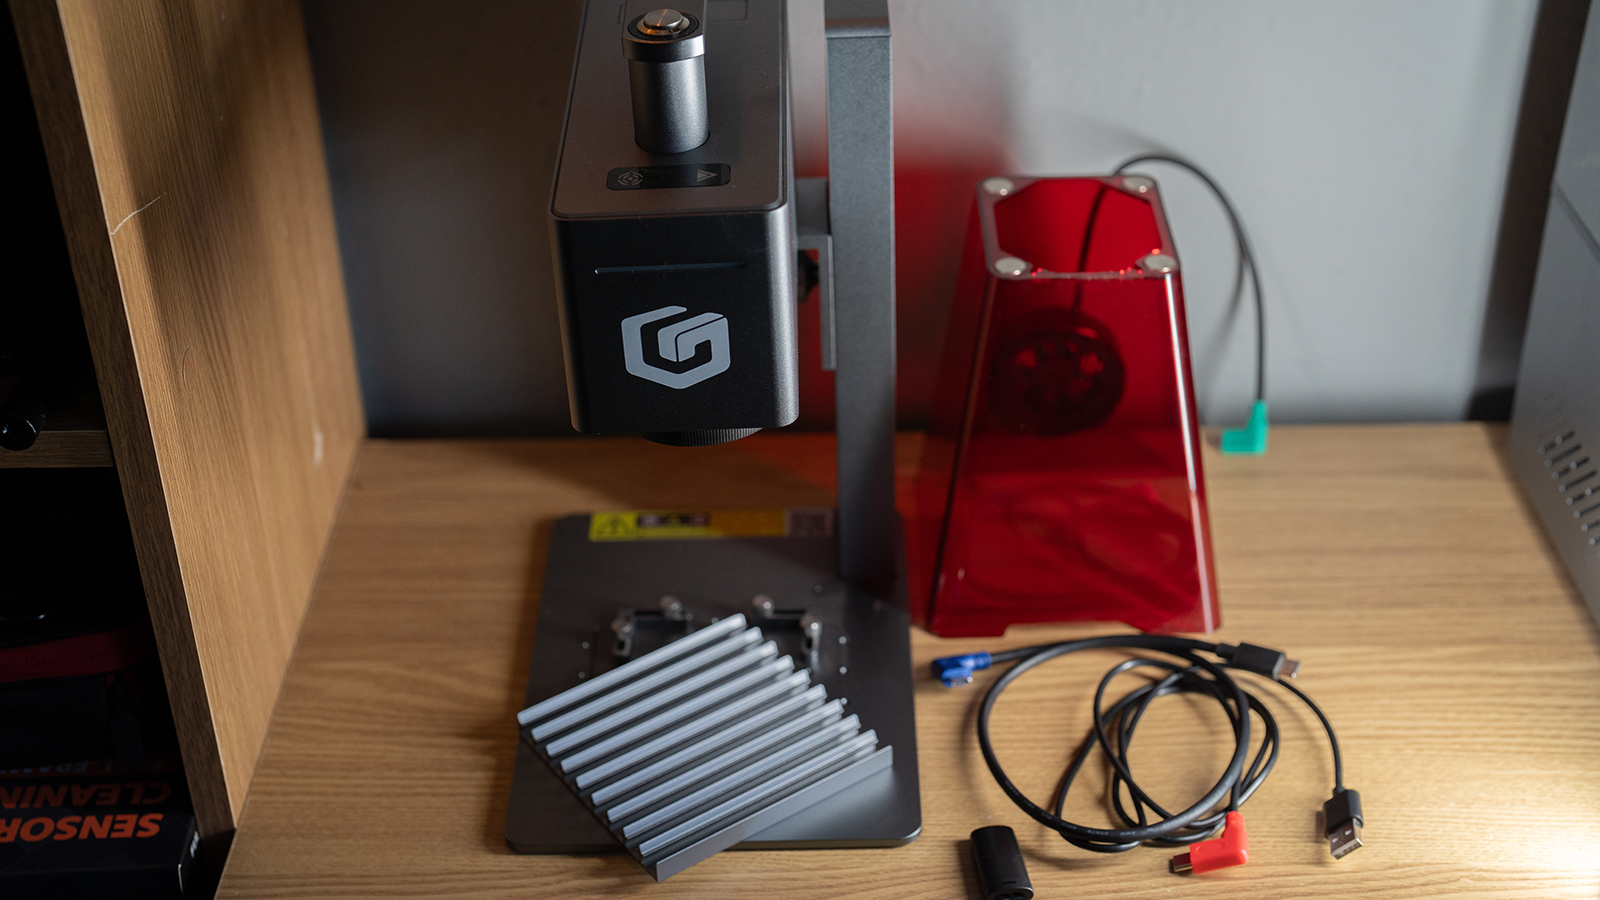
The Longer Nano ships in a nicely designed package, along with everything you need to get up and running. There’s the laser module, which includes a number of ports, the column, which is motorised to focus the laser, the base plate, with an insert, some screw down jigs to hold materials in place, all the cables, plus the hood, which incorporates an exhaust fan. Finally, there is a USB thumb drive which has some software on it.
Should be the kind of user who wishes to get out and about, the Nano also ships with a nice semi-rigid case, which holds all the parts securely.
Longer Nano: Setup and build quality
I’ve come to loathe devices that come needing too much assembly. Partly through impatience to start using the thing, but also as I find the finished machine never looks as high quality as factory-assembled units. There are always exposed bolts and things that make it look less finished on my desk. This is purely an aesthetic thing, I realise that, but I much prefer something that looks more at home with my other gear.
Now, the Nano does require a little assembly, but it’s really not much and means the package is far smaller. The only bolts (that secure the base to the column) are hidden, and the finish on all the components is lovely. Everything is metal with a finish not dissimilar to a MacBook Pro.
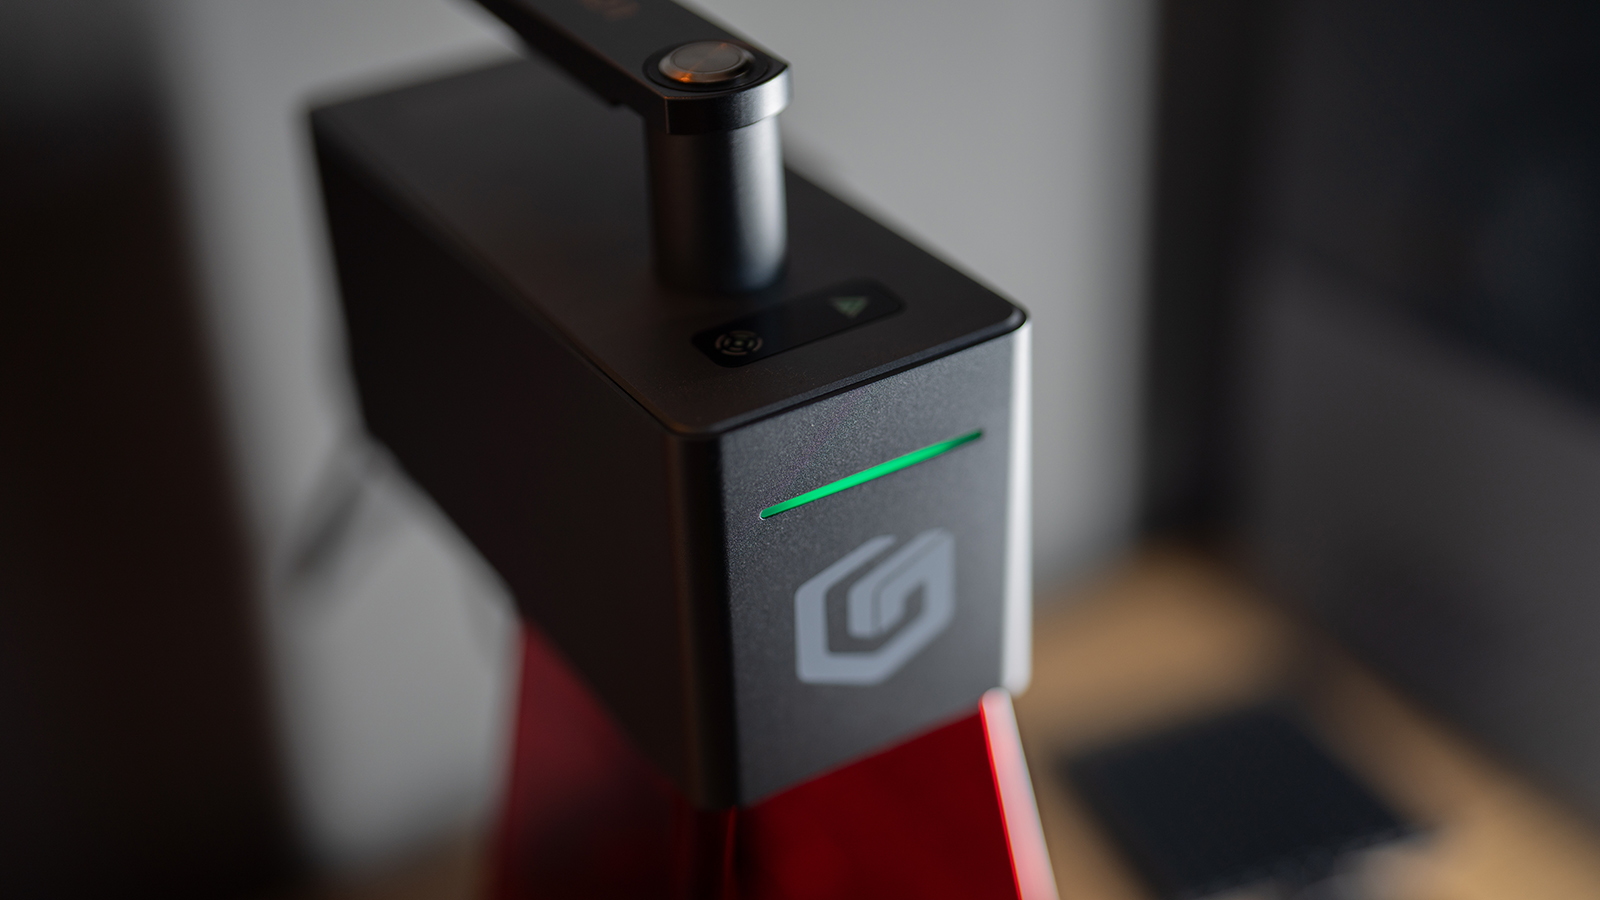
On the front of the laser module is a logo and a slick-looking LED, which illuminates in different colours to indicate various states. A nice power button is situated on top of the handle, and a pair of touch-sensitive controls sit on the top face.
Daily design news, reviews, how-tos and more, as picked by the editors.
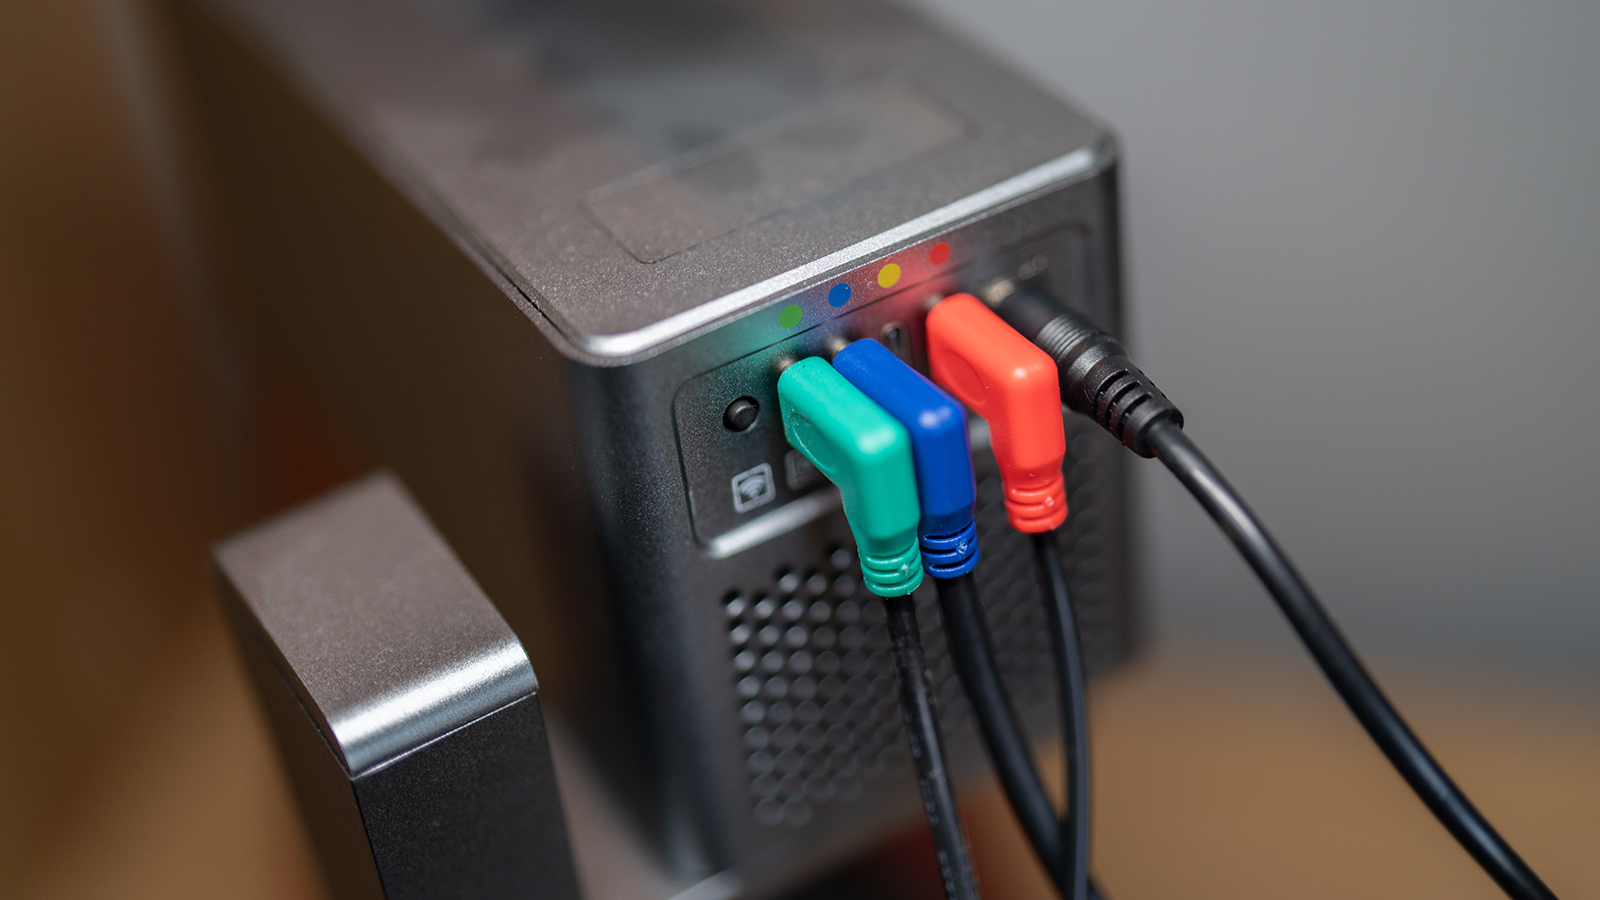
On the rear of the column are touch-sensitive buttons for raising and lowering the laser to focus the lens, and on the rear of the laser are a number of colour-coded ports for the cables, the power input and the cooling vent for the laser.
There are large knurled thumbscrews on the base of the laser and on the column for removing those parts, more of which later. This leaves the baseplate, which has a grid of threaded holes, where the jigs can be attached. More on this later, too.
Assembly takes all of a couple of minutes max, and then it’s just a case of powering up, connecting to your computer by USB-C or wifi (or to your smartphone), and you’re good to go. It’s a very smooth process, which can’t be said for connecting so many devices.
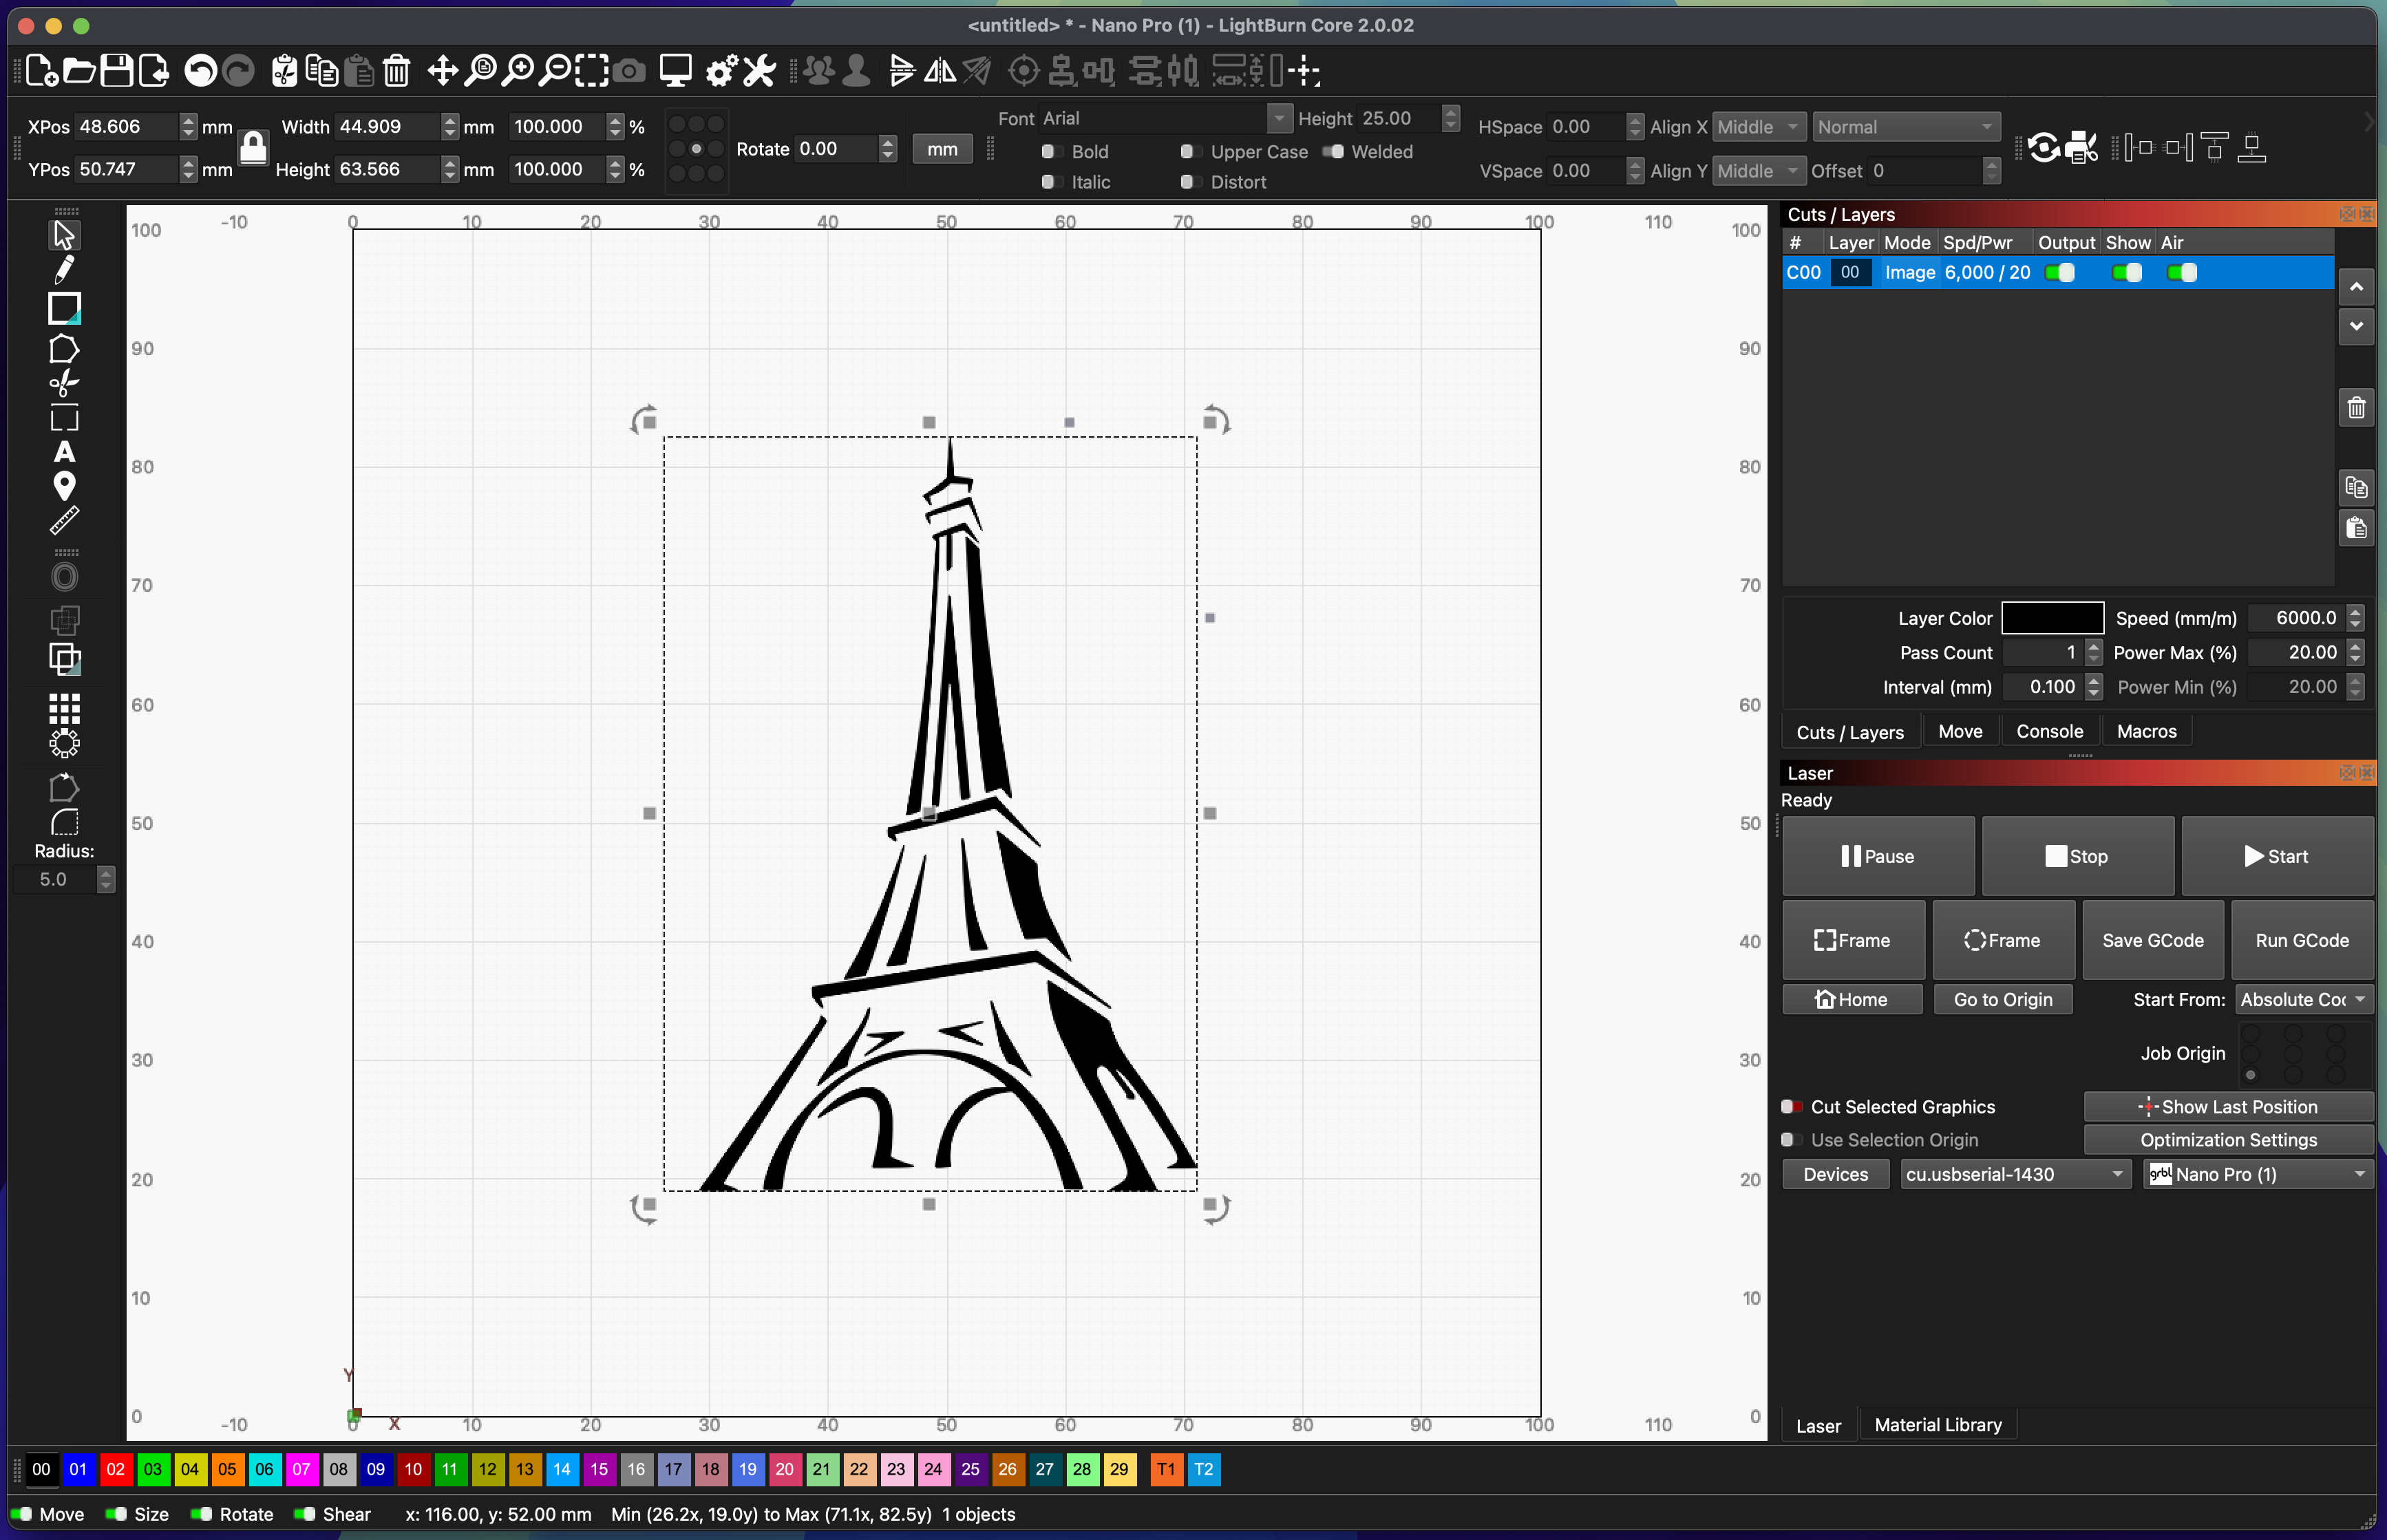
As for software, setup is again really simple, and the Nano can be used with industry standards like Lightburn or Laser grbl, as well as their own brand smartphone app, which is surprisingly good. The USB drive ships with profiles for the Nano, too, making it easy and fast to get up and running.
Performance
I’m going to tackle talking about performance in reverse here. Getting the best results from the nano is an easy task, which starts with focus. Once your design is ready to transfer to the laser, you’ll need to make sure the laser is focused. This is done by placing your material on the bed and hitting the focus button, also accessible from the app. Focusing isn’t automatic, but then it isn’t on machines costing far in excess of this. You use the up and down buttons on the rear of the column to raise or lower the laser module. You’ll see two red dots on your material, and when they converg,e you are focused.
Then you tell the app which material you are cutting or engraving, so it knows the speed at which to make the cut. If you’re using Lightburn or similar, you can dive deep into these settings, and it’s well worth experimenting to see which results meet your needs. That said, the app works just fine and means you don’t need to be tethered to a computer.
The Nano will work with a massive range of materials from wood and leather to metal and acrylic, and does a good job on all of them. Something I’ve noticed with some lasers is that they aren’t always great at preventing burning around a cut, usually due to a lack of airflow. I had thought this might be the case with the Nano, but the hood has a fan built in that proves very effective at controlling this, and it isn’t too loud either, if that’s a concern.
Cuts and engravings are very clean and high levels of detail are easily achieved, making the Nano a good option for a wide variety of uses. The only issue you might see here is the size of the workpiece, but you’d be mistaken. For working with ticker materials, you simply remove the middle section of the bed and place the whole Nano on your workpiece, and the focus can reach perfectly well. What’s even better is that, due to the size and format, you can engrave something onto much larger objects. Say you want to engrave your signature or a QR code onto a ten-foot wooden sculpture, well, grab the Nano by the handle, hold it in place, and you can do so. It’s a really novel approach to engraving on the go that would suit custom jobs at fairs or around shared maker spaces.
I’ve got used to larger lasers, where there is often a camera mounted inside, to aid in lining up your design with your material. The Nano doesn’t have this, but it does have a neat method for aiding layout. Hit the framing button, and a line of light appears, which shows you the borders of your design, so you can easily align it with your material. I’ve seen this elsewhere (like the XTool F9 Ultra) and in some ways it works even better than a camera, depending on the project.
Actual engraving is of a very impressive level of fidelity. The detail this produces (once you dialled in your settings) is really very good at 0.06mm, making it possible to engrave text on.
While most people will likely use the Nano for engraving, its 6 watts of power is capable of cutting too, and, considering its size, it’s not bad at it either, with a maximum cutting depth of 6mm. That’s when cutting wood, so keep that in mind. I cut through 1.5mm of aluminium without any problems. Realistically, though, I think this is a bonus rather than the primary use.
Who is the Longer Nano for?
Makers and designers who want an easy to use laser engraver for smaller designs.
Buy it if
- Your projects are on the smaller side
- You need something compact
Don't buy it if
- You need deep cuts or a larger working area
out of 10
The Longer Nano laser engraver boasts great build quality, ease of setup and use to get you up and running quickly, and this little powerhouse can tackle a lot of engraving and cutting tasks. It’s not made for large designs but can tackle smaller ones on even the biggest workpieces thanks to its clever form factor and app control. The quality of results is impressive, with excellent detail and minimal scorching. I’d happily recommend having one of these next to a larger machine, to cover all the bases.

Rob Redman is the editor of ImagineFX magazines and former editor of 3D World magazine. Rob has a background in animation, visual effects, and photography.
You must confirm your public display name before commenting
Please logout and then login again, you will then be prompted to enter your display name.
