How Photoshop filters helped me make the concept art for Spectre Divide
Concept artist Brandon Liao gives insights into his visual development work.
Sign up to Creative Bloq's daily newsletter, which brings you the latest news and inspiration from the worlds of art, design and technology.
You are now subscribed
Your newsletter sign-up was successful
Want to add more newsletters?
This illustration was created as part of the visual development effort to conceptualise the world of Spectre Divide, a first-person shooter. The image depicts a part of Wildhaven District in Breakwater, one of the settings where the game takes place. The goal was to create several illustrations together, so speed was a factor.
The artwork made heavy use of filters in Photoshop that gave the photos used a more gouache-like look. This gave me a workable base before painting in earnest. Digital art programs such as Photoshop have many tools. Finding creative uses for them is half the work and fun of digital painting.
This was my process for creating this work, from preparing the photo to the final render, broken down into three steps. For more ideas, see our roundup of Photoshop tutorials.
01. Prepare the photo base
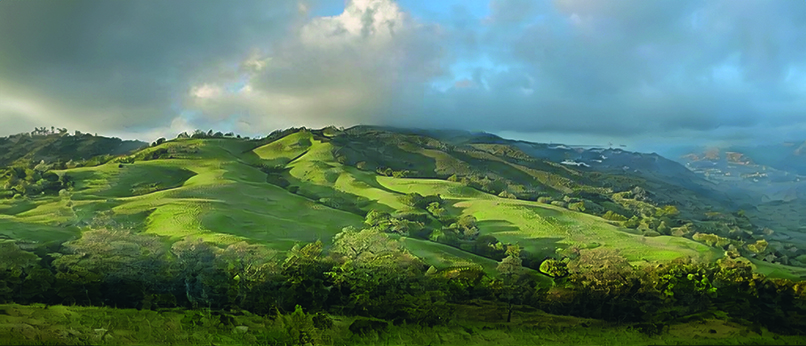
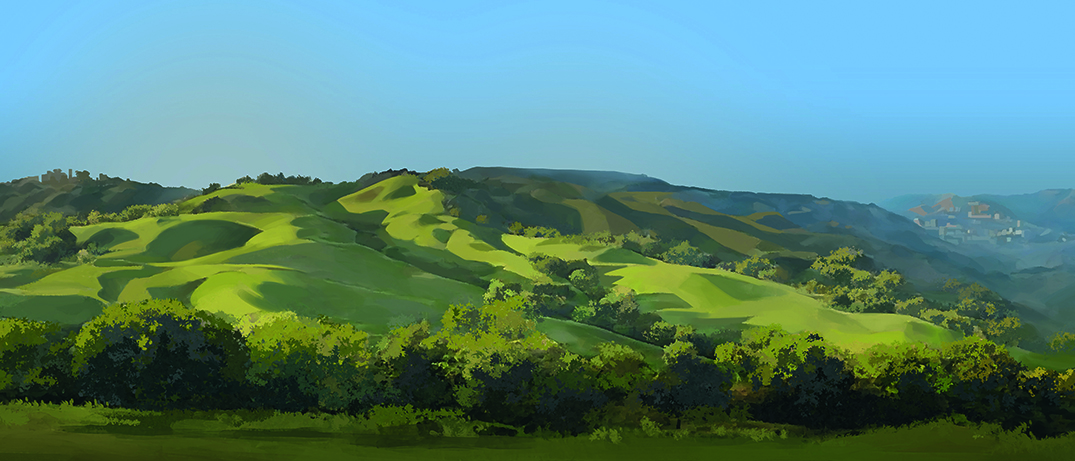
With a composition already in mind, I start the painting with a photo that I expand using Photoshop’s Generative fill. This creates a base for applying filters on top of, removing artefacts and noise that come with using that tool.
I use a few adjustment layers to adjust and bring out the new base’s colours.
02. Add elements to the scene
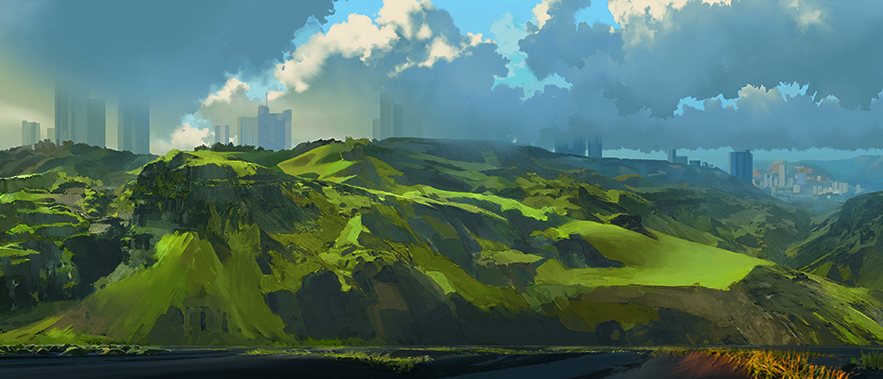
Using custom watercolour and gouache Photoshop brushes, as well as more photos, I paint in detailed natural elements, replace the clouds and sky, and add distant city buildings.
I want to mimic watercolour and gouache backgrounds similar to those seen in classic anime films.
03. Refine the foreground
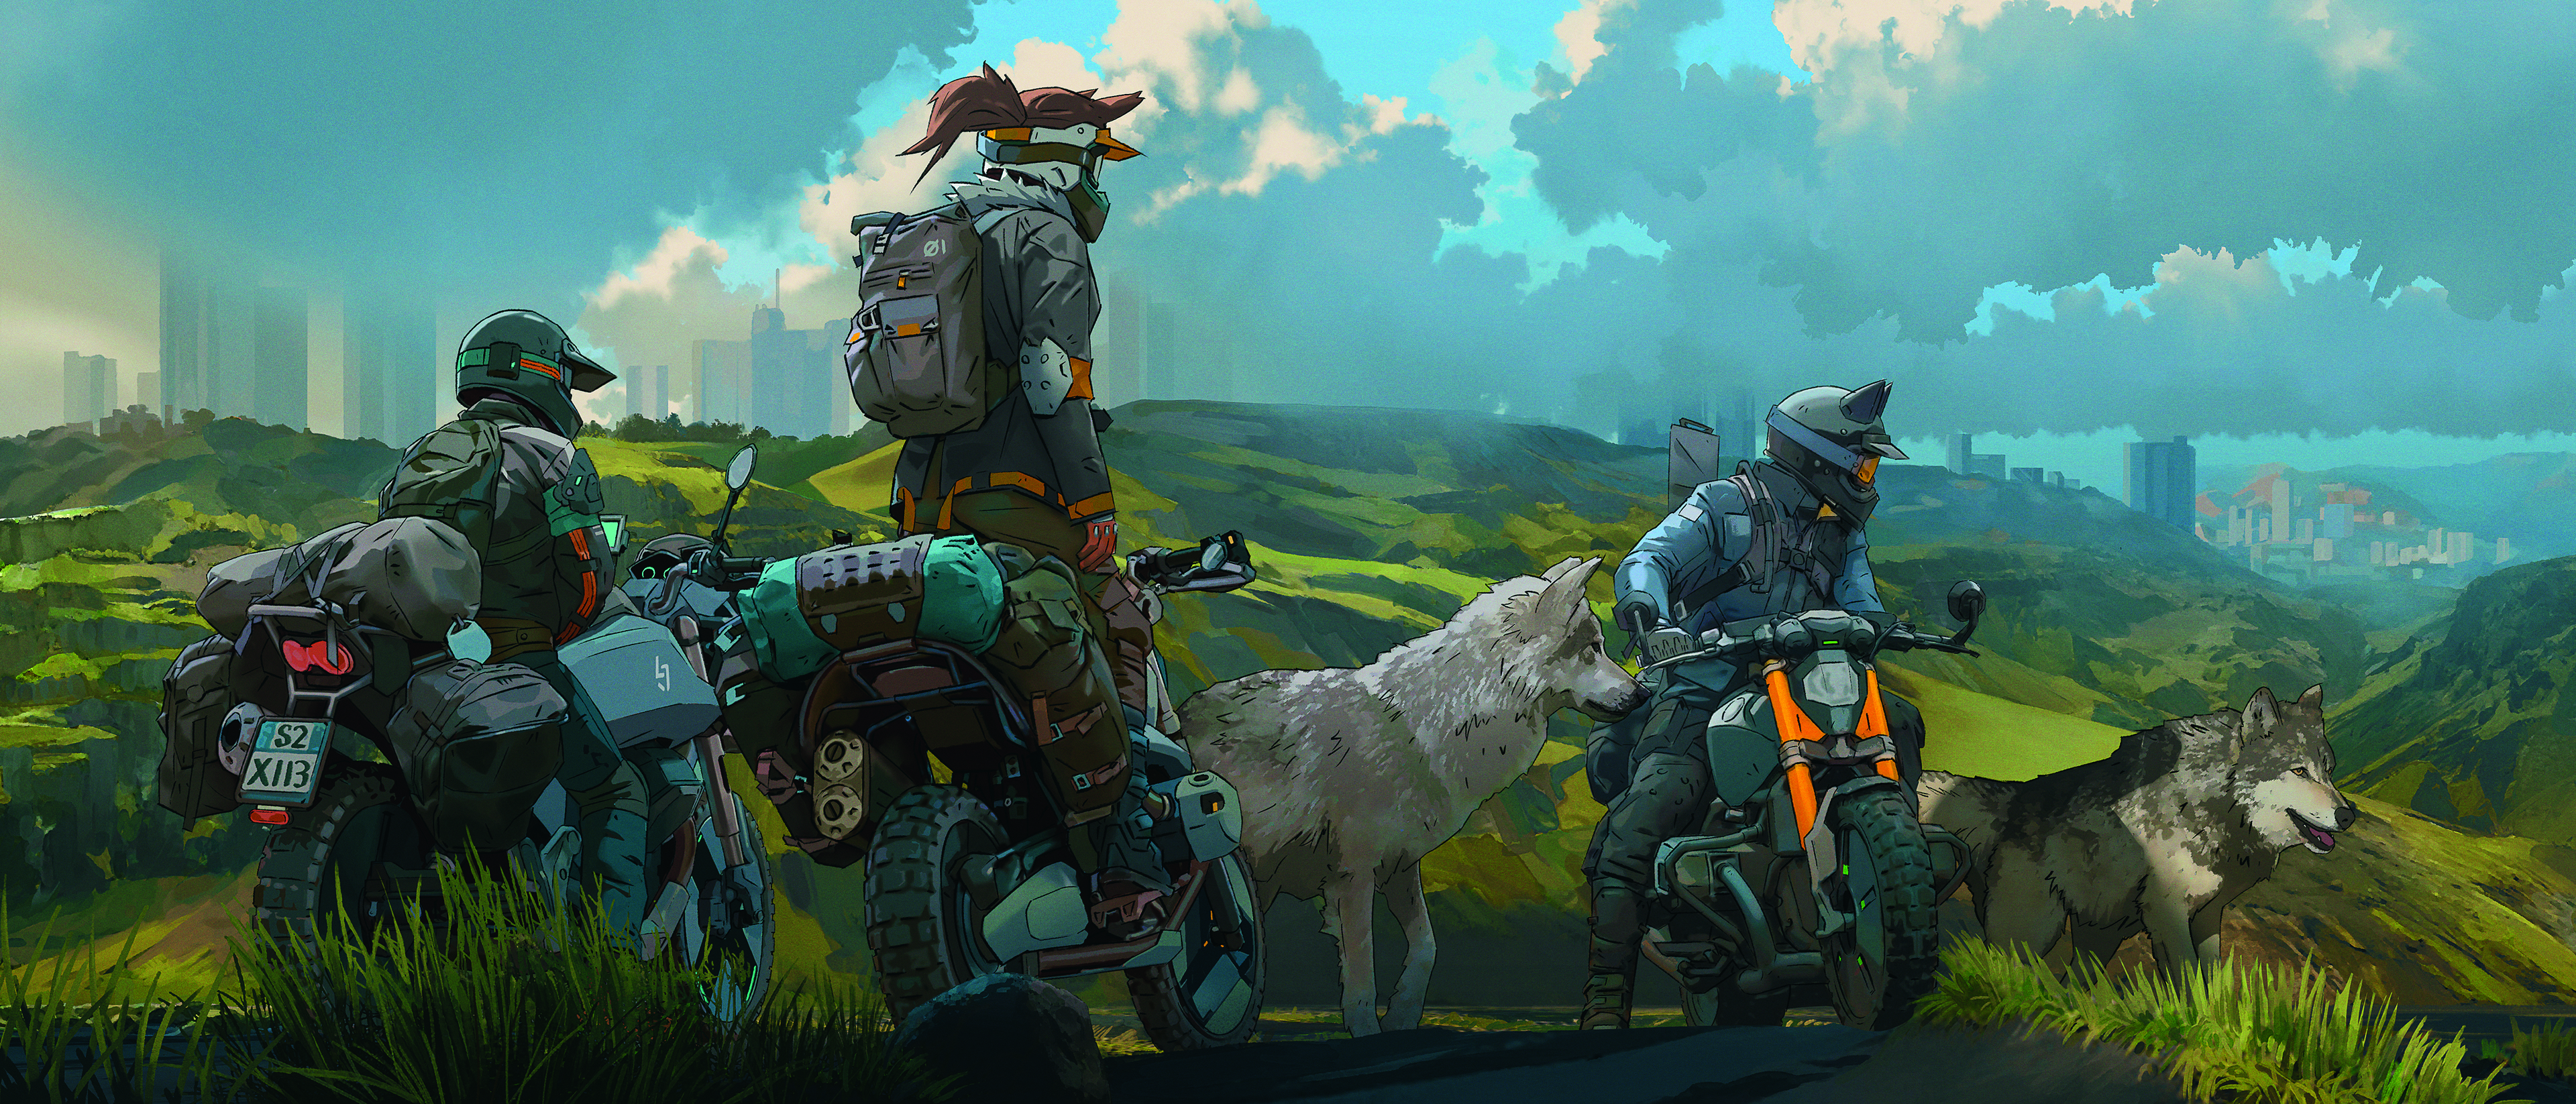
I add characters, as well as grass and rocks to create a better sense of visual space and depth. The figures are photo references with painterly filters applied to them. I then paint over them and add line work.
Finally, I colour grade the image with a mix of adjustment layers including LUTs.
This article originally appeared in ImagineFX. Subscribe to ImagineFX to never miss an issue. Print and digital subscriptions are available.
Get the gear
If you need tools for your own digital art, see our pick of the best drawing tablets and the best laptops for drawing or check below for deals on kit that we've reviewed on the site.
Sign up to Creative Bloq's daily newsletter, which brings you the latest news and inspiration from the worlds of art, design and technology.
Brandon is a US-based concept artist with a focus on visual development, cinematic illustration and art production for video games.
You must confirm your public display name before commenting
Please logout and then login again, you will then be prompted to enter your display name.
