How to create an animated scene
3D generalist Andrei Serghiuta talks through animating a scene within an immersive environment.
Daily design news, reviews, how-tos and more, as picked by the editors.
You are now subscribed
Your newsletter sign-up was successful
Want to add more newsletters?

Five times a week
CreativeBloq
Your daily dose of creative inspiration: unmissable art, design and tech news, reviews, expert commentary and buying advice.

Once a week
By Design
The design newsletter from Creative Bloq, bringing you the latest news and inspiration from the worlds of graphic design, branding, typography and more.

Once a week
State of the Art
Our digital art newsletter is your go-to source for the latest news, trends, and inspiration from the worlds of art, illustration, 3D modelling, game design, animation, and beyond.

Seasonal (around events)
Brand Impact Awards
Make an impression. Sign up to learn more about this prestigious award scheme, which celebrates the best of branding.
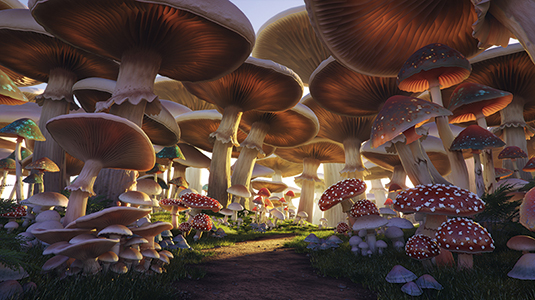
Creating an interesting and detailed 3D art model can be a challenge in itself. Putting together a believable environment for 3D movies that tells its own story can easily be an even tougher job.
However, if the goal is a single still image of such an environment, then a well done 2D illustration is usually a more cost effective and often better looking alternative to a 3D render.
Where the 3D realm excels, however, is in bringing life to such an environment and its creatures through animation – and that is no easy task. There are many different disciplines involved and they must all come together in a harmonious manner.
In this tutorial, we'll take a look at the essential steps in the CG pipeline, all necessary to bring a scene together. We will use a small, personal project as a simplified example and analyse the various challenges that we might encounter on a typical production. We will cover everything from the initial idea through previz, modelling, materials, lighting, rendering, compositing and audio.
Although a whole book can be written about each of these individual topics, the key ideas presented here should help you get started.
01. Initial concepting
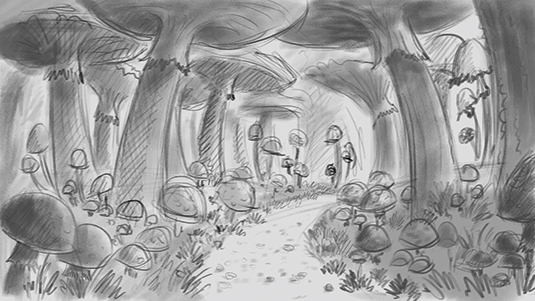
The more evolved and detailed the concept, the easier the production will proceed. Reference gathering is the most essential part of this process. It cannot be stressed enough how important it is to start with a comprehensive set of references. They should be ranging from detailed examples of the various assets to be used, all the way to examples of work done by others that followed a similar path.
02. Establish your pipeline
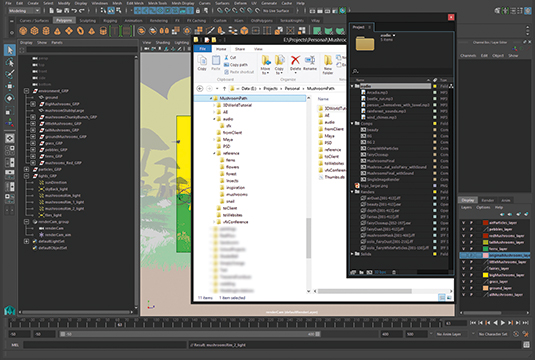
The next vital step involves deciding which software tools to use in production, and just as importantly, set out a clear file management structure. Staying organised with files, naming conventions, and backups is extremely important in any production. Even if you work primarily by yourself, you will often need to revisit projects a few months down the road. You want to focus your time on creating, not on searching for files or nodes.
Daily design news, reviews, how-tos and more, as picked by the editors.
03. Pre-visualisation
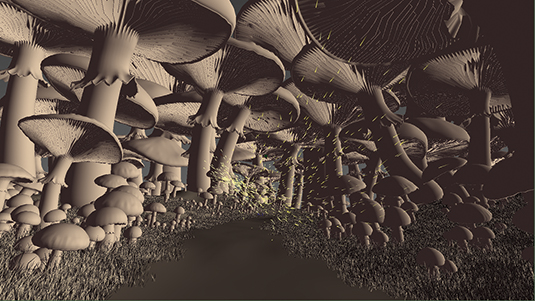
Creating a storyboard and animatic is the most effective way to sell the idea to others, and get a better sense of timing for the animation. The animatic is a very rough setup of the scene, with just enough information to give you a clear picture of how everything will progress. It is often sufficient to have it playblasted straight out of the Maya viewport. You can use simple primitives or stand-ins to populate the scene.
04. Modelling
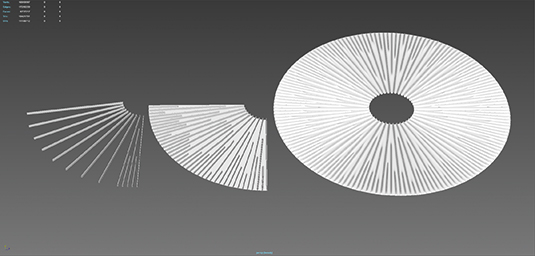
The large mushrooms are modelled in Maya and further details added in Mudbox. Export the sculpted layers as Vector Displacement maps for use in mental ray. The smaller mushrooms can use more simplified geometry, as detail is of less importance. The grass model can be generated from a Paint Effects preset, with some adjustments, and optimised for different variations. Take care with polygon usage as subdivision levels can have a big impact on memory requirements.
05. Model variations
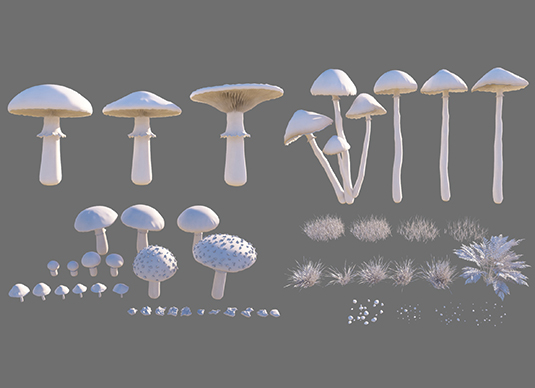
To make the environment believable, I have to introduce a lot of variation in the models, especially the large mushrooms. This variation can be done through the use of lattices, or the Soft Selection attribute of the manipulator tools. The smaller mushrooms, grass clumps, ferns and pebbles all need a set of variations as well. Just make sure to unwrap the UVs before generating them. Significantly stretched meshes will need a new set of UVs.
06. Populating the scene
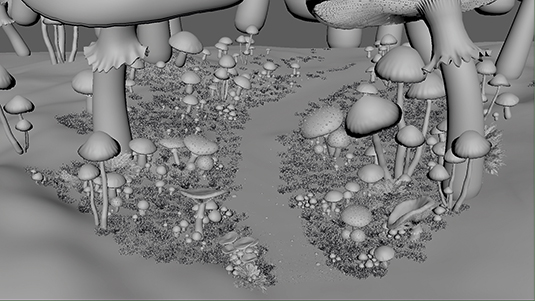
Scattering the vegetation around the scene can be done in several ways, each with their own pros and cons. Particle instancing, XGen, binary proxies, and manual instancing are all free and valid methods, and can be used in conjunction with each other for best results. For scattering I use the free spPaint3d script. Just make sure to use enough variation in the models, to break up repetitive patterns.
07. Materials
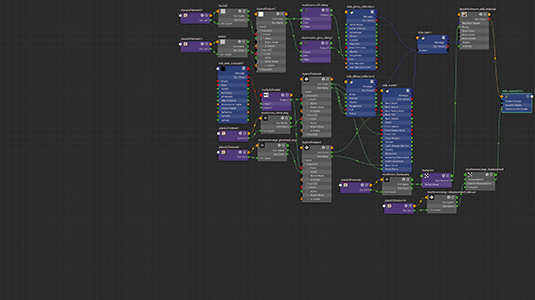
Material design methods can vary a lot, depending on the visual style. Animated scenes typically require more optimisation to speed up rendering. Realistic and semi-realistic styles also require the specular to be broken up with custom reflectivity, glossiness, and bump maps, for a more natural look. With mental ray we can rely exclusively on the mia or mila materials, to keep light response consistent. Avoid mixing standard Maya materials with MR materials.
08. Camera work
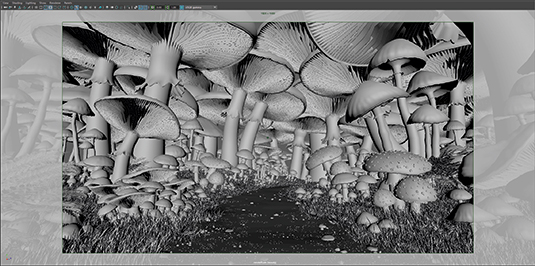
A good understanding of photography helps tremendously in the 3D field. With a limited render time, I still want to retain a look of wonder as we gaze at the giant mushroom canopy. For this purpose we can use an 18mm lens. This perspective allows us to show more of the scene without the need for a lot of camera movement. Keep the animation subtle with constant movement throughout the scene, in order to retain a natural feel.
09. Characters
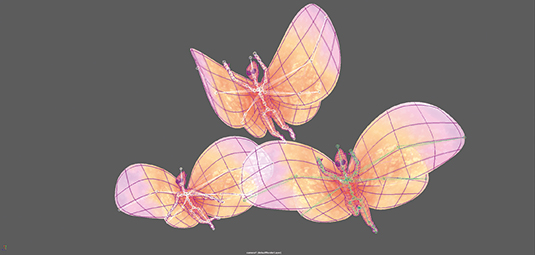
The faeries help infuse some life into the scene. We can create one model and its animation, then generate two more variations by adjusting the scale and offsetting the keys. You can rely only on direct joint animation, as there is no need for IK in this example. Once the setup is ready, you can use the groups with the instancer for the swarm particles. The project files contain an extra close-up animation of one of these creatures.
10. Particle effects
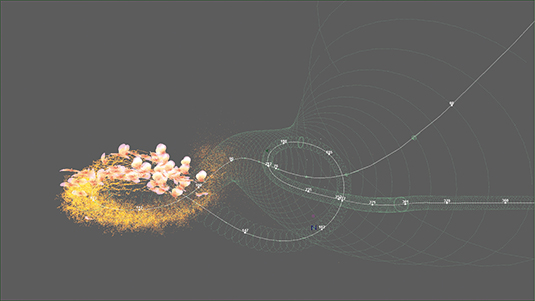
There are three particle systems in the scene: the swarm, the sparkles, and the floating dust. The main swarm particle set is the most complex to set up, as it has to follow a specific trajectory. You can use the Volume Curve Field in Maya, and a Newton Field acting as an attractor help maintain the shape of the swarm. The curve requires a fairly dense set of control points in order to maintain smooth movement.
11. Lighting
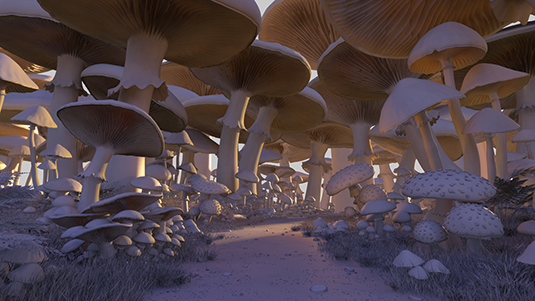
To keep things simple, use the Sun and Sky system as the primary light source, and generate several different variations before settling on a final look. To enhance the effect, we can incorporate an additional set of lights that add extra lighting where needed. Learn about set lighting, and the radiosity effect of light in real-life. A painterly look can be achieved with a careful study of lighting and texture in the works of master painters.
12. Rendering
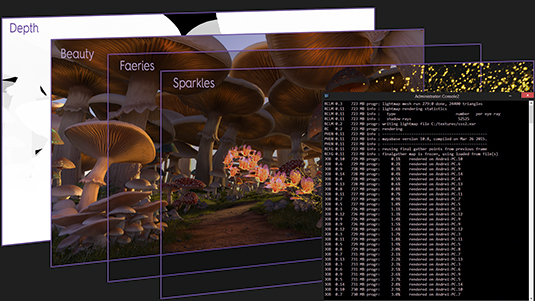
Sampling grass and SSS shaders are computationally expensive. Additional computers can help hugely with rendering, even for individual frames (through the use of the mental ray satellite). It’s also helpful to learn how to use the command line render, and make extensive use of the render layers. Avoid problems with the render layers by using one material per object. A beauty, depth, and material mask pass are often sufficient, aside from the character and effects passes.
13. Compositing
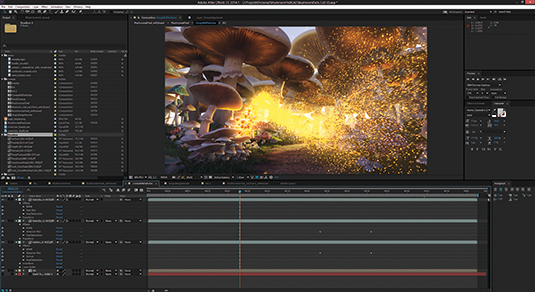
In After Effects we can nest multiple compositions together to organise the project. This method is somewhat similar to a node-based system. Here we can add a shallower depth of field, atmosphere, motion blur, and lens defects, without the expensive render times associated with them. AE has some great plug-ins available for this. Just make sure to render the depth pass in 32bit. Glows are also best added in post, and there are a variety of methods available for that.
14. Colour grading
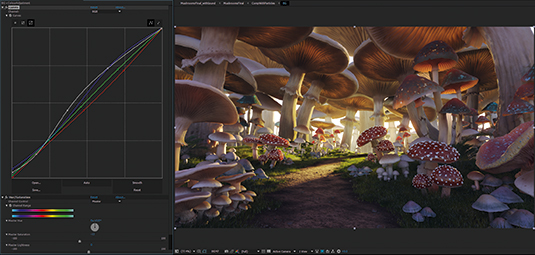
Once all elements have come together, it's time to tweak the colours and contrast. It's more useful to think of the render output in terms of dynamic range and available information, rather than trying to get the final colour and contrast straight out of Maya. After Effects has much better controls for adjusting colour, and it is much faster too. There are many specialised tools and plug-ins available, but often nothing beats the classic RGB Curves adjustment.
This article was originally published in 3D World magazine issue 203.
