
This process shows a method for depicting trees when you want your foliage and branches unified as one.
It’s the effect we generally get when looking towards the light. You’ll see less ‘internal’ detail and variation of tone and colour. Things become silhouetted and it’s more the outside edges of shapes that define them.
For more on artistic techniques, see our tutorials on how to draw a cat and how to create a colour chart and avoid mixing muddy colours.
1. Paint the trunk
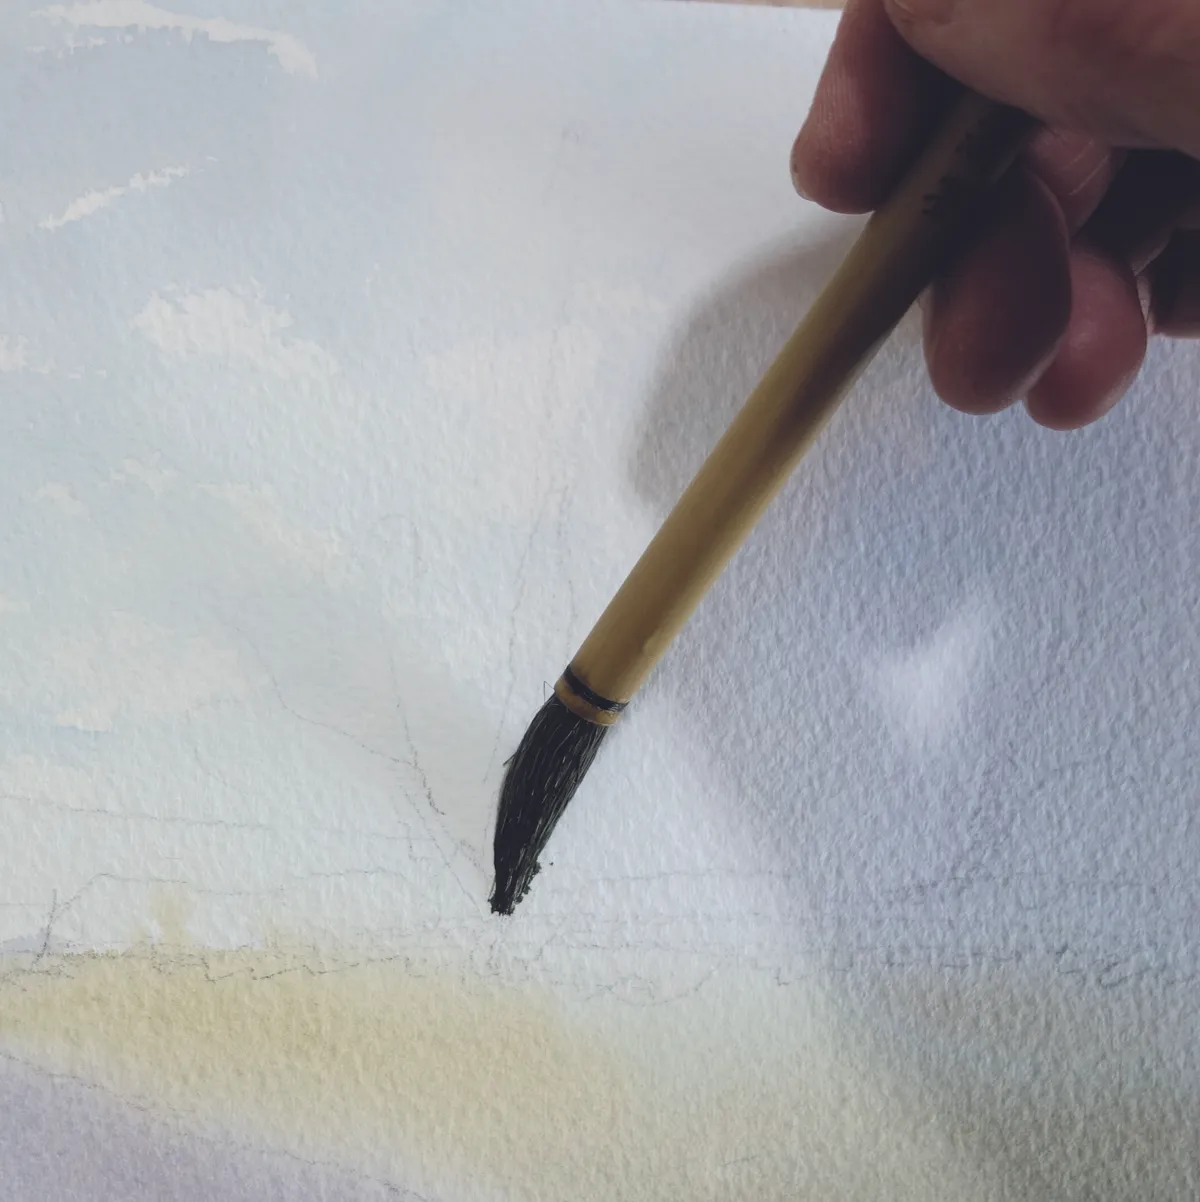
It’s best to use either Rough or Not surface paper for this effect. Load a medium-sized brush with fairly thick paint, then begin the tree by squashing the brush against the paper firmly at the base of its ivy-covered trunk. Drag the brush quickly upwards along its length, so it leaves a mark that’s broken by the paper surface.
2. Branch out
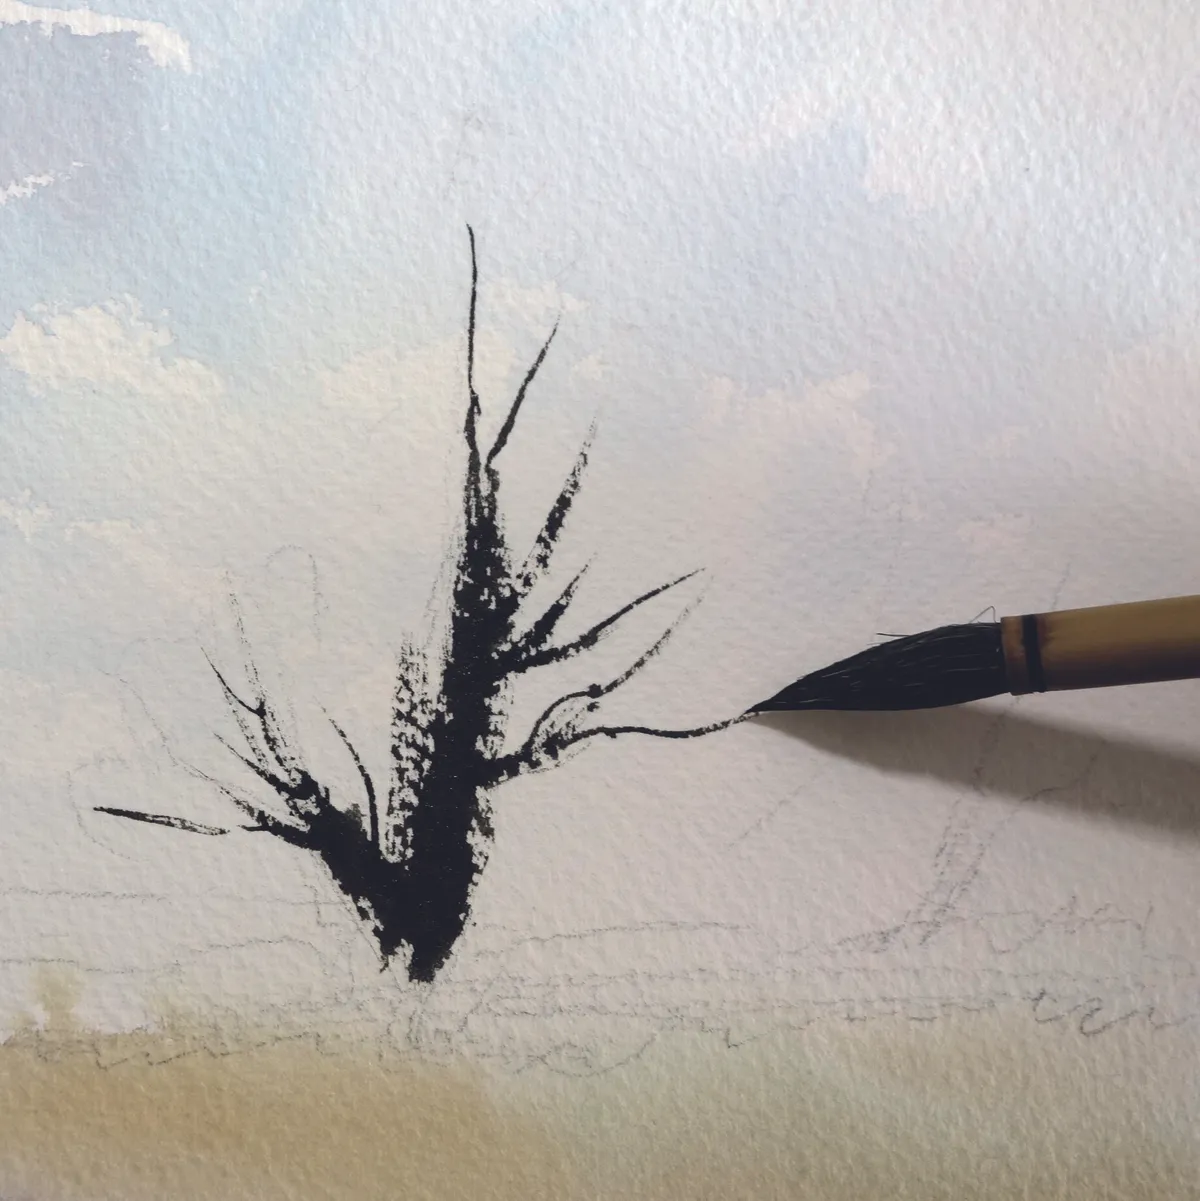
Using the tip of the brush, draw out some fine lines as the branches of the tree. However, don’t add too many – just think of the biggest branches. At the moment the tree looks like a winter one, but in the next step we’ll add the budding spring foliage – you’ll see that you don’t need to paint hundreds of branches.
3. Add your foliage
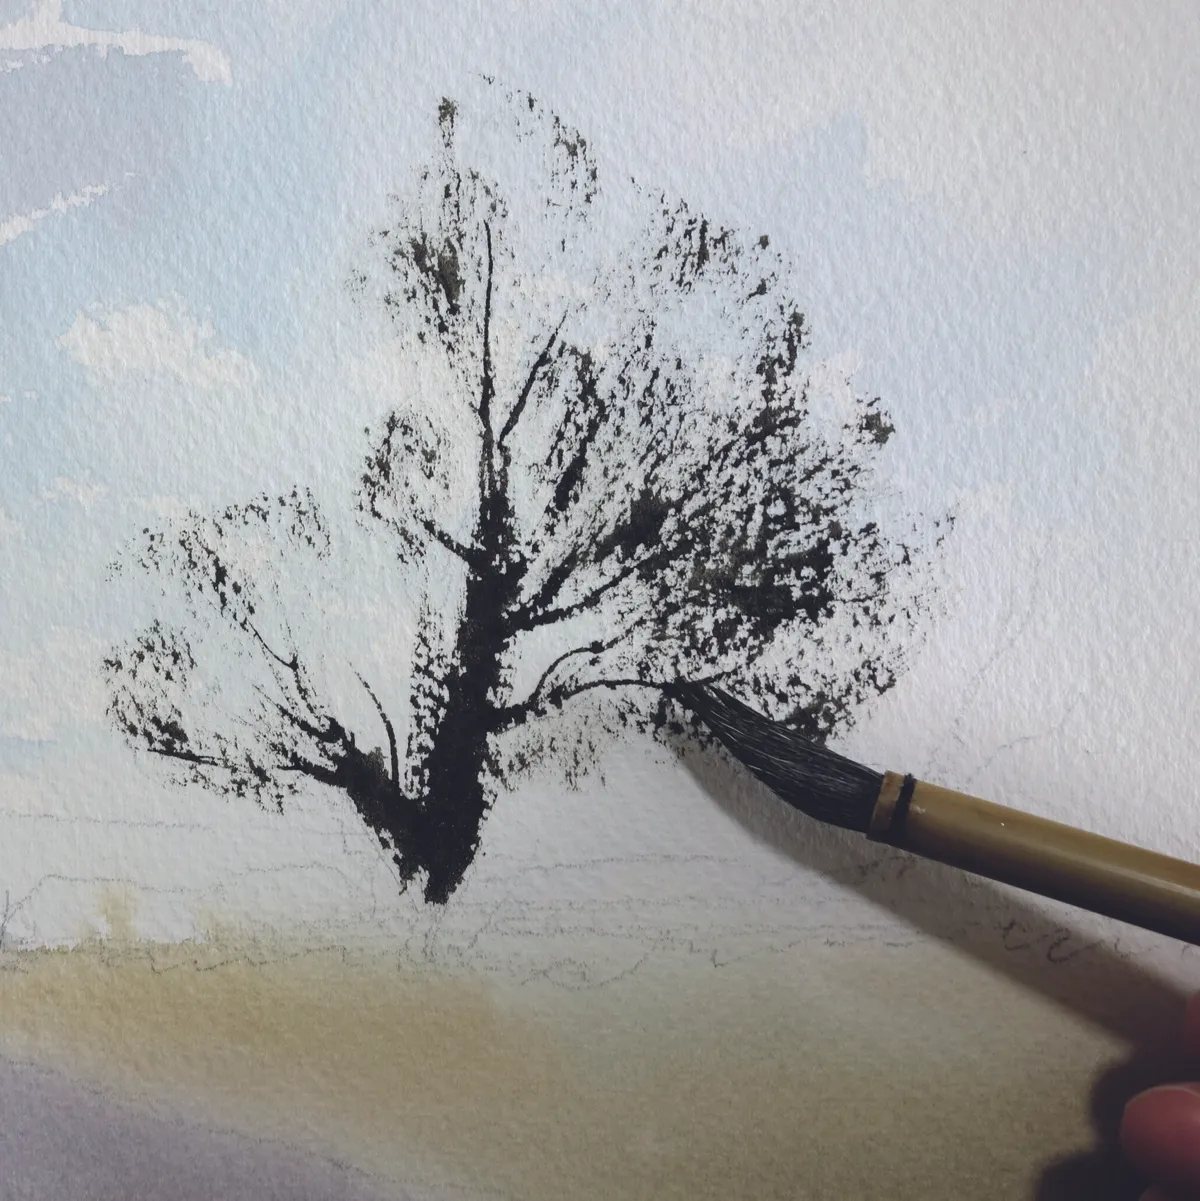
Next, use the side of your brush without re-loading it, so it’s quite dry. Test on some scrap paper first, before dragging the brush across the surface of the paper. If you’re happy, start at the outside of the tree and make drags inwards. You may have to press the brush a bit, but go cautiously at first. It can almost be like shading with a crayon.
4. Add a little more
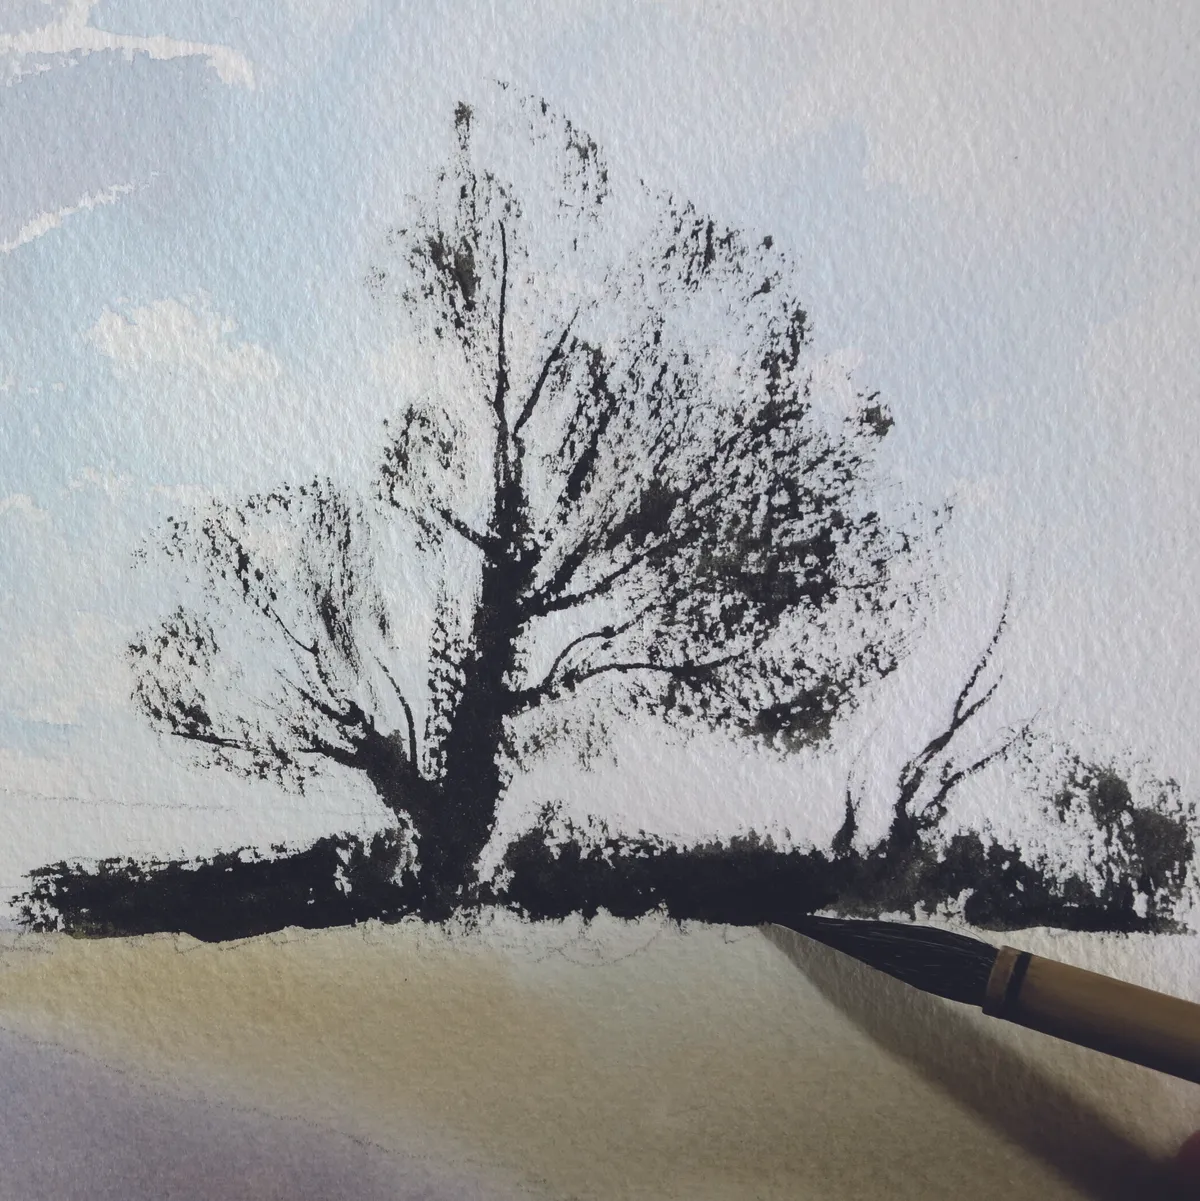
Use the same method to describe the hedgerow. Mix up your marks using the side and tip of the brush, pressing down firmly as you drag when you need a stronger, more solid mark. Finally, dampen the brush to enable you to make a cleaner edge along the bottom of the hedgerow where it meets the grass. This will contrast nicely with the rougher top edge.
This article originally appeared in Paint & Draw. Explore Paint & Draw bookazines at Magazines Direct.
