Use glyphs to create a striking typographic poster in InDesign
Jo Gulliver shows you how to boost your typography design skills by using glyphs
Sign up to Creative Bloq's daily newsletter, which brings you the latest news and inspiration from the worlds of art, design and technology.
You are now subscribed
Your newsletter sign-up was successful
Want to add more newsletters?

Five times a week
CreativeBloq
Sign up to Creative Bloq's daily newsletter, which brings you the latest news and inspiration from the worlds of art, design and technology.

Once a week
By Design
Sign up to Creative Bloq's daily newsletter, which brings you the latest news and inspiration from the worlds of art, design and technology.

Once a week
State of the Art
Sign up to Creative Bloq's daily newsletter, which brings you the latest news and inspiration from the worlds of art, design and technology.

Seasonal (around events)
Brand Impact Awards
Sign up to Creative Bloq's daily newsletter, which brings you the latest news and inspiration from the worlds of art, design and technology.
06 Alternatively, the Show drop-down menu in the Glyphs panel gives you lots of options for narrowing down your search. Alternates for Selection is really useful for viewing the options for different letterforms. When selected, highlight your chosen letter and the alternatives will be shown in the panel. In Brownstone’s case, we also get an ornamental border.
07 Many OpenType fonts will also have a number of custom ligatures, aside from the standard ligatures ‘fi’ and ‘fl’, so it’s always worth having a look through the glyphs to see the other letter combinations available. Brownstone has a number available to narrow your search under Access All Alternates in the Show drop-down menu.
08 The Glyphs panel automatically stores your last 10 recently used glyphs at the top of the panel. You can also create a custom glyph set: select New Glyph Set from the fly-out menu, or Ctrl/right-click on the Glyphs panel. Name it, click OK, then add glyphs to your set by Ctrl/right-clicking on a chosen glyph and selecting Add To Your Set. The great thing about this option is you can use glyphs from multiple fonts and save them in the one set, which can really help speed up your workflow.
09 Another way to use glyphs is to select them via the Character panel and choose OpenType. This brings up a list similar to that of the Glyphs panel’s Show drop-down menu. If the selected font doesn’t support one of these options, it’s shown in square brackets. This method does limit you to only one alternative – which is fine for fonts that have limited glyphs – and is more suited to making global changes to a body of text.
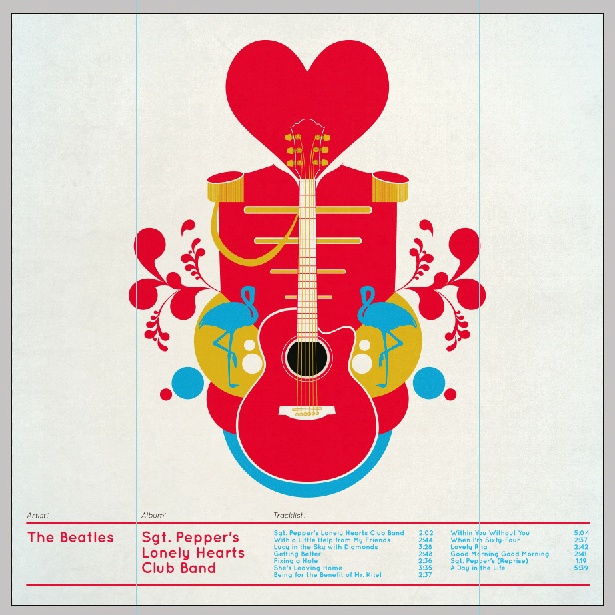
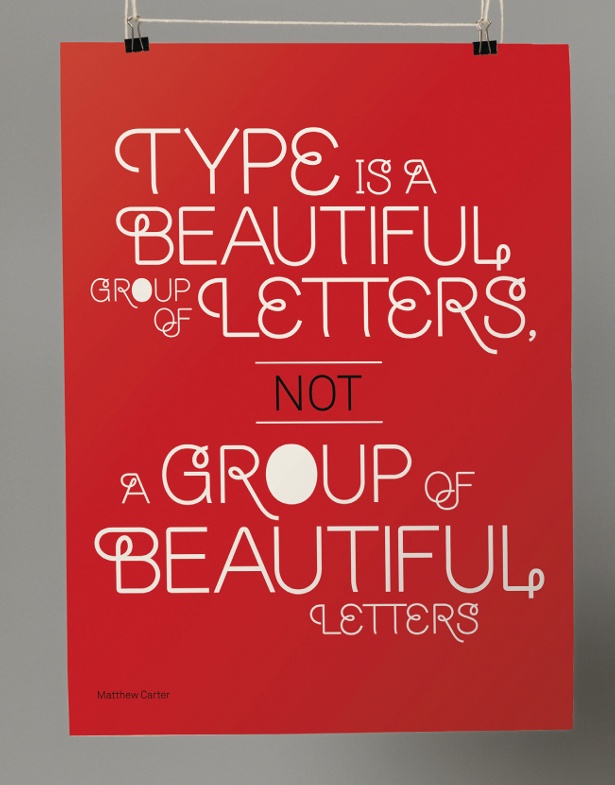
10 Now you know the ins and outs of the Glyphs panel, you can begin to design posters and experiment with combinations of glyphs and font sizes. When working with larger text I find creating outlined text of individual or groups of words makes them much easier to work with. To outline your text, select the text frame and, under the Type menu, select Create Outlines or hit Cmd/Ctrl+ Shift+O.
Sign up to Creative Bloq's daily newsletter, which brings you the latest news and inspiration from the worlds of art, design and technology.

The Creative Bloq team is made up of a group of art and design enthusiasts, and has changed and evolved since Creative Bloq began back in 2012. The current website team consists of eight full-time members of staff: Editor Georgia Coggan, Deputy Editor Rosie Hilder, Ecommerce Editor Beren Neale, Senior News Editor Daniel Piper, Editor, Digital Art and 3D Ian Dean, Tech Reviews Editor Erlingur Einarsson, Ecommerce Writer Beth Nicholls and Staff Writer Natalie Fear, as well as a roster of freelancers from around the world. The ImagineFX magazine team also pitch in, ensuring that content from leading digital art publication ImagineFX is represented on Creative Bloq.
