Sign up to Creative Bloq's daily newsletter, which brings you the latest news and inspiration from the worlds of art, design and technology.
You are now subscribed
Your newsletter sign-up was successful
Want to add more newsletters?
As discussed in previous issues, a polygon model consists of vertices, edges, and faces, but there’s more. Hidden within the model are UVs and Vertex Colour Data, which we will discuss in future instalments. In addition, you have Surface Normals.
A model’s normals dictate how light will travel across its surface, effectively softening or hardening its appearance. Changing the angle of the normals can make a flat, polygon plane look almost rounded, and it’s because of this that you usually can’t see the individual polygons that make up a mesh, giving it the appearance of being more complicated than it is. Understanding this is essential whether you’re using the best 3D modelling software or learning on entry-level tools.
You can see an example of this in the image of the two cylinders above. The model on the left has a much harsher appearance, revealing how it’s been constructed. In contrast, the same model – shown on the right – looks much smoother with the polygons almost blending into each other.
This may sound complicated, but luckily, in most 3D applications, there is a simple option to switch between the two states, and you can change them on either part of the model or all of it. To get the most out of this, it’s worth using one of the best laptops for 3D modelling, which can handle complex meshes and smooth shading without lag.
1. Soft normals
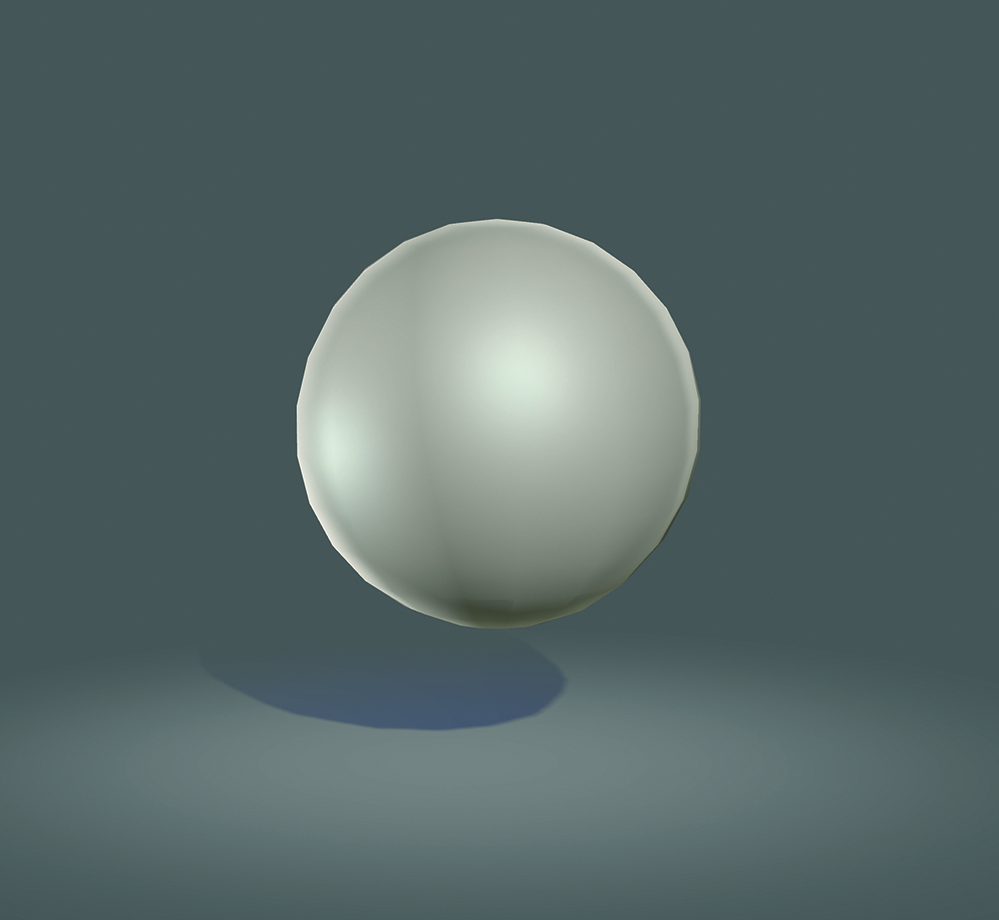
If you create a basic polygon model, such as a sphere, by default, the surface will look smooth, so you don’t see each and every face and edge. This gives it the appearance that it’s higher quality than it actually is.
2. Harden your normals
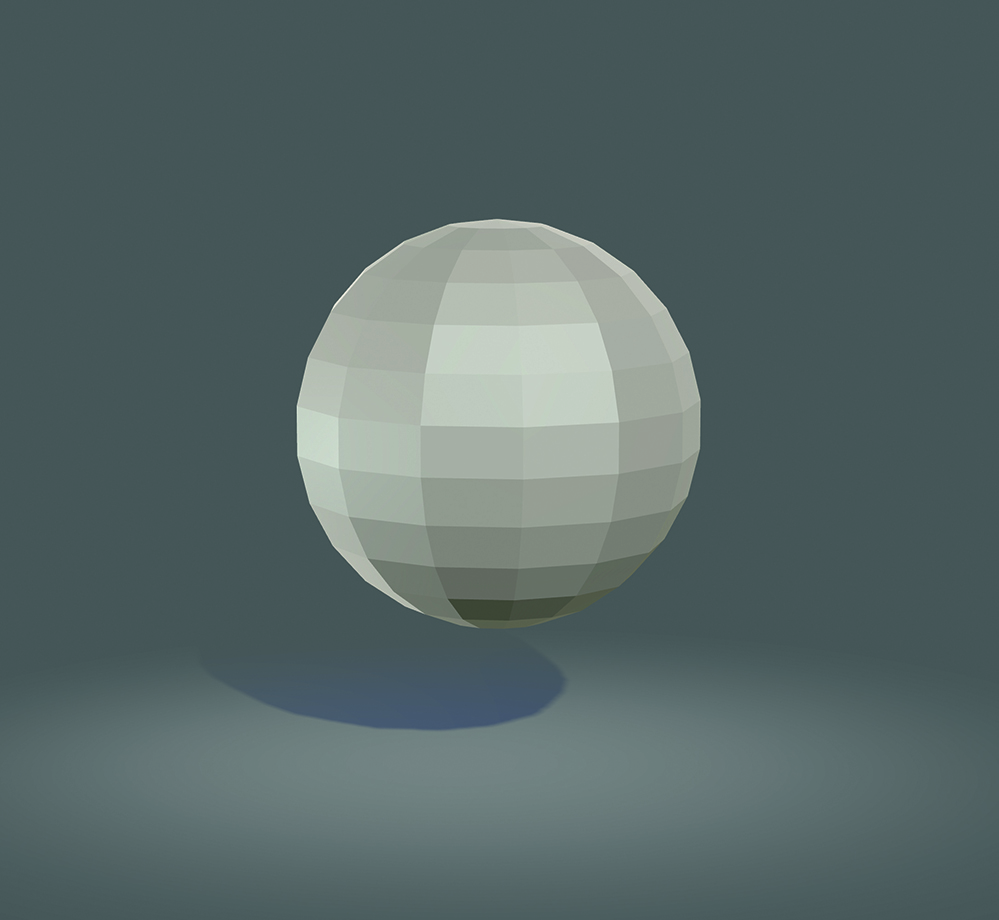
If you choose to harden the normals on the model (again, this will be a simple option in your chosen 3D application), you can clearly see each and every polygon and its edges.
3. Display the normals
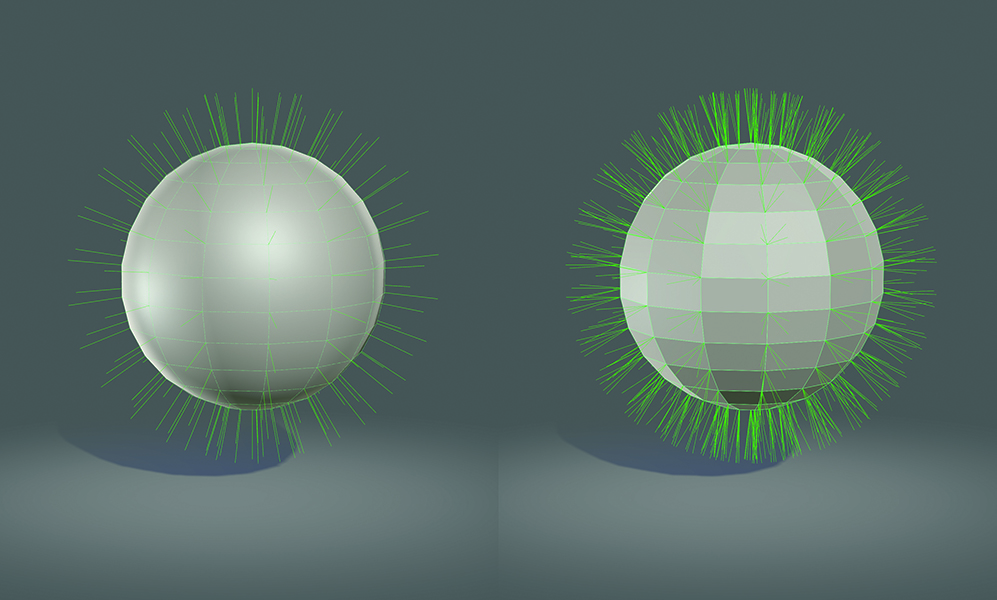
If you display the vertex normals, which are the little green lines shown above, you can clearly see the difference. The softer-looking sphere’s normals are better aligned, enabling them to blend into the surrounding spheres. On the hardened sphere, they have split and, as a result, look more complicated, but this forces each normal to be perpendicular to its polygon, making it appear flatter.
Get the kit:
Sign up to Creative Bloq's daily newsletter, which brings you the latest news and inspiration from the worlds of art, design and technology.

Ant has worked in the game and film VFX industry for over 30 years and runs antCGi, which supplies quality digital art, game art, rigging, animation and illustration services to a wide range of clients.
You must confirm your public display name before commenting
Please logout and then login again, you will then be prompted to enter your display name.
