Mastering Transfer Tape: how to make every Cricut project look professional
I've been using Cricut for four years. This is my quick and easy advice for using Transfer Tape.
If you’re just starting with a new Cricut machine, mastering Transfer Tape is one of the smartest skills you can pick up. Transfer Tape allows you to lift intricate vinyl designs cleanly from their backing sheet and apply them precisely to almost any surface, whether you’re working with removable or permanent vinyl.
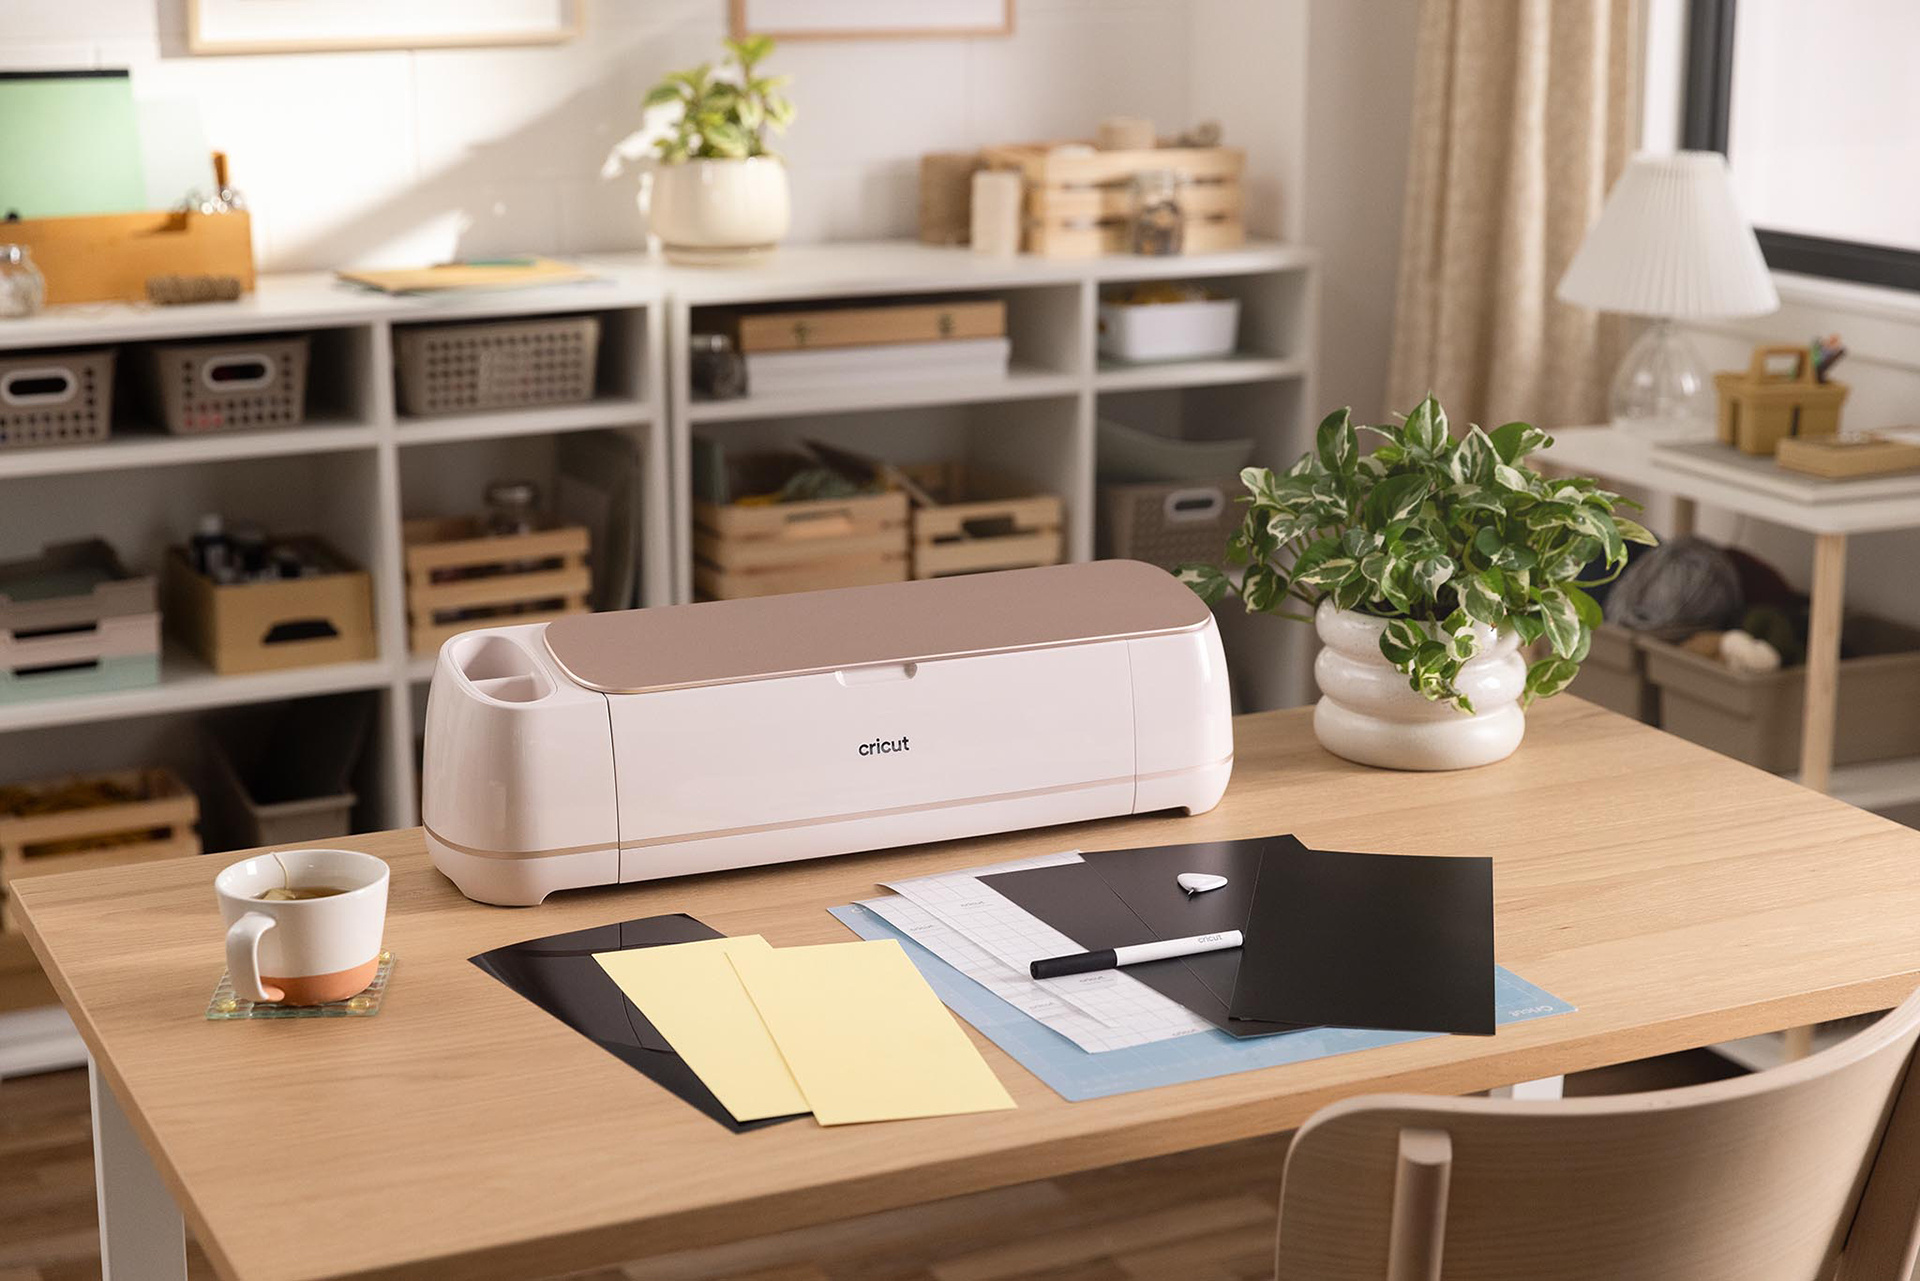
For this tutorial, I used the new Cricut Explore 4, one of the best Cricut machines for beginners and seasoned makers alike. It's fine point blade handles even delicate details with pinpoint accuracy, ensuring every cut is as sharp as your design.
Once the cut is complete, place transfer tape over your vinyl image, burnish it gently, and then peel away. Your design will stick to the tape, ready for a flawless application. It’s a simple but transformative step that elevates your craft projects from homemade to professional.
Below, I share my process for using Transfer Tape, and a couple of tips too.
1. Choosing and cutting your design
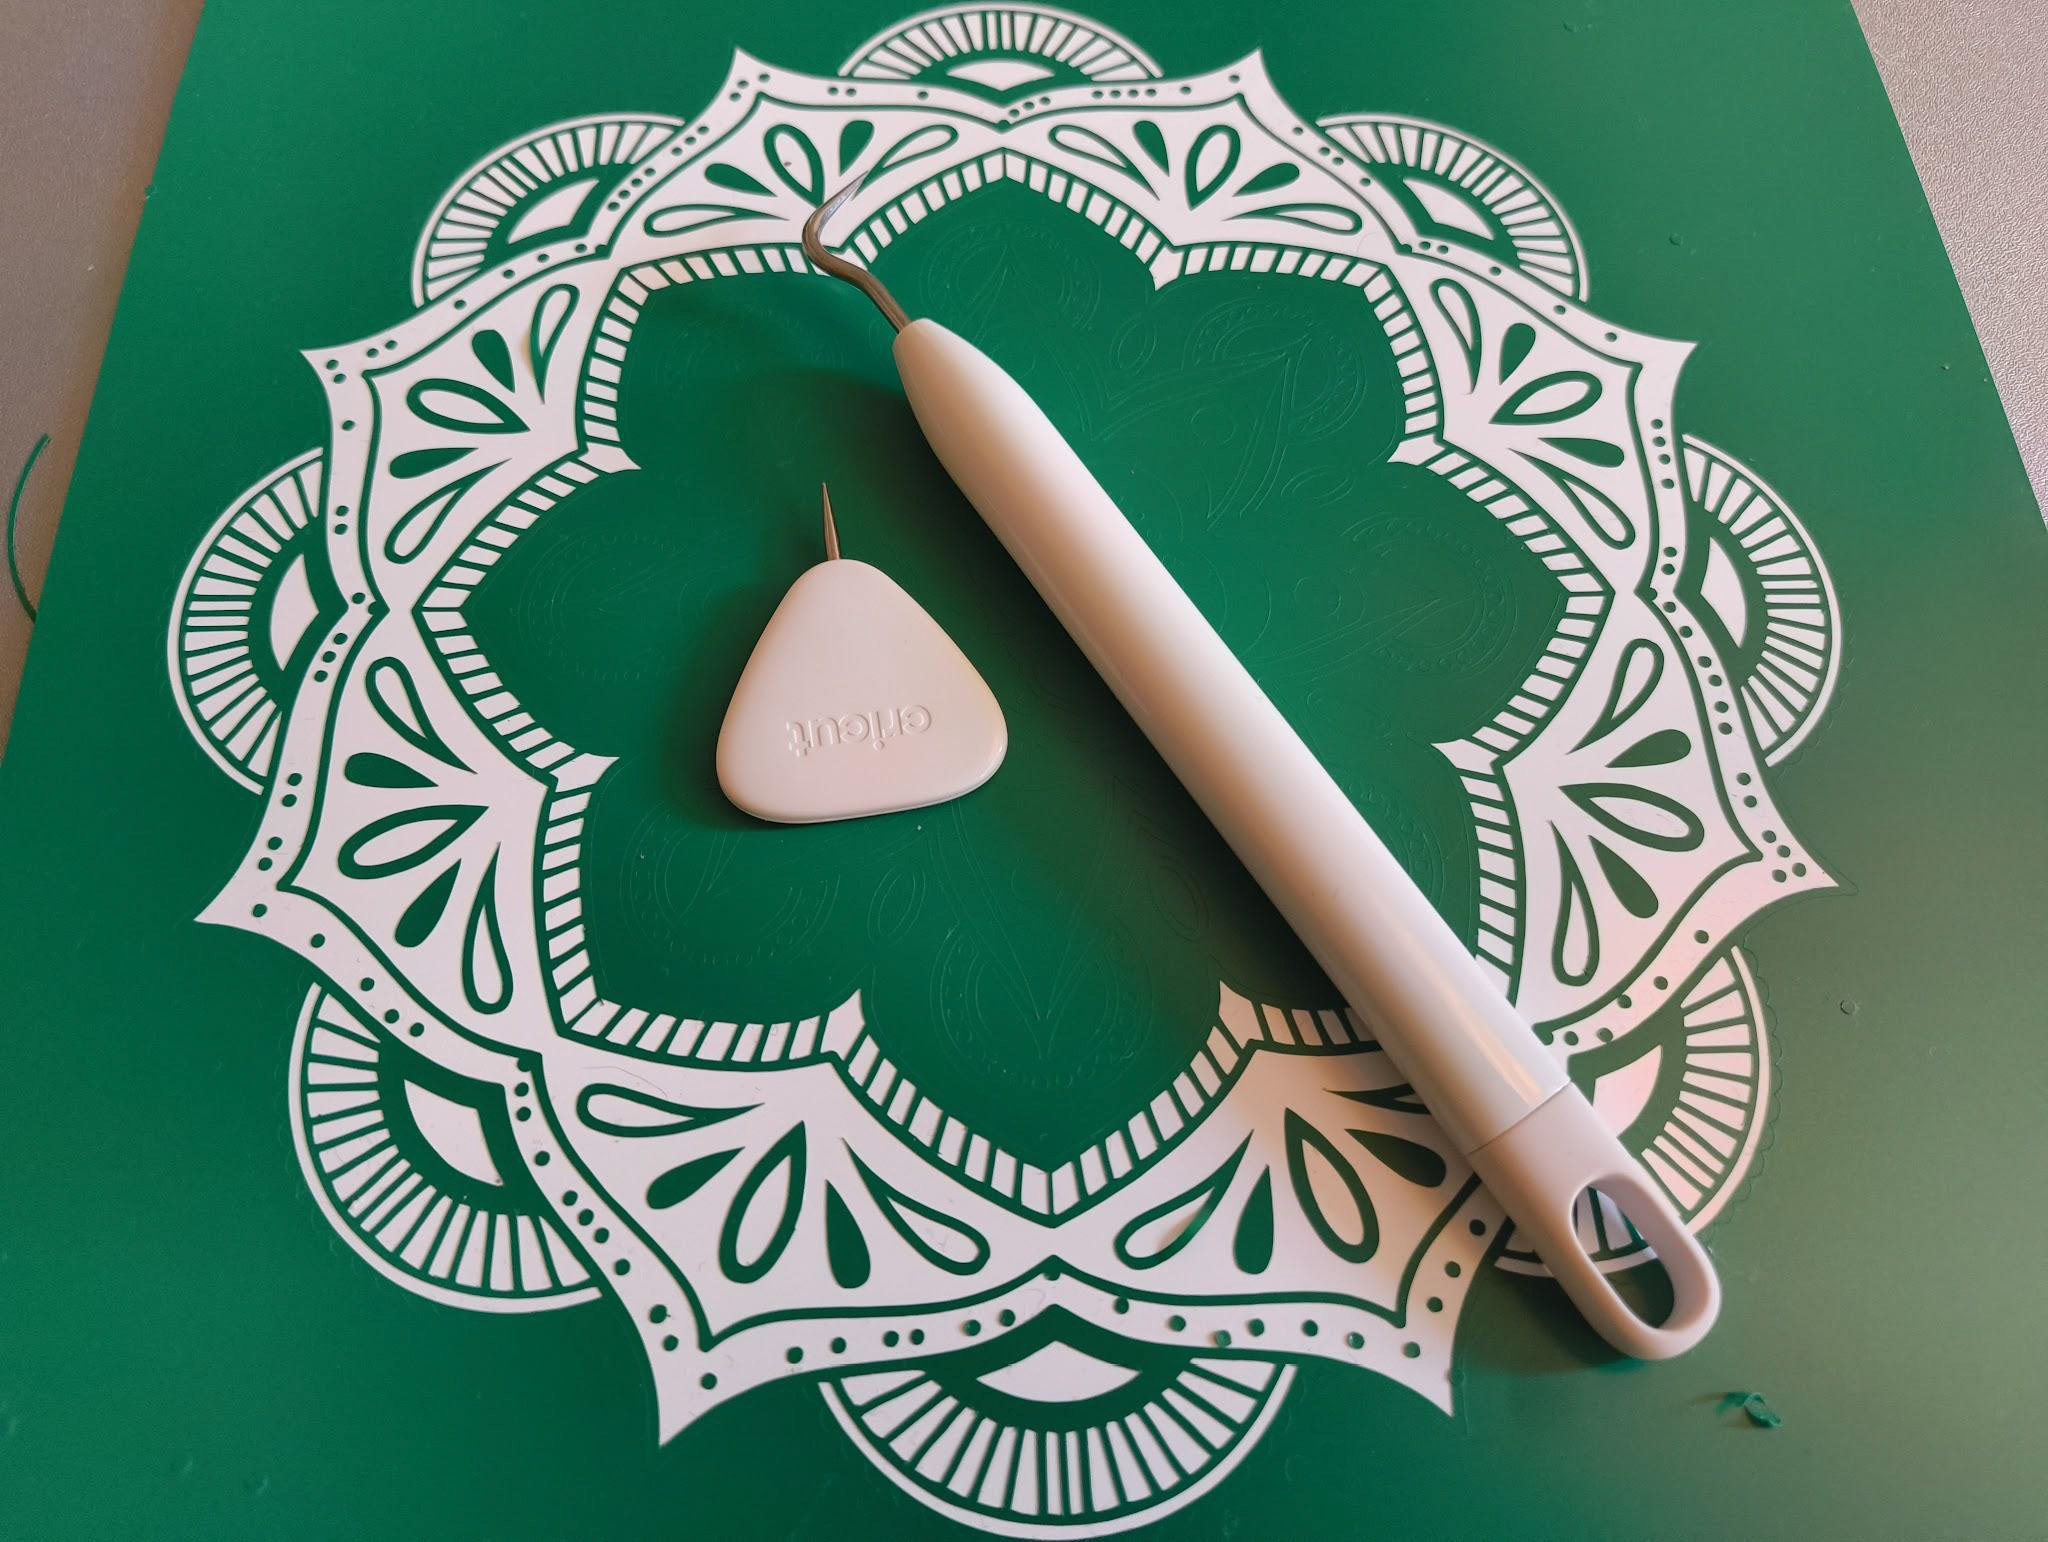
Start by opening Cricut Design Space and either selecting a ready-made template from the Cricut Design Store or creating your own custom artwork. Once you’re happy with your design, load either permanent or removable Smart Vinyl into your Cricut machine. The beauty of Smart Vinyl is that it doesn’t require a mat, making setup quick and fuss-free.
Let your Cricut do the hard work, using its fine-point blade to cut every line and curve with absolute precision. When the cutting is finished, carefully weed your design using a weeder or micro-weeder, removing the unwanted vinyl pieces to reveal the final image. At this stage, your design is crisp, detailed, and perfectly prepared for transfer tape application.
Read our guide to the best Cricut accessories for weeding tools and more.
2. Preparing and applying transfer tape
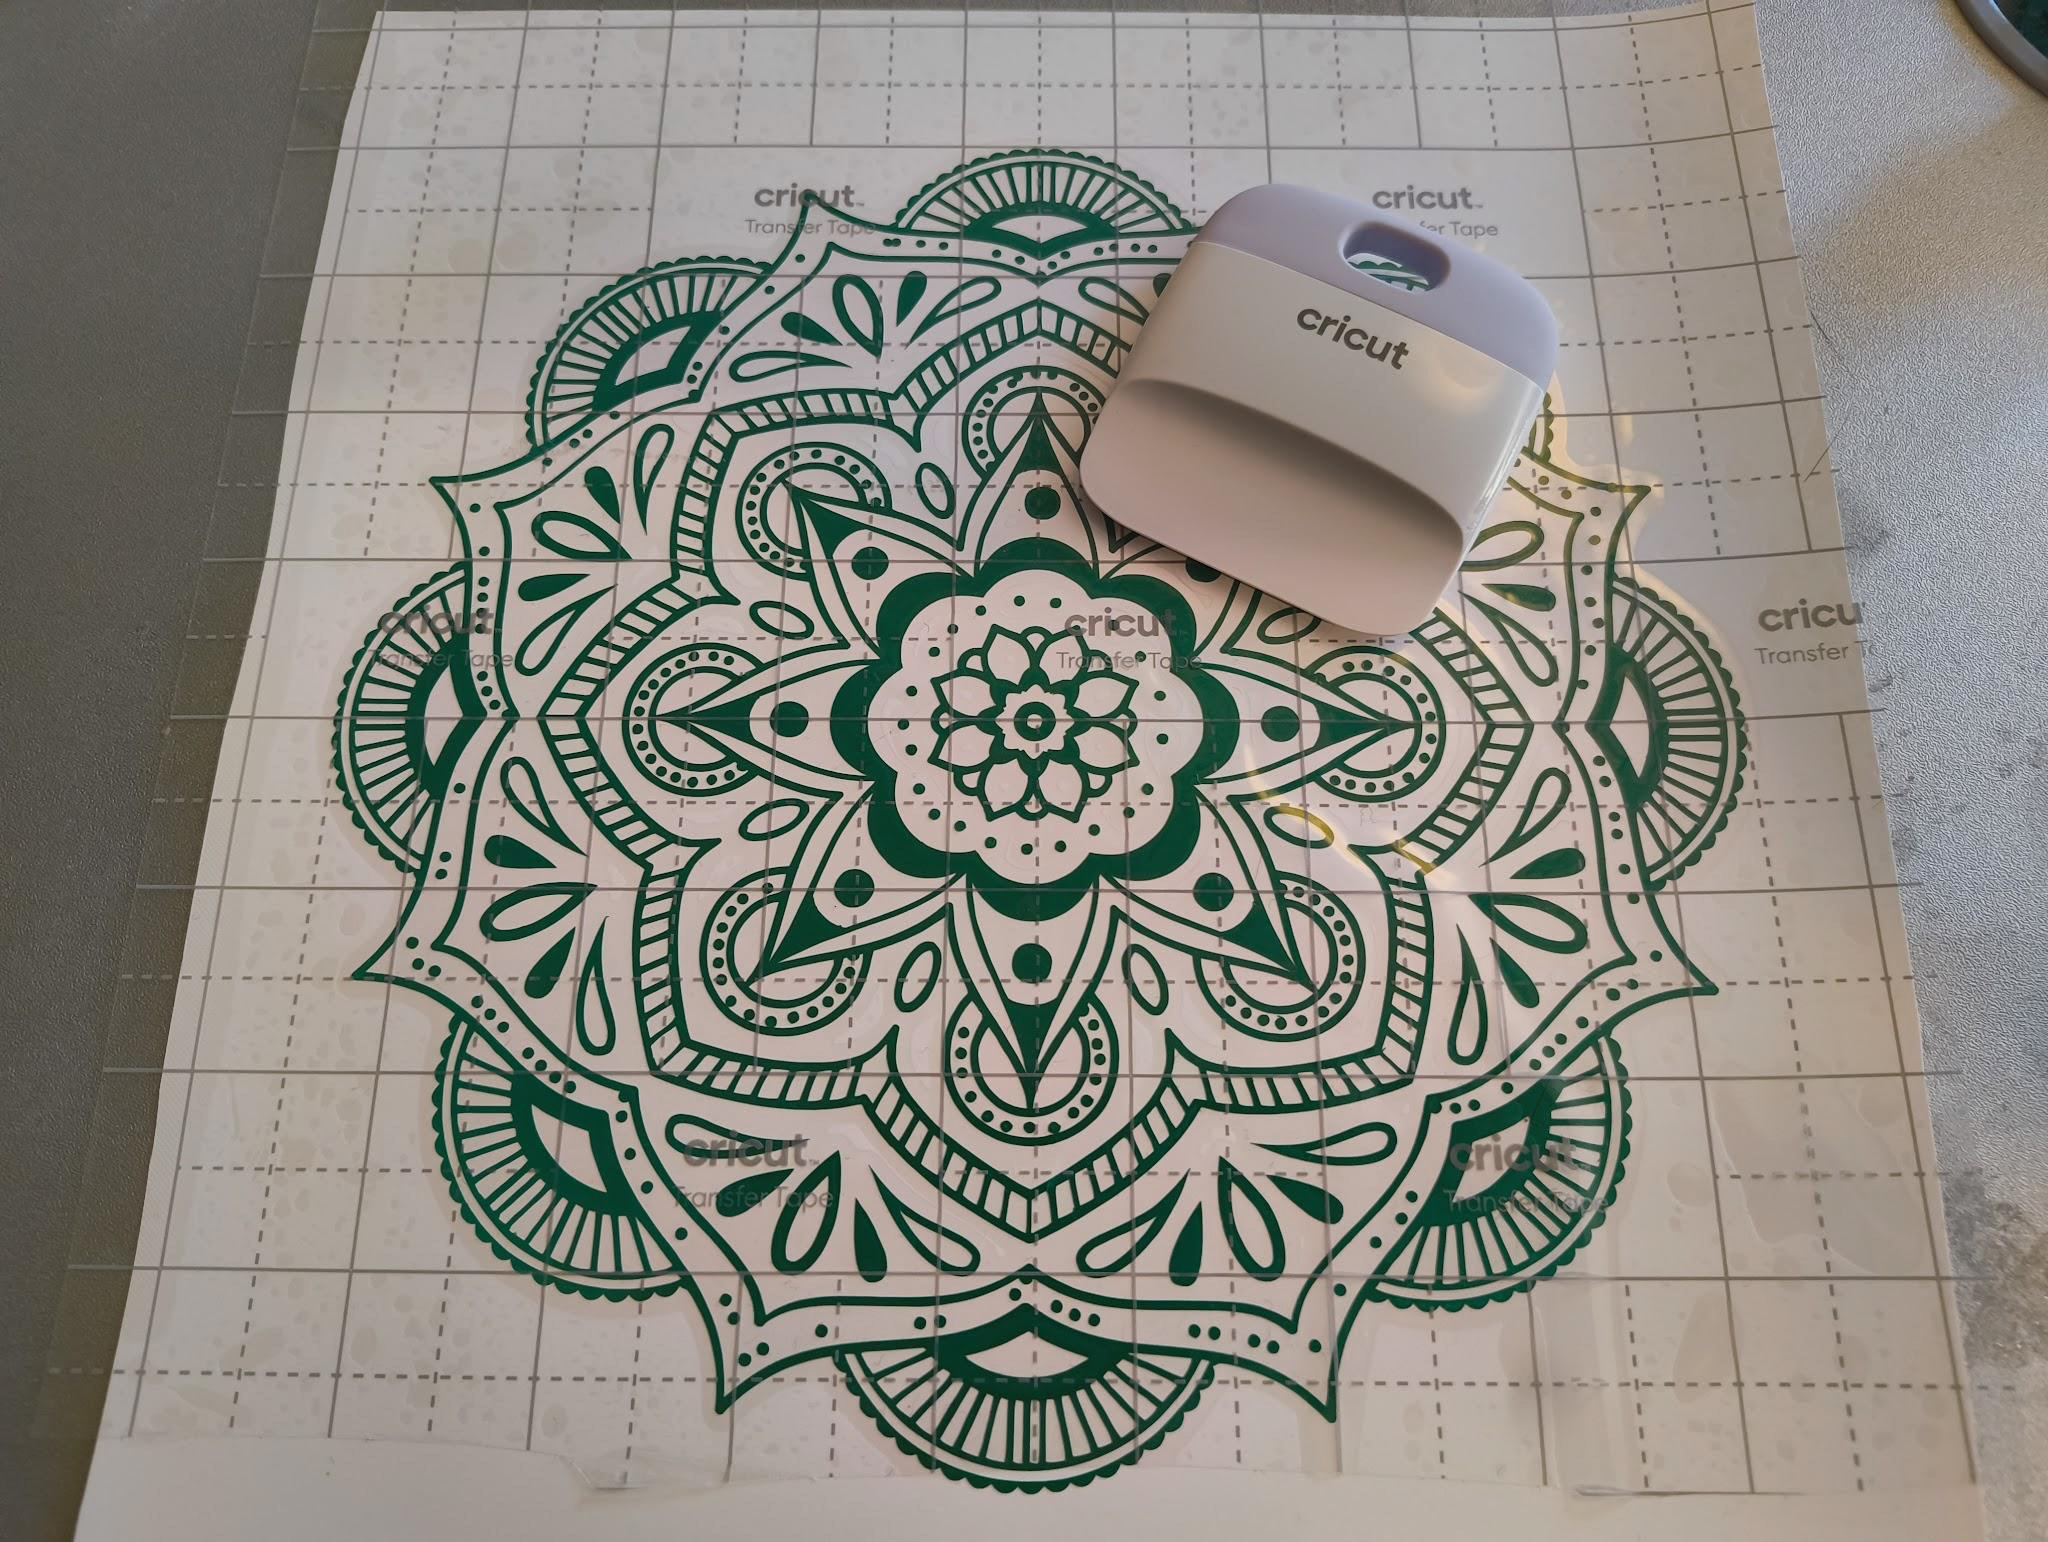
Once your design is weeded, trim away any excess vinyl around the edges to make it easier to handle. Next, cut a piece of transfer tape to match the size of your design. This will act as the carrier for your image.
Carefully peel the backing from the transfer tape, then position it over your vinyl design, starting at one edge and smoothing it down to avoid bubbles. With the tape in place, use a burnishing tool to press firmly and methodically over the entire surface.
This step is crucial: by applying even pressure, you ensure the transfer tape picks up every part of the design, from bold shapes to the tiniest details. Take your time here; the better the burnish, the cleaner and more professional the final transfer will be.
3. Transferring your design
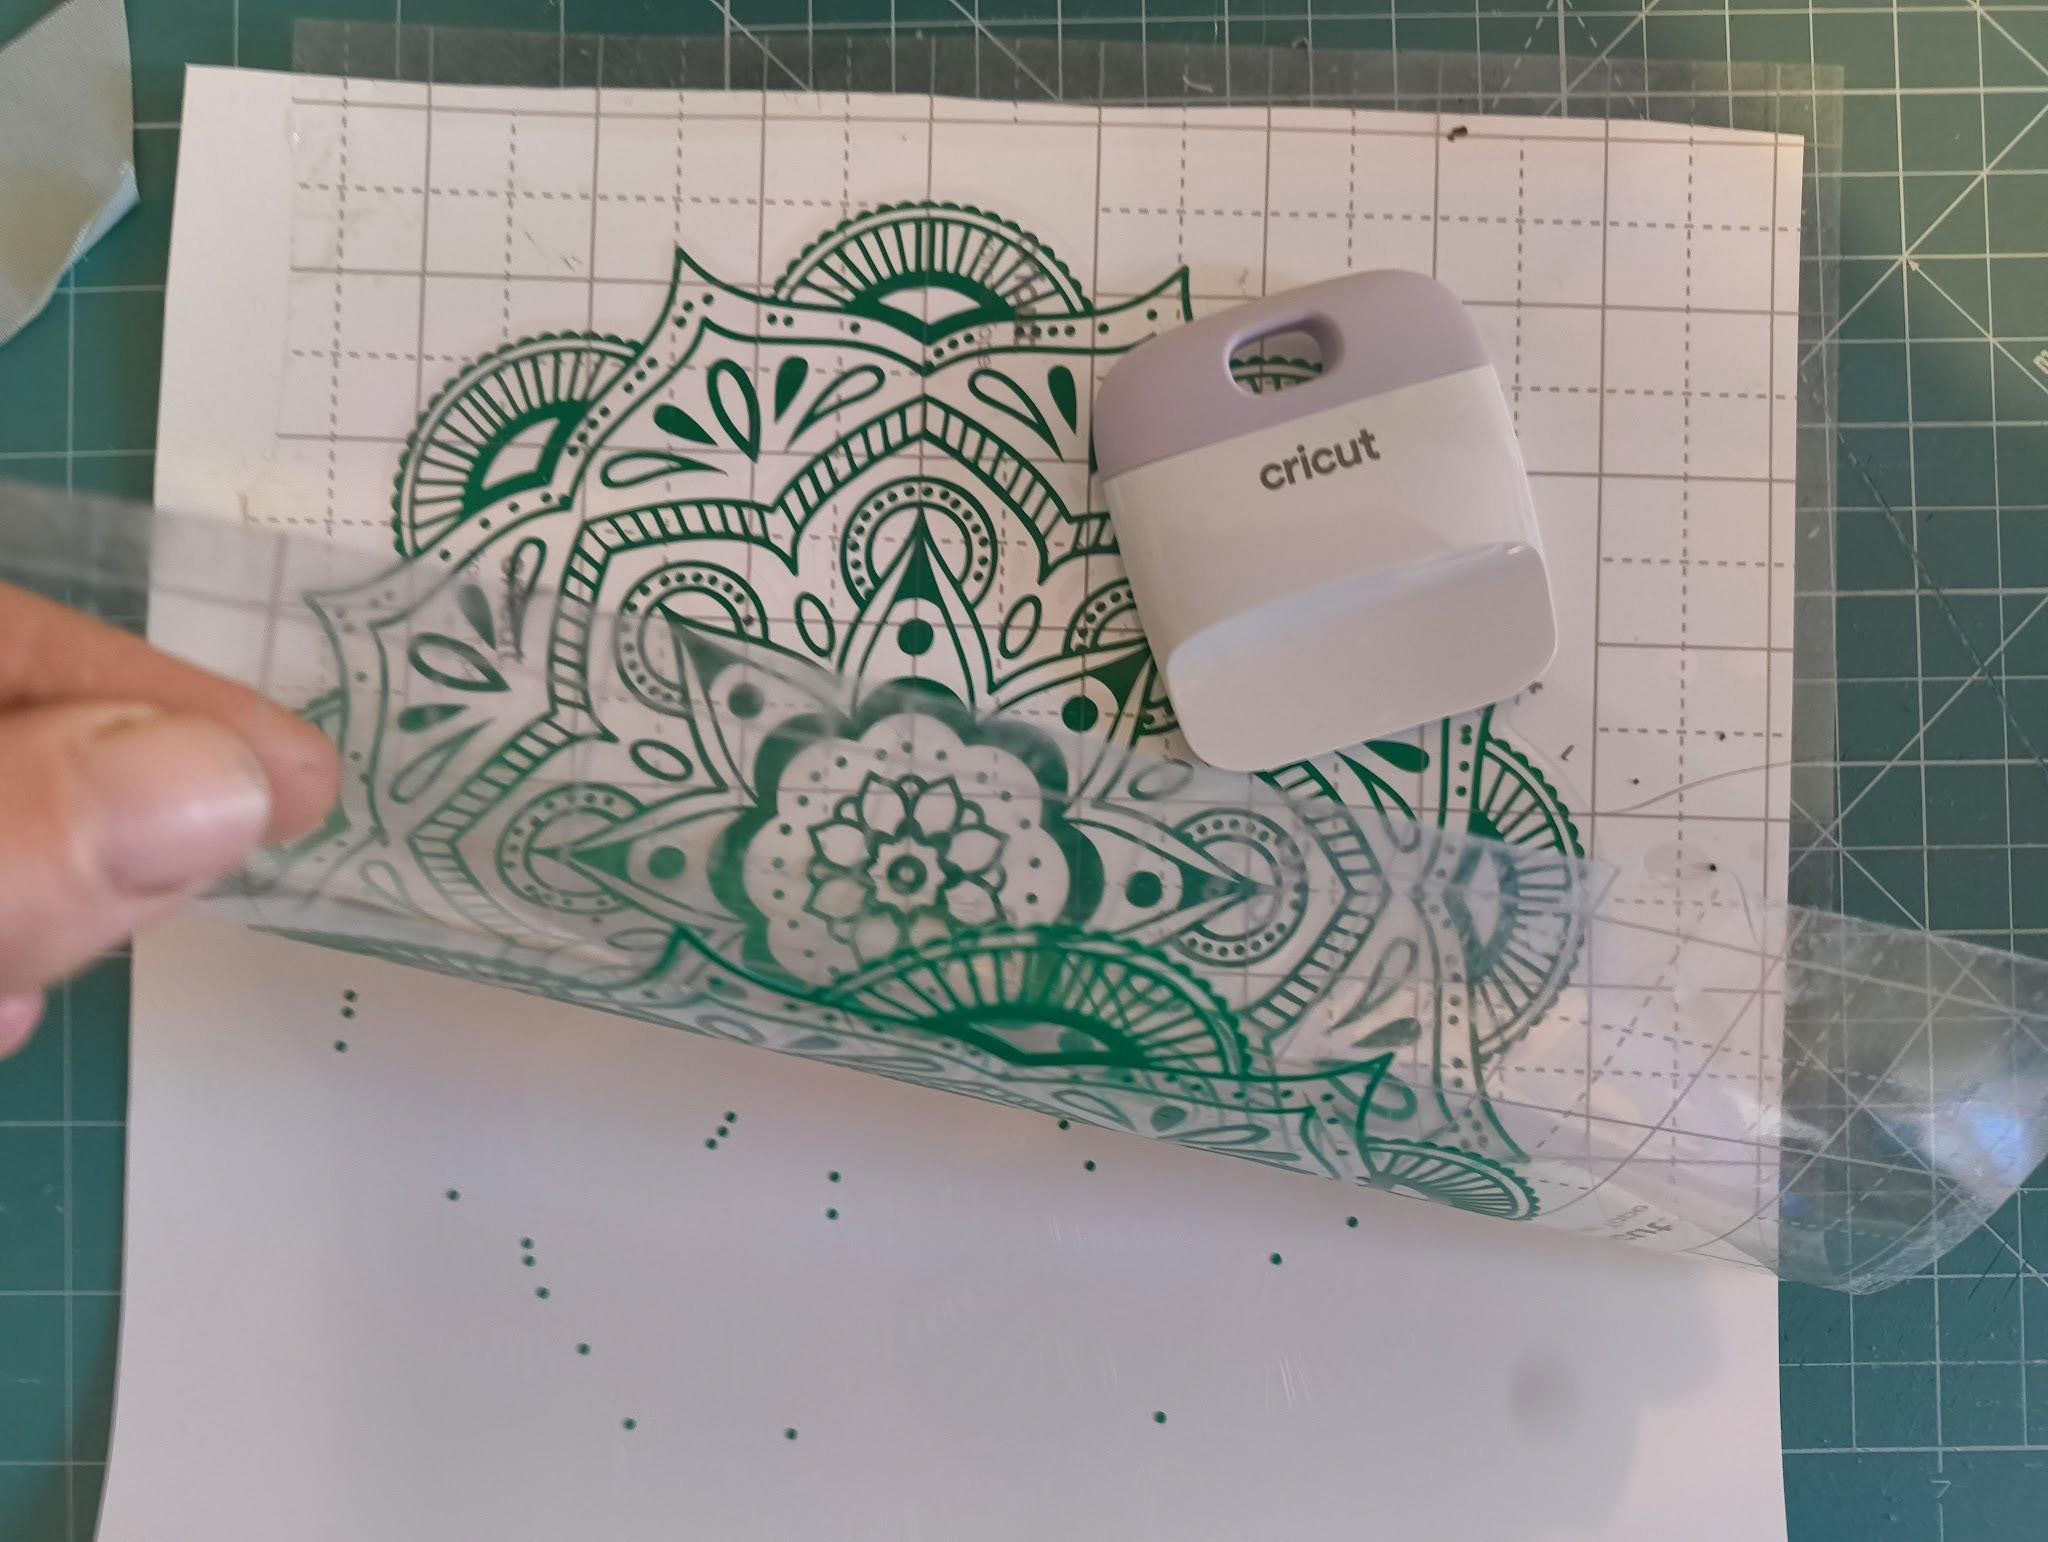
With your vinyl fully adhered to the transfer tape, it’s time to lift the design from its backing. Slowly and carefully peel the tape away, keeping the burnisher handy to press down any areas that might resist.
Moving deliberately ensures that every part of the design sticks to the transfer tape, from larger shapes to the finest details. Rushing this step can cause small pieces to lift incorrectly, so take your time; a steady hand here is what makes the final application clean, precise, and professional-looking.
4. Applying your design to the surface
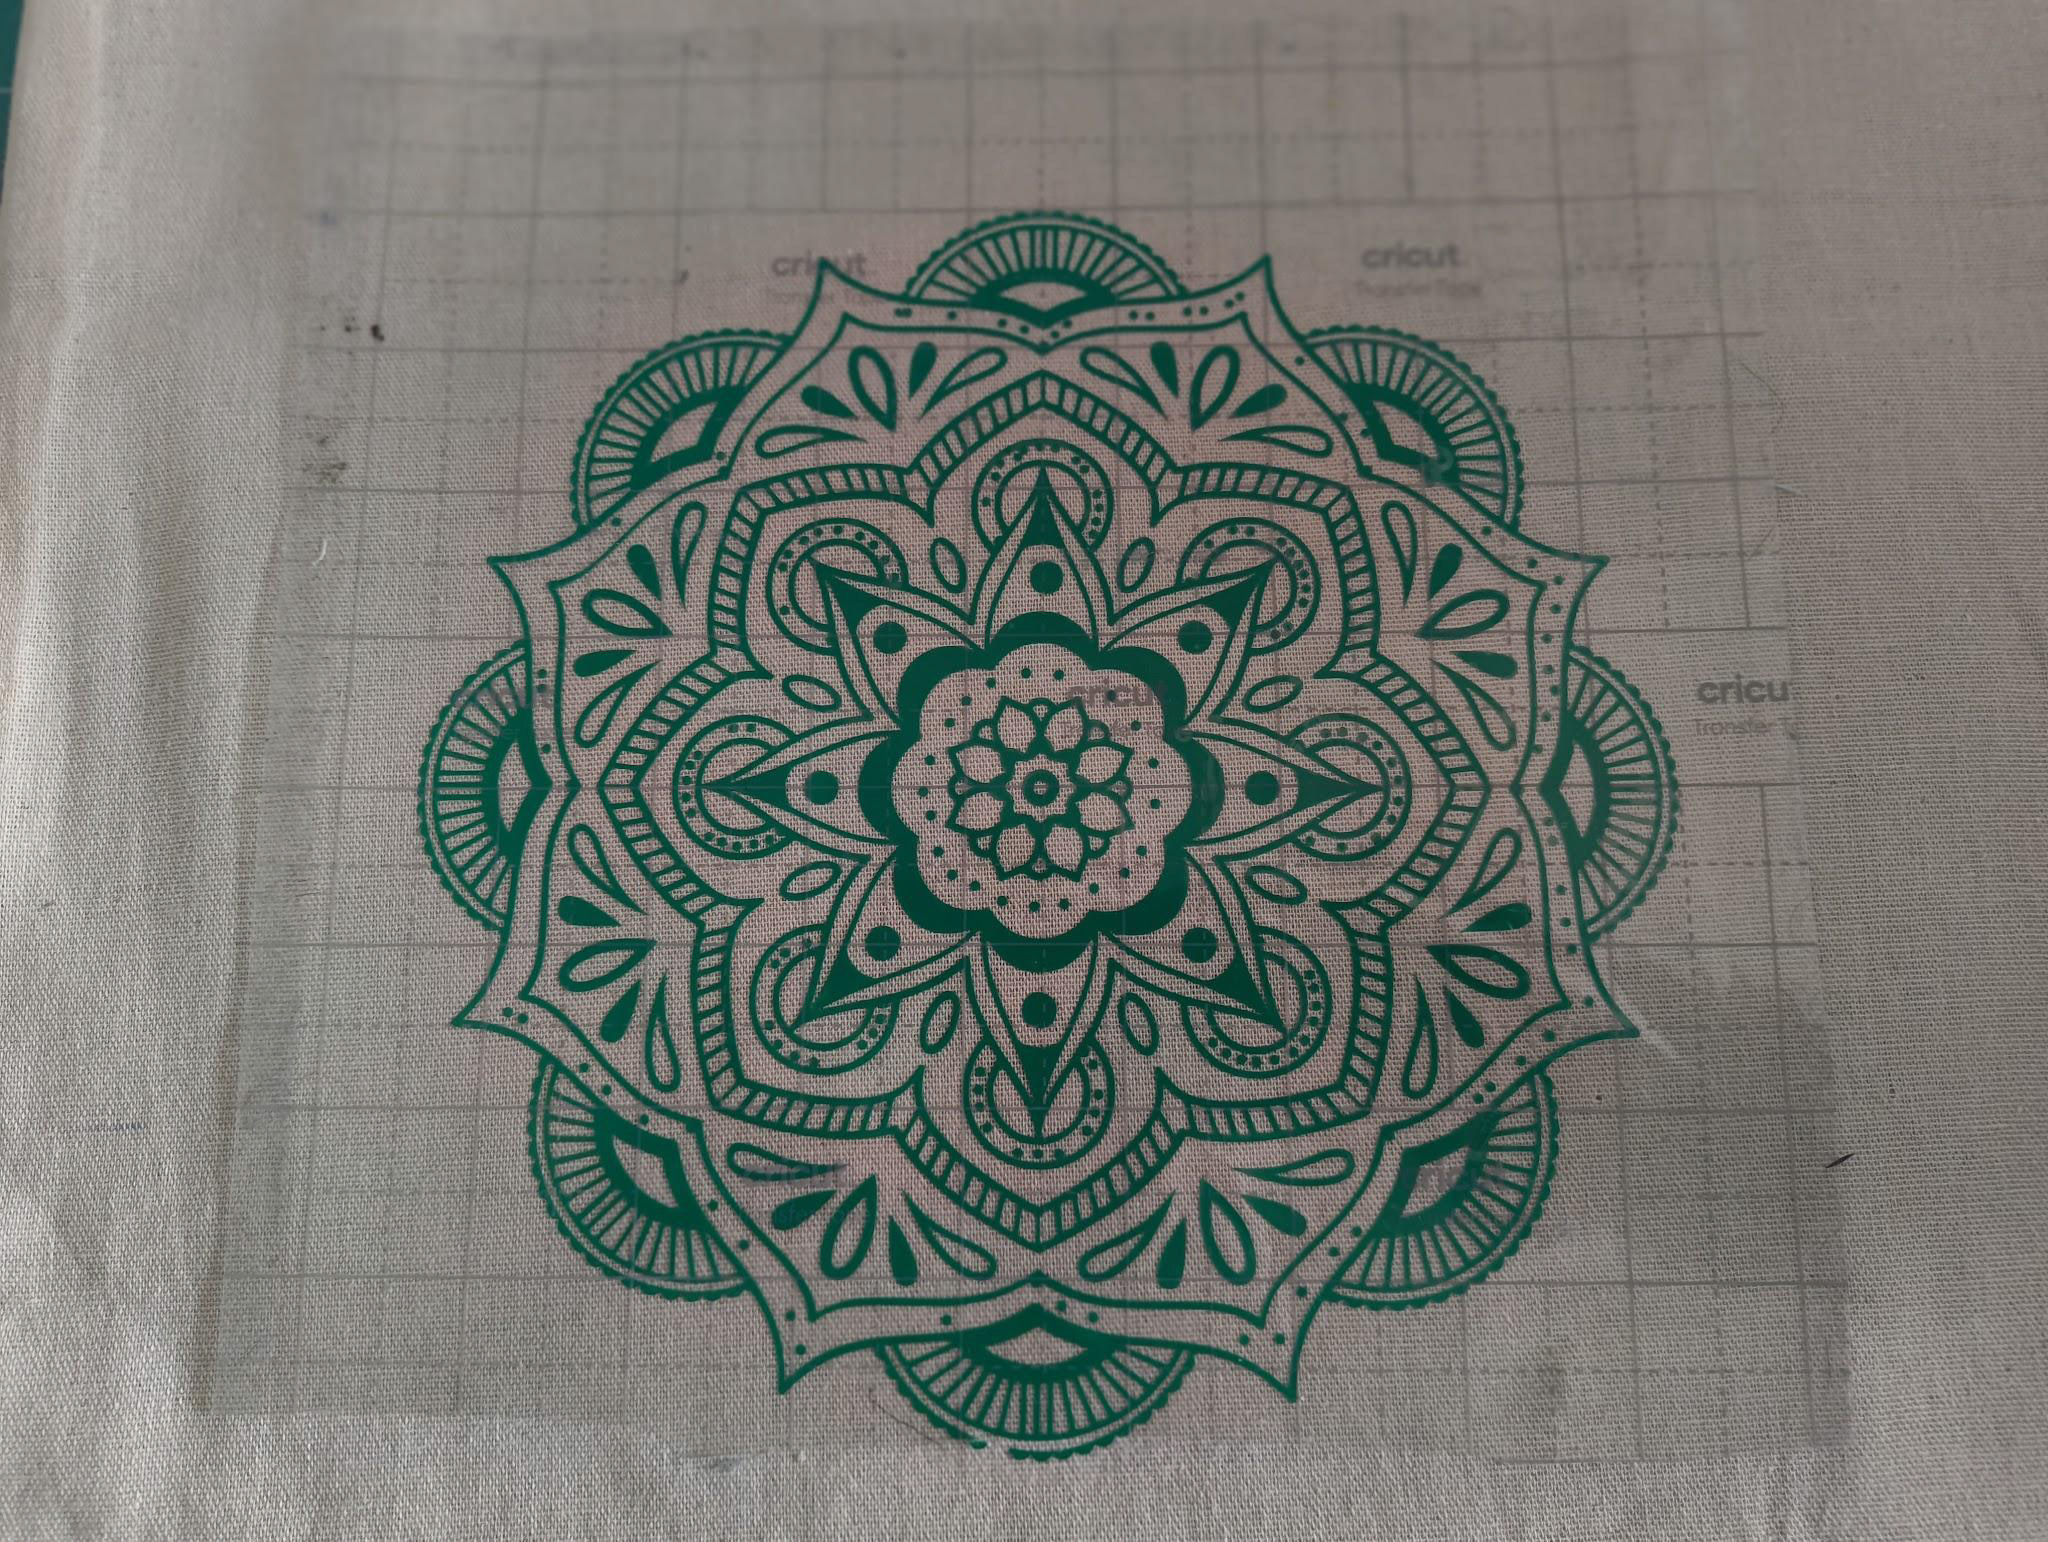
Before transferring your design, make sure the fabric or item is clean, smooth, and wrinkle-free. Ironing beforehand is a simple way to ensure the best results. For this, I use the Cricut EasyPress Mini. Once your surface is ready, carefully position the transfer tape with your vinyl design in place. Starting from one edge, smooth it down gradually, then use your burnisher to press over the entire image methodically.
Taking your time here ensures every part of the design adheres evenly, capturing even the smallest details. This careful, step-by-step approach is what turns a good cut into a flawless, professional-looking finished project.
5. Revealing your finished design
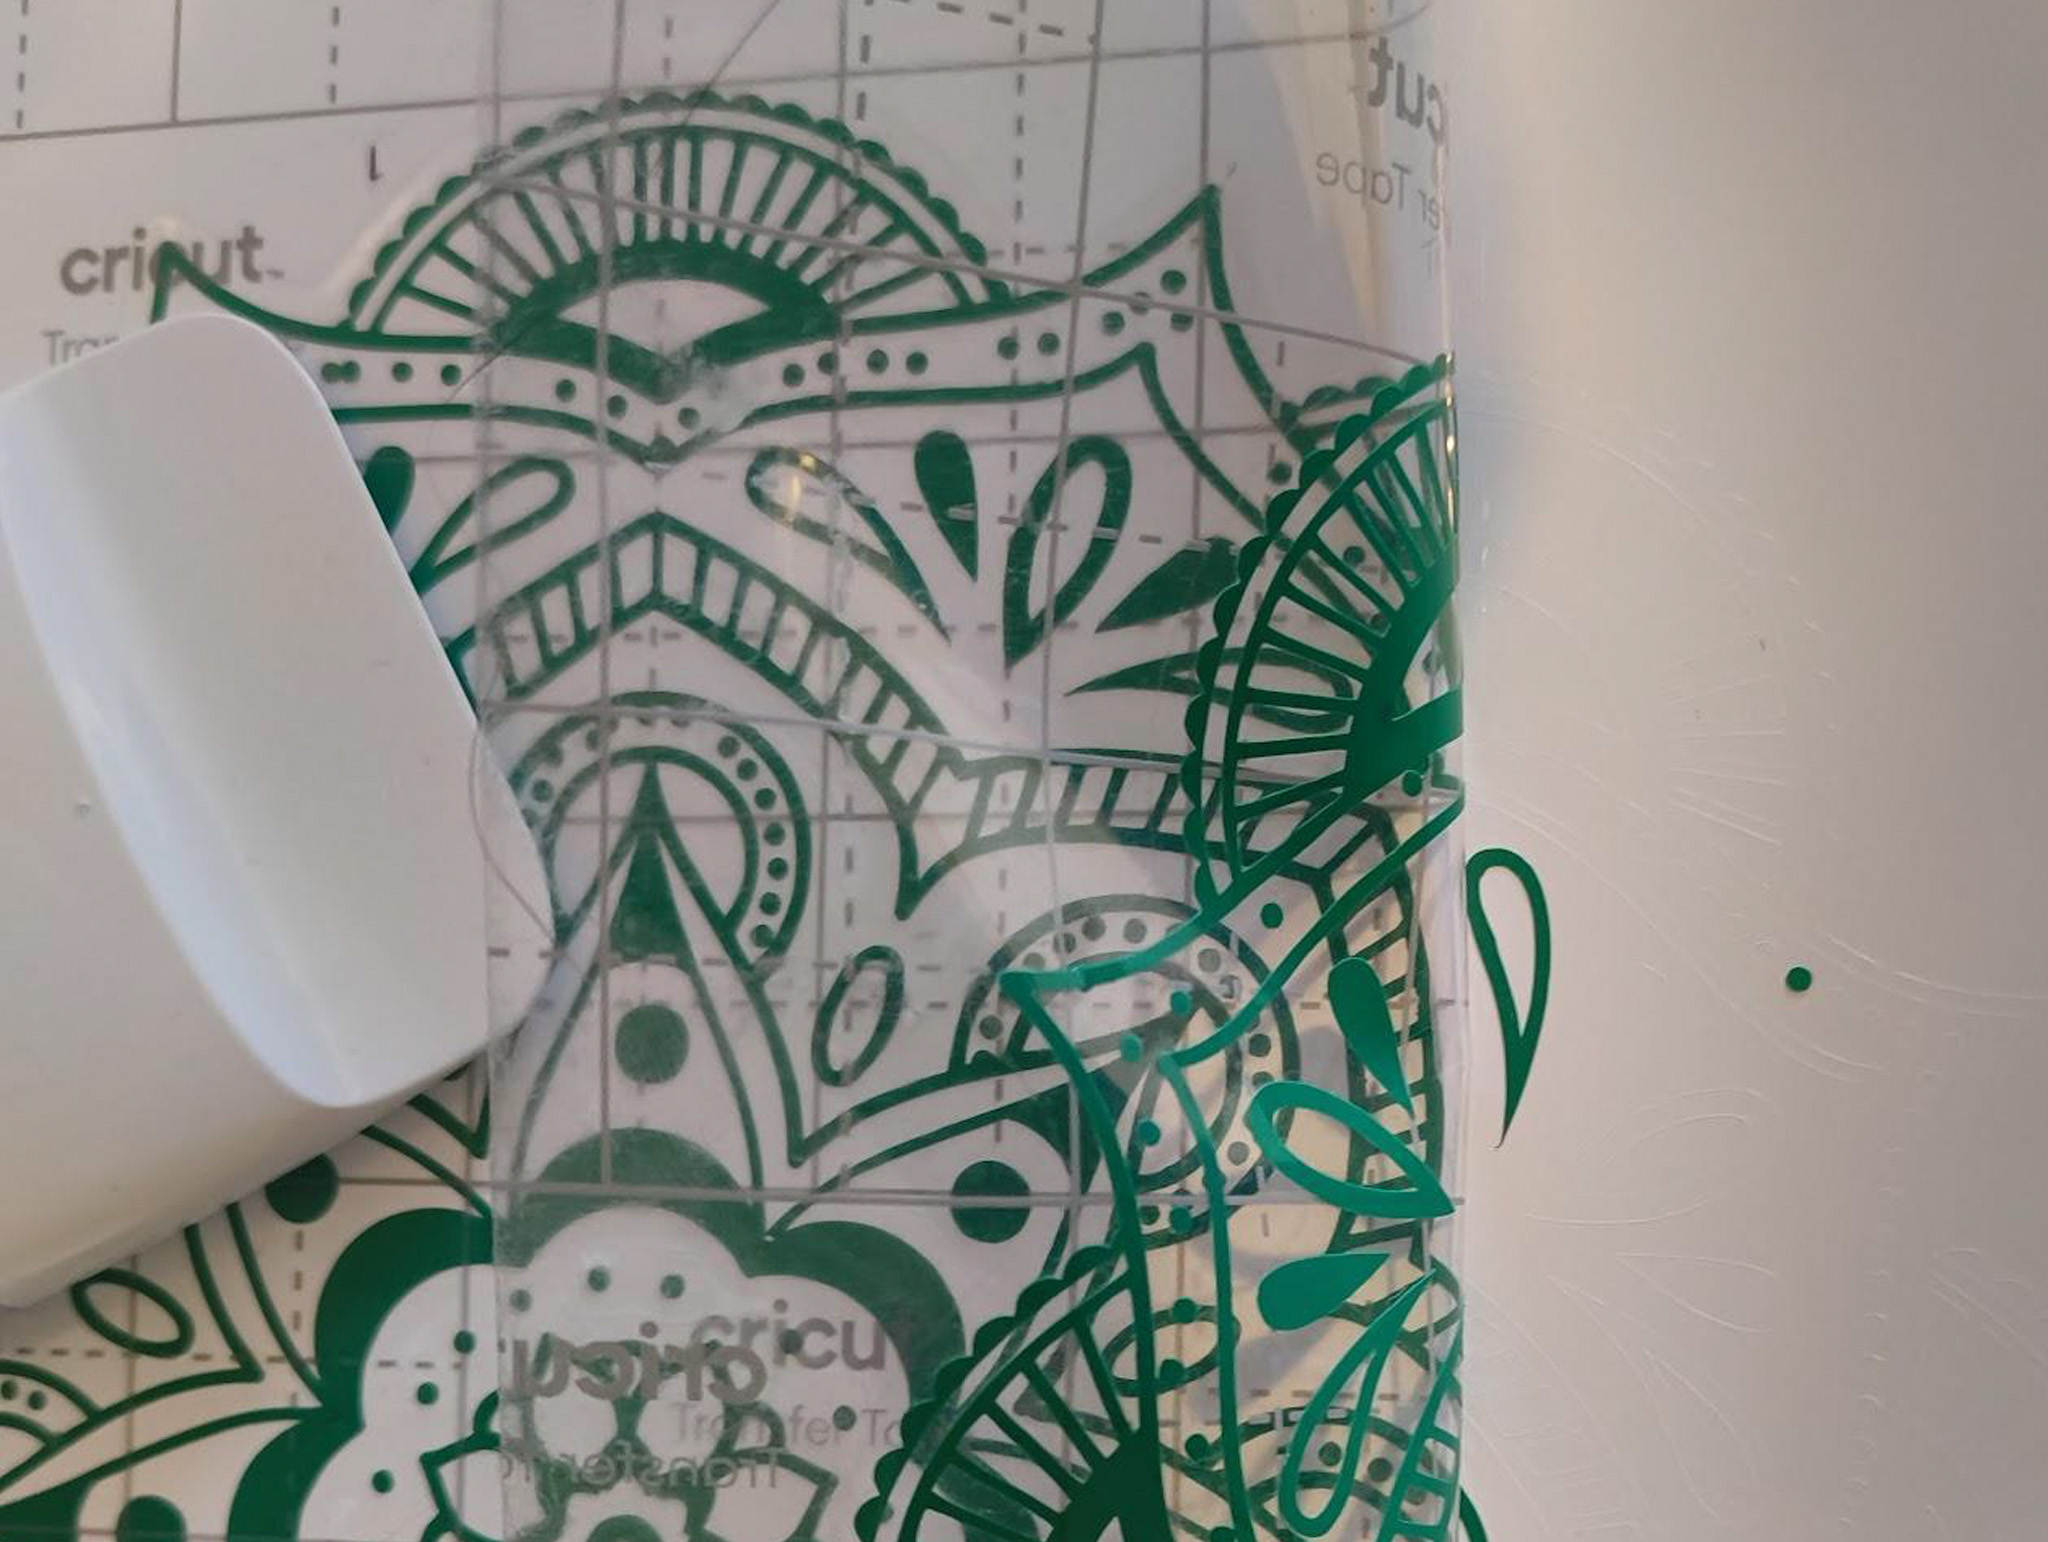
Once your vinyl is pressed firmly onto the surface, it’s time to remove the transfer tape. Do this slowly and carefully, peeling back at a steady angle. Keep your burnisher or fingers close by to pressing down any areas that might lift, ensuring the entire design stays in place.
Taking your time here guarantees that every element, from large shapes to the tiniest details, adheres perfectly. With patience and careful handling, you’ll reveal a clean, professional-looking transfer that shows off the precision of your Cricut machine.
6. Secure your design
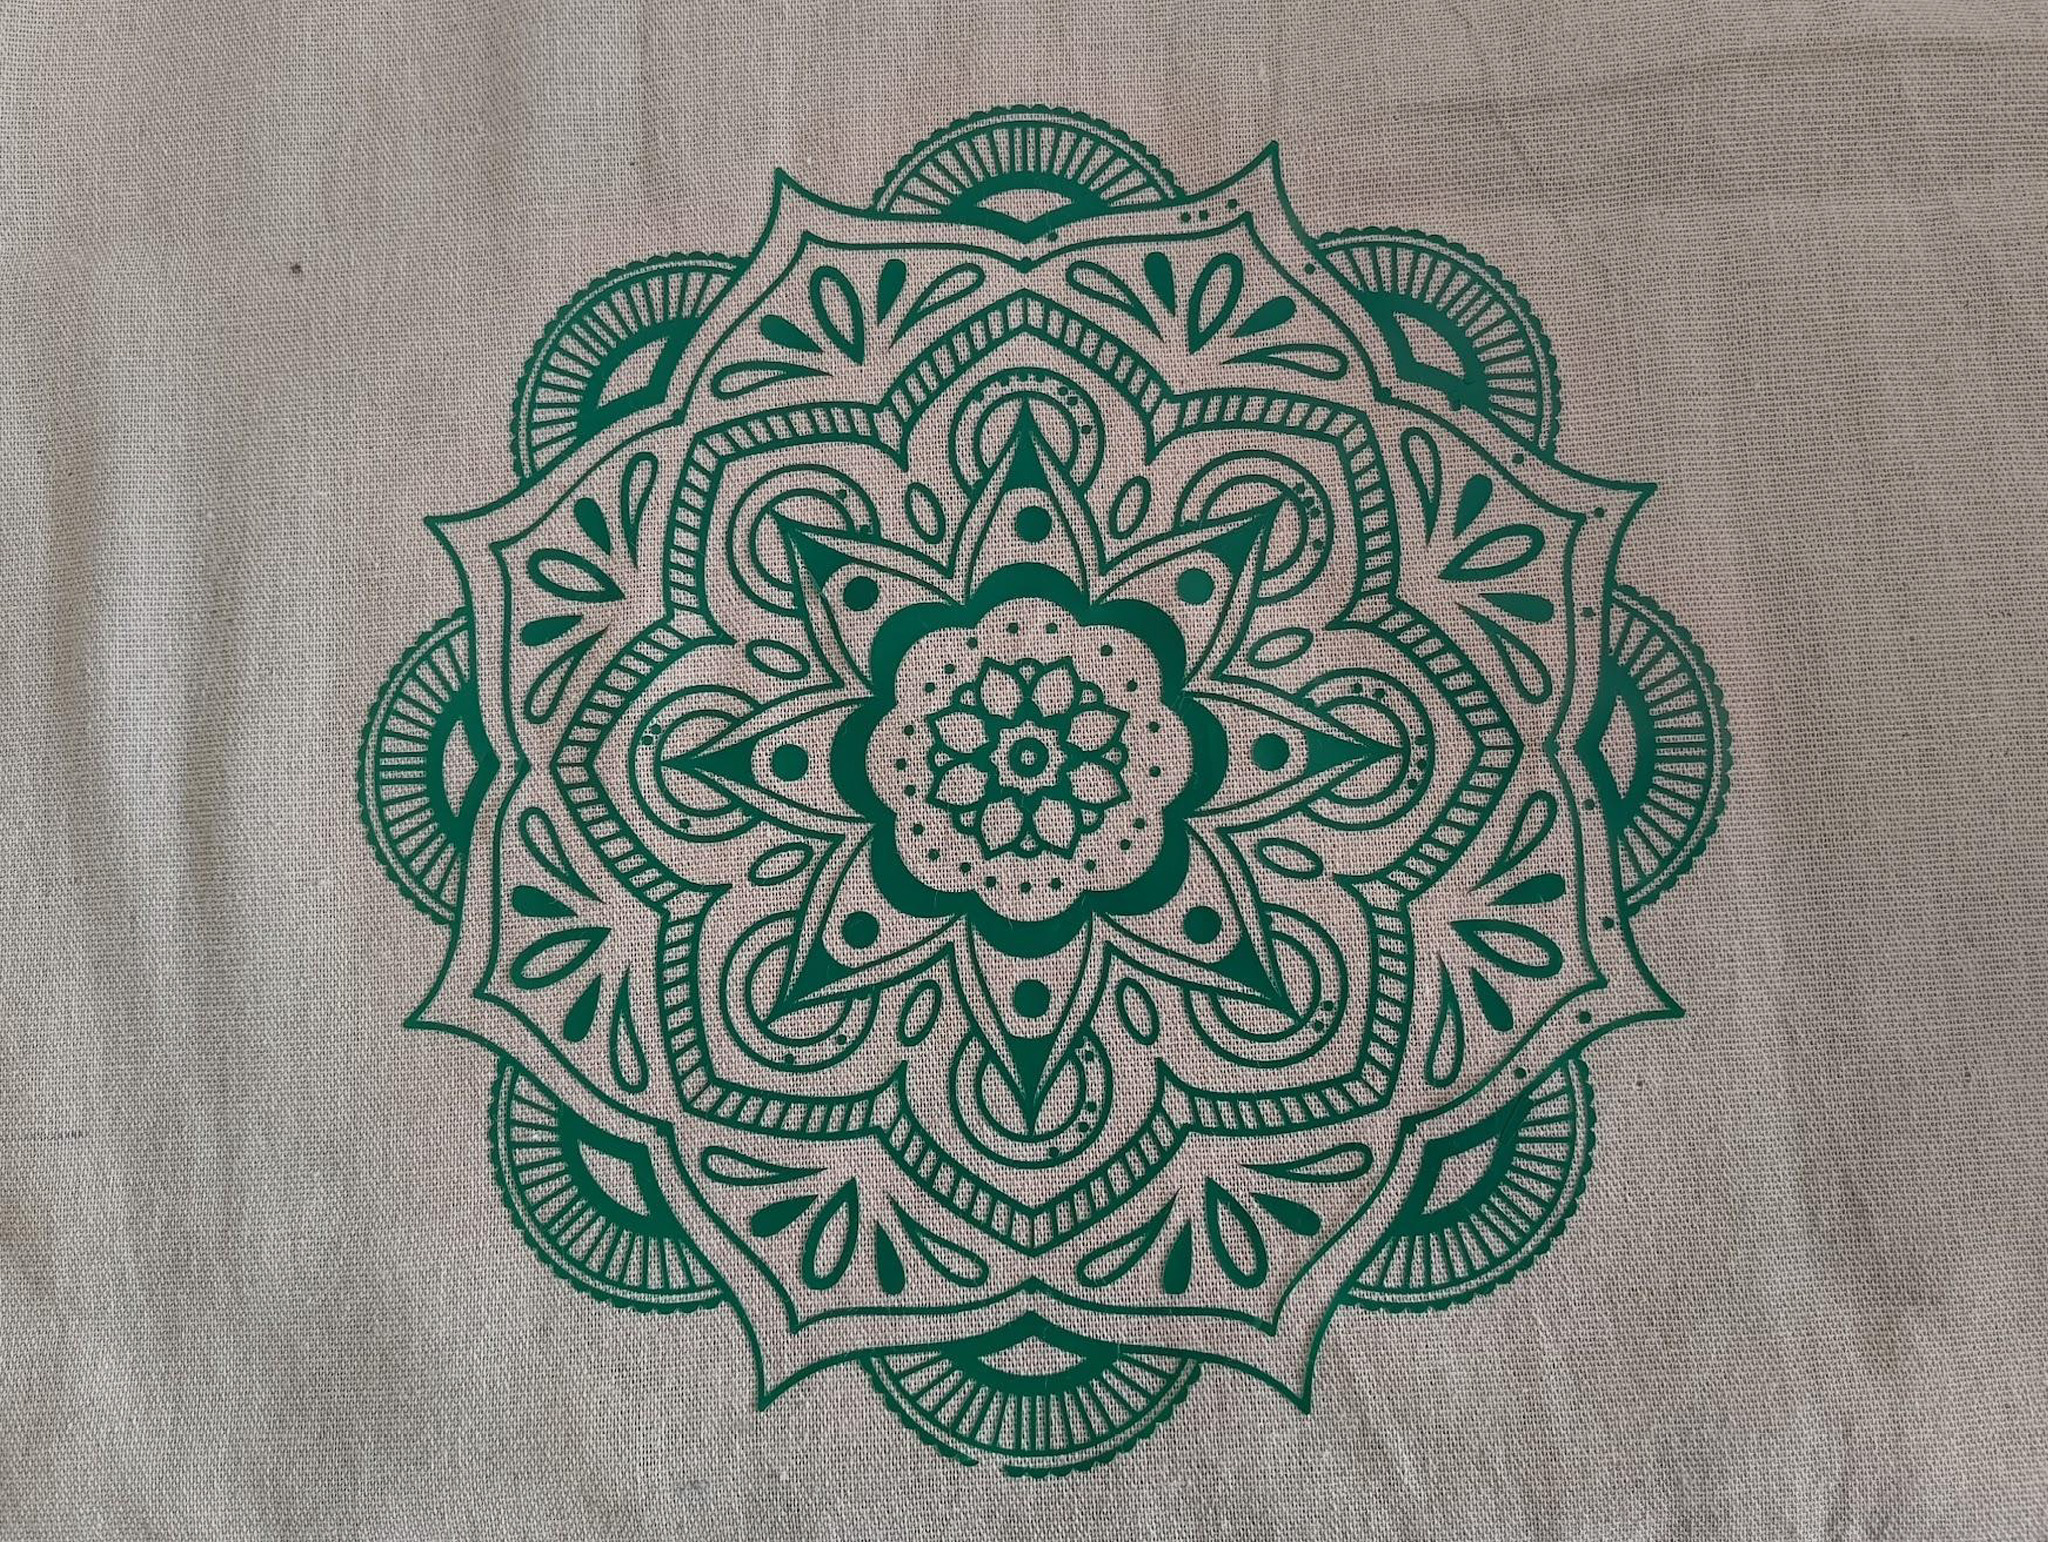
With the transfer tape removed, your vinyl design is now on the fabric or item. Gently go over the entire image with your fingers, pressing down to make sure every part of the design is firmly adhered.
This simple step helps reinforce smaller details and ensures the vinyl won’t lift over time, giving your project a clean, professional finish. Taking a few extra moments here and taking your time makes a noticeable difference in the final result.
7. Using Cricut pens to add colour
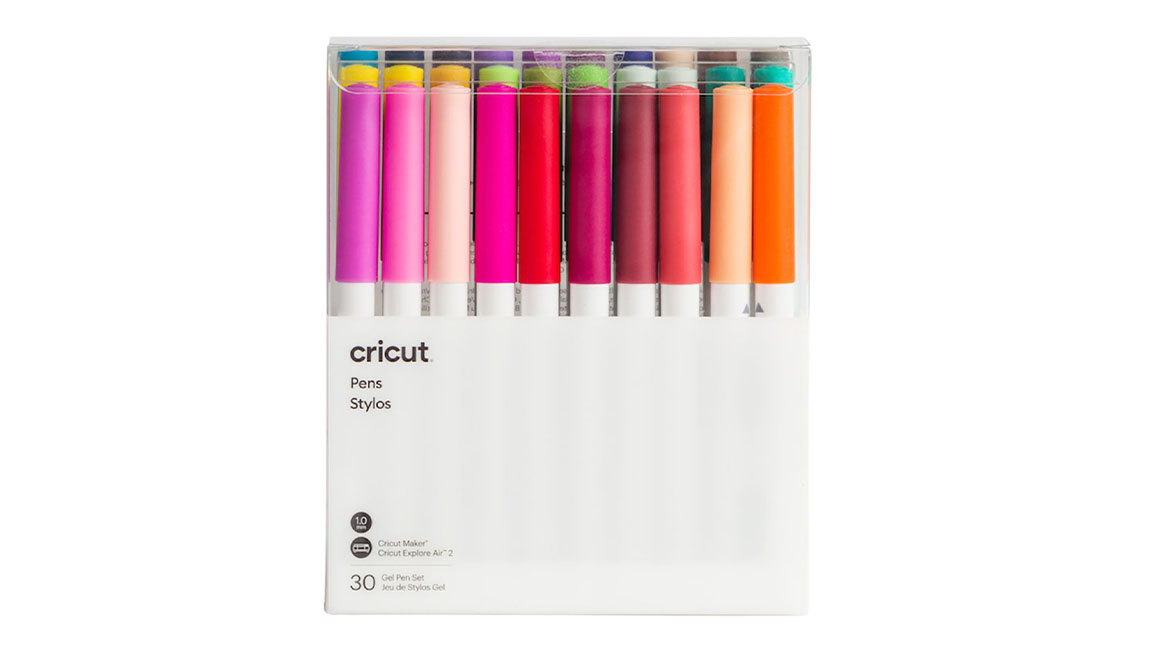
If you want to take your project a step further, consider using the best Cricut pens, including Cricut’s invisible ink or fine-point pens, to add colour or details to your design. These pens work seamlessly with your machine, letting you enhance your vinyl project with subtle accents or intricate touches. It’s a simple way to personalise your creation and make it truly unique, showing off the precision and versatility of the best Cricut machines.
Daily design news, reviews, how-tos and more, as picked by the editors.

Julie Dean is a former doctor and occupational therapist by profession, which inspired her to start sewing and quilting as a therapeutic activity. She is passionate about her craft and has been quilting and using Cricut for over five years. As well as selling her own designs and products on Etsy, Julie has taken commissions for interior design agencies to create bespoke quilts, including Beata Heuman. Julie's work has appeared in Architectural Digest.
You must confirm your public display name before commenting
Please logout and then login again, you will then be prompted to enter your display name.
