How to bind a book: a 10-step guide
Karen Lewis explains how to bind a book using some cost-effective binding and stitching techniques.
06. Line the spine

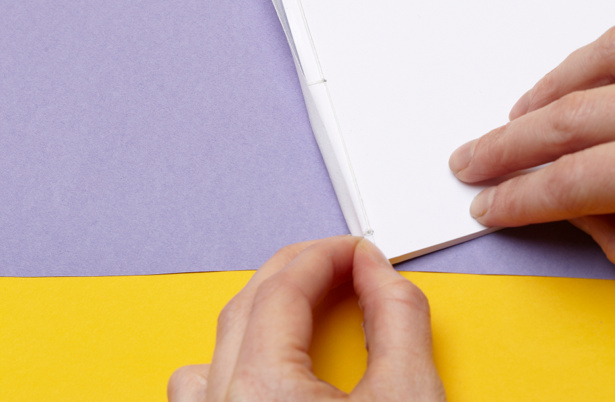
Once your pages are cropped, measure and cut a piece of fraynot to line the spine. It should be the same length as your pages, and wide enough to wrap around the spine, covering the stitching on both sides with a few millimetres spare.
With the fraynot cut to size, place it down on a flat surface and paste with glue, then position it over the stitching. Flip your book over and wrap around the spine. Rub a bone folder along the spine, pressing the fraynot against it.
07. Attach the endpapers

You need two endpapers that attach to the main body of the book, which the cover will wrap around. They should be the height of your book and twice the width (plus 1mm to allow for folding), but consider your choice of stock.
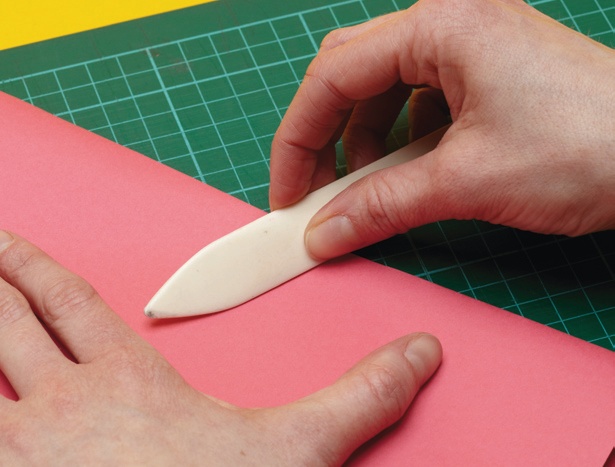
Cut it to the required size, measure out the middle and score it with a bone folder. Fold it in half and press it flat. Place some scrap paper over the top, just beyond the fraynot, and paste this section with glue.
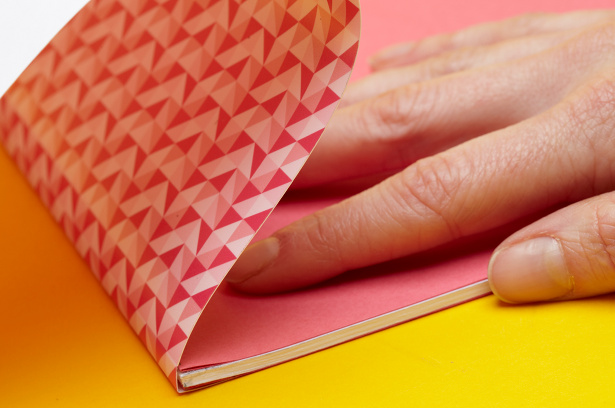
Next, place your endpaper over the top, aligned to your page, ensuring the fold is on the same side as the spine. Flip your book and repeat this process for the second endpaper, at the back, and place it between two books to dry.
08. Create the cover

Create a new document in InDesign for the cover design, set to the height of your pages and four times the width (plus the measurement of your spine), with a 3mm bleed around the edges. Drag two guides into the centre to indicate where the spine will be, then measure the width of a page out from either side of this to show where the gatefolds will be. The front cover is the second panel in from the right. As before, when you are exporting the PDF, don't forget to include crop marks and bleed.
09. Attach the cover

When your cover has been designed and printed, cut it out with a metal ruler and scalpel using the crop marks. Measure out where the central spine folds will be and use a bone folder to score and fold one of them.
Daily design news, reviews, how-tos and more, as picked by the editors.
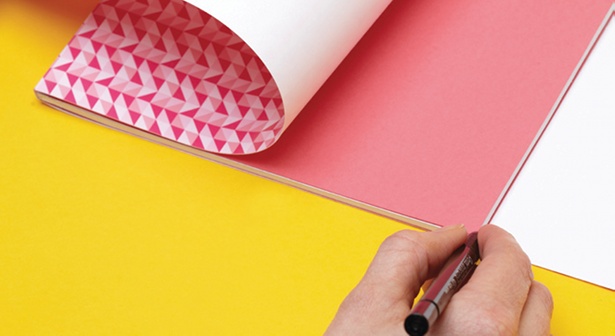
Place your book against this fold to double-check the measurement is alright, then score and fold over the second. Push the spine of your book into the spine of the cover and mark out where your first gatefold should be. Score and fold with a bone folder, turn your book over and then repeat this for the second gatefold.
10. Finishing off

To finish off my cover I printed the title of the book and my name on a sticker – I felt this would be more interesting than a flat printed page. However, this type of bookbinding offers multiple alternatives: you could cut out a shape to reveal the inner endpaper, wrap a 'belly band' around the cover or you could encase your book in a poster that the recipient could remove and keep as a limited edition print. There is also the opportunity to include gatefolds or pages that open out within the book – the options are endless.
Words: Karen Lewis
This article first appeared in Computer Arts magazine.
Related articles:
- Illustrator tutorials: amazing ideas to try today!
- Free Photoshop actions to create stunning effects
- Create a perfect mood board with these pro tips
