Photoshop still tops our pick of the best digital art software and the best photo editing software overall, but the continuous subscription cost understandably puts many people off. The introduction of generative credits for AI features now introduces another potential cost, increasing the number of people searching for alternatives.
Fortunately, there are plenty of Photoshop alternatives, whether you're editing photos, creating graphic design or painting digitally. Krita is one our favourites. It's free and open-source, has a strong community and it continues to add new features (see what's new in Krita 5.3/6.0).
Like Photoshop, Krita has so many tools that there are probably features that you've missed. There are also lots of shortcuts that can help you work faster in the software. Here are some of my favourites.
Krita tips
01. Improve your workflow with Workspaces and Dockers

You might find you have all the tools you need in Krita's default workspace, but it's worth knowing that there are several pre-prepared workspaces to choose from.
These layouts have different Dockers activated and deactivated for work in specific fields like vectors, storyboarding or animation. They could speed up your workflow if your move between them depending on the task in hand. Go to Window > Workspace to check them out.

You can also create and save your own customised workspaces, choosing the Dockers you want access to.
Dockers are what Krita calls the various toolbars, panels and windows. By default, you'll have Compositions, Layers, Overview, Palette, Toolbox and Tool Options, but there are over 30 dockers available. You can choose the ones that most help your workflow. Go to Setting > Dockers.
02. Navigate the canvas efficiently
If you're new to digital art, the canvas itself can feel unwieldy and difficult to manipulate, but Krita has lots of shortcuts to make things easier.
Hold Space and drag to move the canvas, and Space+Shift+drag left and right to rotate it. You can press '5' to reset rotation, '1' to set zoom to 100%, and '2' to fit the canvas to the screen. You can also use the mouse by right-clicking the canvas to use the navigation slider, or you can enable the Overview docker for easier control.
A lot of artists find it useful to flip their canvas horizontally every so often while painting to check proportions look balanced. You can press 'M' to quickly toggle on a mirror view (above). Hit Tab to toggle Canvas-Only Mode, which hides all docks and menus to show only the canvas.
To help reduce memory use and prevent lag in complex projects, you can go to Image > Trim to Image Size to remove any excess canvas outside your artwork. This cleans up invisible, off-canvas pixel data to reduce file size without resizing the canvas itself.
03. Use assistants

Krita’s Assistant Tool lets you set up perspective grids such as 2-point perspective, Ellipse, Fish Eye Point, Infinite Ruler, Spline and Vanish under the Tool Options docker. These can be useful for architectural or dynamic scene drawing.
The perspectives change brush parameters. For example, brush size or opacity can shift depending on perspective depth, which can add realism to strokes. You can turn on the Snap to Assistants feature in brush settings so make brush lines snap directly to the chosen perspective grid, ensuring marks follow the perspective perfectly.

04. Work non-destructively
The beauty of digital software like Krita and Photoshop is the ability to work non destructively. By adding to your work on a new layer, you always preserve the previous step.
Instead of applying filters directly on any layer of work, use Filter Layers so you can adjust or remove the effect later without losing or damaging your original work.
To change layer styles, simply right click and choose the second option. If you have complex artworks or photo edits with lots of layers, groups are your friend. Putting the layers into groups can make it much easier to manage a file.
05. Play around with the Multibrush and Dynamic Brush Tools
Krita's Multibrush tool (Q is the shortcut) paints with multiple instances of a brush simultaneously. This is handy for creating mirrored, symmetrical, or patterned designs.
The Dynamic Brush Tool provides enhanced stabilisation and smoothing for slow and steady lines with rubberband-like precision. This is distinct from the standard brush stabiliser option (toggle on stabilisation for standard brushes If you find it difficult to draw smooth lines. You'll find it in the tool options docker, but be aware that it can be detrimental for sketching, making strokes feel disconnected).
06. Wrap-Around Mode for Seamless Textures
Krita's Wrap-Around Mode lets you paint seamlessly across edges, which can be useful for creating tiling textures for game art or patterns. You can activate it using the dedicated icon on the tool bar or by pressing Shift>W.
07. Take snapshots
Krita's snapshot feature lets you to capture the current state of your document so you can refer back to it later and also return to that state if you don't like how you later change things. It's a handy solution to the lack of infinite undos and can save piece of work if you're unsatisfied with how later changes turn out.
Taking snapshots regularly is also a way to let you make comparisons to see how a piece has evolved. The feature only works in the current document. You'll need to save separate versions before closing a document if you want to save previous steps.
Note that there's also a Recorder docker that you can use to record your work.
08. Use Krita shortcuts

Like most creative software, Krita has loads of shortcuts to help you perform common actions without having to click through the toolbar or dockers. Many of them are the same as in Photoshop, such as Shift+J to copy a layer.
Here are few handy shortcuts, but there are lots more:
Shift + Drag quickly resizes your brush. This is a lot faster than adjusting the sliders manually.
Right-Click Color Wheel brings up a colour selector instantly. This saves opening the full colour docker.
Ctrl + Left Click lets you sample a colour from your canvas without switching tools.
Ctrl + T allows you to transform the dimensions of the canvas. Notice that the Tool Options docker provides multiple transform modes beyond basic scaling, including warp, cage and perspective.
Remember that Krita's shortcuts van be customised, so you can assign your own hotkeys for your favourite brushes or tools to adapt the software to your own workflow. On the top bar, go to Settings > Configure Krita > Keyboard Shortcuts pr Canvas Input Settings. You can change the shortcuts listed under those headers.
09. Make the most of community resources

Krita has a large and active community of users, and many artists who use the software create their own brushes and other tools and share them via the Krita website.
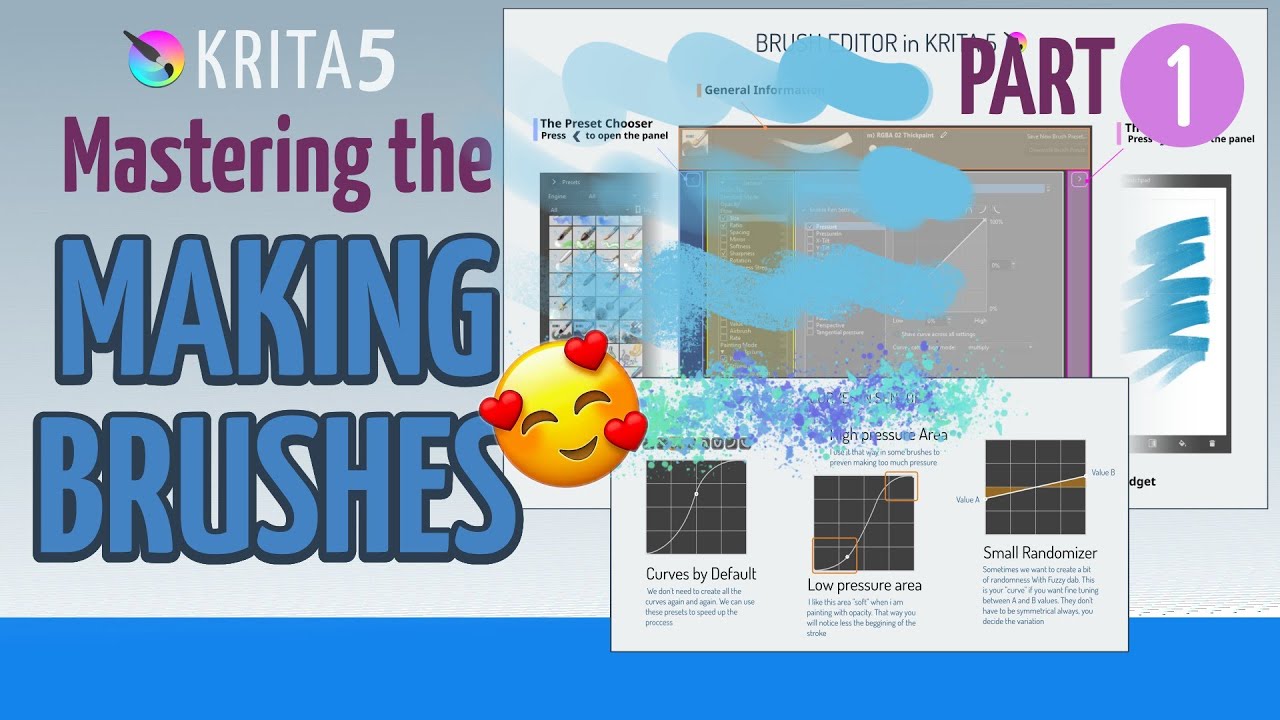
See the Resources page at krita-artists.org to find brush packs, textures and more. You can also create your own brushes using the Krita brush engines. You can use an existing brush, change the settings and click 'Save New Brush Preset'.
See the video below for tips on how to make brushes in Krita.
For more on the software, see our Krita review. We also have comparisons of Photoshop vs Krita and GIMP vs Krita comparisons.